Networks and subnets
A private network connects your servers to each other, isolated from other projects. Each network has
one or more subnets. A subnet is the address range servers receive their addresses from, such as
10.0.10.0/24, with the gateway and DNS servers they use.
Servers on a private network reach the internet through a router, and are reached from the internet through floating IPs or a load balancer. Your provider's public networks are shared by every project and need no setup.
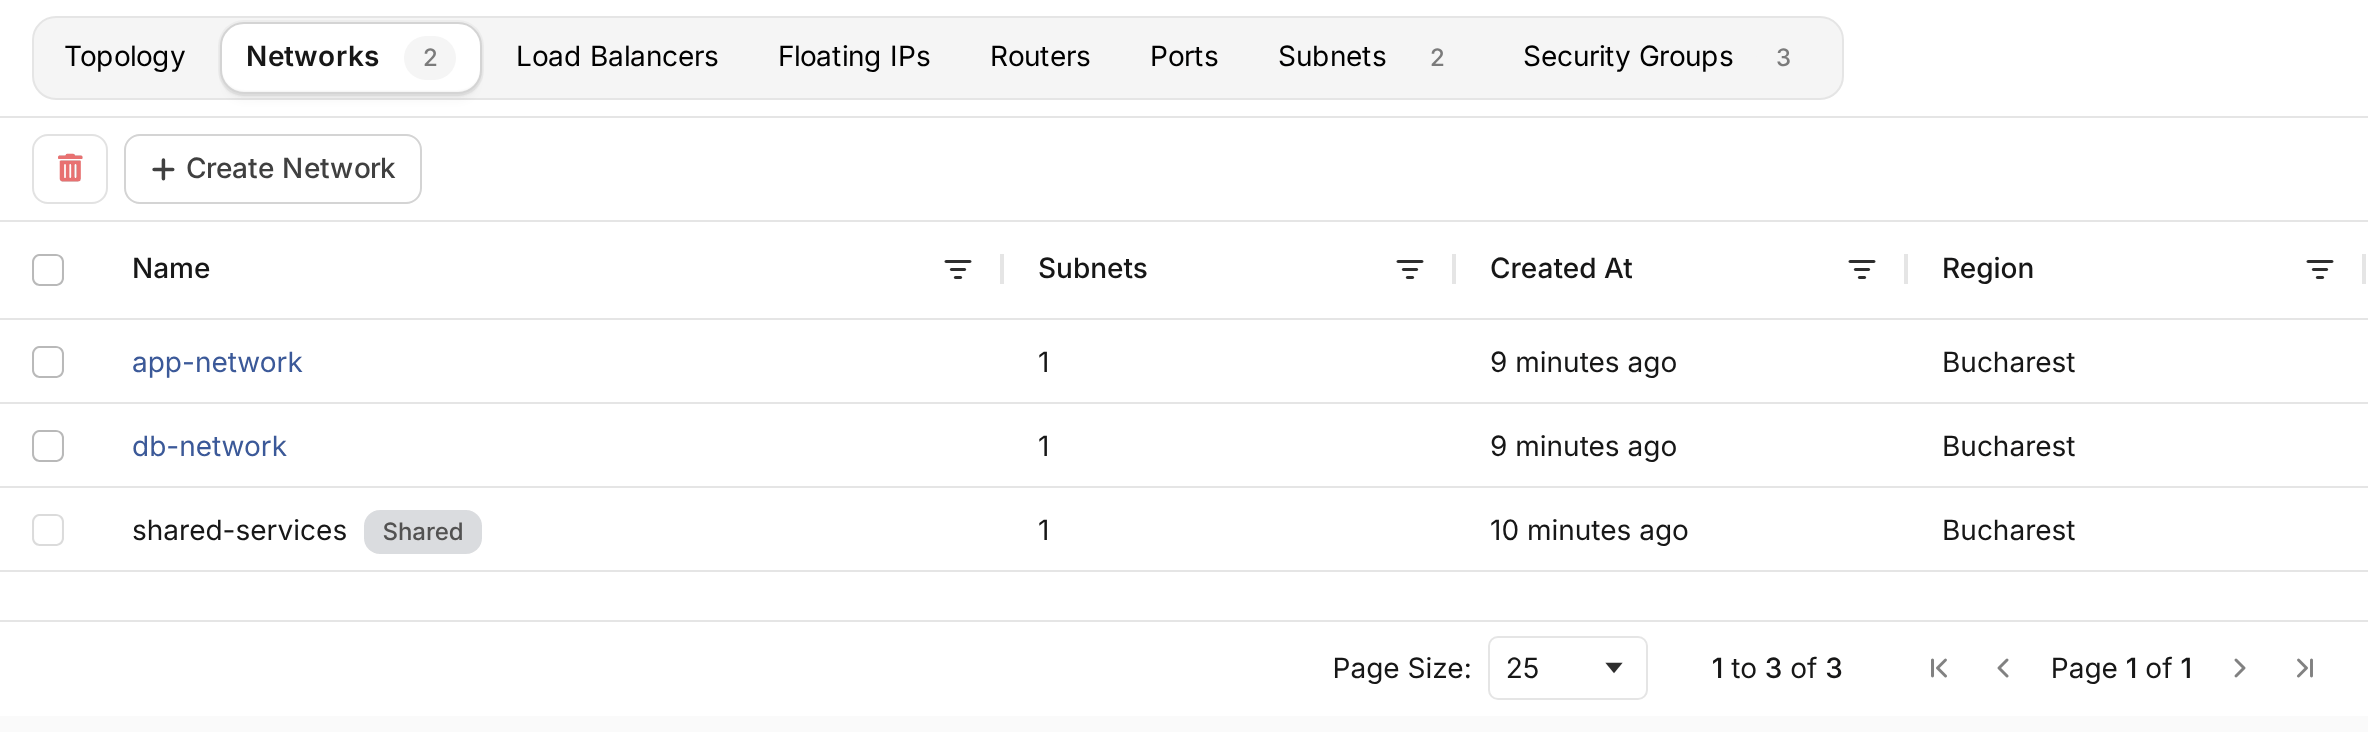
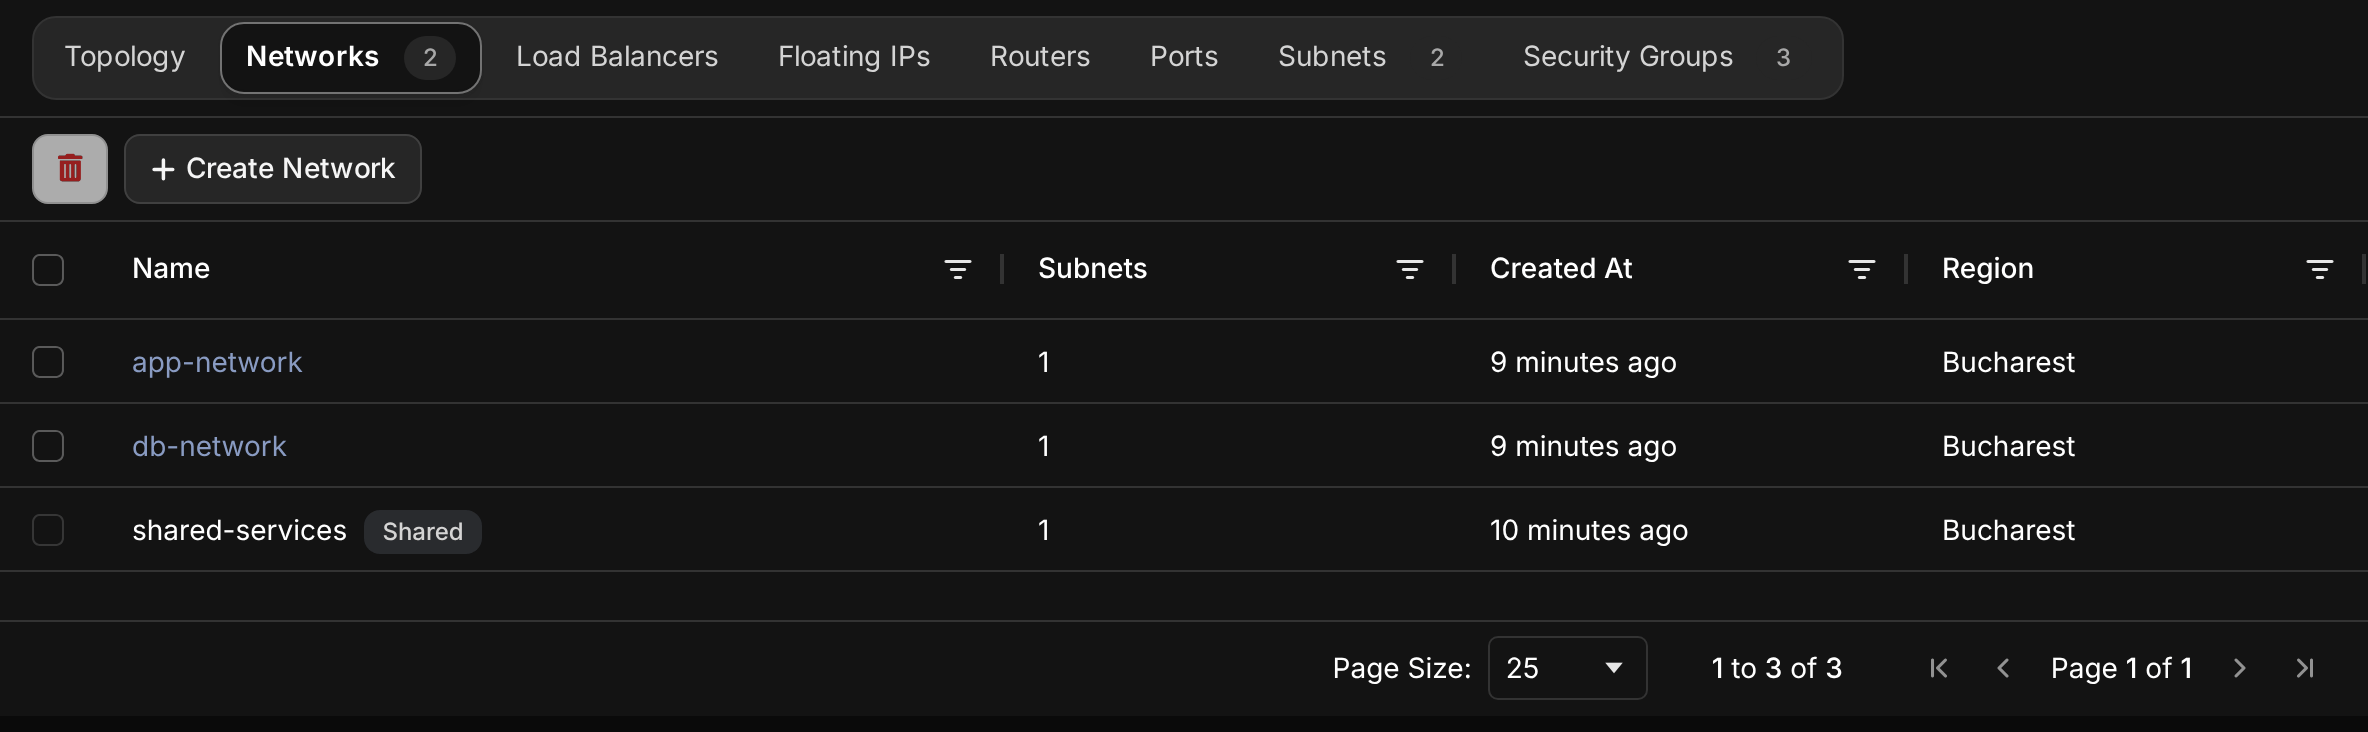
Open Networking in the project's sidebar. The Networks and Subnets tabs list the project's networks and their address ranges.
Create a network
-
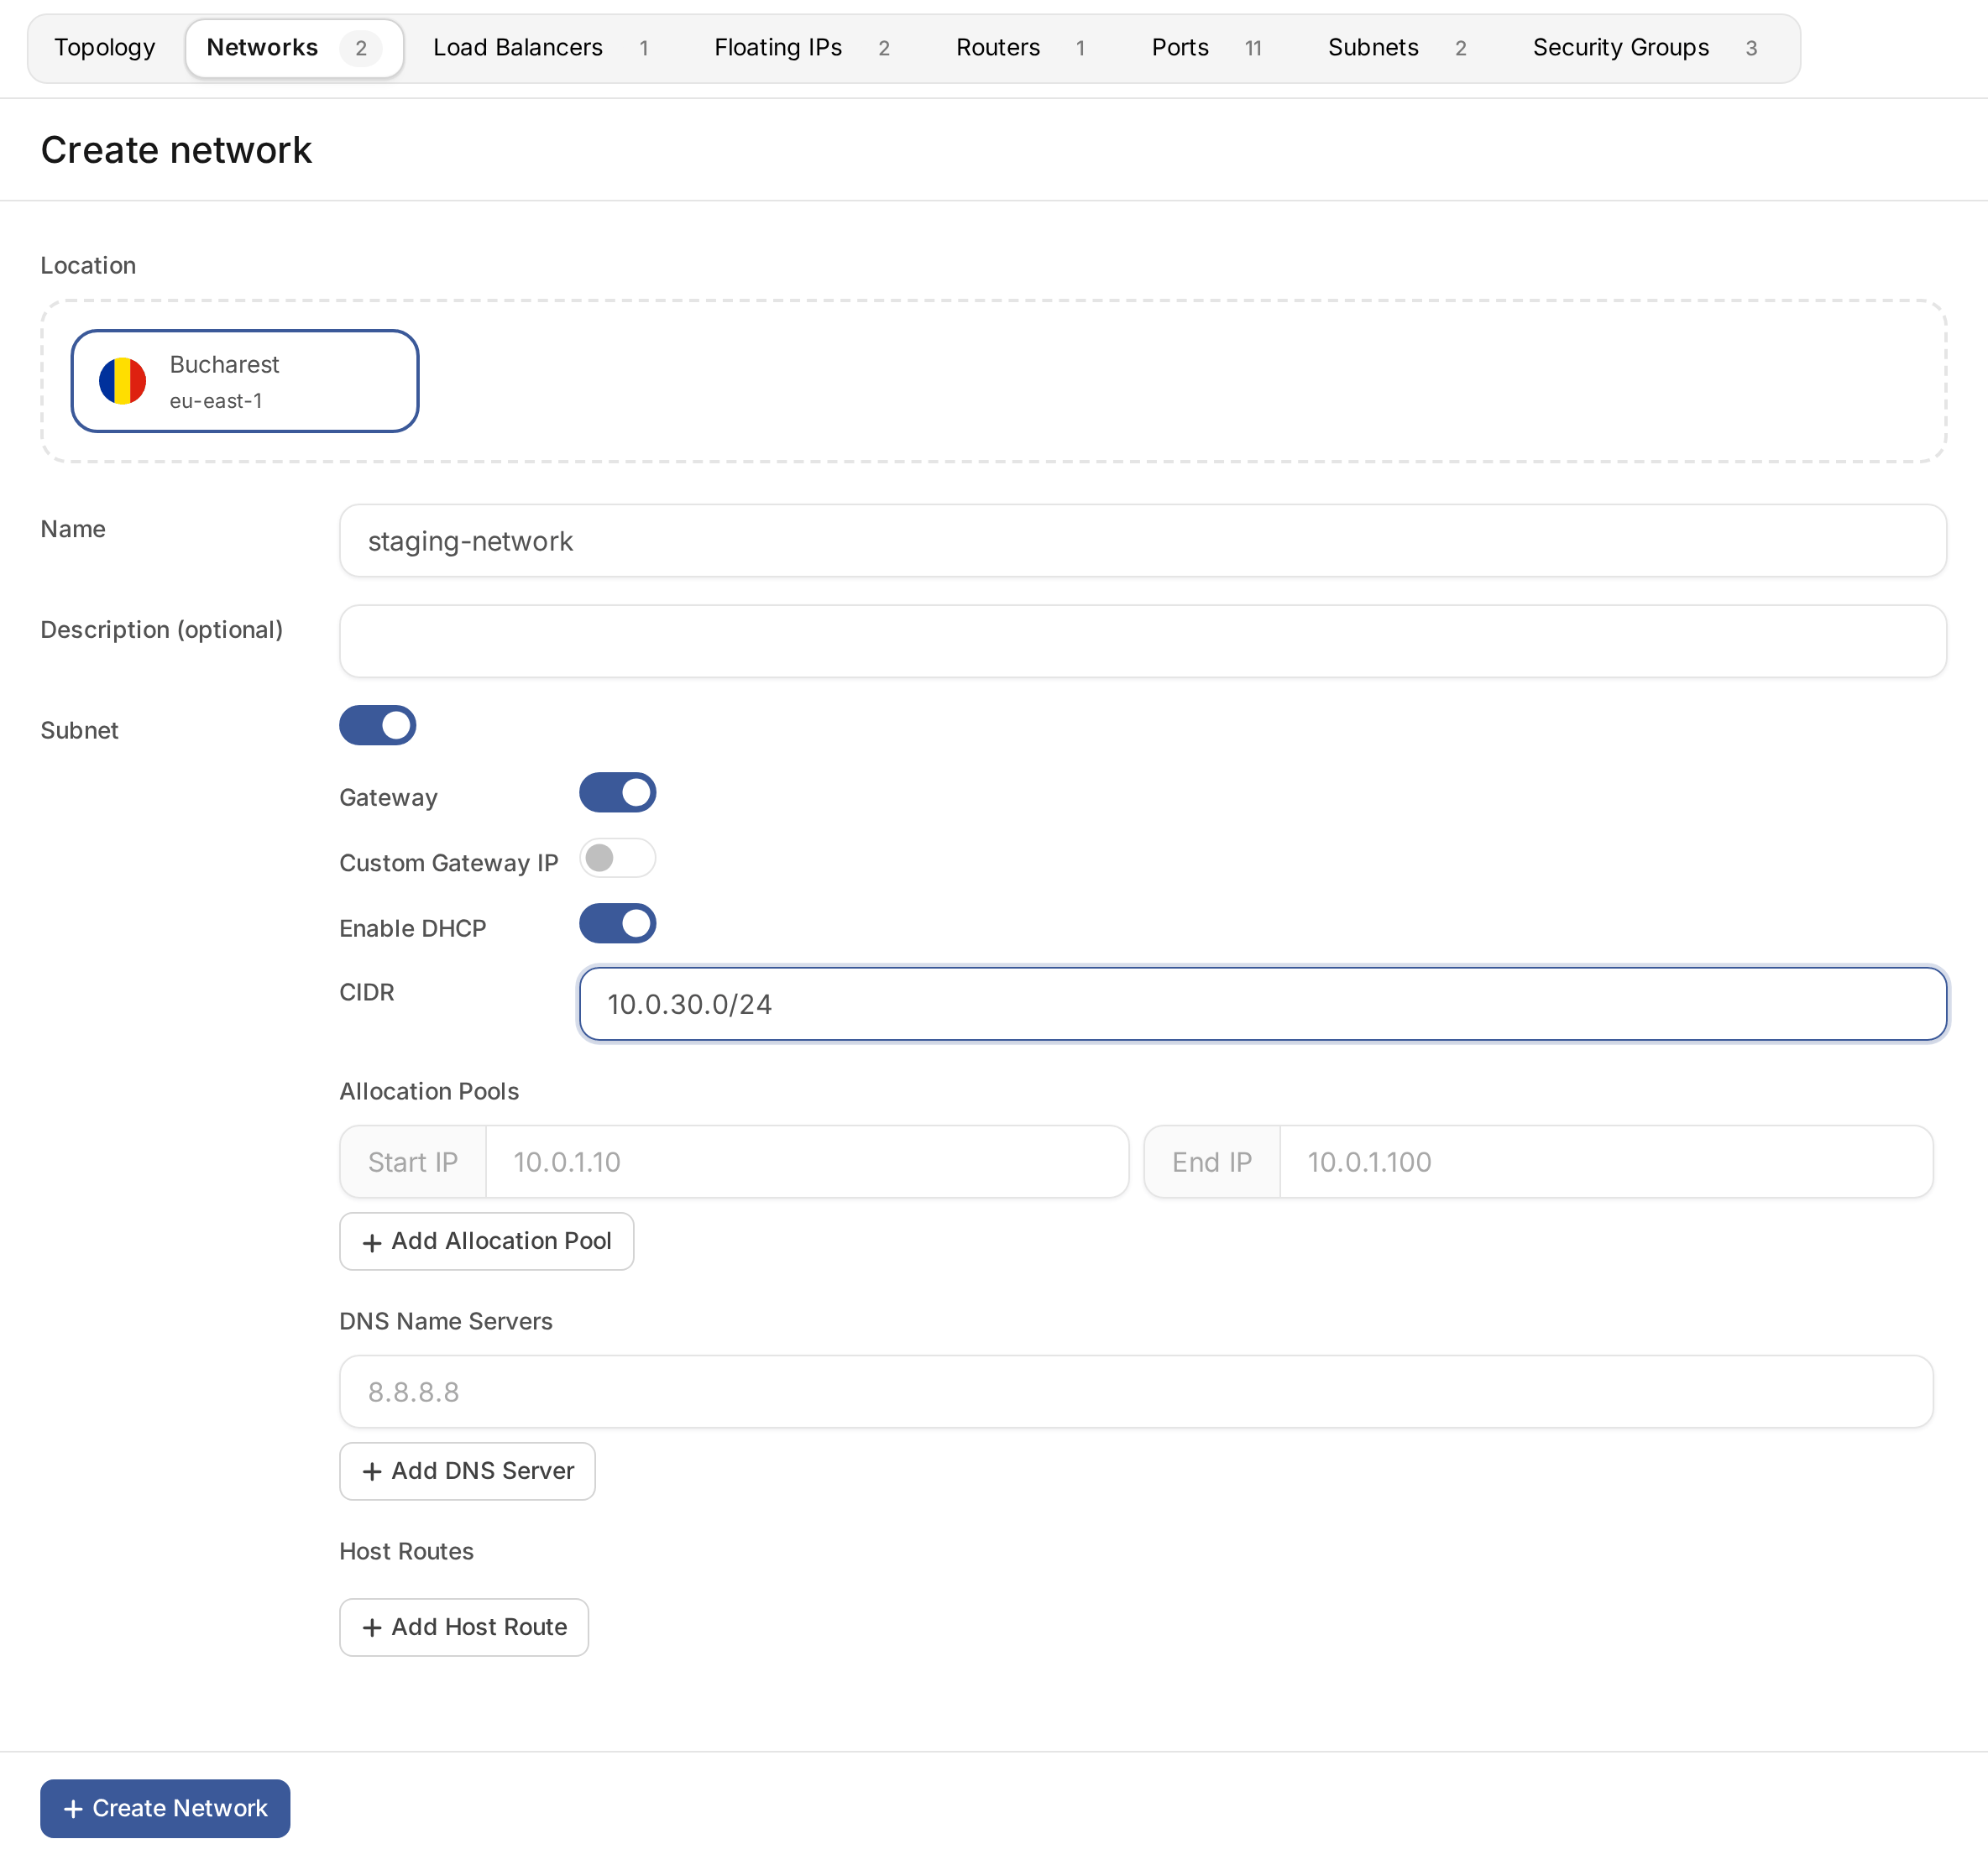
In Networks, choose Create Network.
-
Choose the Location. Servers can only join networks in their own location.
-
Enter a Name and an optional Description.
-
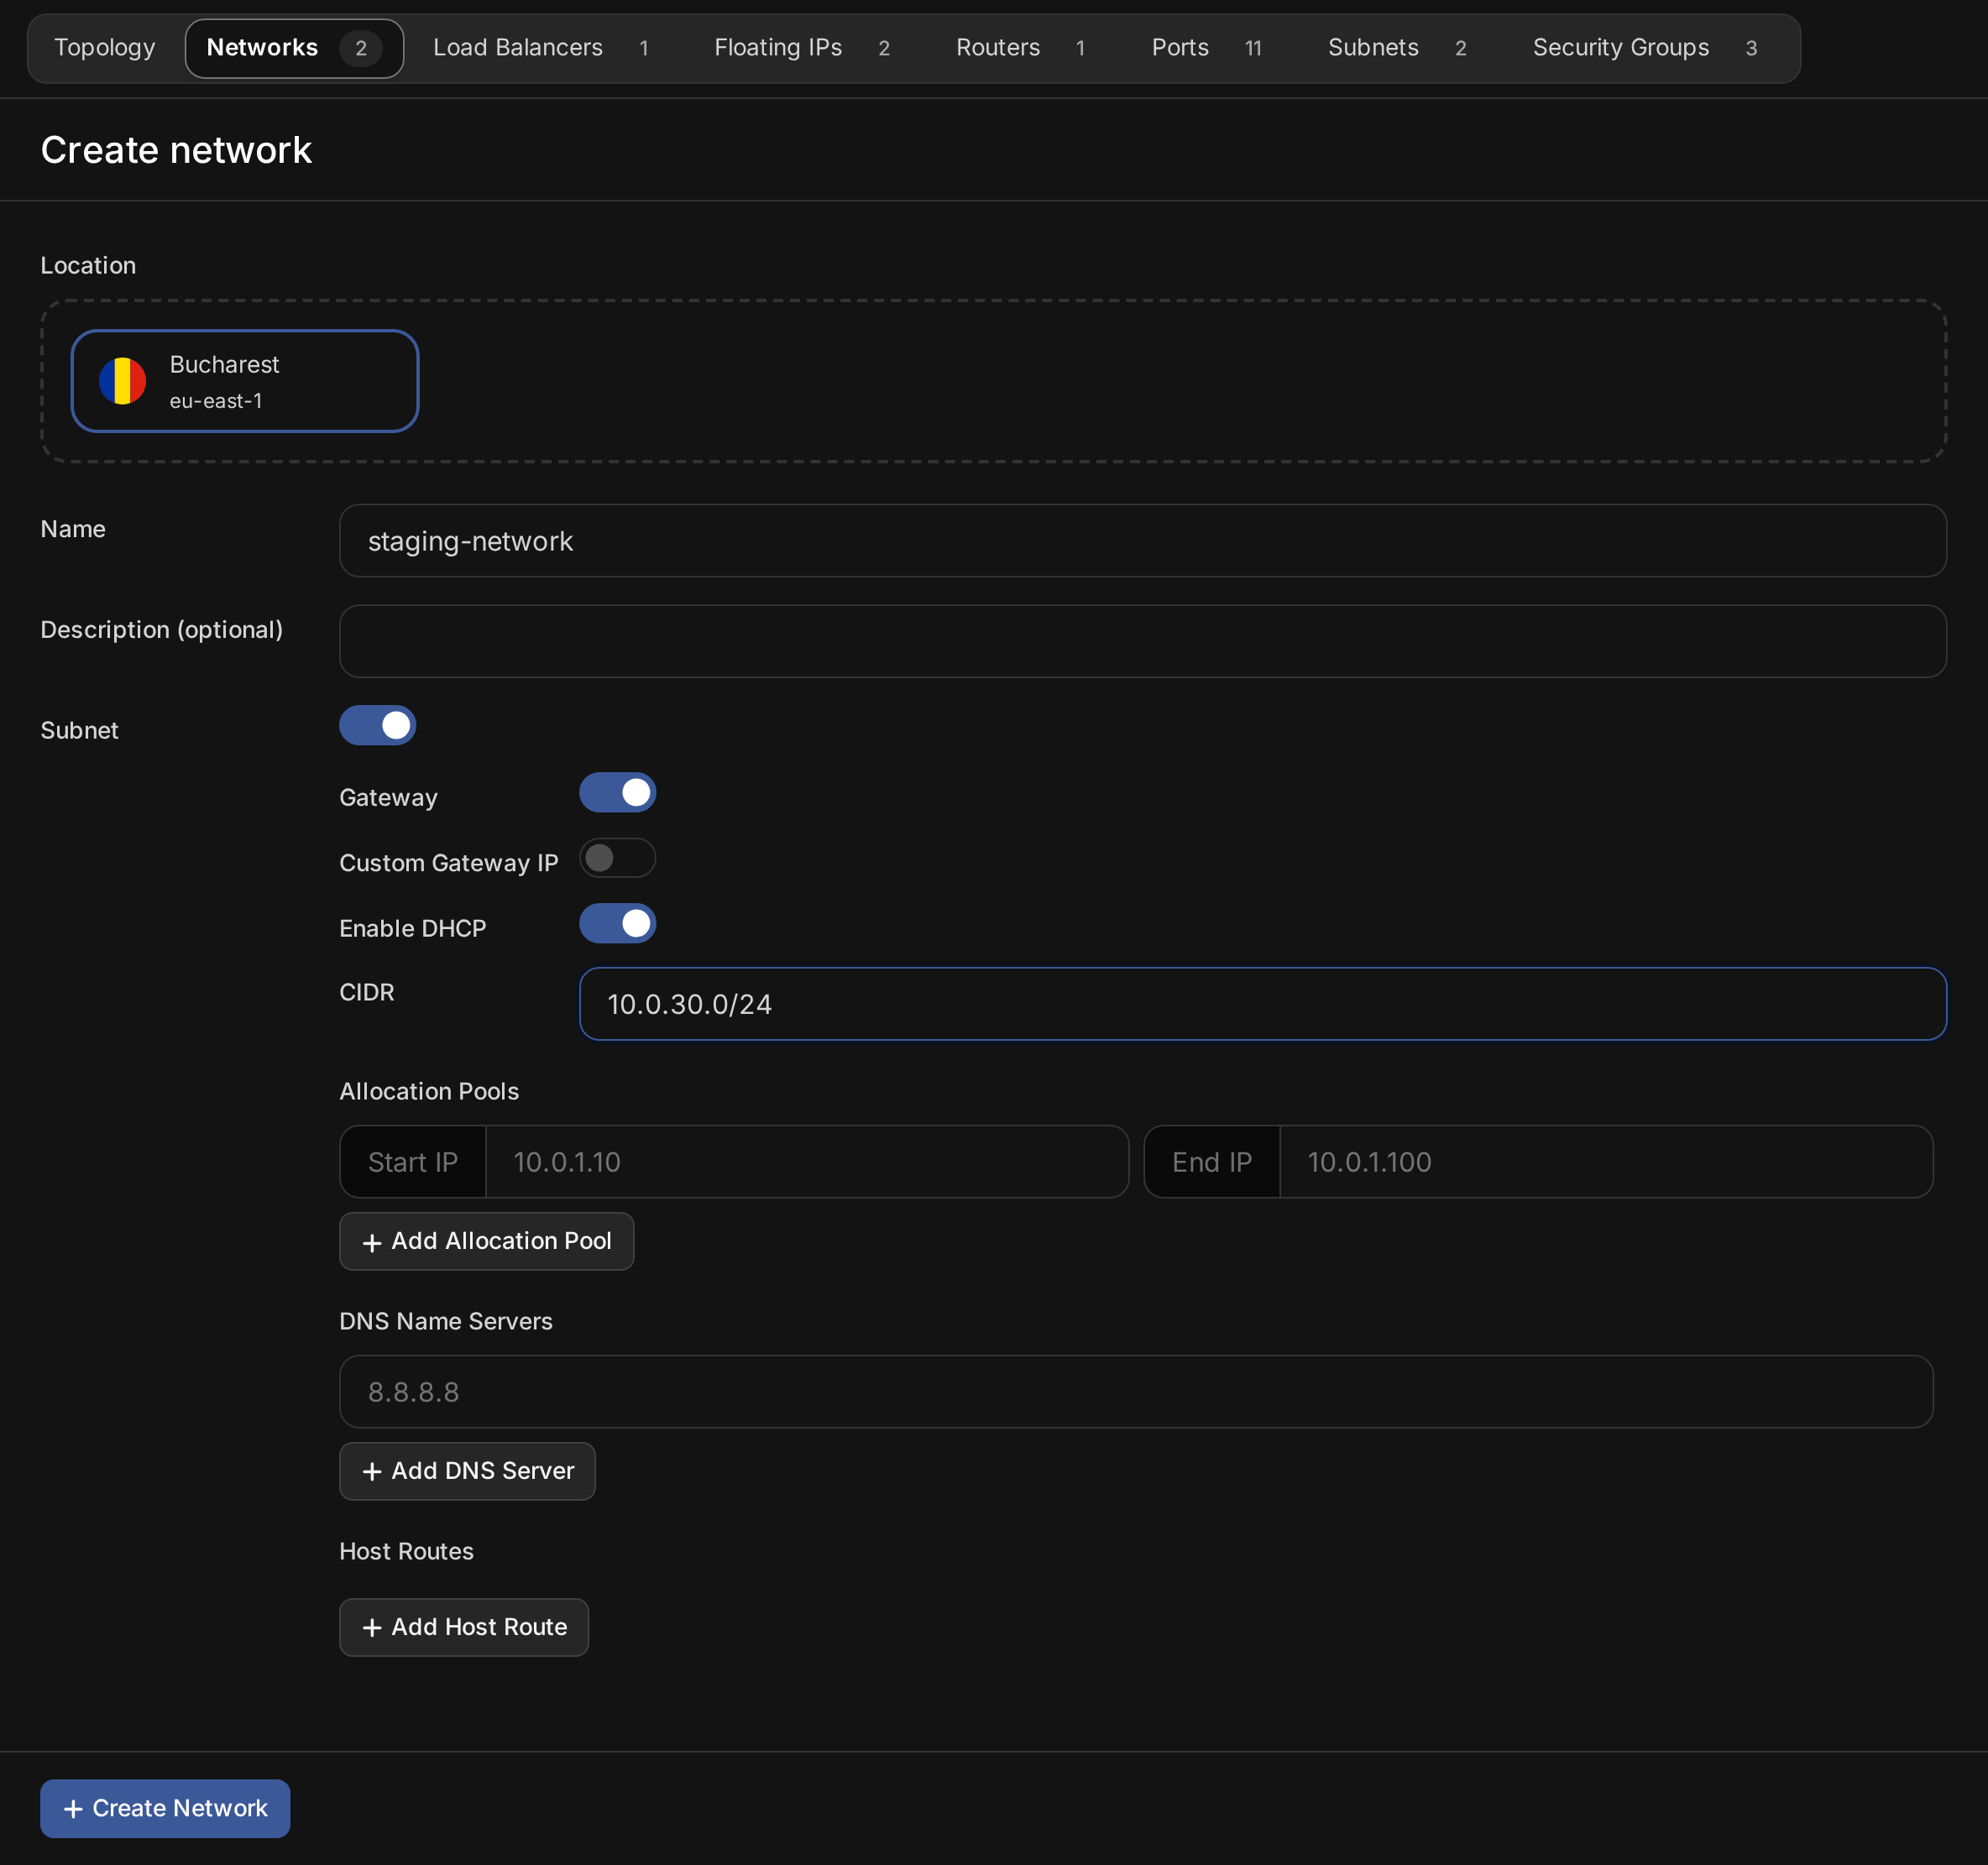
Leave Subnet on to create the network's first subnet with it, and set:
- CIDR, the address range, such as
10.0.30.0/24. Use a private range that does not overlap your other networks if they will be connected through a router or VPN. - Gateway: turn it on to give servers a default gateway. A router connected to the subnet takes that address, so a subnet without a gateway cannot reach the internet through a router. Custom Gateway IP sets a specific address for it.
- Enable DHCP: turn it on so servers receive their address automatically. Without DHCP, you configure each server's address yourself.
Both are off when the form opens. Turn them on for a network whose servers reach the internet.
- Allocation Pools, the part of the range DHCP hands out. Addresses outside the pools stay free for fixed assignments.
- DNS Name Servers, the resolvers servers receive through DHCP.
- Host Routes, extra routes pushed to servers through DHCP, each a Destination and a Next Hop.
- CIDR, the address range, such as
-
Choose Create Network.
The network is ready at once. Connect servers to it when you create them, or add an interface to an existing server. See Manage servers.
Add a subnet to a network
A network can carry several subnets, for example an IPv4 and an IPv6 range. Subnets lists every subnet in the project with its range, gateway and whether DHCP is on.
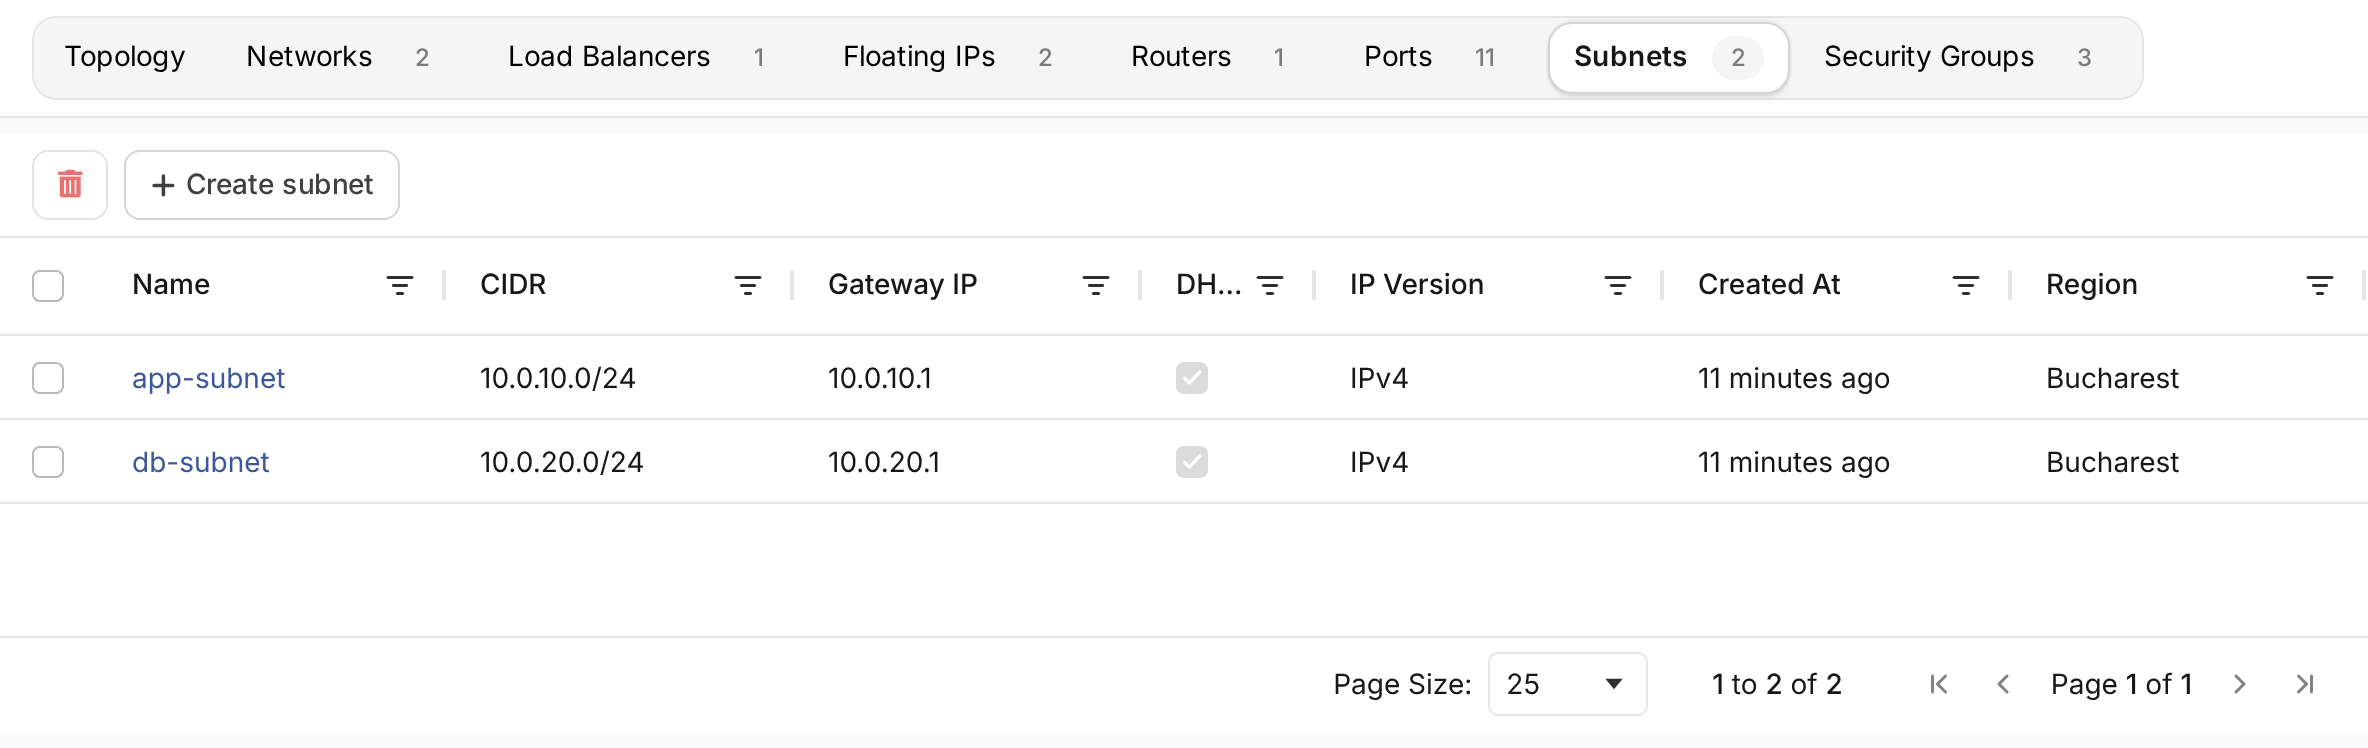
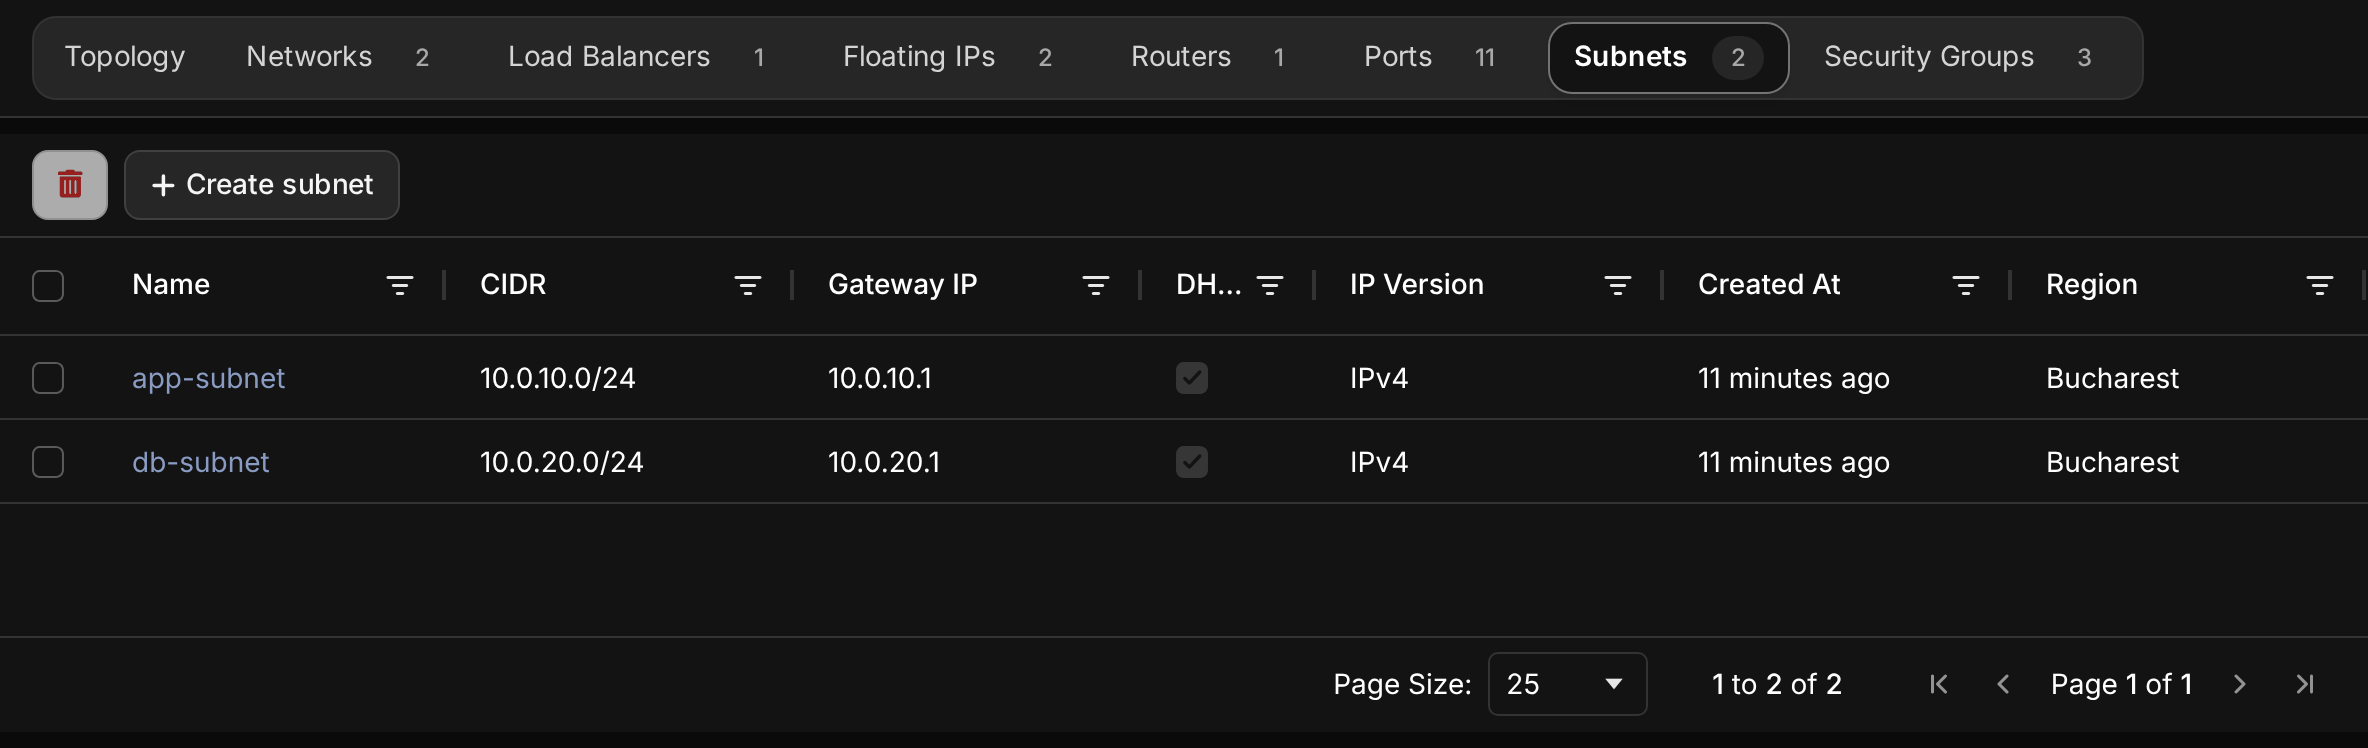
- In Subnets, choose Create subnet.
- Choose the Network, enter a Name, and enter the subnet's address range, such as
10.0.40.0/24. - Choose the IP Version and set the gateway, DHCP, allocation pools, DNS servers and host routes as for a new network.
Open a subnet and choose Update Subnet to change its name, gateway, DHCP, DNS servers, allocation pools or host routes later. Its range cannot change. To use another range, create a new subnet.
See what is connected to a network
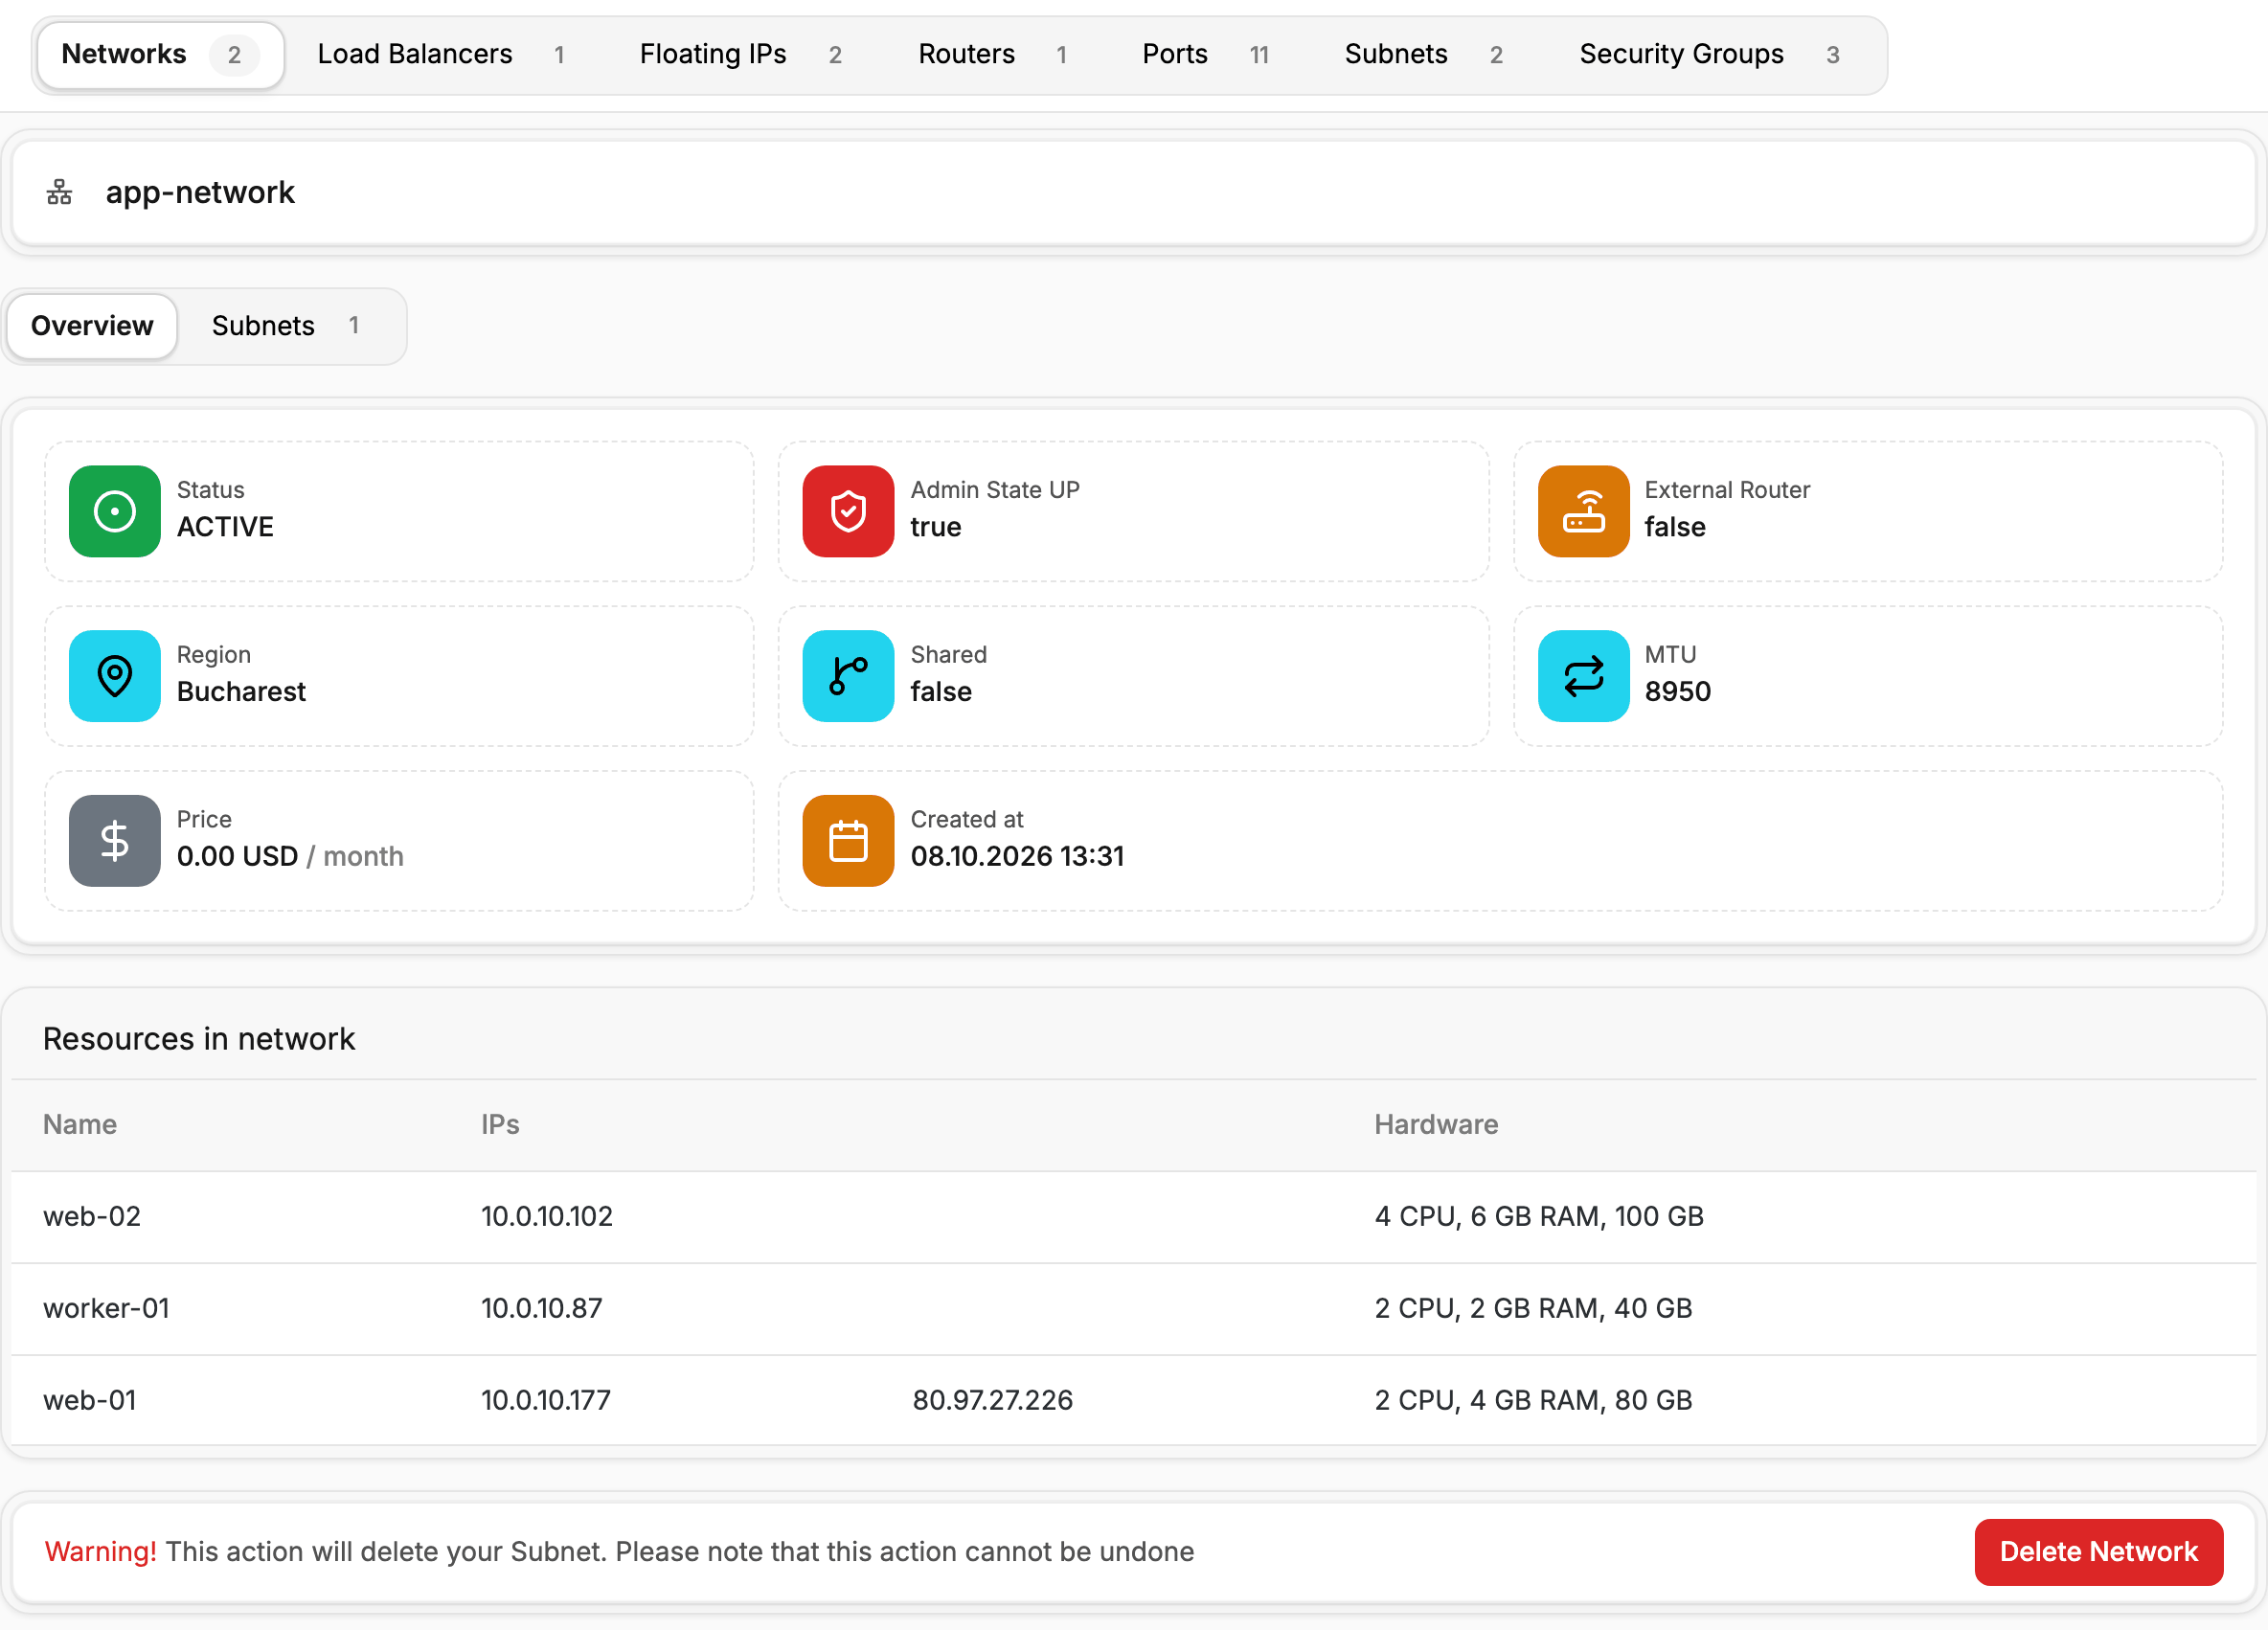
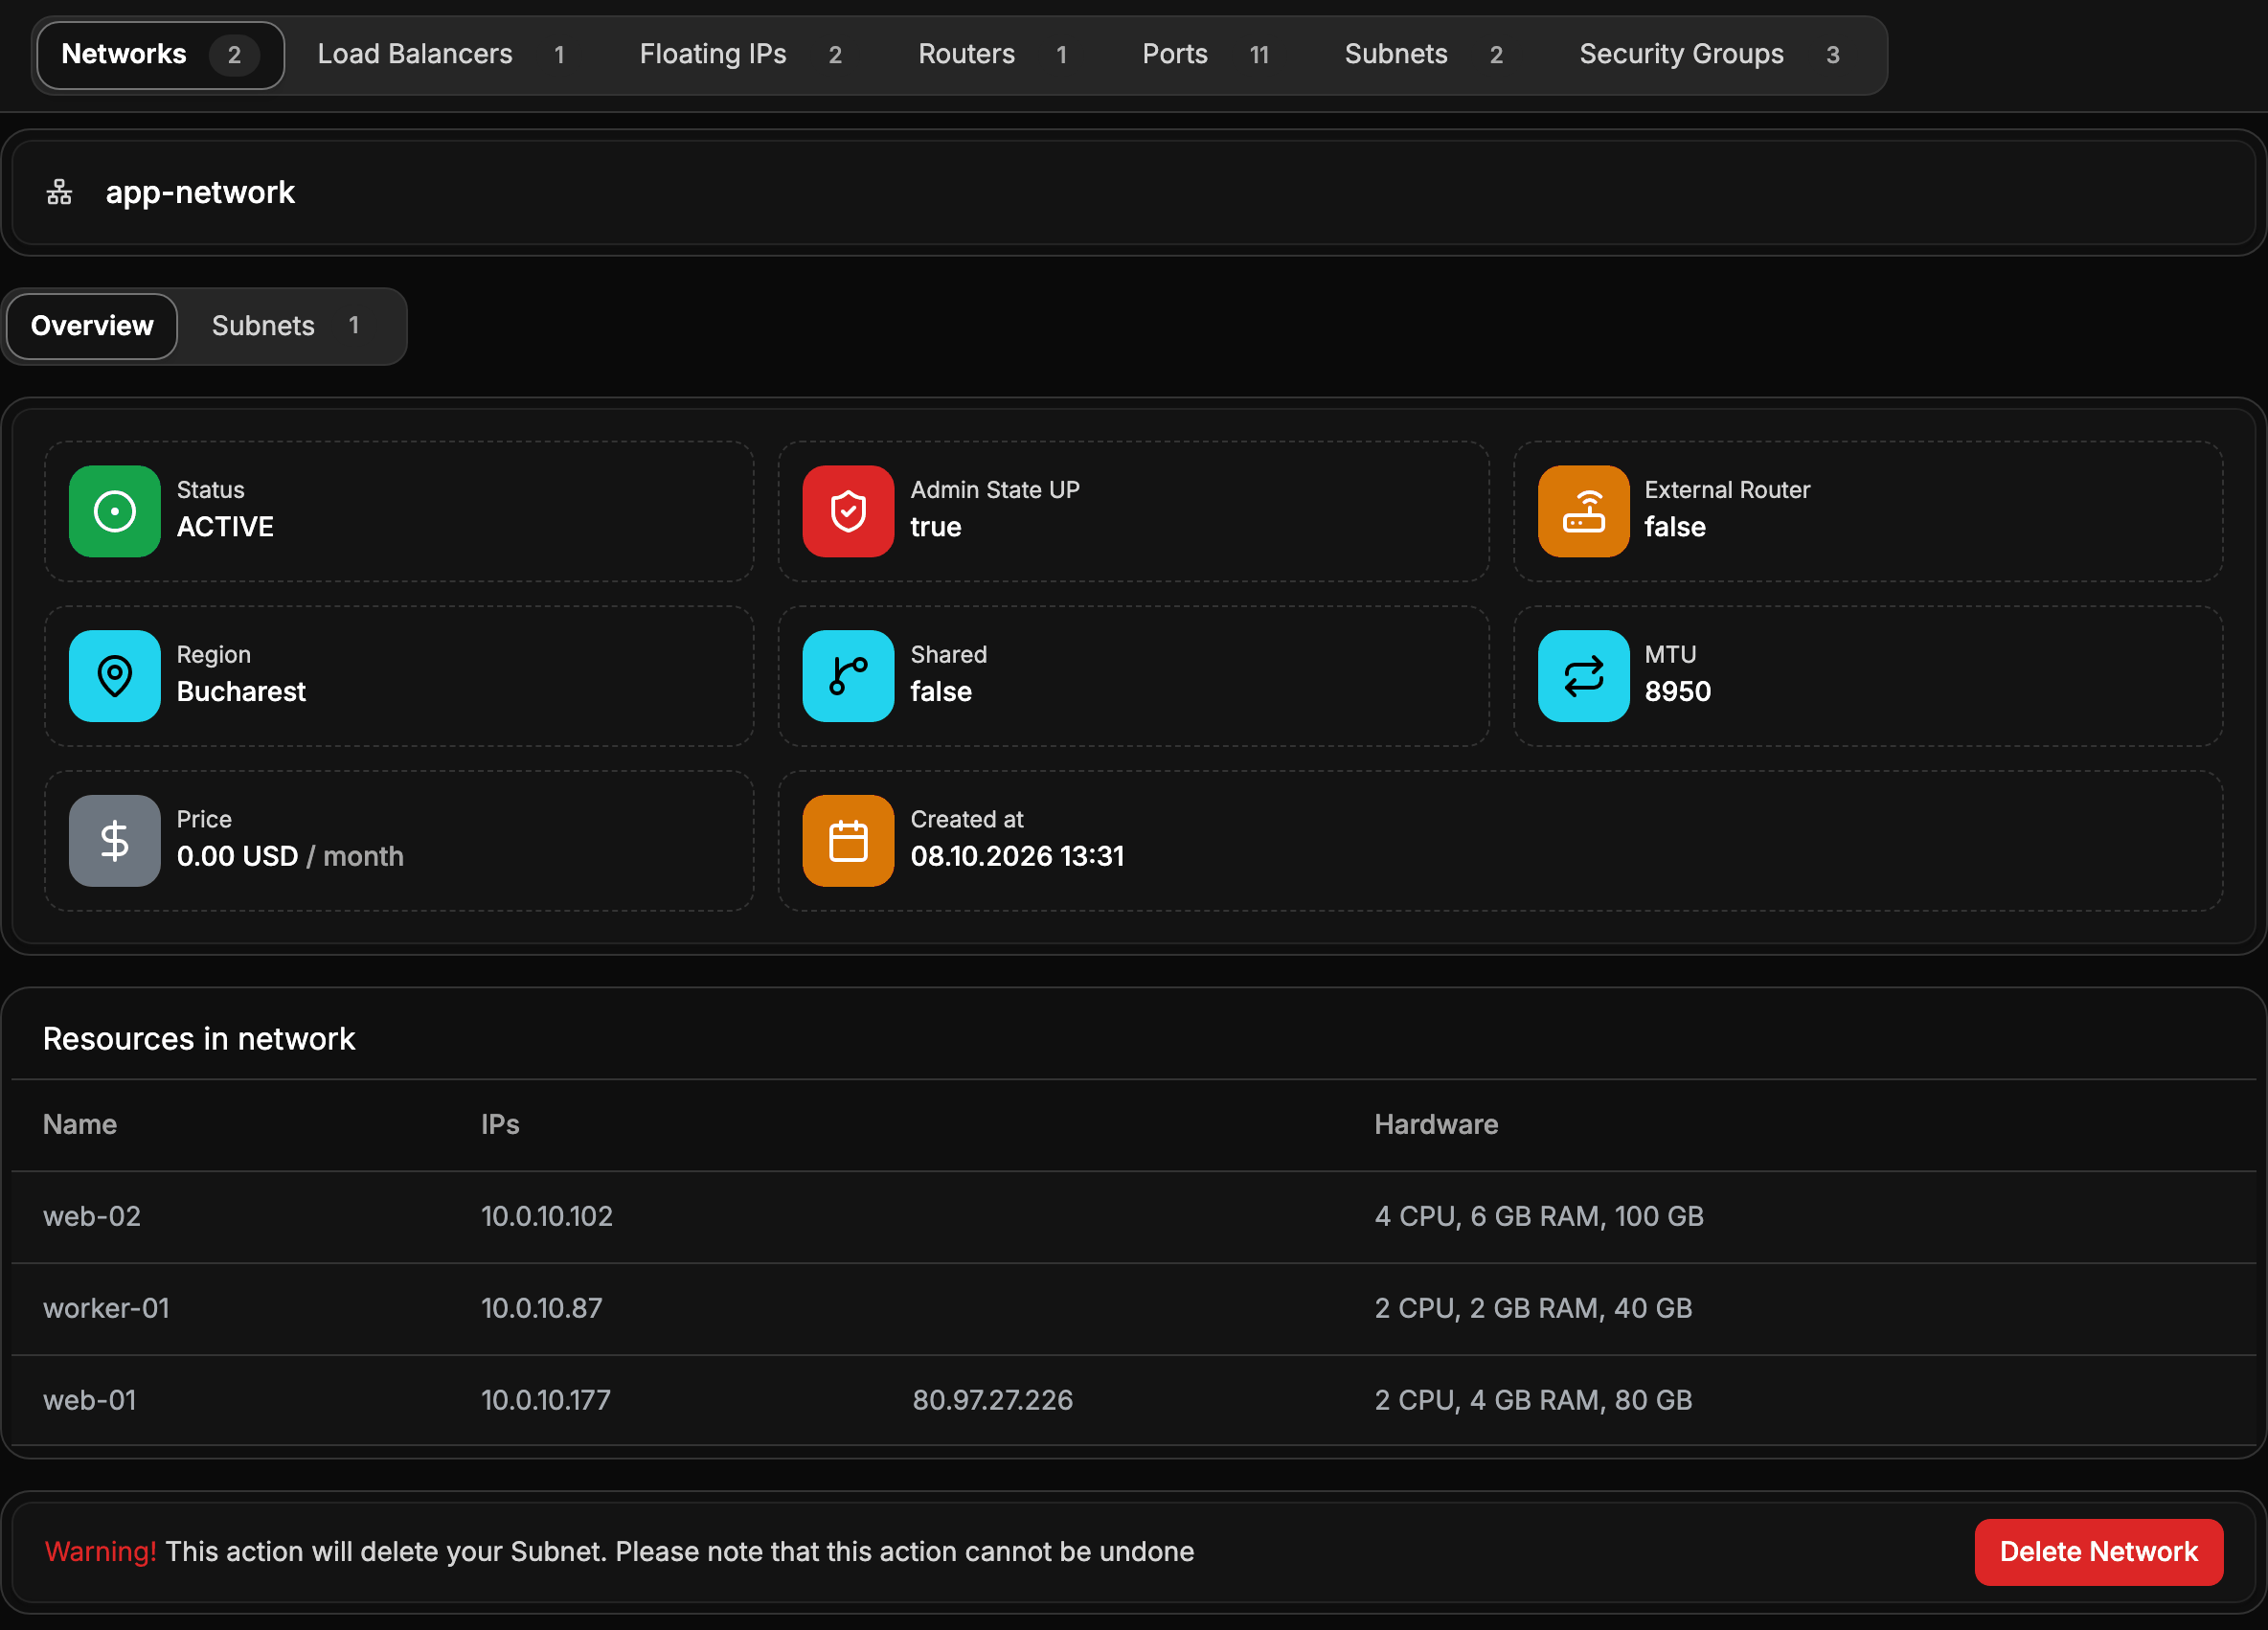
Open a network from Networks. Overview shows its status, MTU and whether it is shared, and Resources in network lists the servers on it with their addresses. Subnets lists its address ranges.
Networks shared with the project
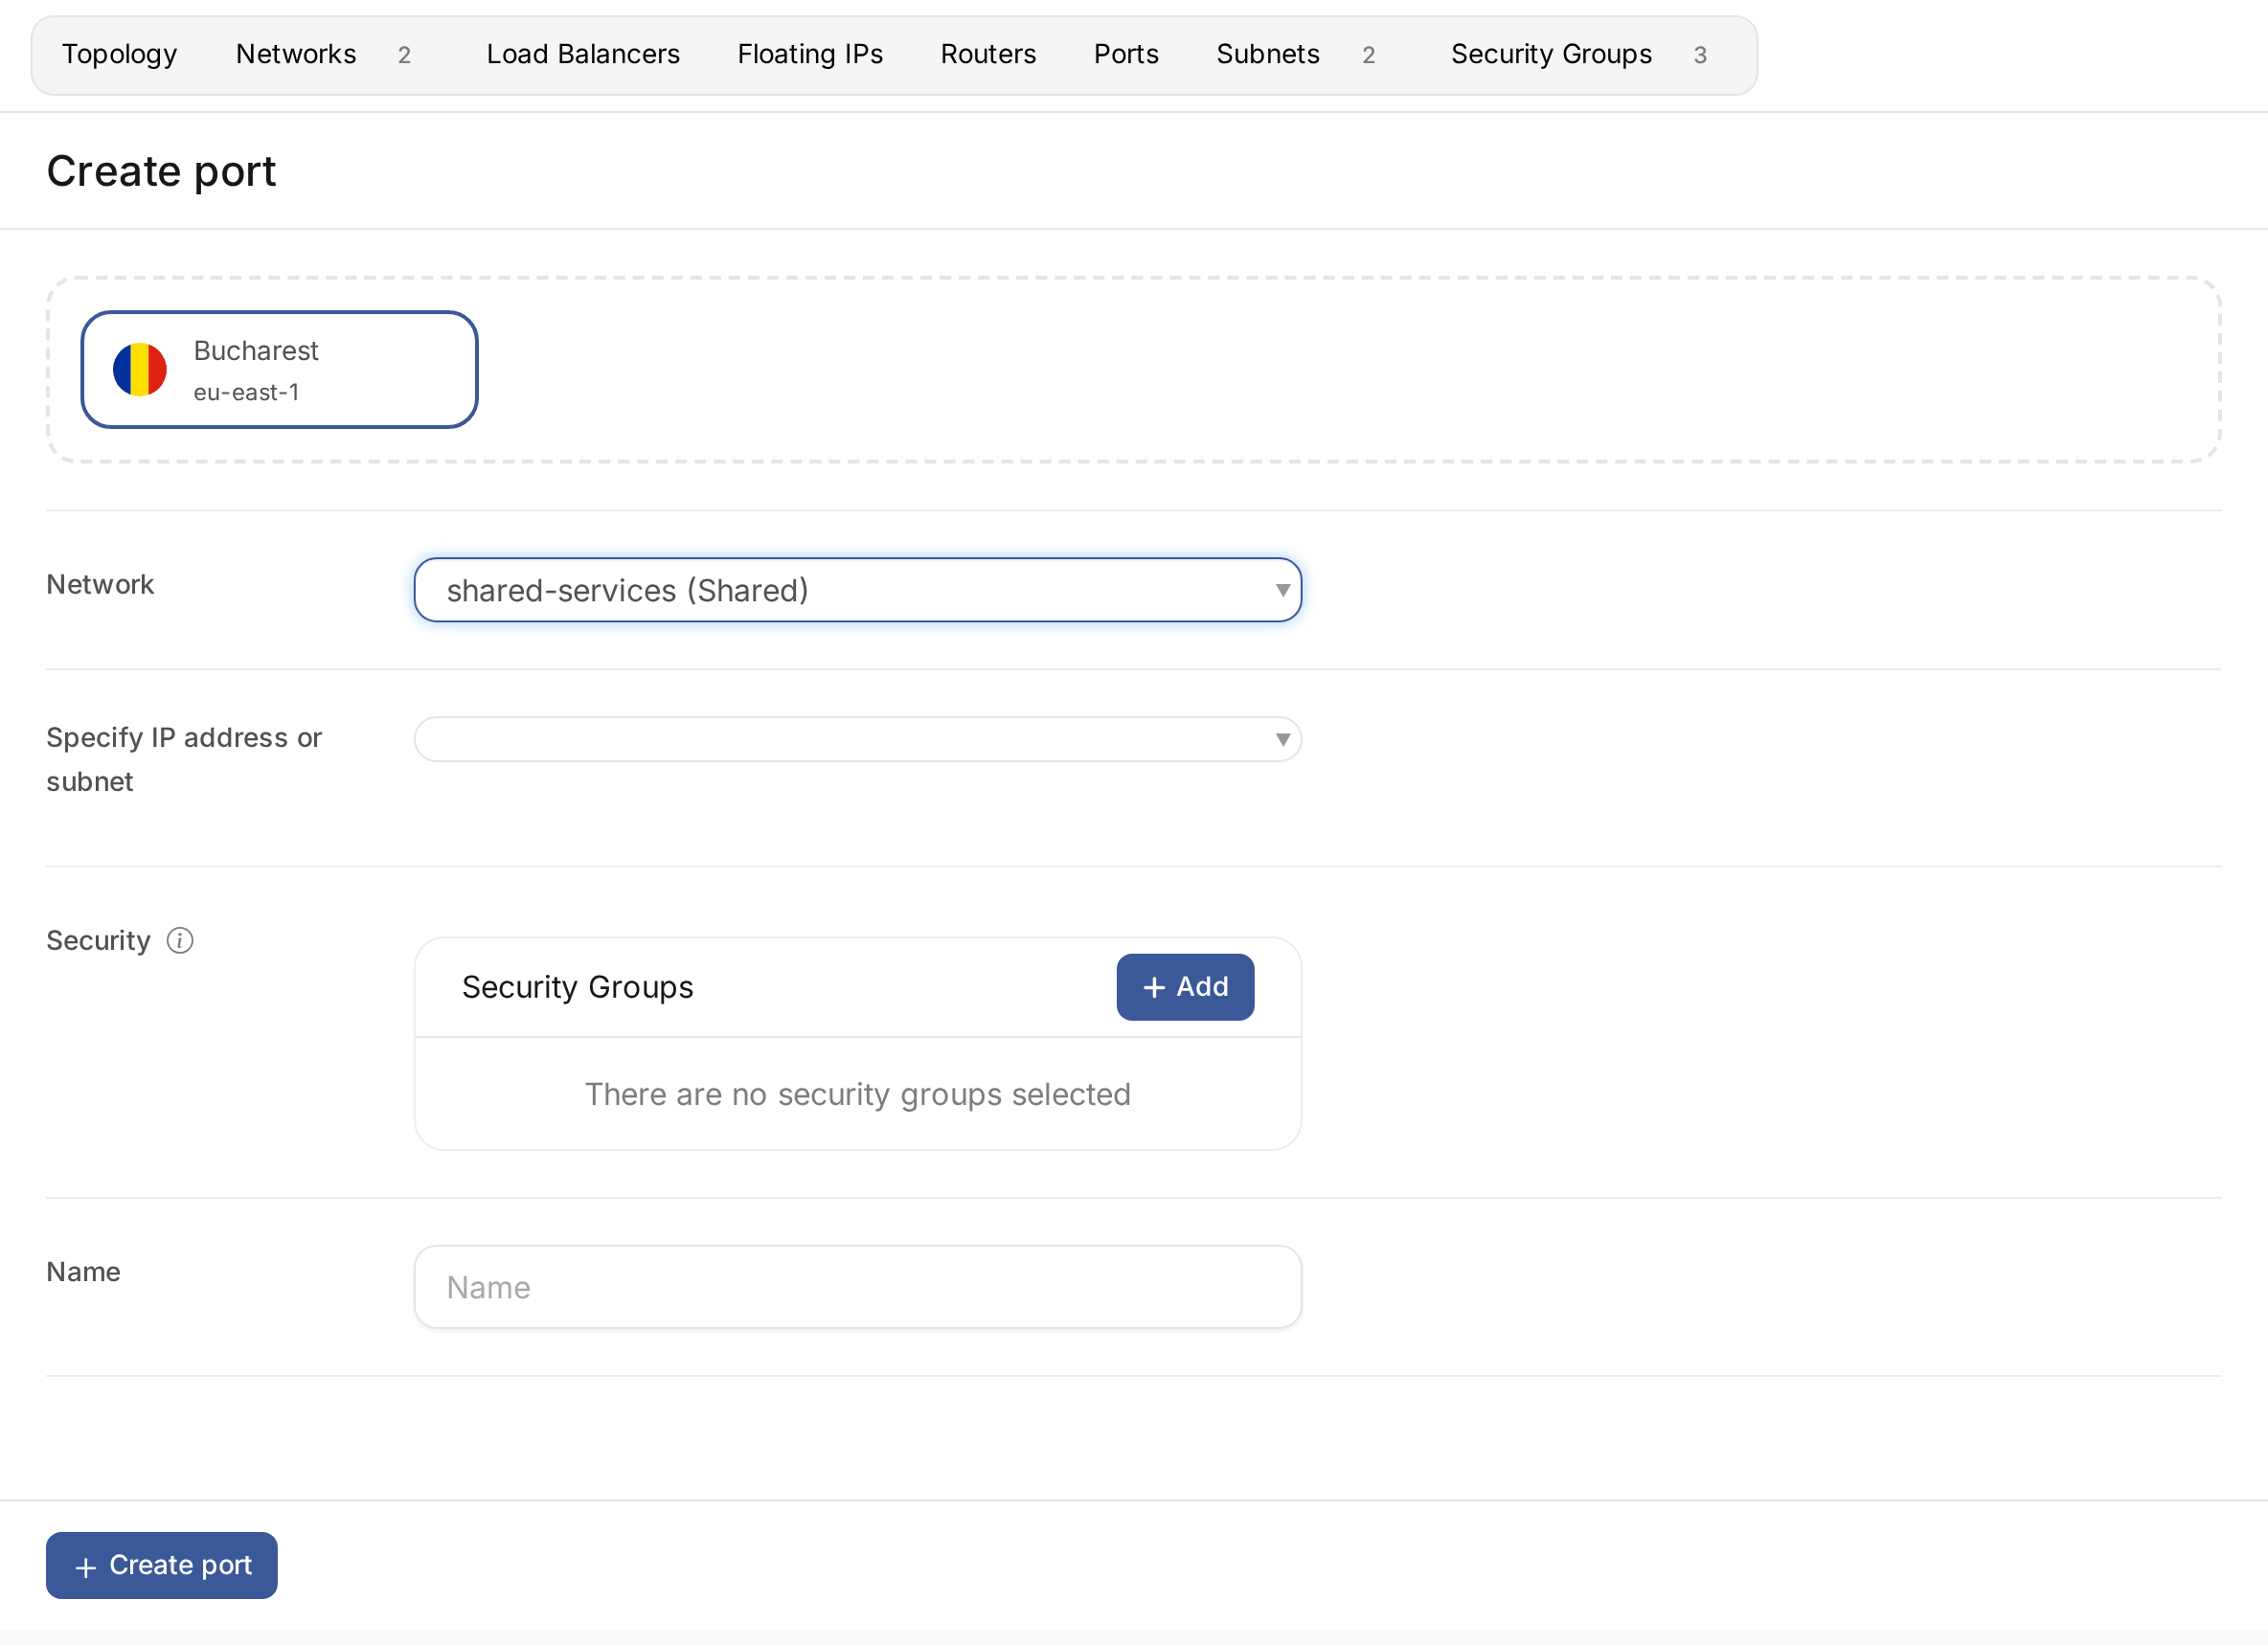
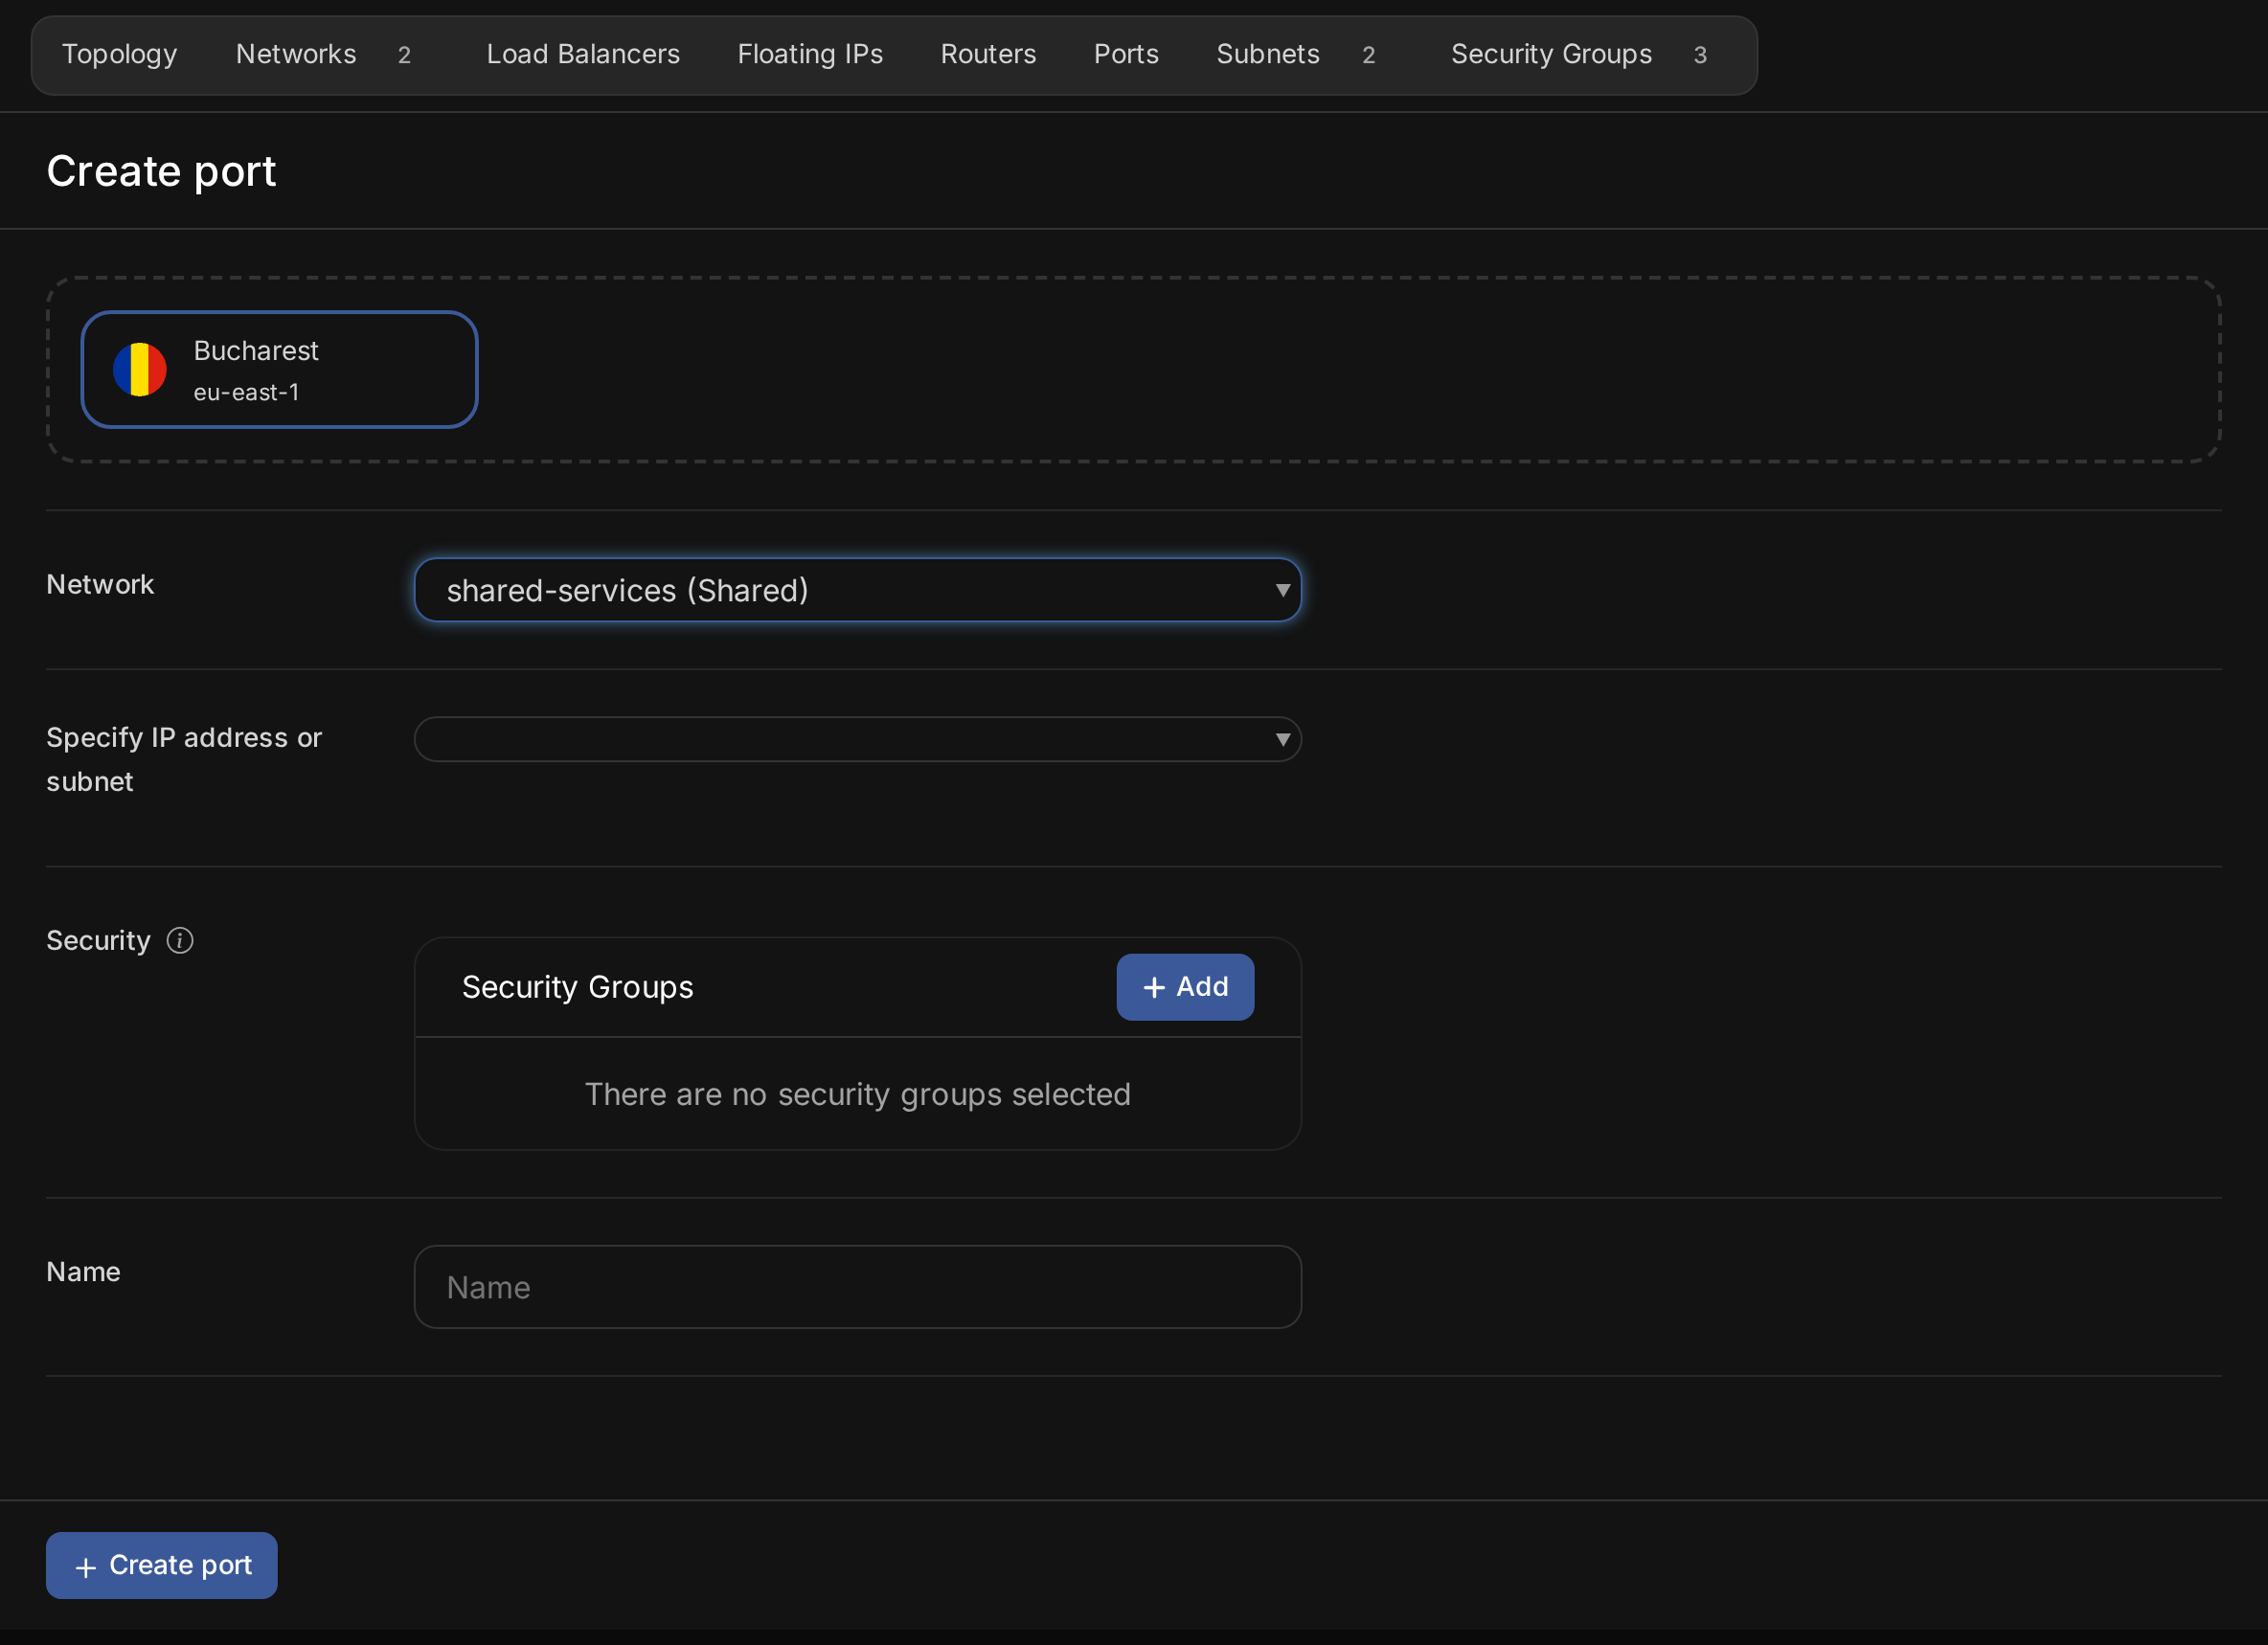
Another project can share one of its networks with yours through the cloud, for example to give several projects one network to a common service. When your provider supports it, such a network appears under Networks in its location, marked Shared. You can create ports on it, under Ports with Create port, and connect new servers to it, in both simple and advanced networking.
A shared network stays under the control of the project that owns it, so you cannot delete it or open its details. On a port you create on it, the cloud chooses the IP address and the MAC address, and port security follows the network's settings. You still choose the port's security groups.
Delete a network
Disconnect everything from the network first: detach its servers' interfaces and remove the router interfaces on its subnets. Then open the network and choose Delete Network. Deleting a network deletes its subnets.