Volumes
A volume is block storage that you attach to a server as an extra disk. It exists independently of servers: detach it from one server and attach it to another, and its data stays on it. Use volumes for databases, file storage and anything that must survive the server it runs on.
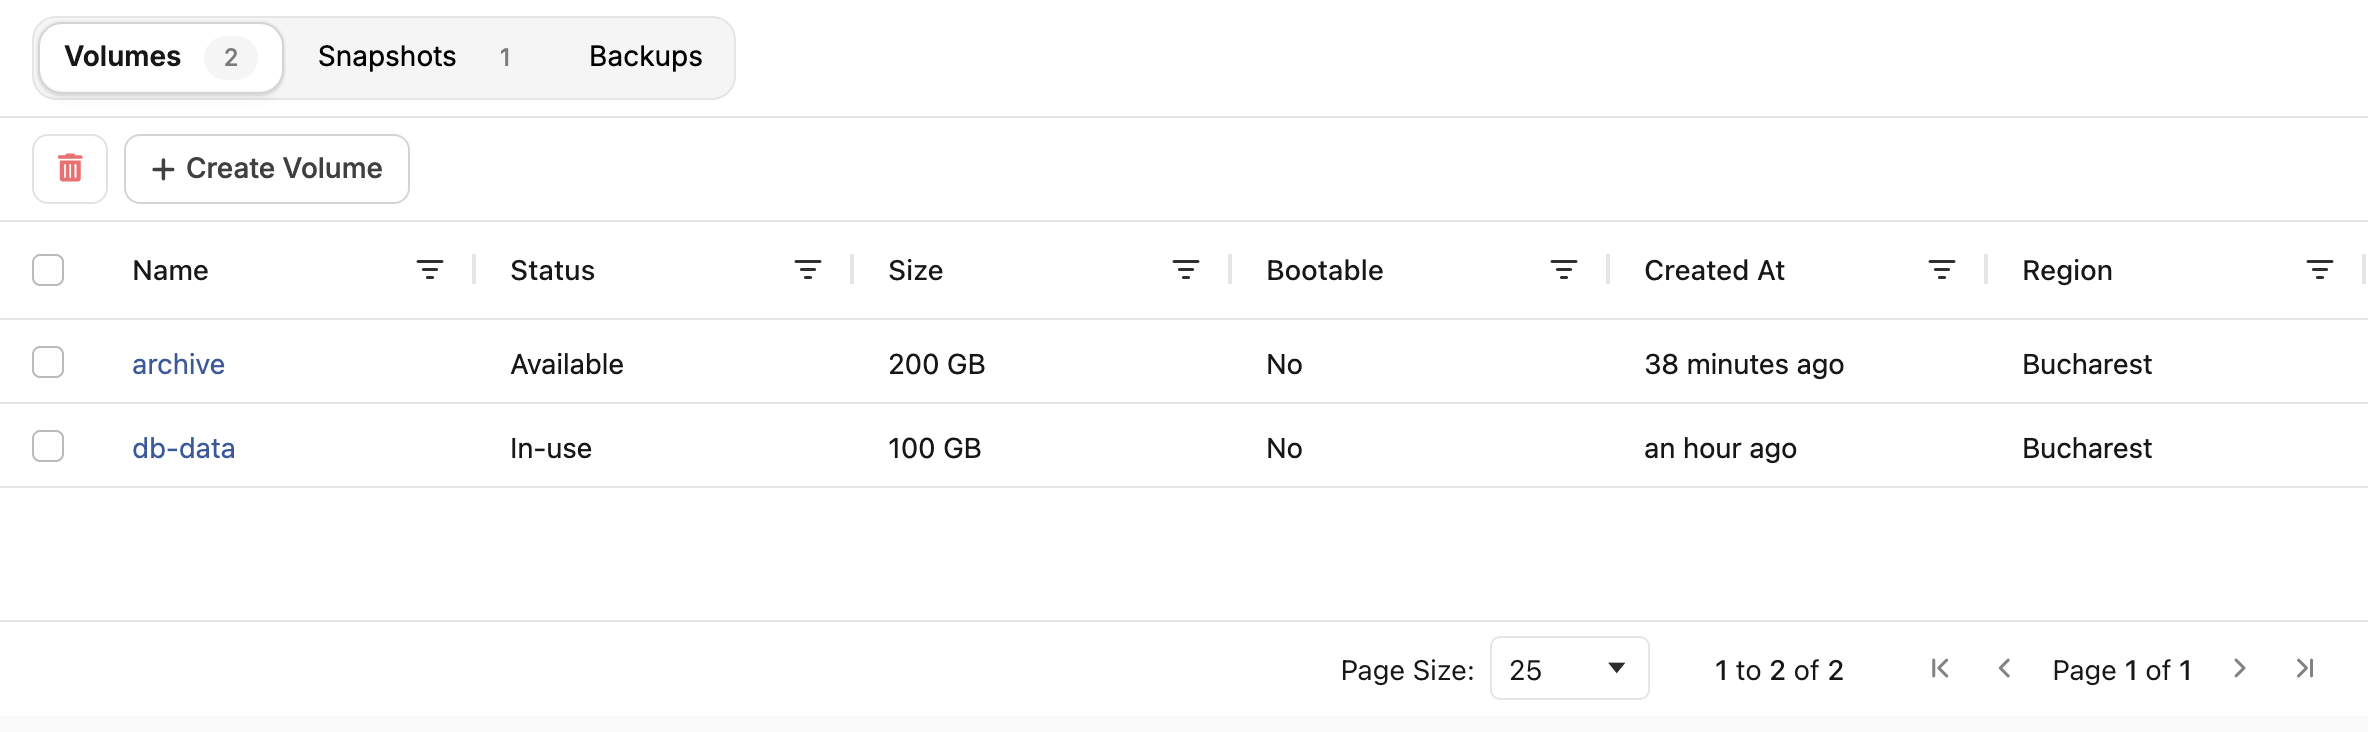
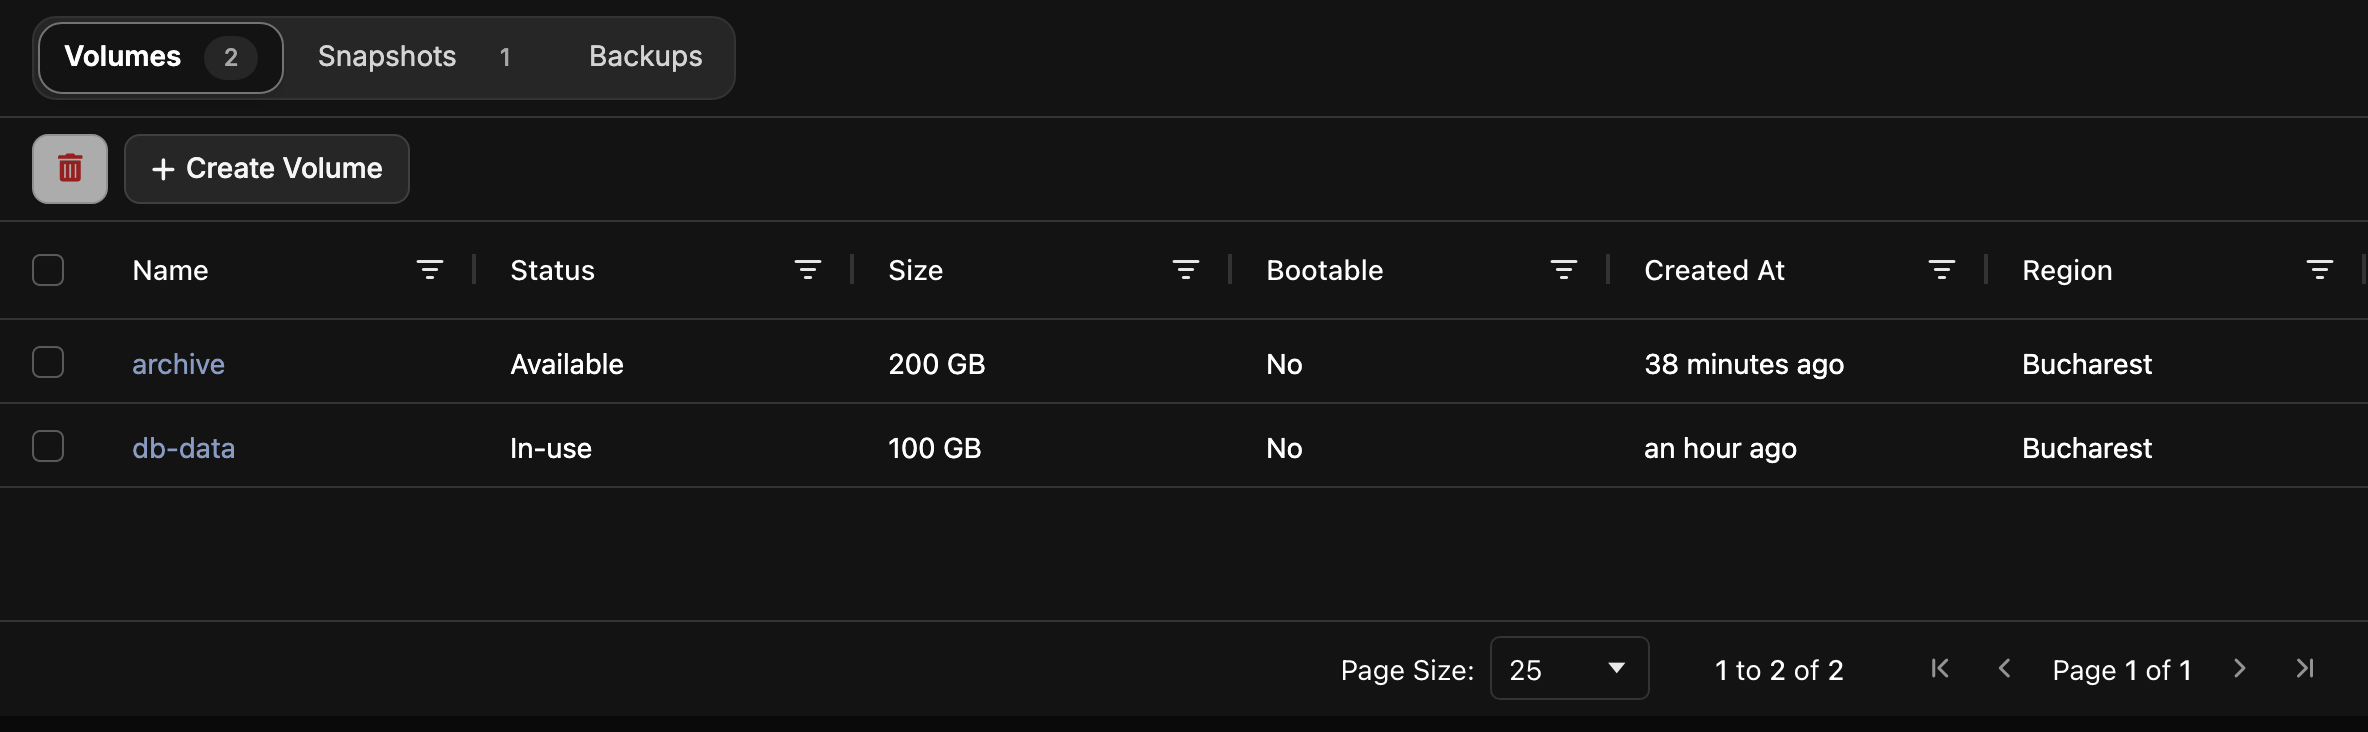
Open Volumes in the project's sidebar. The Volumes, Snapshots and Backups tabs list the project's volumes and the copies made from them. The Snapshots and Backups tabs appear when your provider offers them.
Create a volume
- Choose Create Volume.
- Choose the Location. A volume can only be attached to servers in the same location.
- Choose the Volume Source:
- No source, empty volume creates a blank disk, which you format in the server.
- Use image as a source writes an image to the volume, so a server can boot from it.
- Use snapshot as a source restores a snapshot of another volume.
- Choose the Storage type. Your provider offers types with different speeds and prices.
- Choose a size, or Other to enter any size in GB.
- Enter a Name and choose Create Volume.
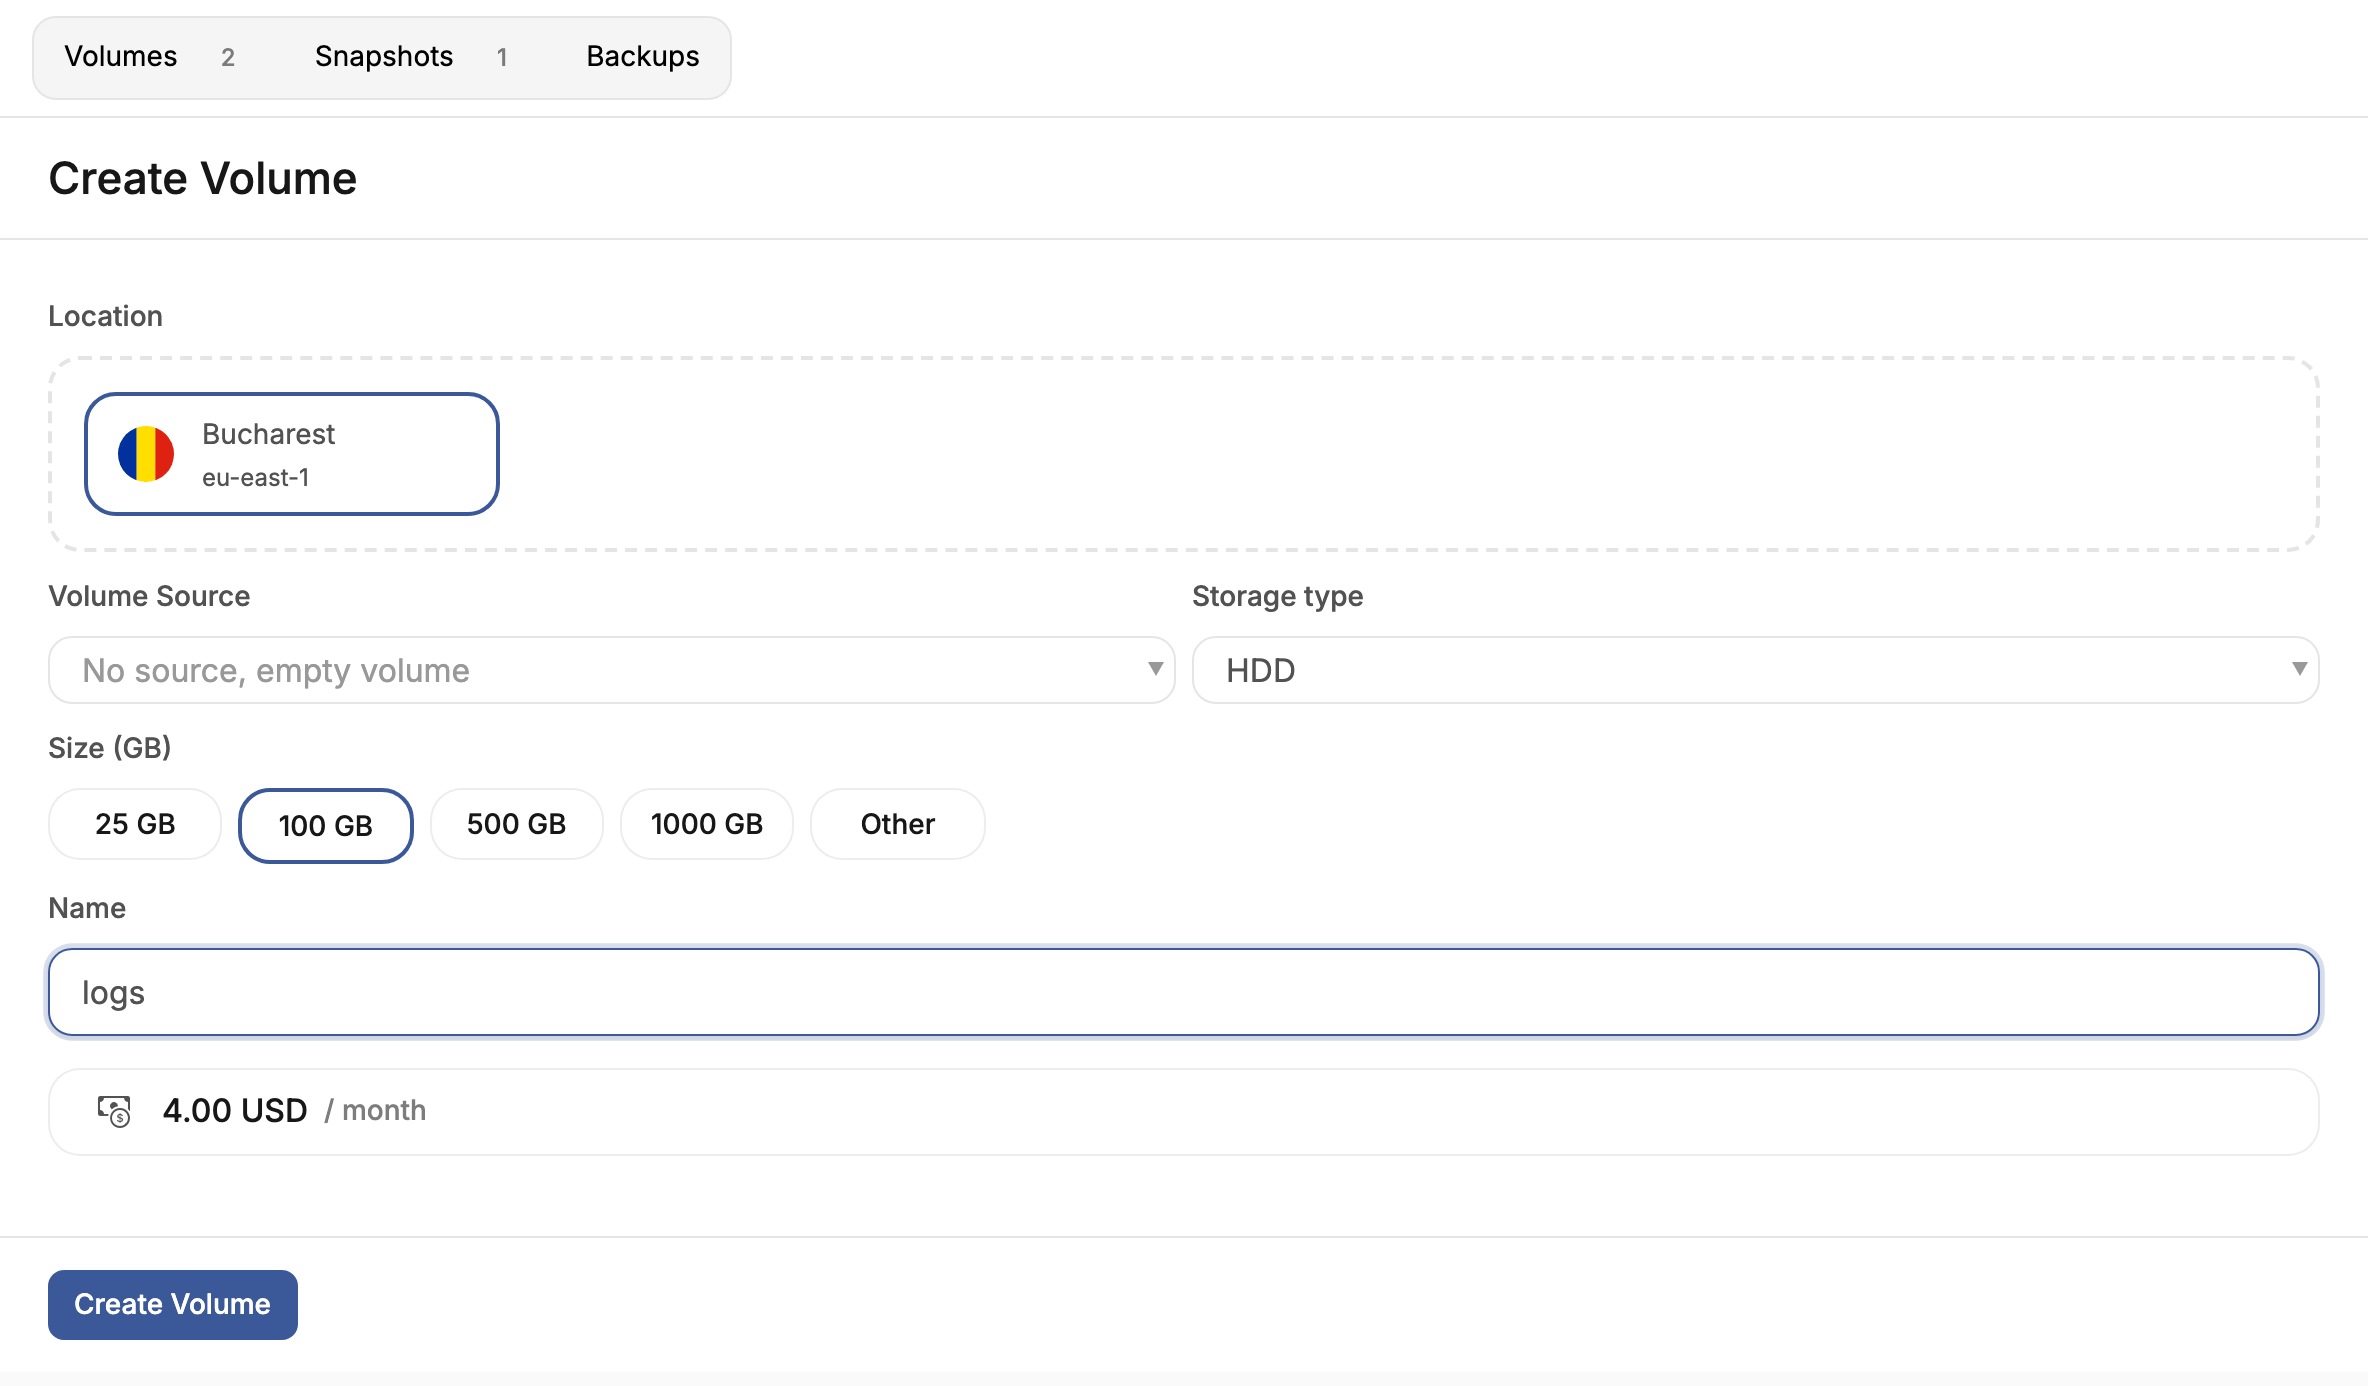
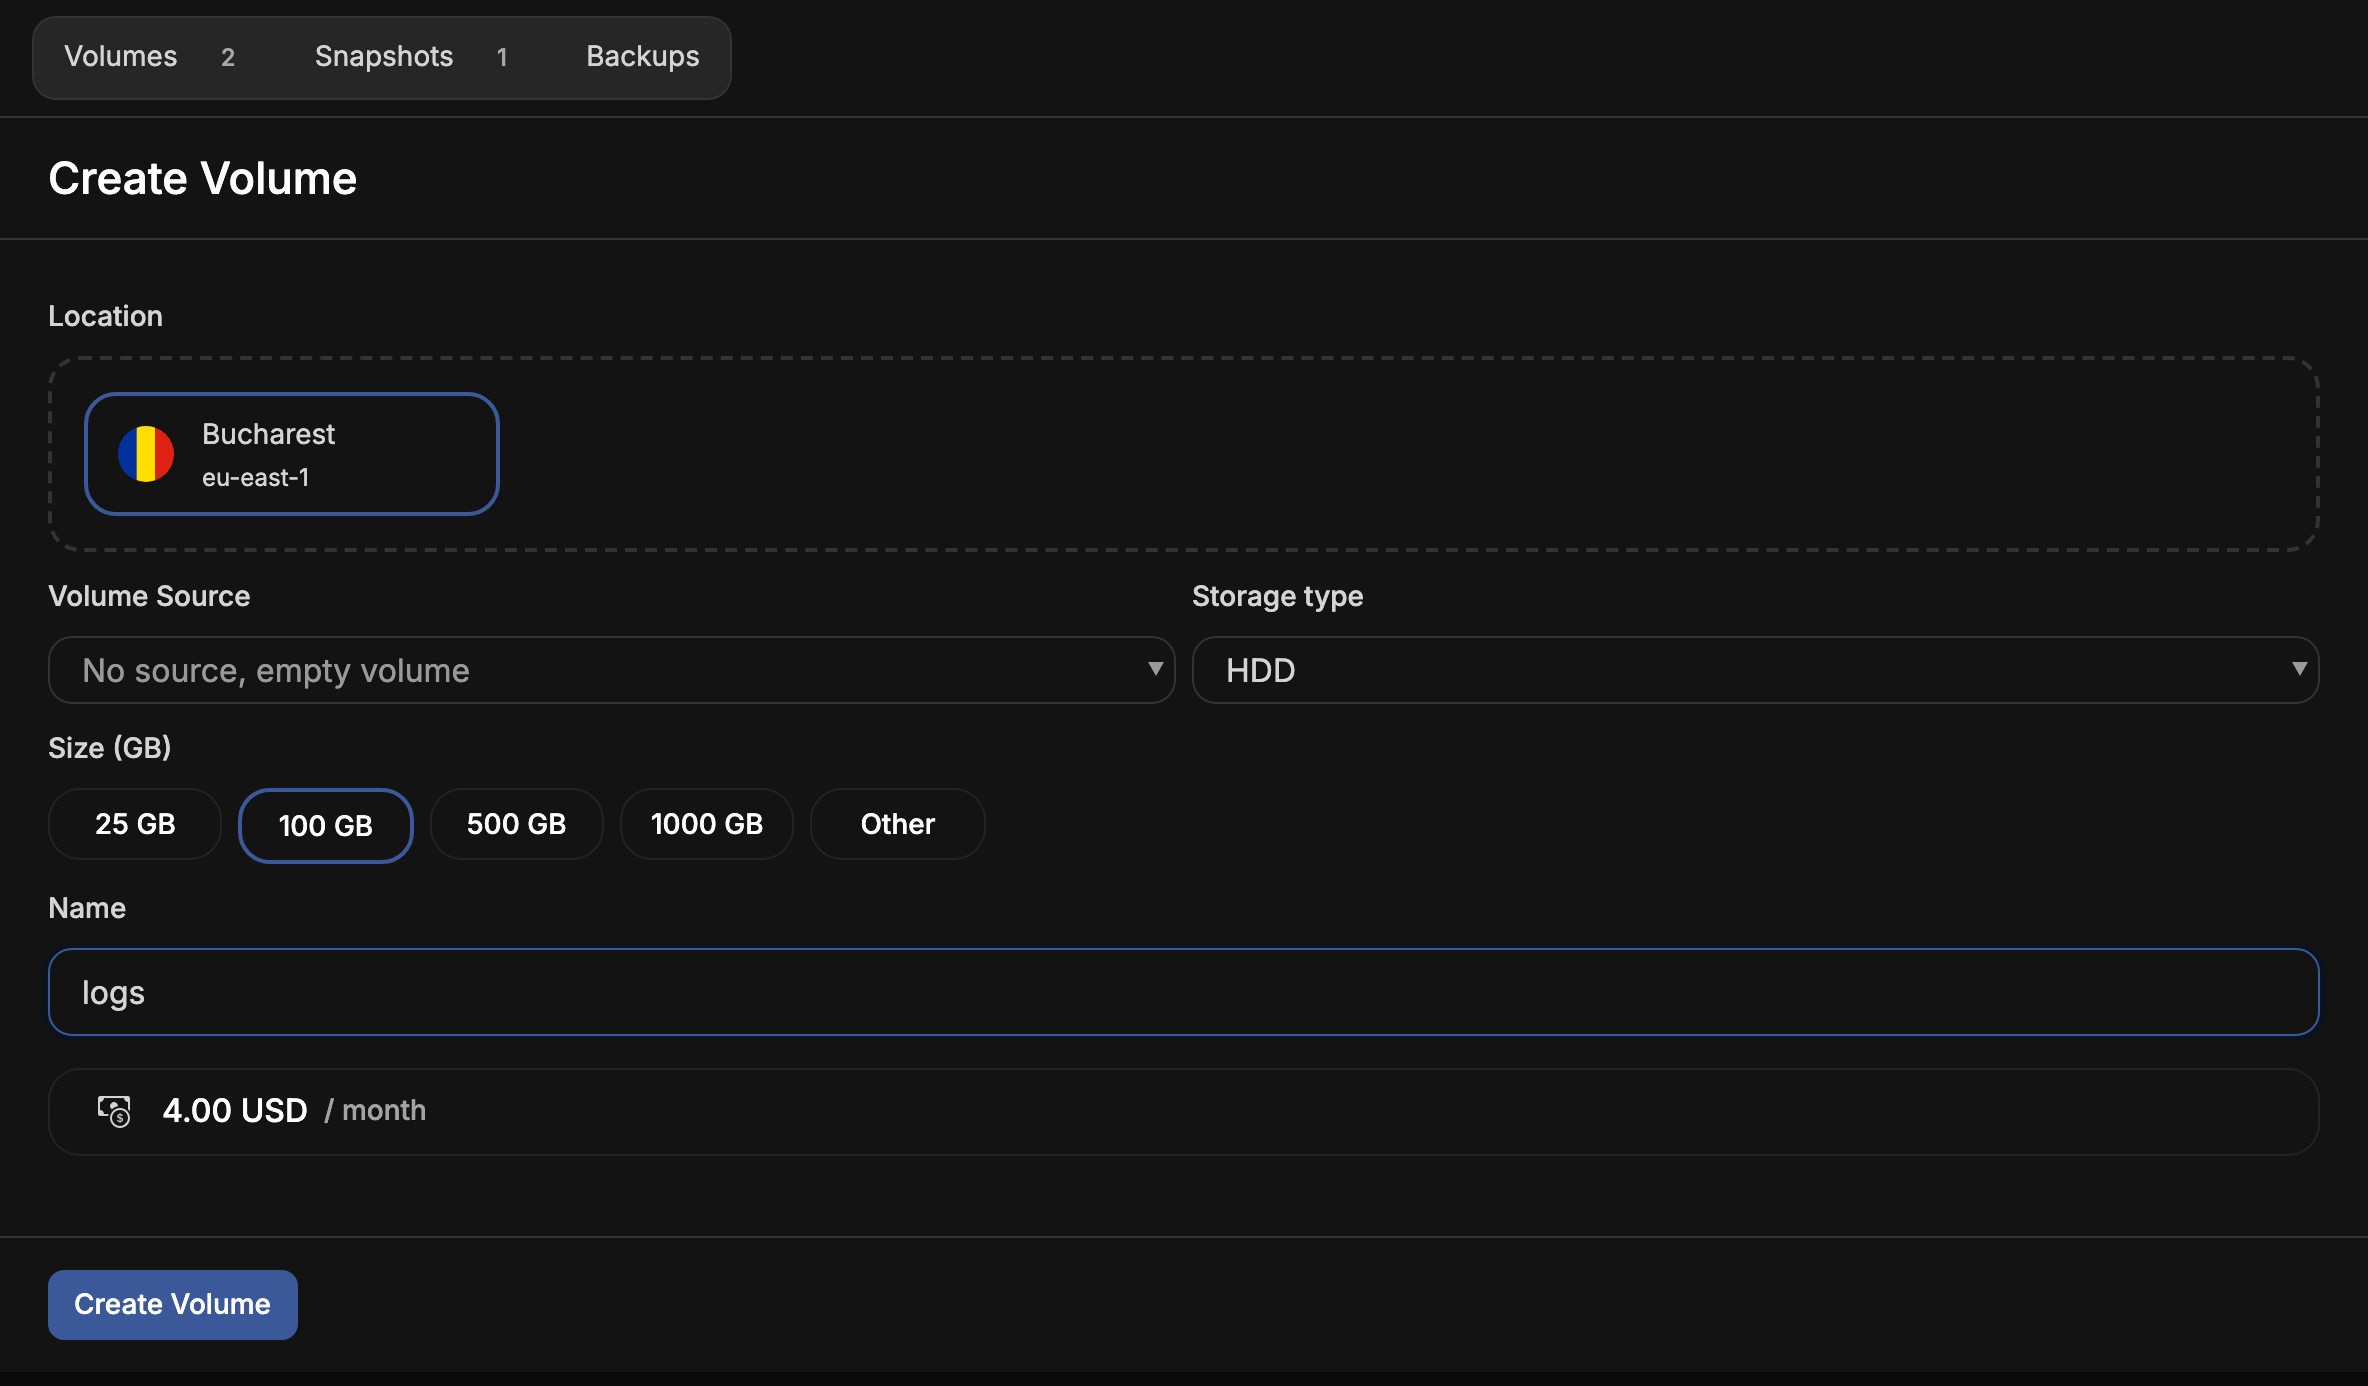
The form shows the monthly price of the volume, which depends on its size and storage type. You can also create a volume while creating a server. See Create a server.
Attach a volume to a server
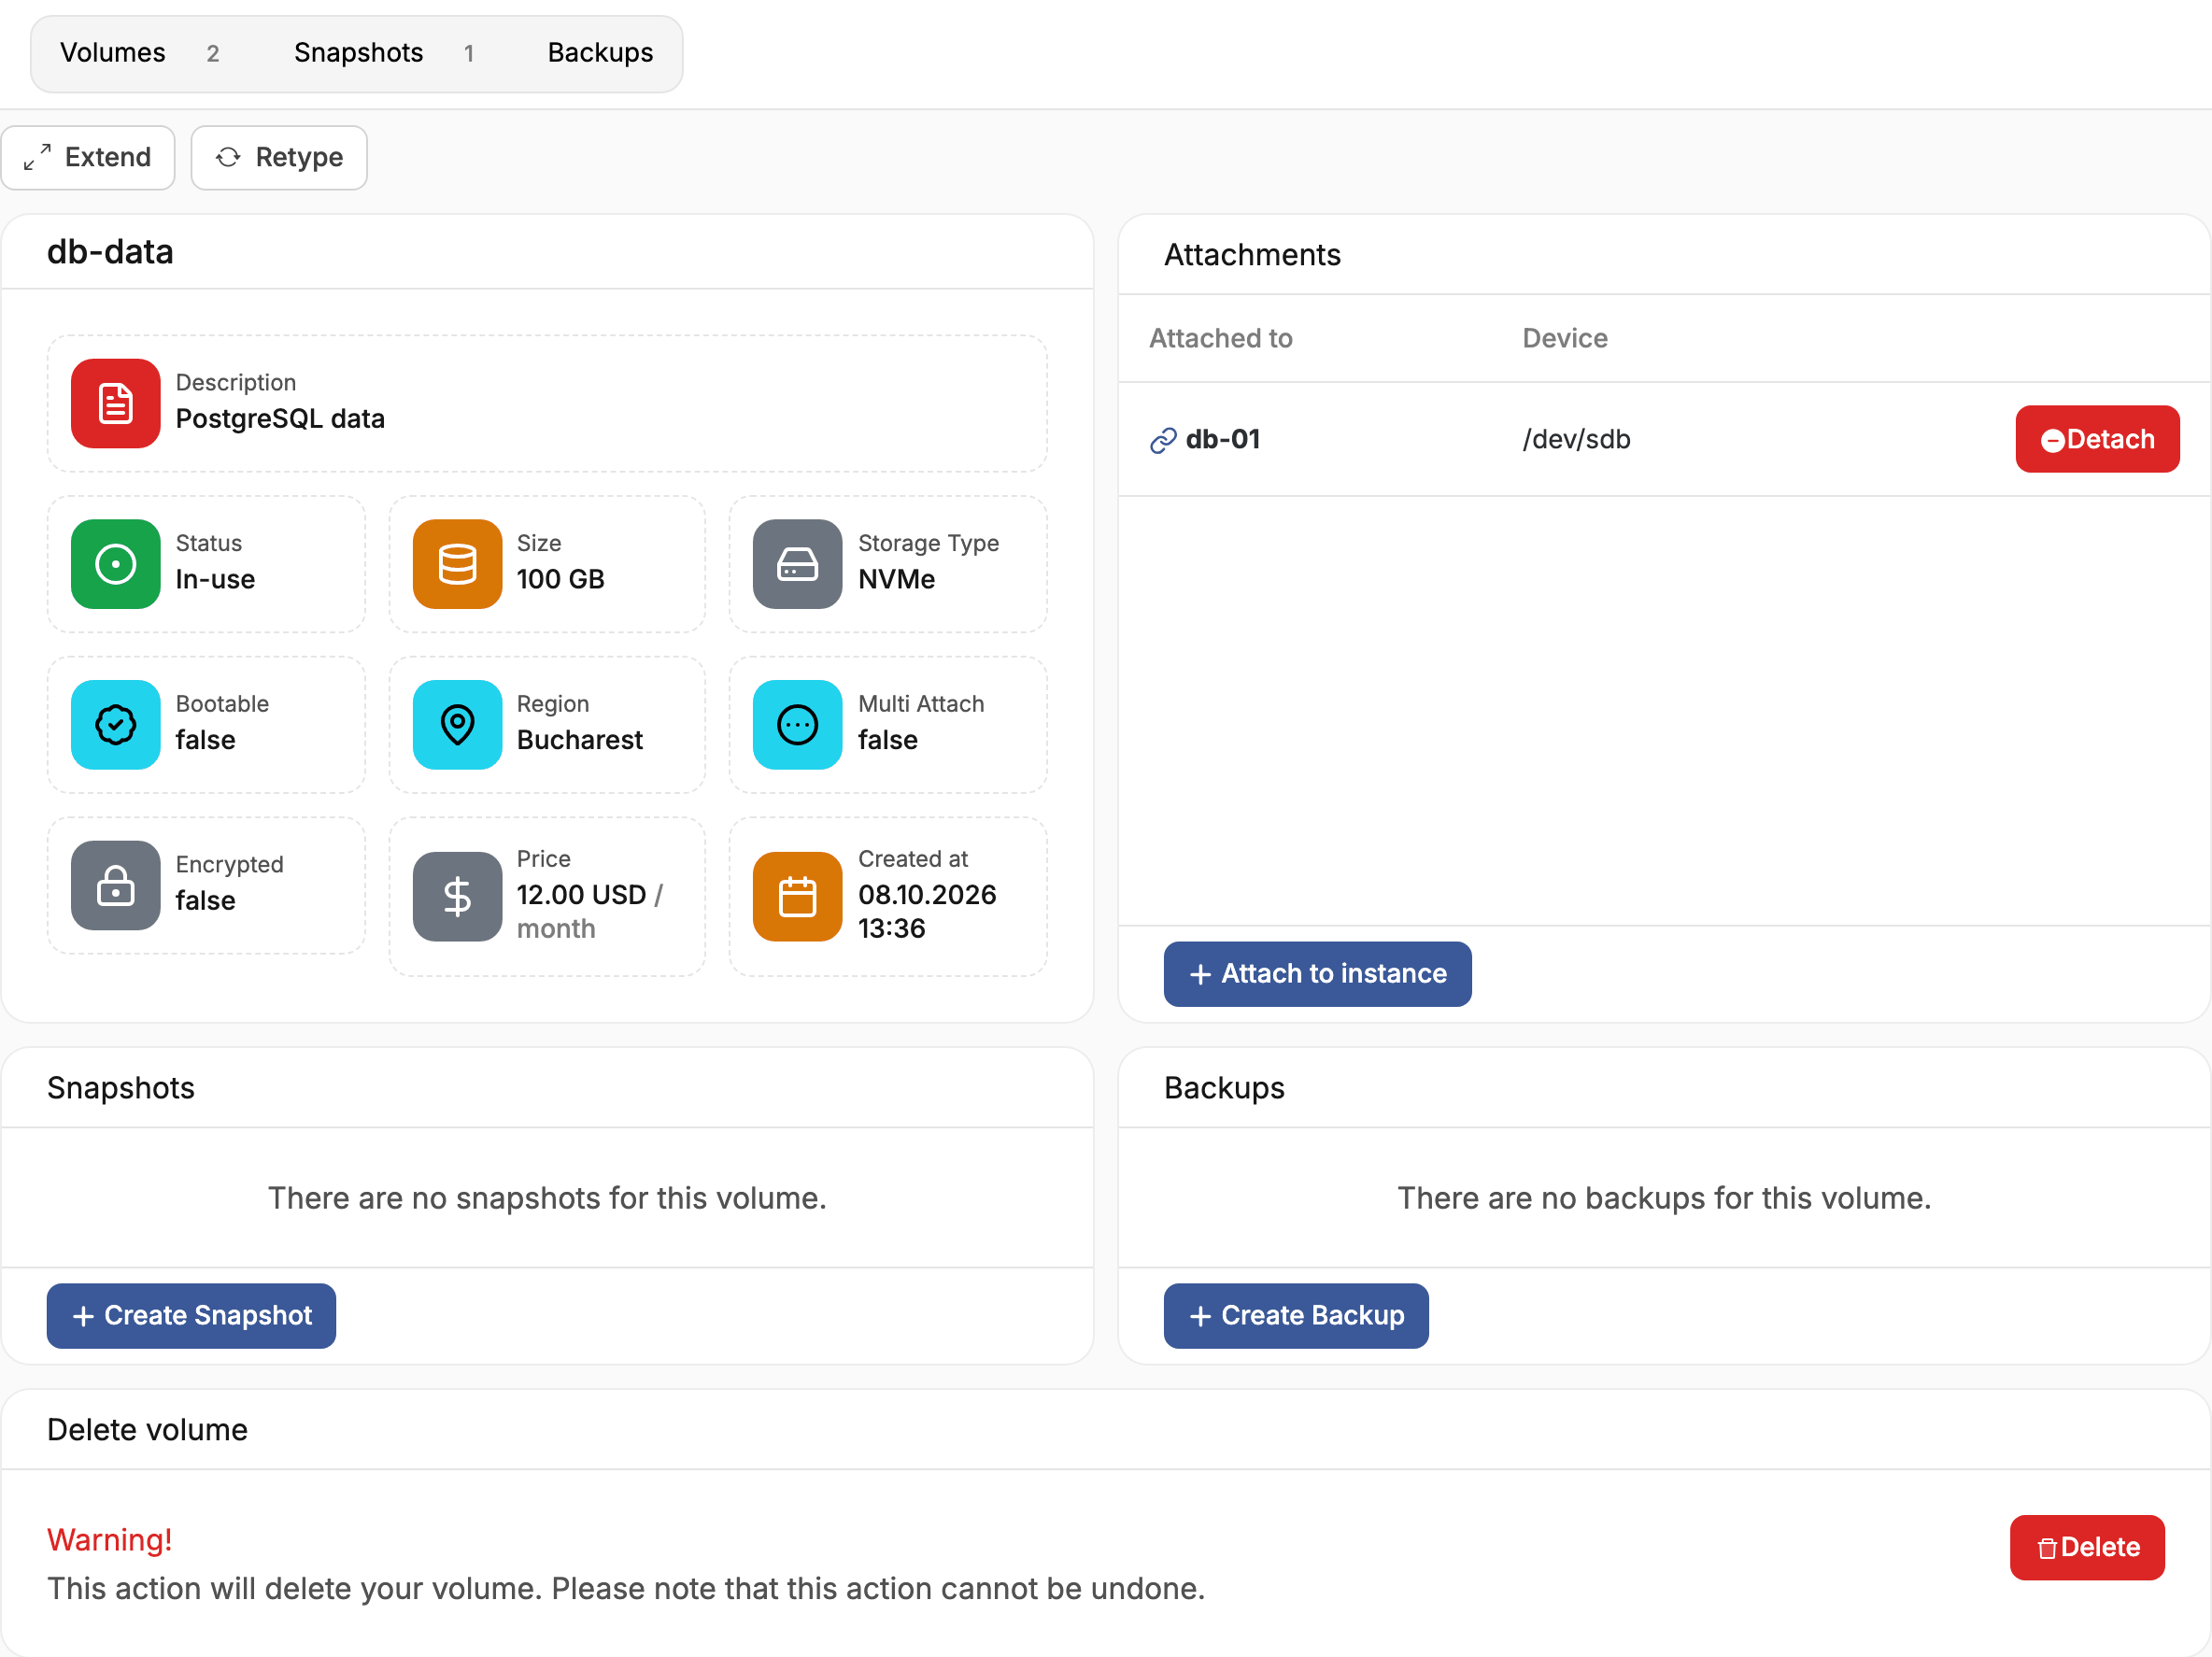
- Open the volume and choose Attach to instance.
- Choose the server and confirm.
The volume appears in the server as a new disk, such as /dev/sdb. The first time, create a file
system on it and mount it. A volume attaches to one server at a time, unless its storage type supports
multi-attach.
To detach it, unmount the file system in the server, then choose Detach. The volume becomes available again and keeps its data.
Extend a volume
Choose Extend and enter the new size. A volume can grow, but it cannot shrink. Once the volume is extended, grow the partition and file system in the server's operating system to use the new space. Some clouds extend only volumes that are not attached. If the request is refused, detach the volume first.
Change the storage type
Retype moves the volume to another storage type, for example from HDD to NVMe. Choose the New Volume Type and confirm. The data moves with the volume, and the price changes to that of the new type. Moving a large volume between storage backends takes time.
Take a snapshot of a volume
A snapshot is a point-in-time copy of a volume, stored next to it. Use it before a risky change, and restore it by creating a new volume from it.
- Open the volume and choose Create Snapshot.
- Enter a Name and an optional Description.
- Confirm.
A snapshot is consistent when nothing writes to the volume while it is taken. Stop the application or detach the volume first. Some clouds take snapshots of attached volumes only when you tick Force, and some refuse them altogether.
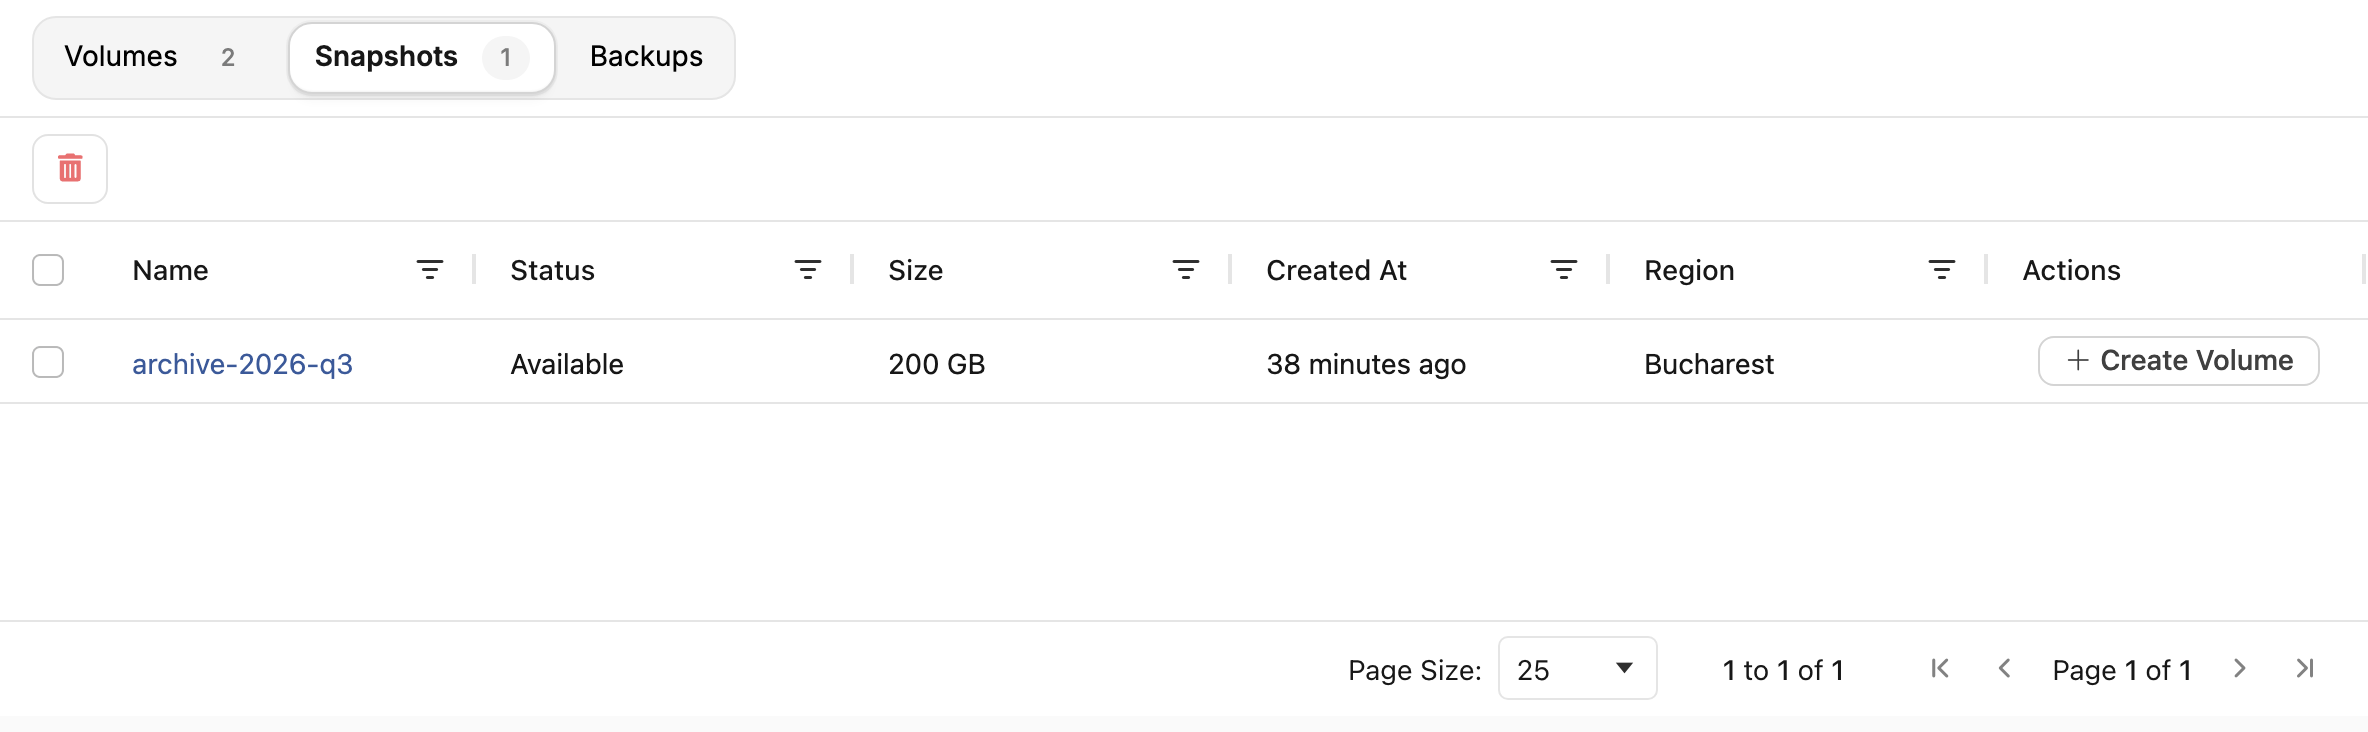
To restore a snapshot, open it from the Snapshots tab and choose Create Volume. The new volume is created in the same location and must be at least as large as the snapshot.
Snapshots stay on the same storage as their volume and are charged by size. Delete a volume's snapshots before you delete the volume.
Back up a volume
A backup copies the volume to separate storage, usually object storage, so the data survives the loss of the volume or of the storage it is on. A snapshot stays on the volume's own storage.
- Open the volume and choose Create Backup.
- Enter a Name, an optional Description, and the Container Name to store the backup in.
- Confirm.
Backups are listed in the Backups tab with their size, source volume and price. Restore a backup from the OpenStack CLI, which writes it to a new volume:
openstack volume backup restore <backup-name>
Delete a volume
Detach the volume from its server, then open it and delete it. Deleting a volume destroys its data, and it cannot be recovered. To delete several volumes at once, tick them in the list, choose the delete button above it, and type the number of selected volumes to confirm.