Manage servers
Open Servers in the project's sidebar and choose a server's name. The server's page shows its hardware, status, addresses and SSH key, with usage graphs for vCPU, memory and disk. Its Server Activity lists the actions taken on the server since it was created, such as starts, reboots and resizes, newest first. The tabs on the left hold everything you can change.
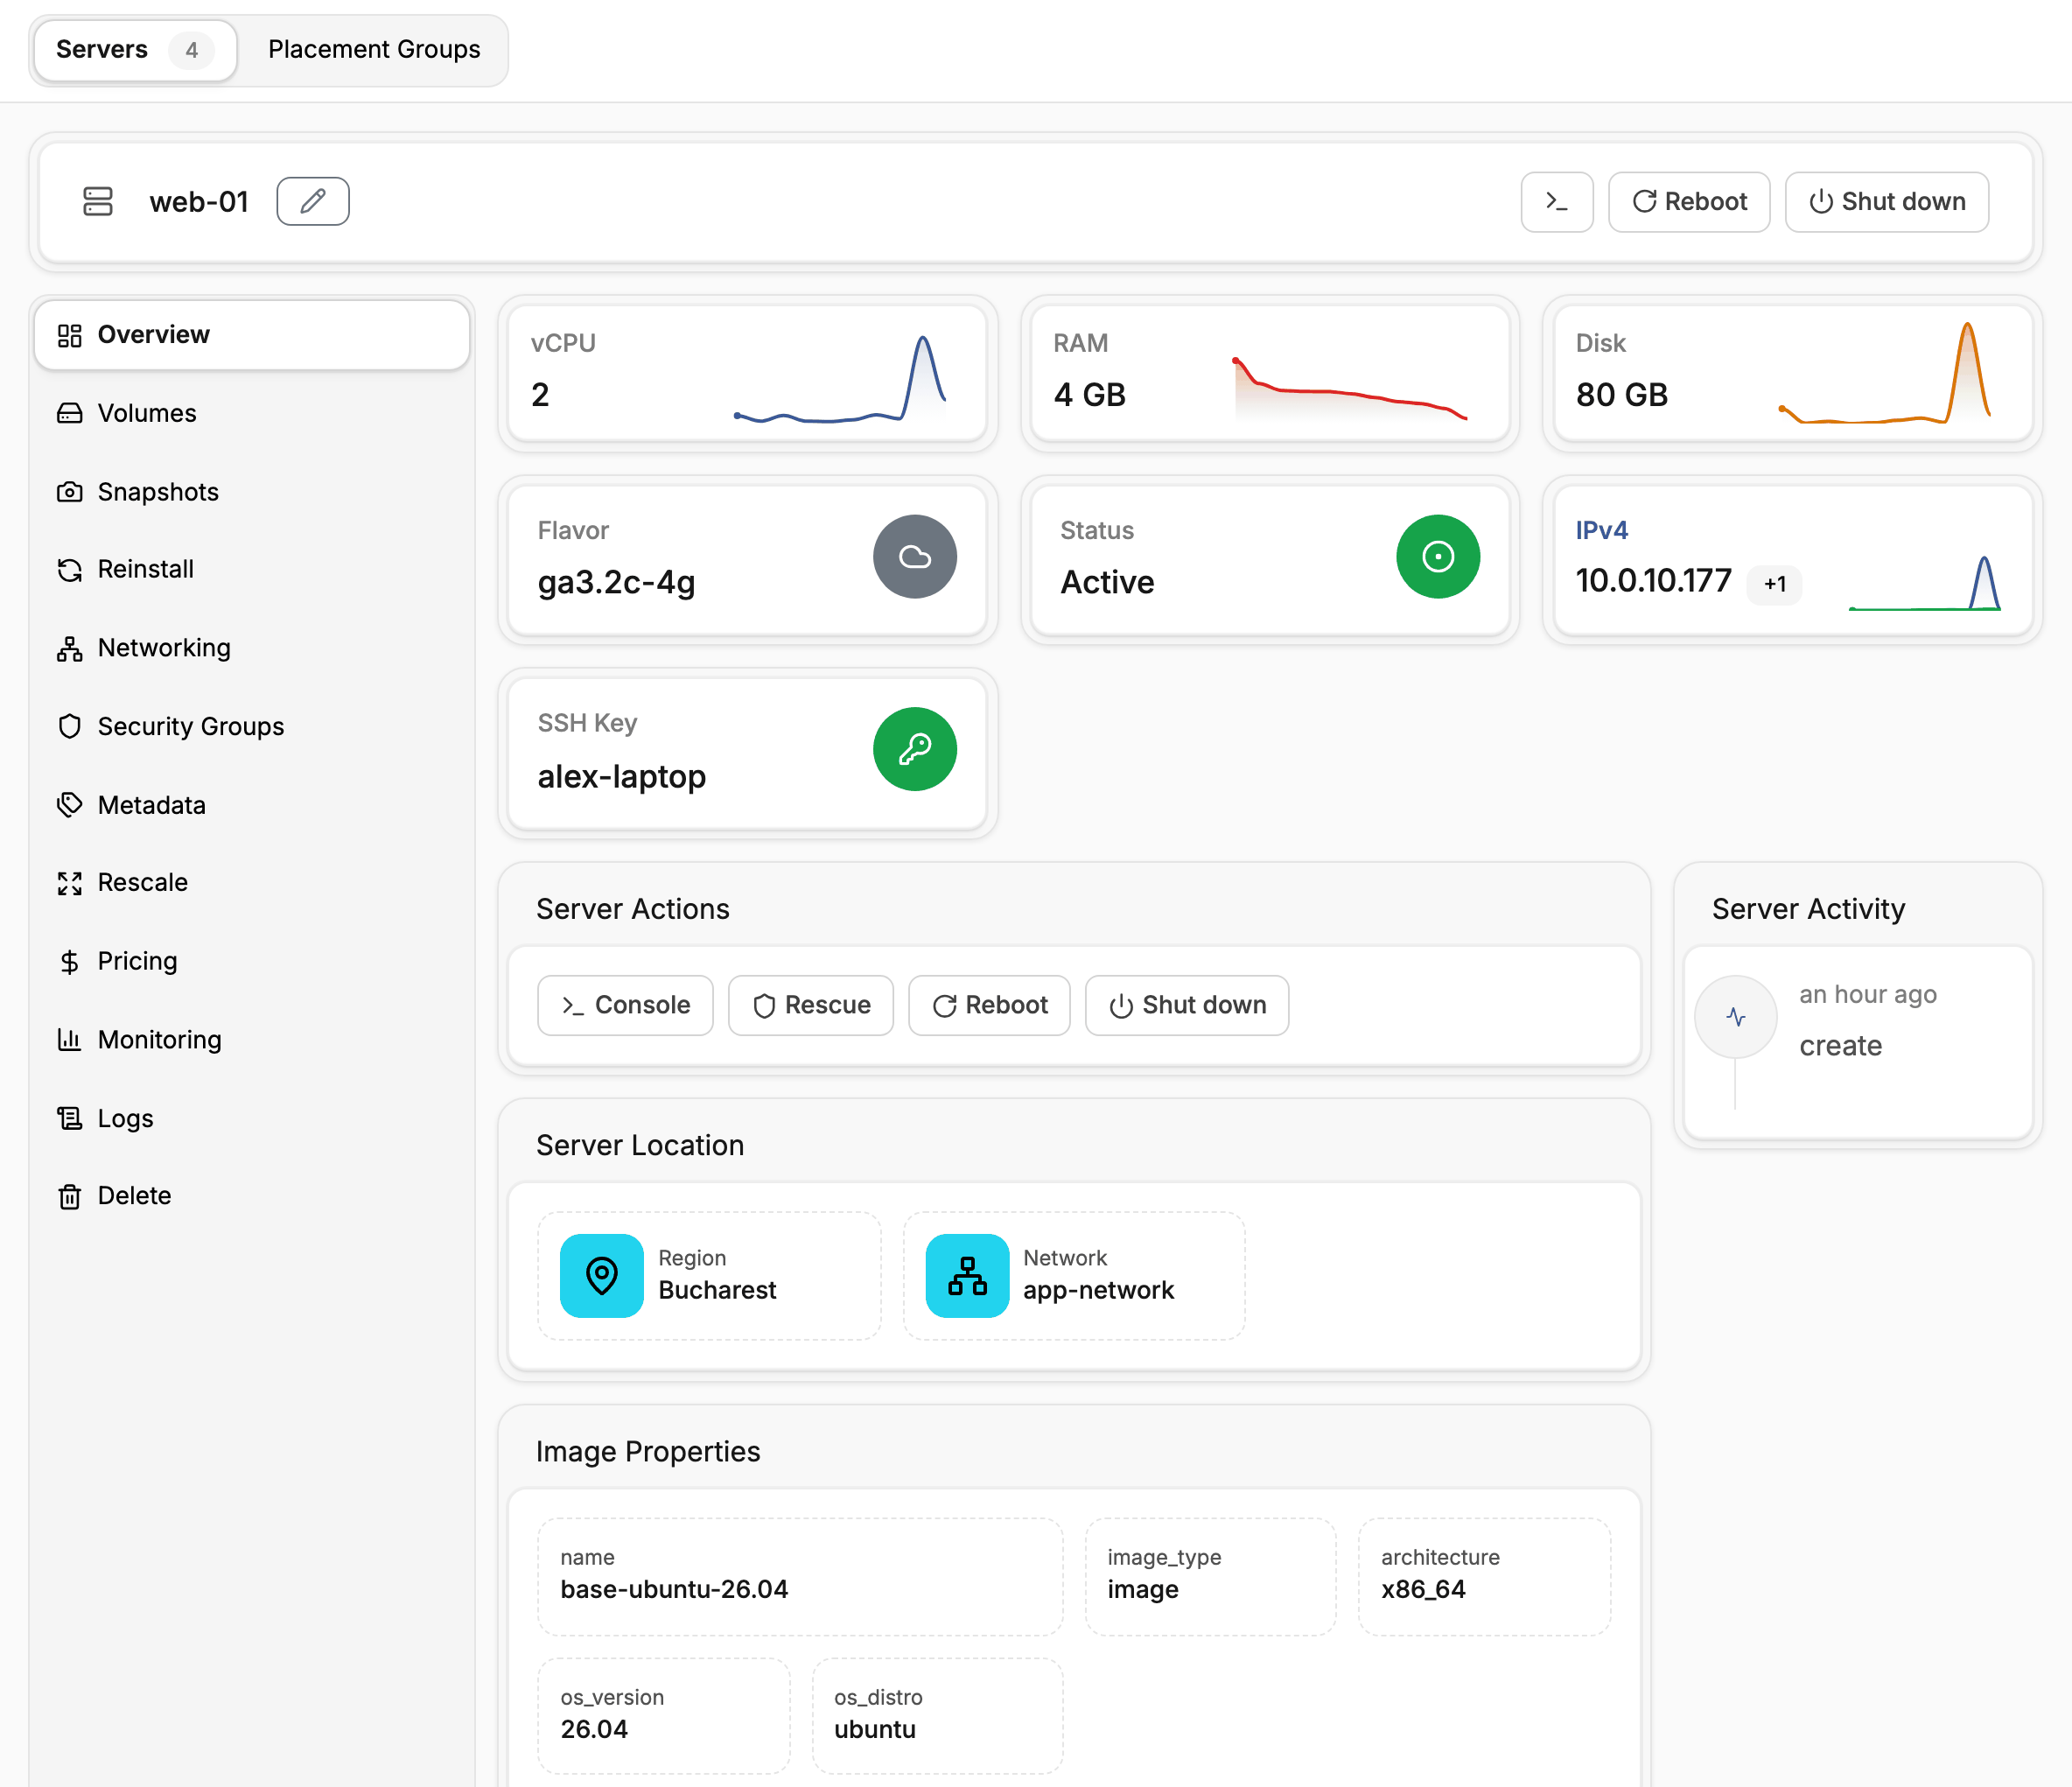
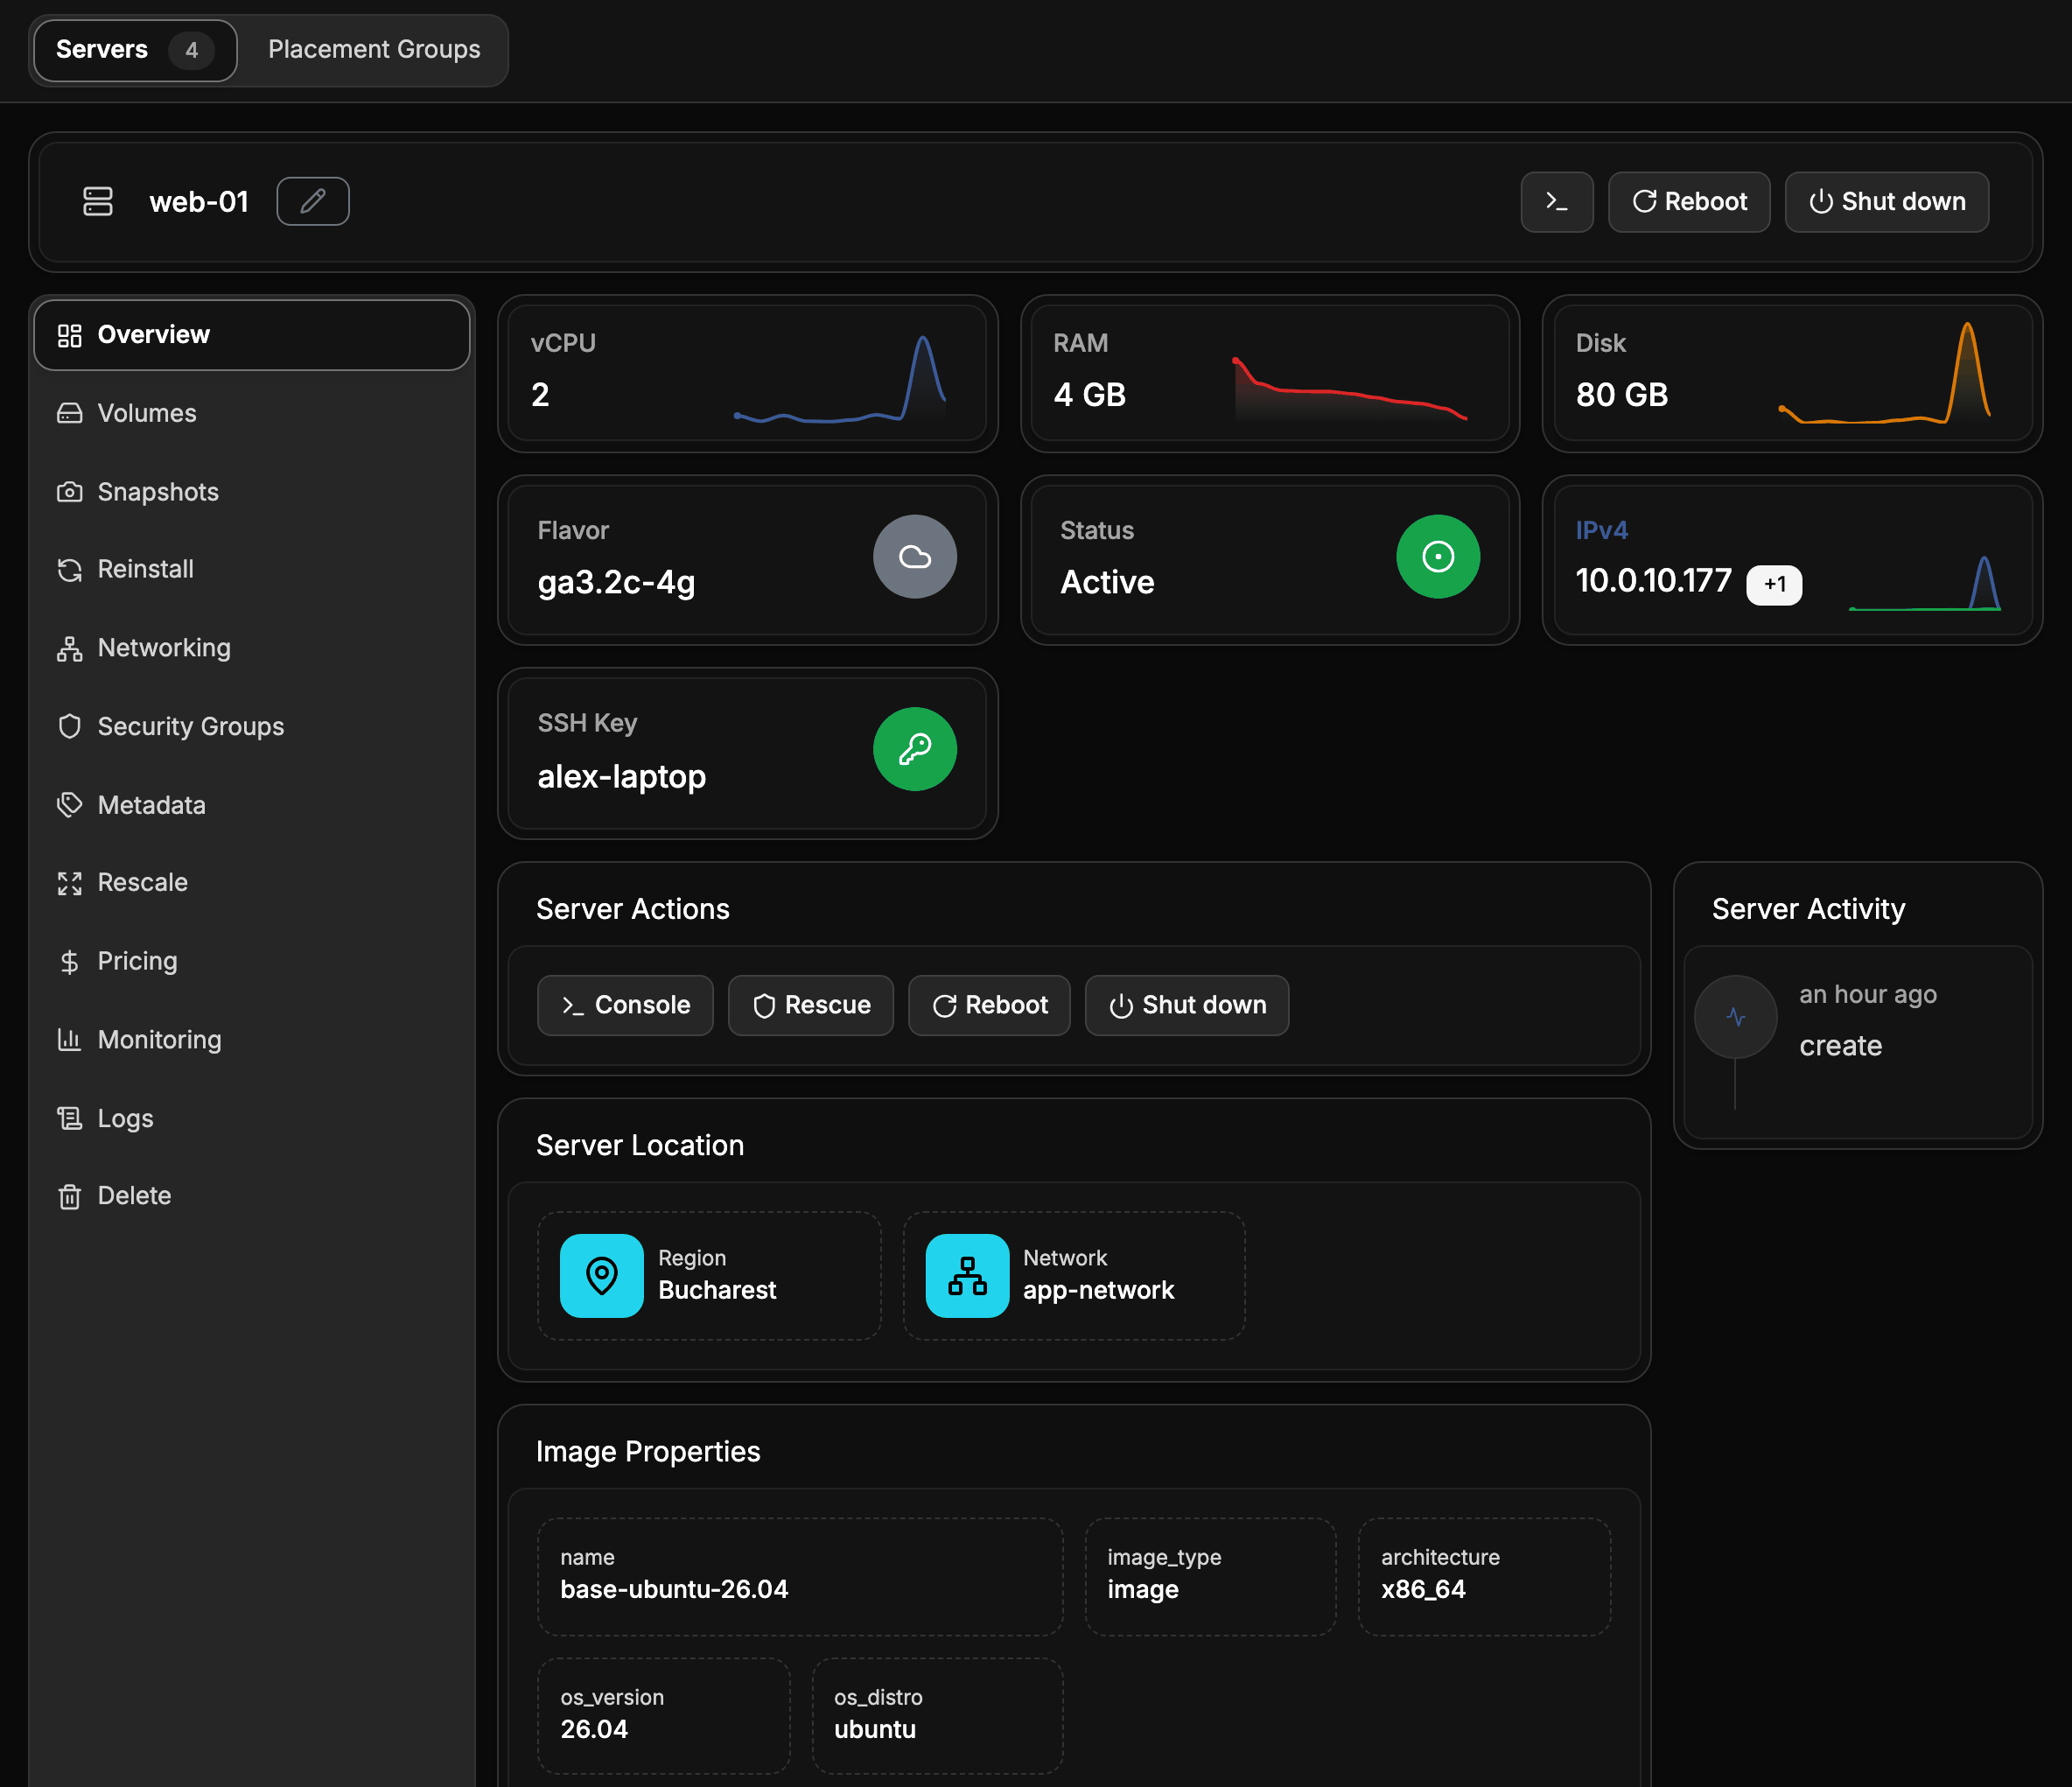
To rename the server, choose the edit button next to its name.
Start, stop and reboot a server
The buttons at the top of the page and under Server Actions change the server's power state. Each asks for confirmation.
| Action | Effect |
|---|---|
| Reboot | Restarts the operating system. The server keeps its disks, addresses and configuration. |
| Shut down | Powers the server off. It keeps its disks and addresses. |
| Start | Powers on a server that is shut down. |
A server that is shut down keeps its resources. Whether a stopped server is still charged depends on your provider's prices.
Open the server's console
Choose Console to open the server's screen in the browser. Use it when the server is unreachable over the network, for example after a firewall change, or to watch it boot.
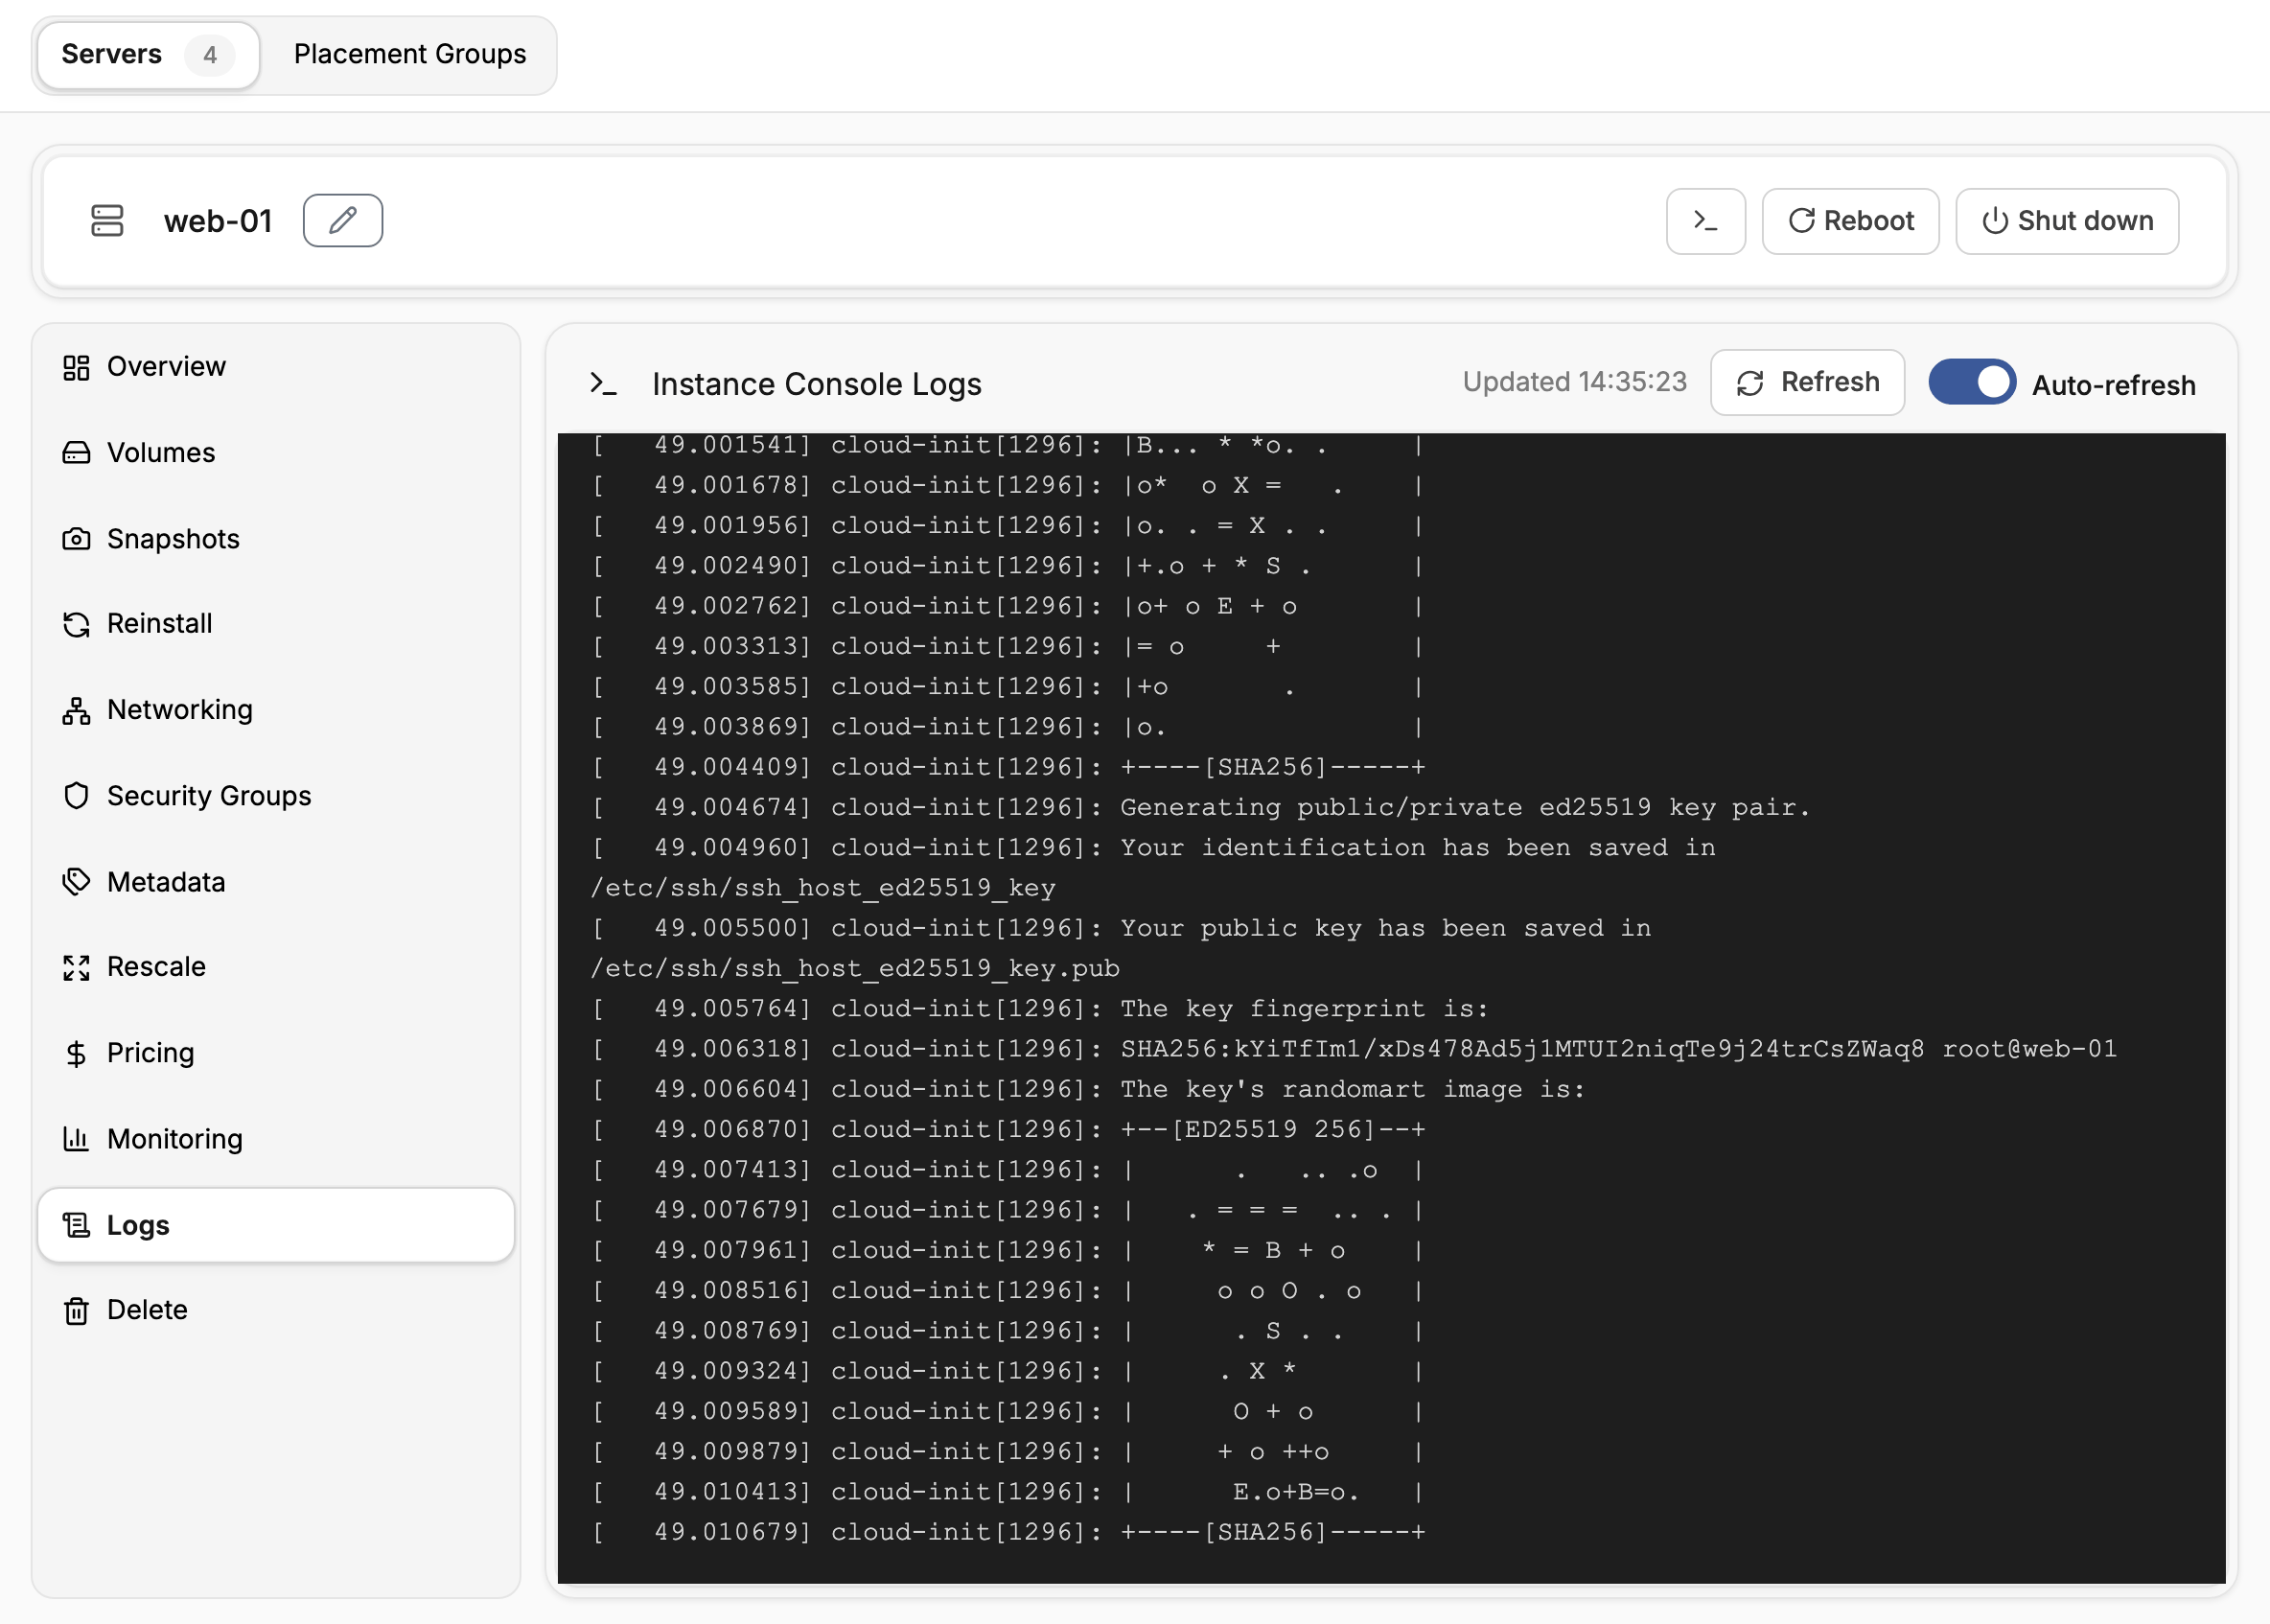
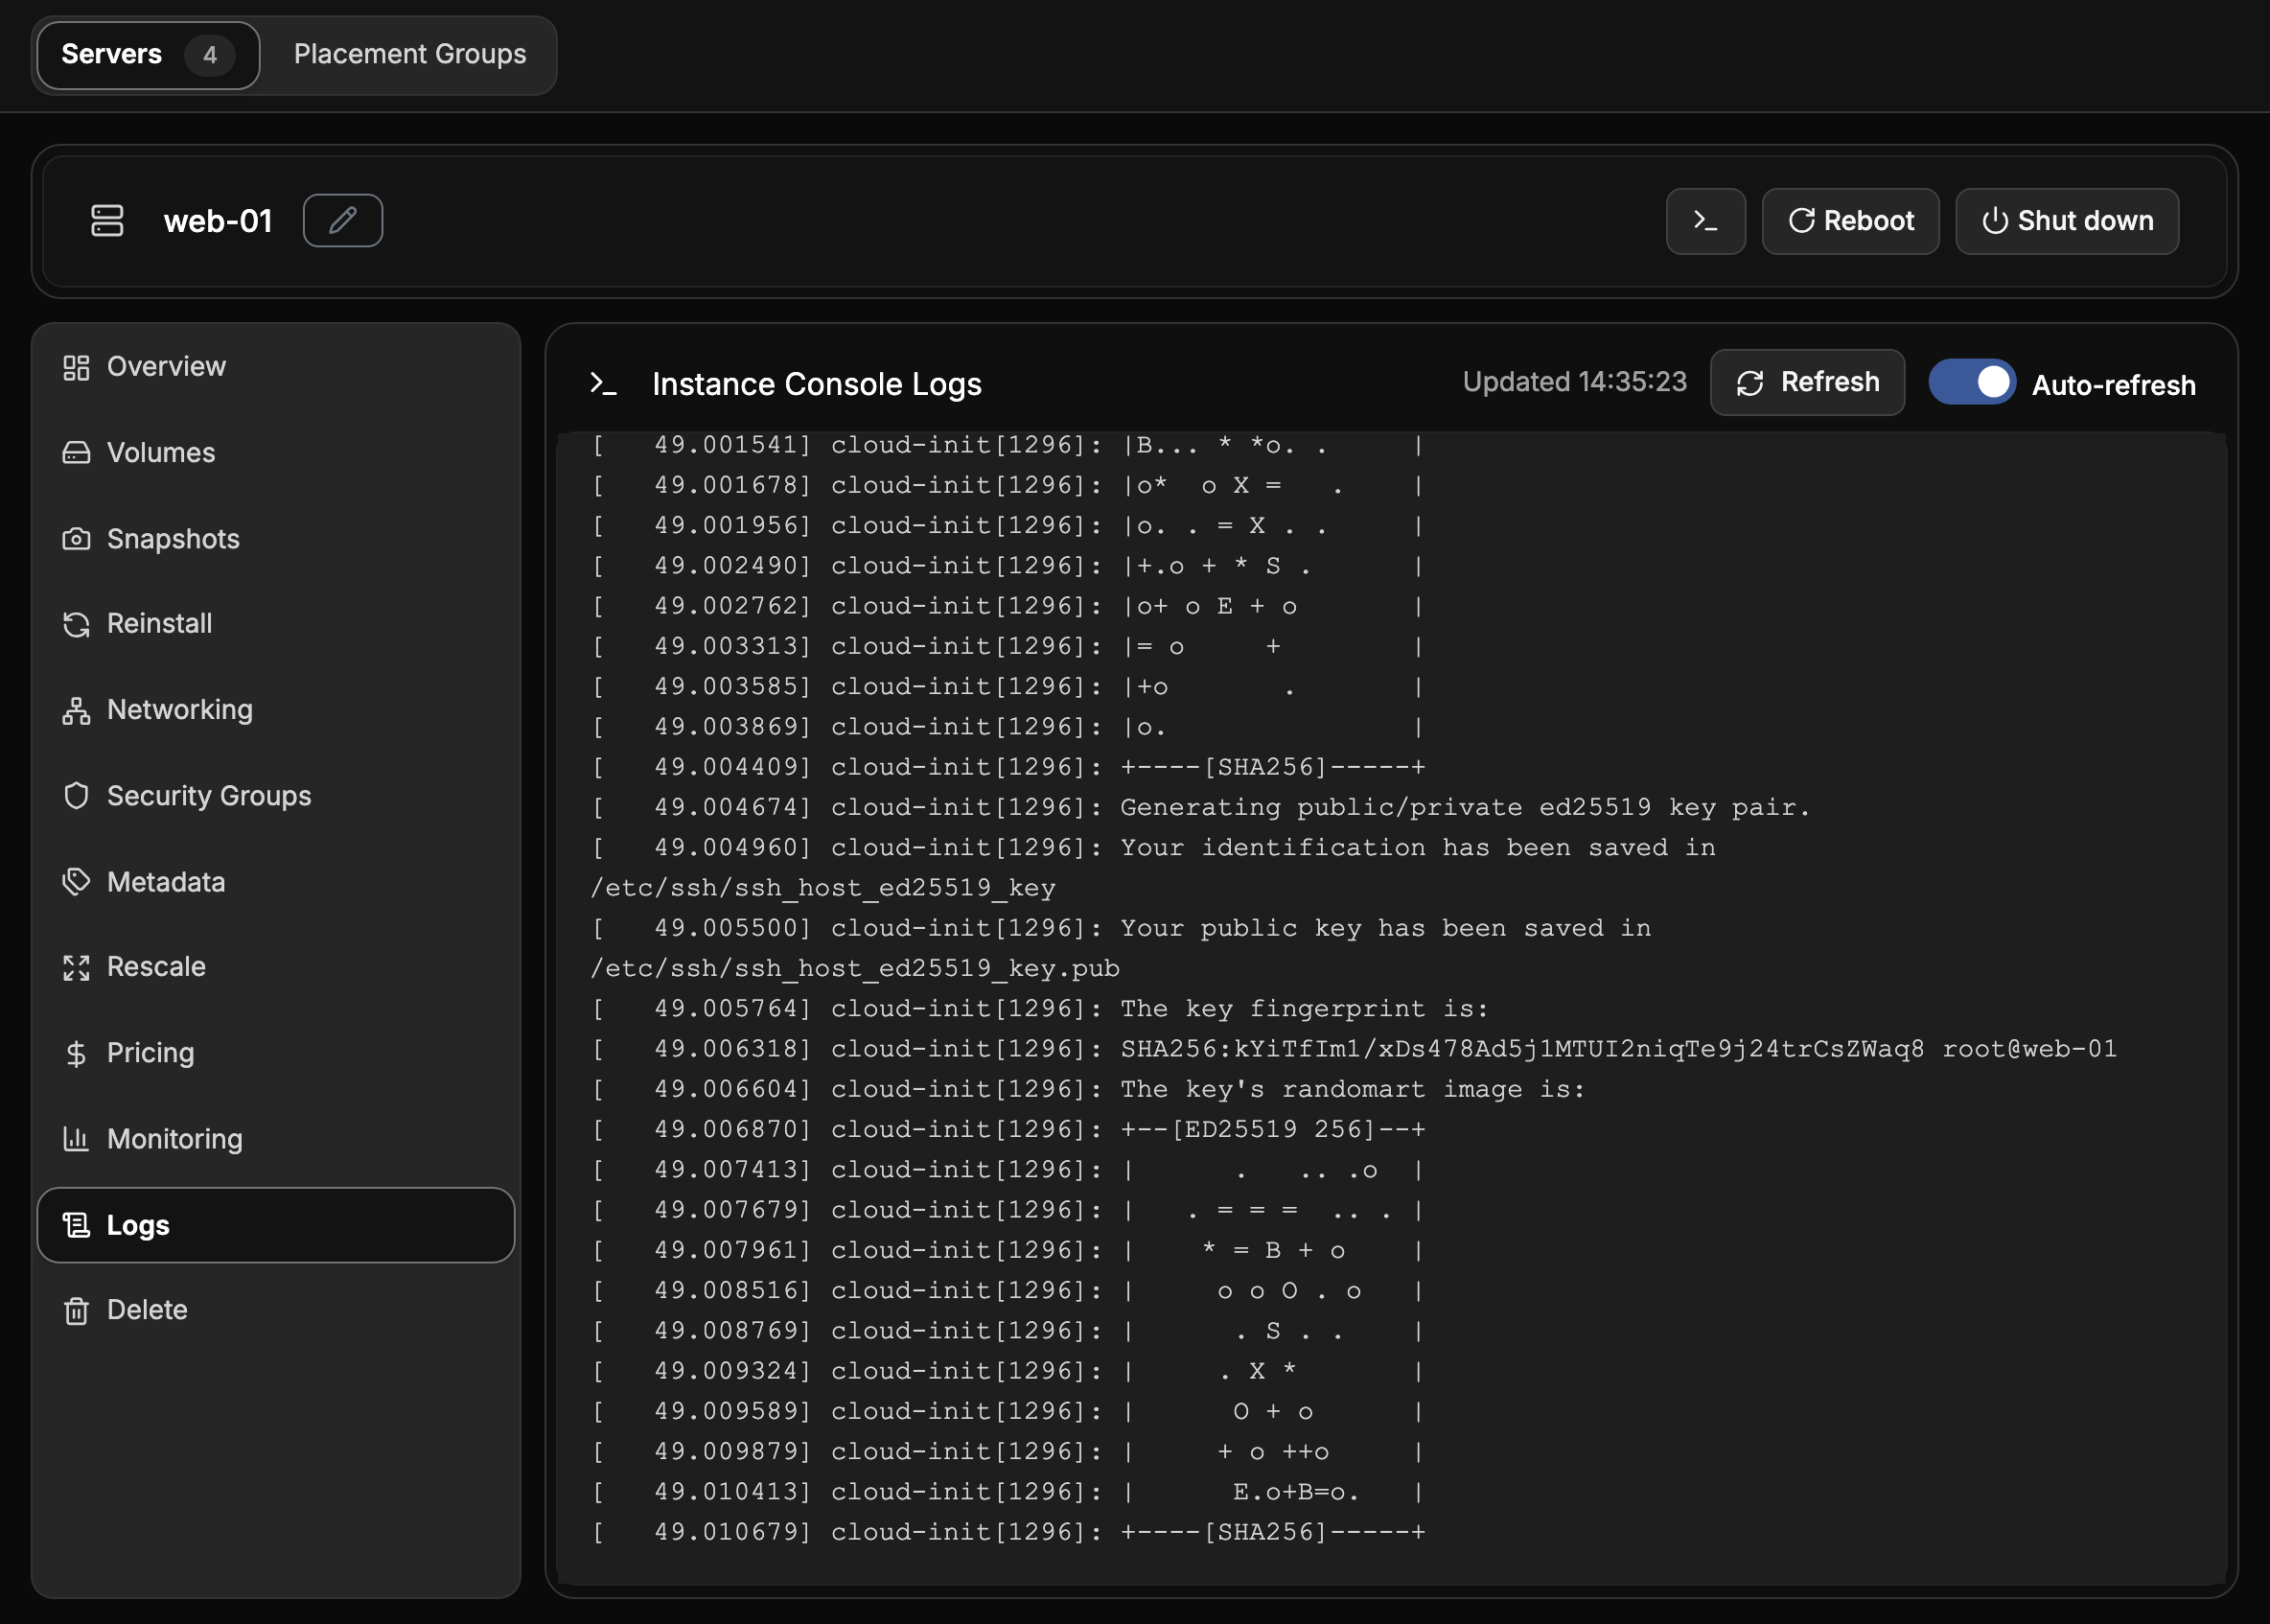
Logs shows the server's boot output, as written to its serial console. Refresh reads it again, and Auto-refresh keeps it current. Boot errors and cloud-init output appear here.
Repair a server in rescue mode
Rescue mode boots the server from a rescue image while keeping its own disk attached. Use it to repair a server that no longer boots, or to recover files from its disk.
- Under Server Actions, choose Rescue and select the image to boot.
- Sign in to the rescue system and mount the server's disk to repair it.
- Choose Unrescue to boot the server from its own disk again.
While in rescue mode, the server's status is Rescue.
Resize a server
Resizing moves the server to a larger flavor, with more vCPUs, memory or disk.
- Open Rescale. Under Select the new Hardware, choose the flavor.
- Choose Rescale.
- The server is recreated on the new hardware and starts again. Check that it works as expected, then choose Confirm. Choose Revert to return to the previous flavor.
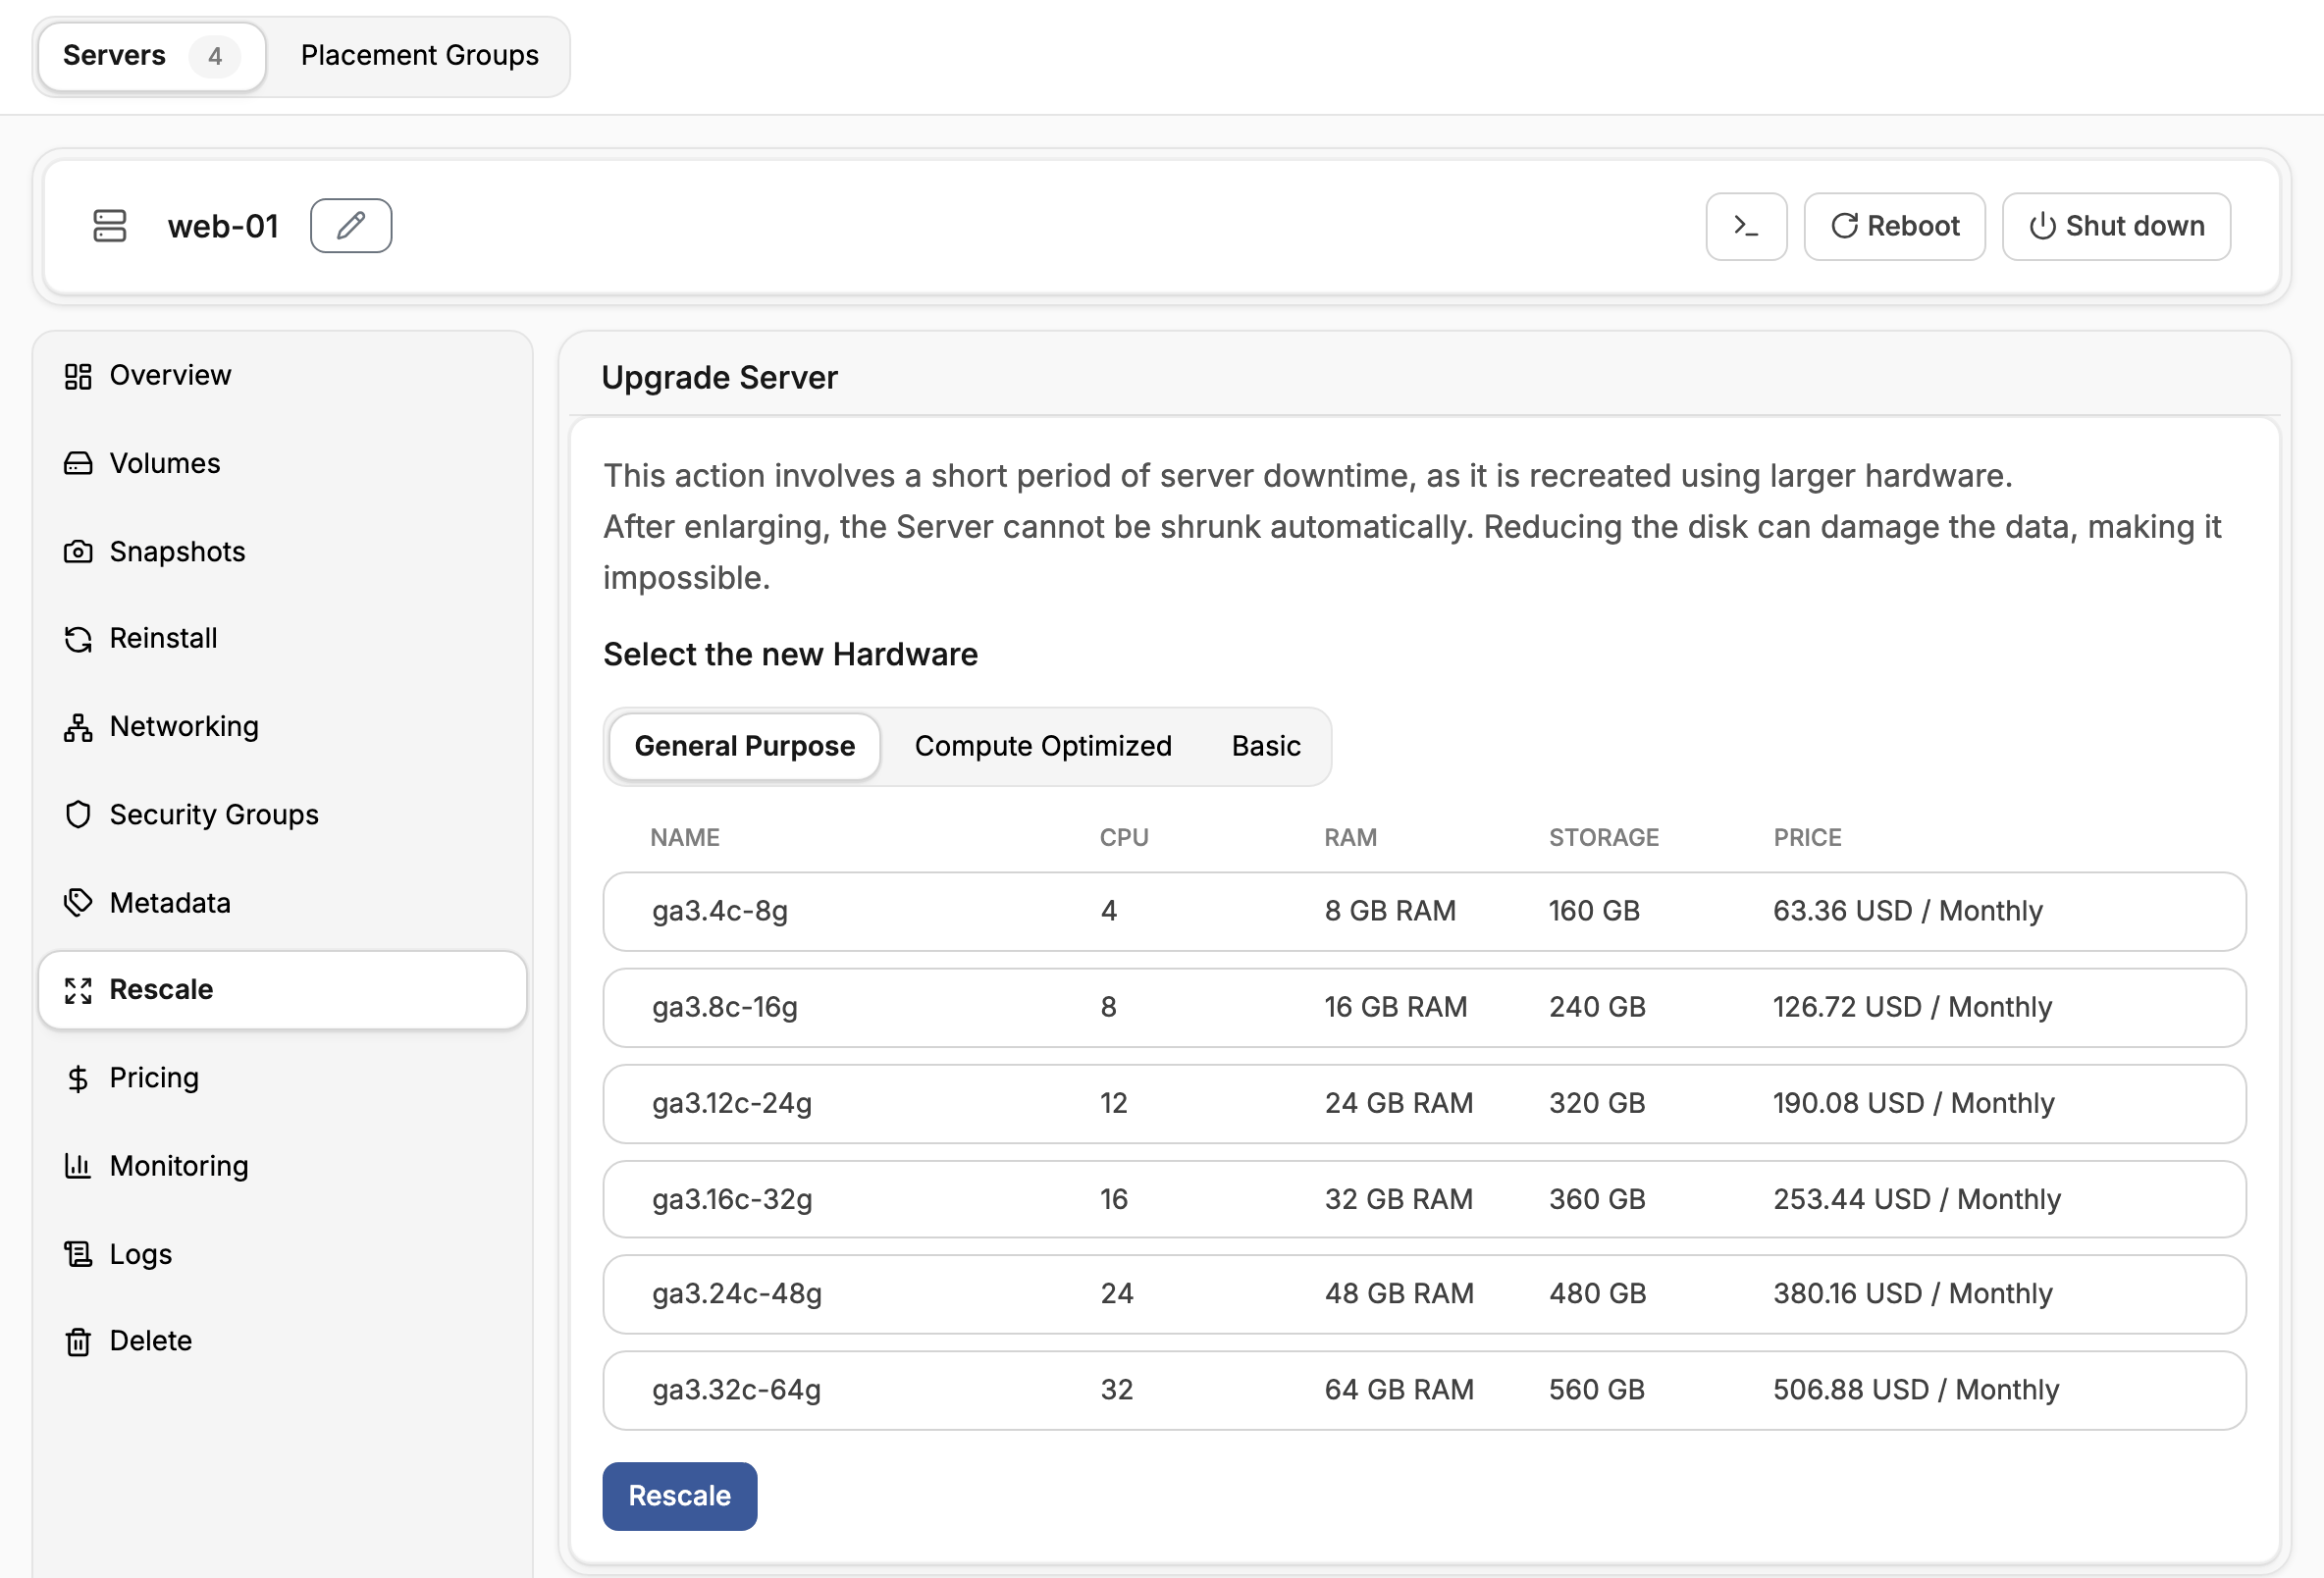
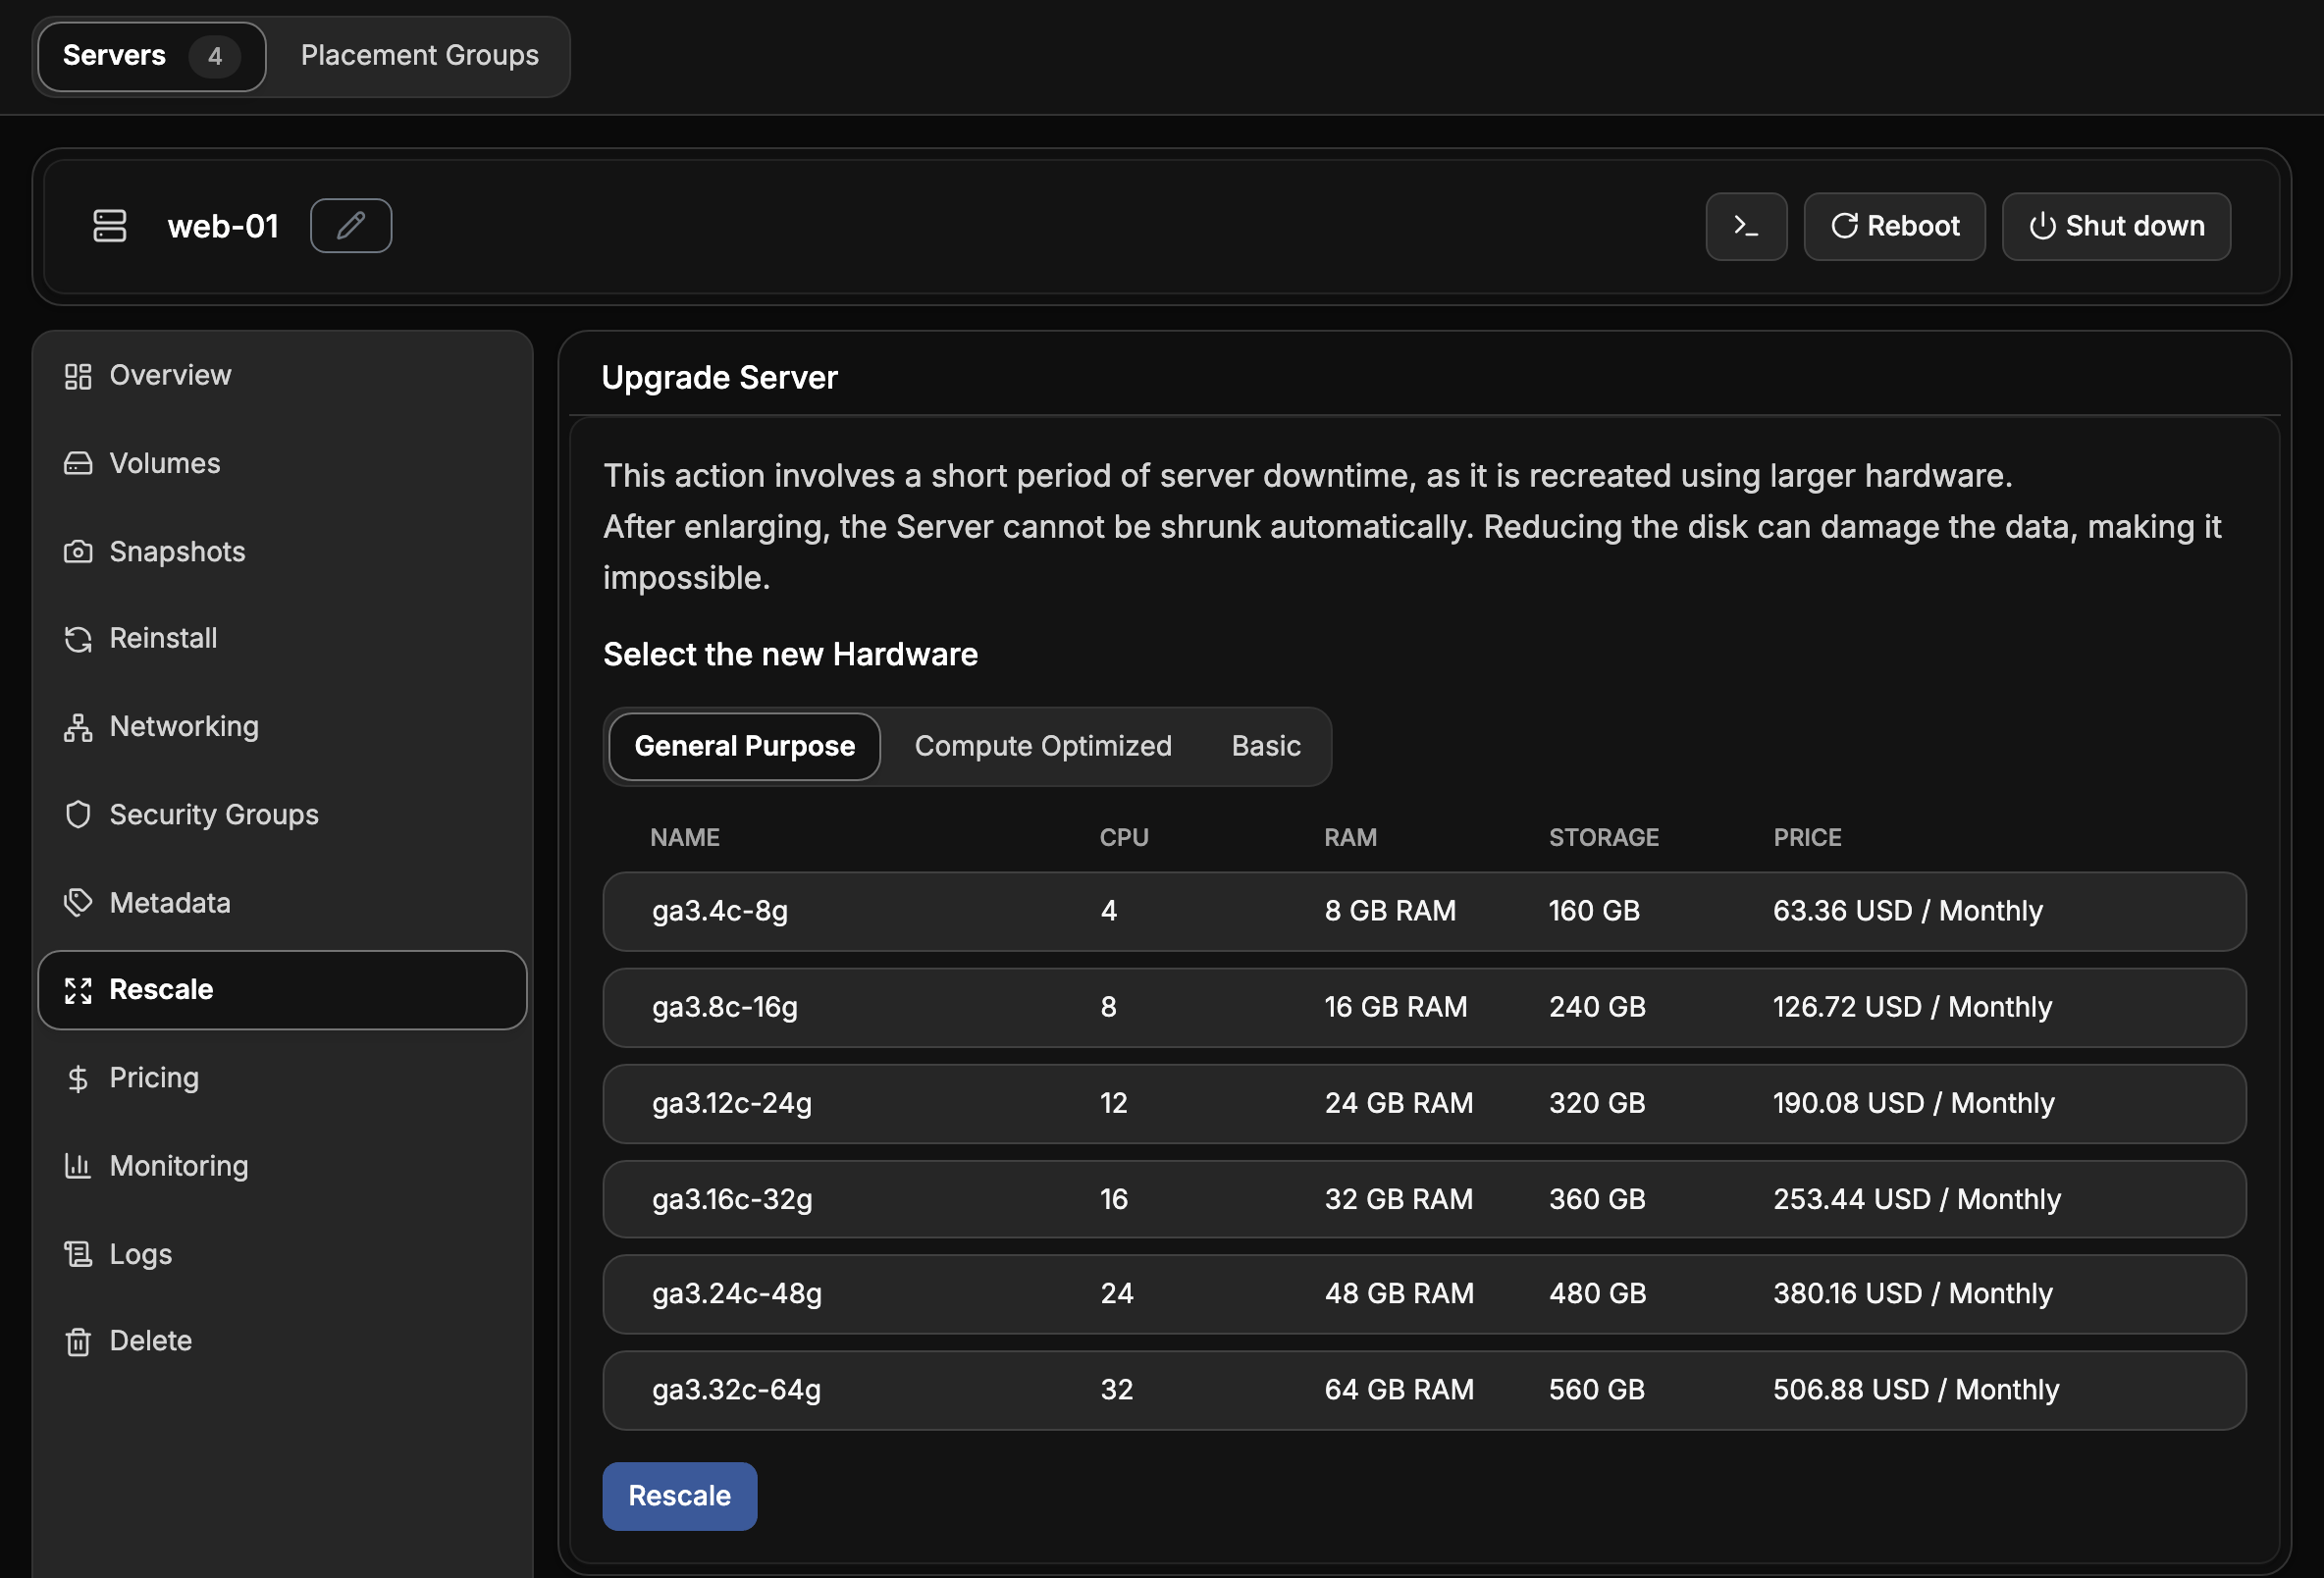
The server is unavailable for a short time while it moves. Only flavors with a larger disk than the current one are offered, because a disk cannot be shrunk without damaging its data. A server without a local disk can move to any flavor. The price changes to that of the new flavor.
Reinstall a server
Reinstalling powers the server down and overwrites its disk with a fresh image. All data on the server's disk is lost. Volumes attached to the server are kept.
- Open Reinstall and choose Select new image.
- Choose the image, then Reinstall and confirm.
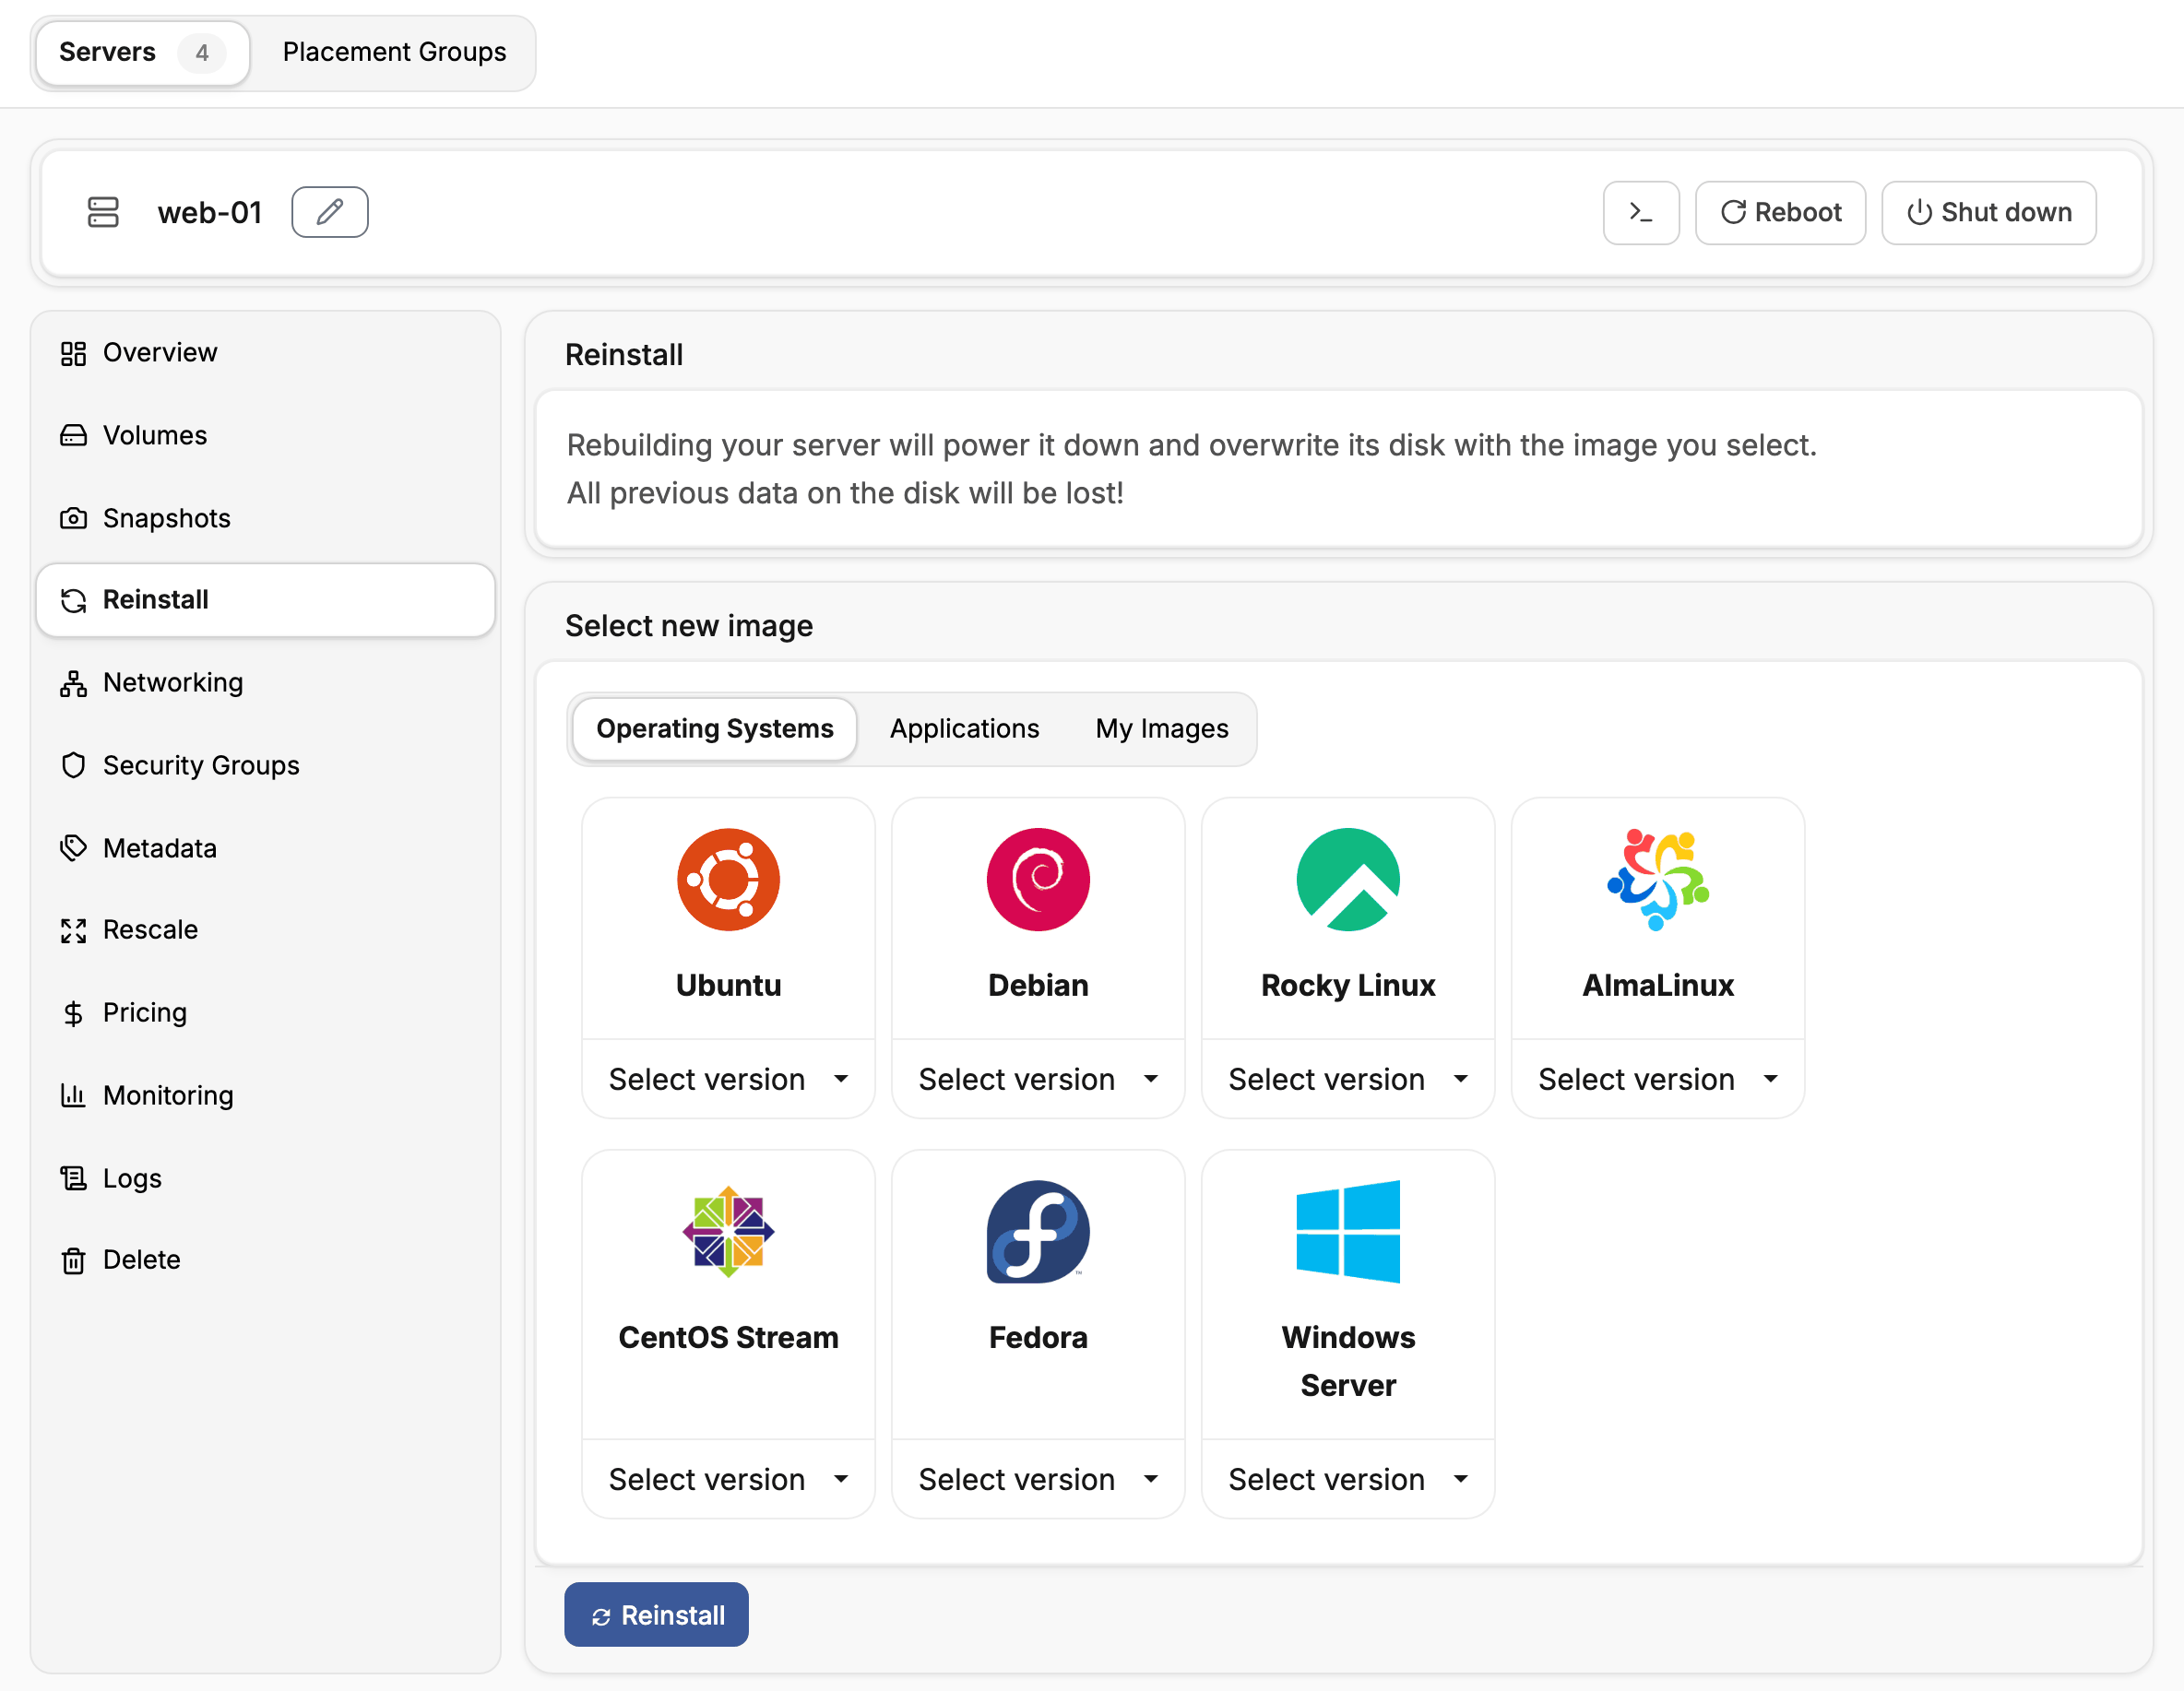
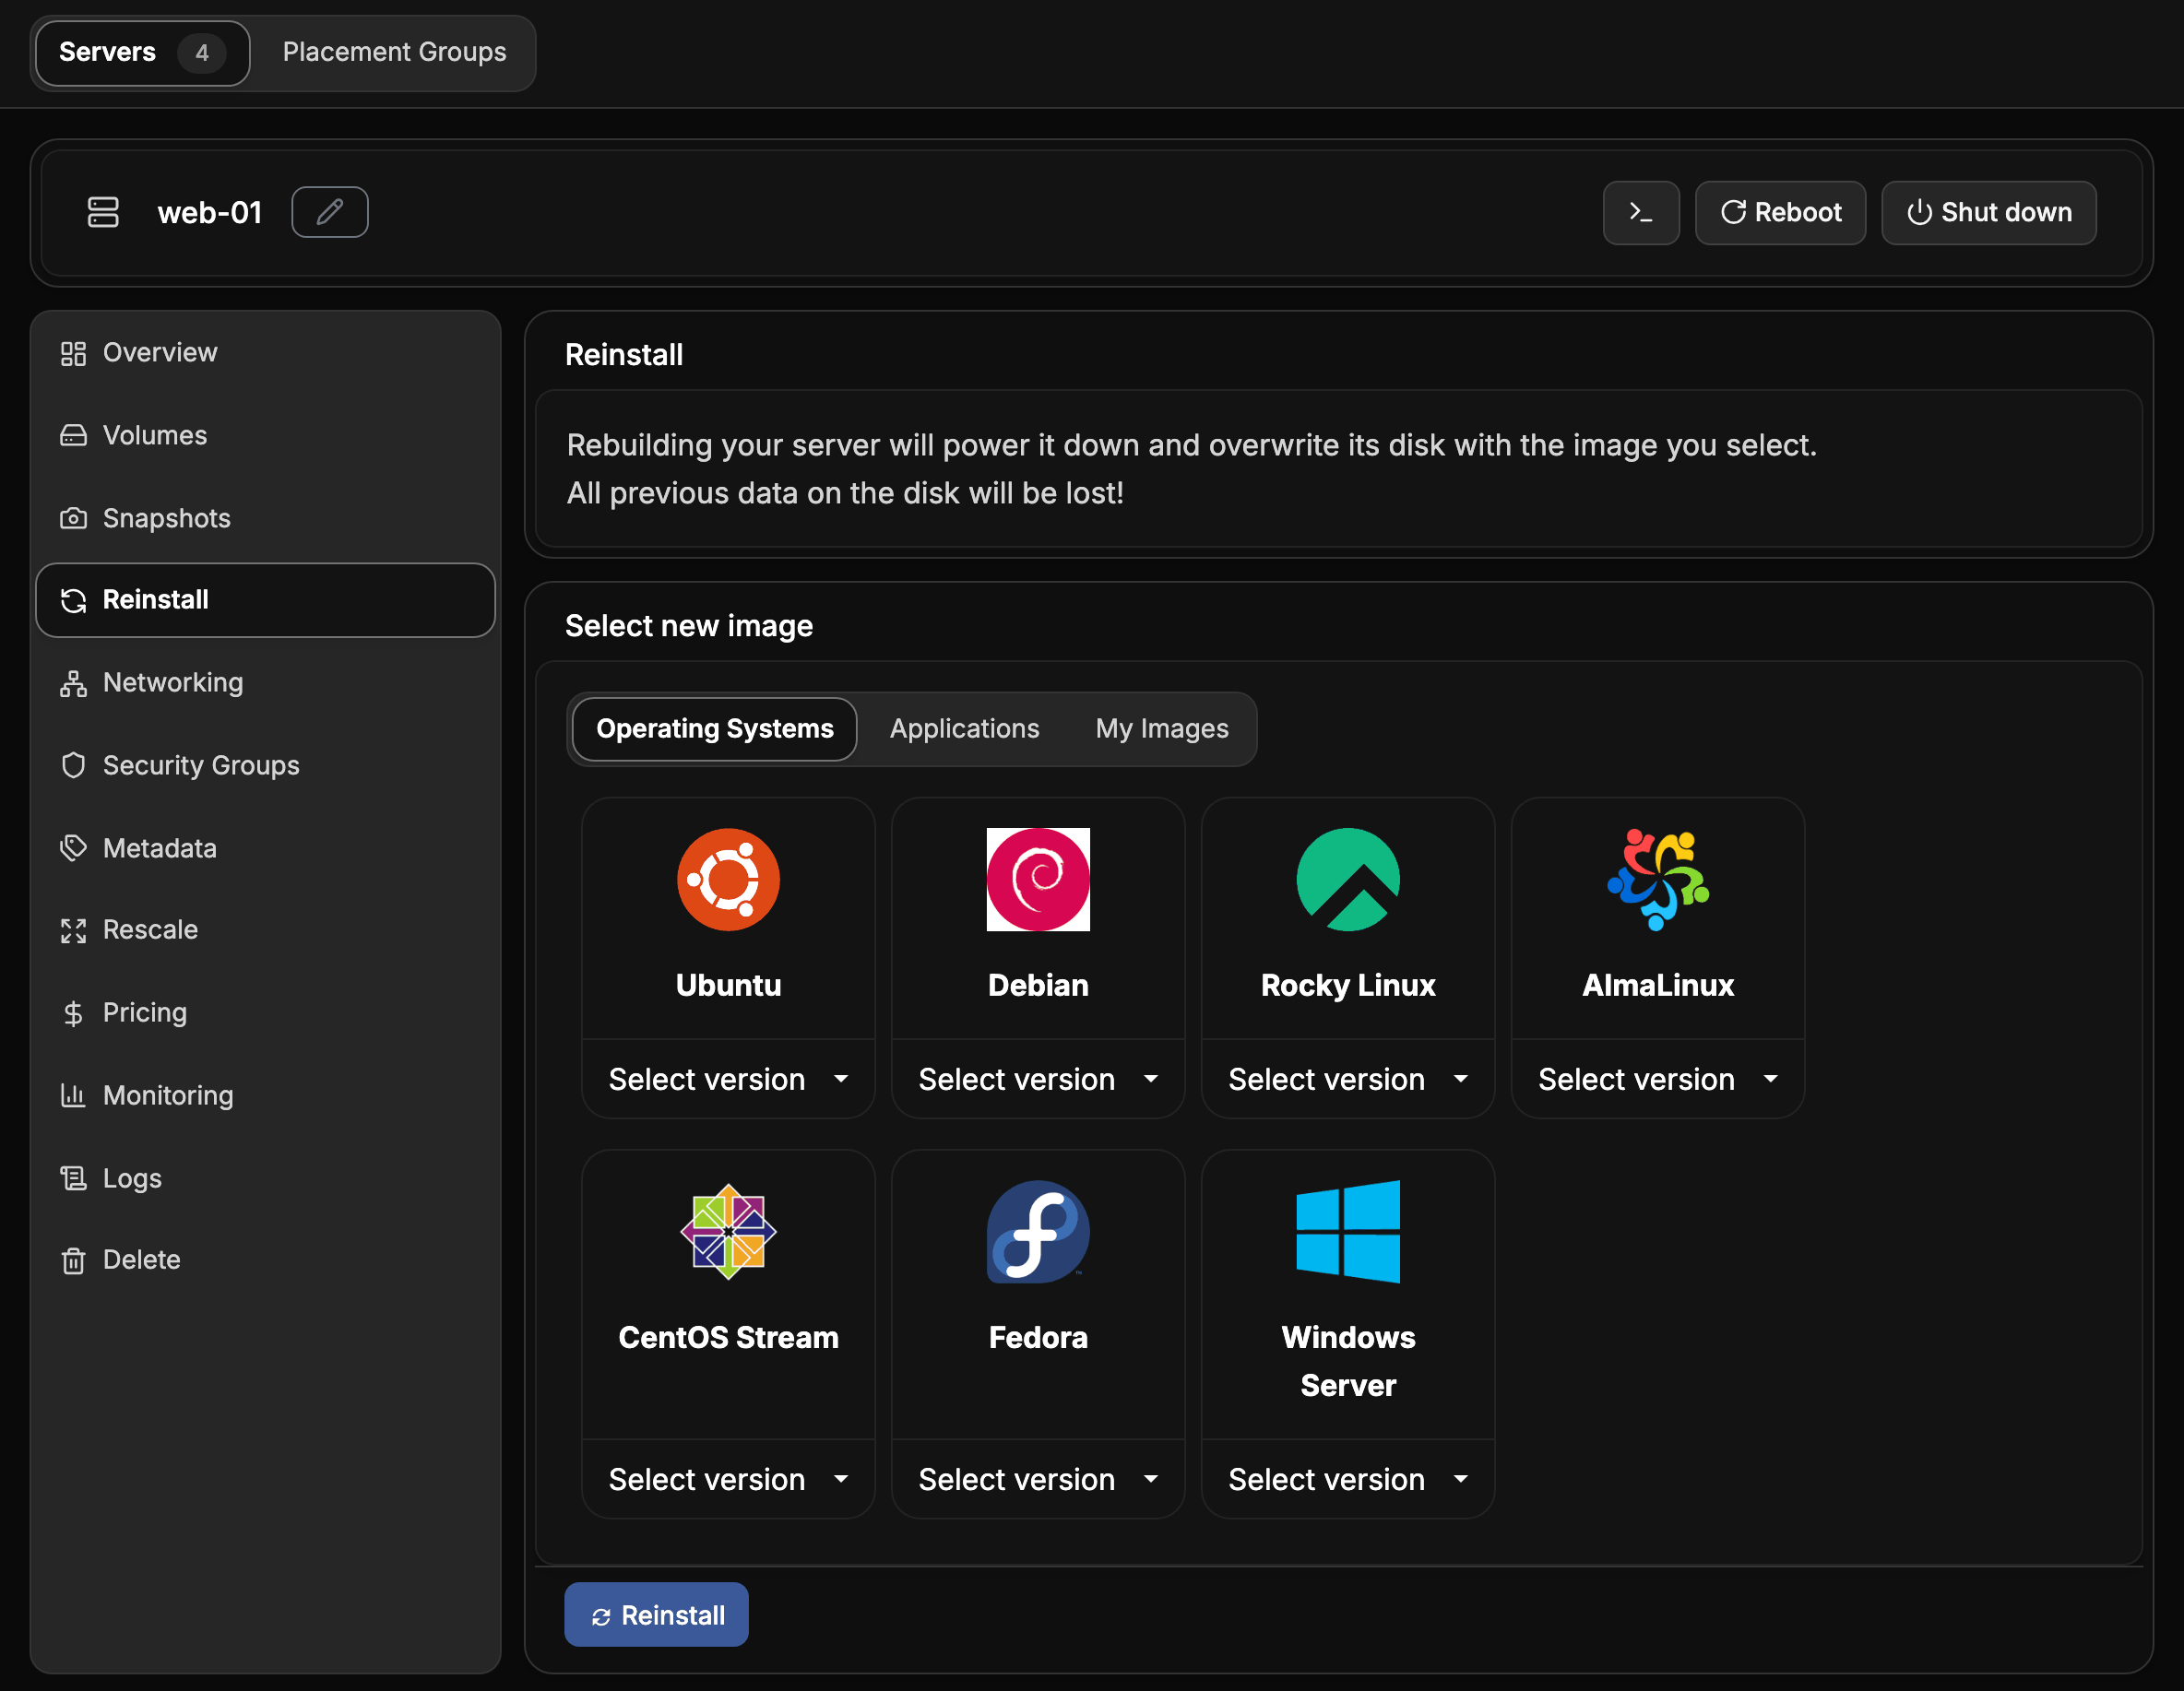
The server keeps its name, flavor, addresses and security groups.
Take a snapshot of a server
A snapshot is an image of the server's disk at a point in time. Use it as a backup before a risky change, or to create more servers with the same configuration.
- Open Snapshots and choose Create a Snapshot.
- Enter a name and confirm.
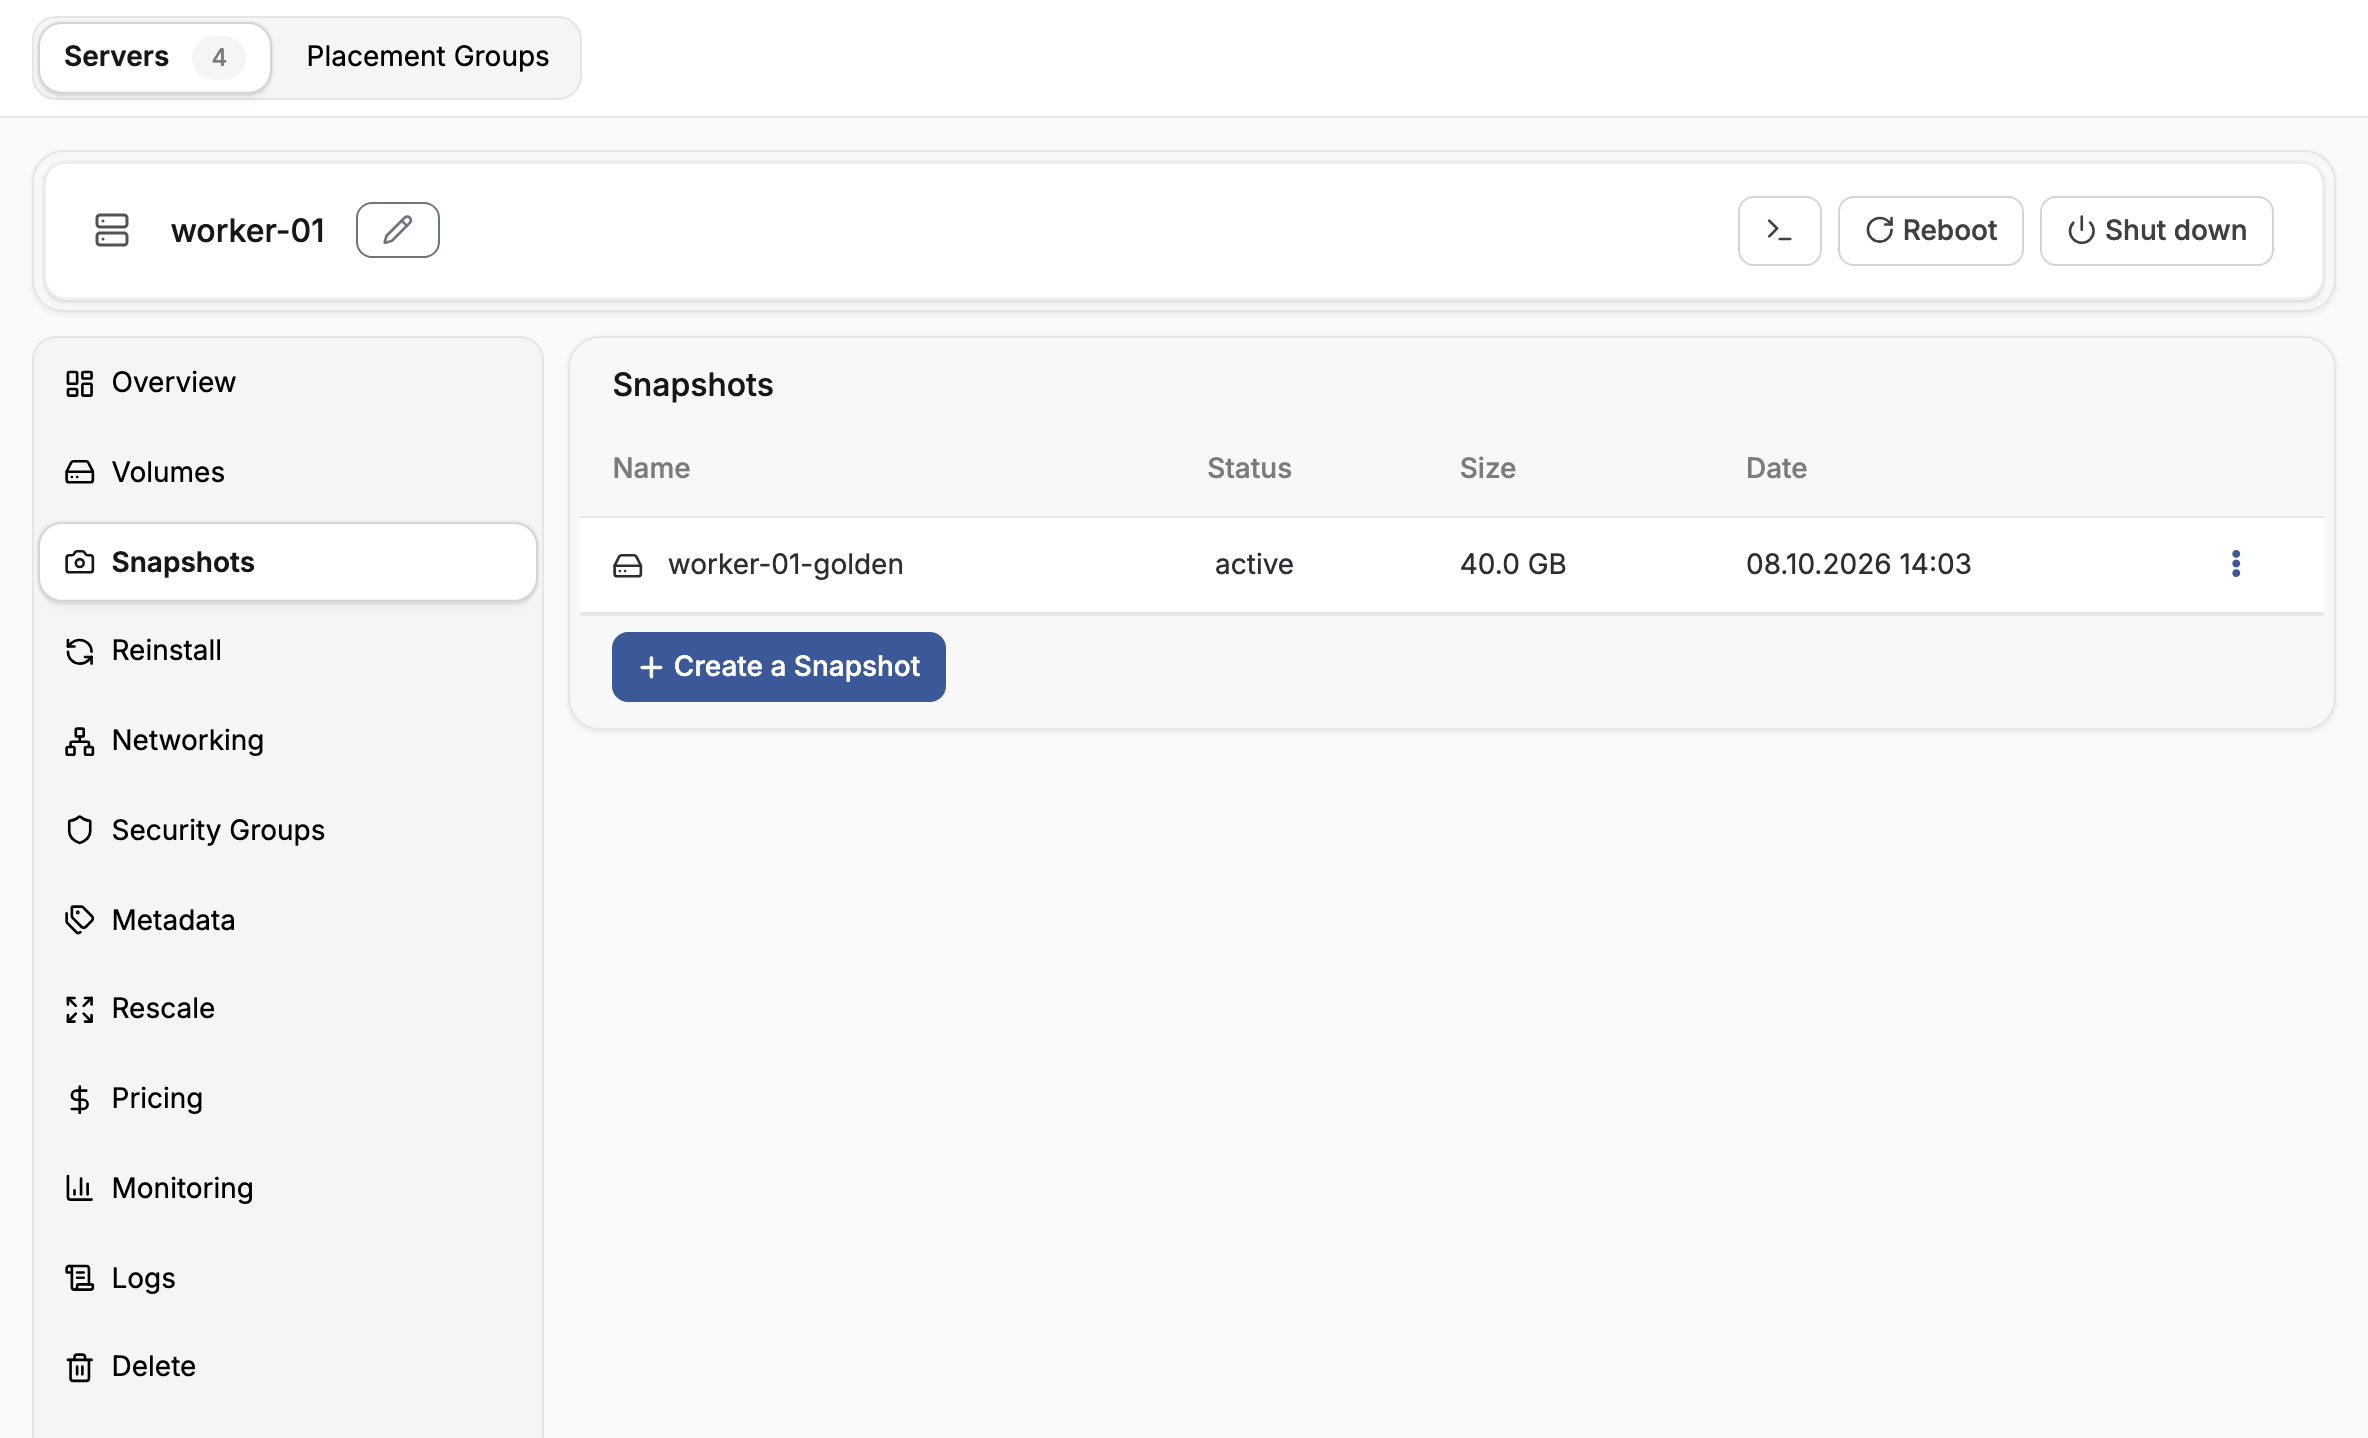
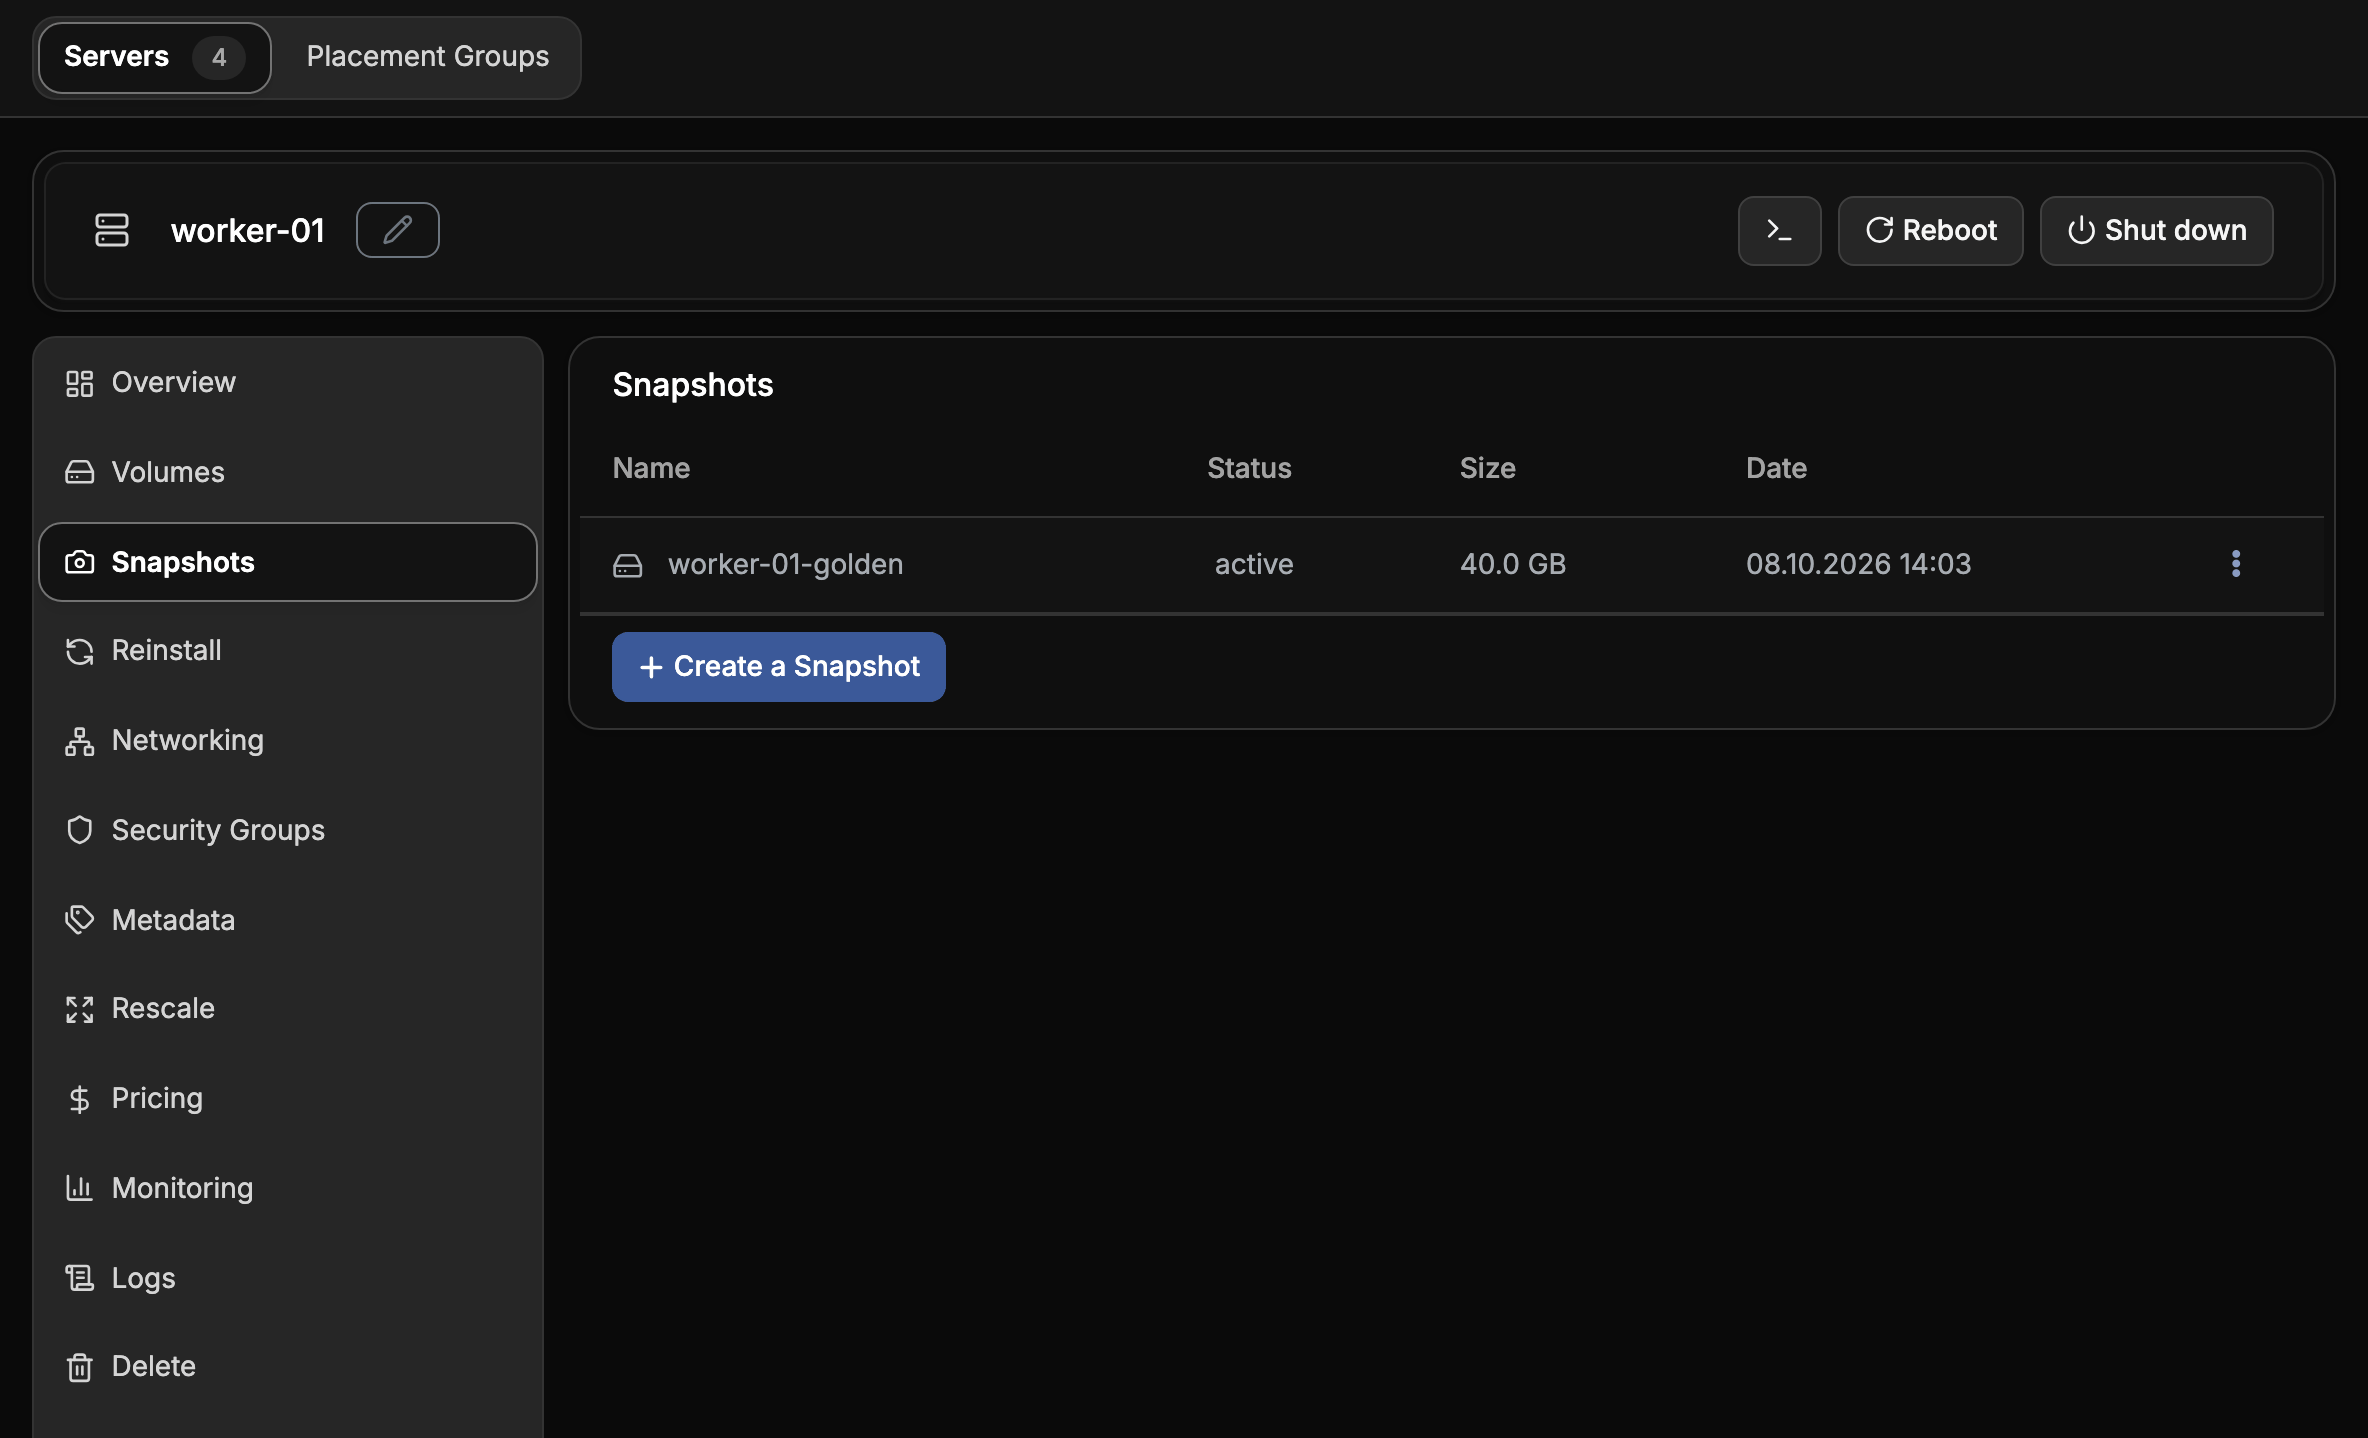
The snapshot appears under My Images and in the My Images tab when you create a server. The menu on a snapshot's row offers Download, to save it to your computer, and Delete. Snapshots are stored as images and may be charged by size. See Images.
For a server that boots from a volume, take a snapshot of the volume instead. See Volumes.
Attach volumes
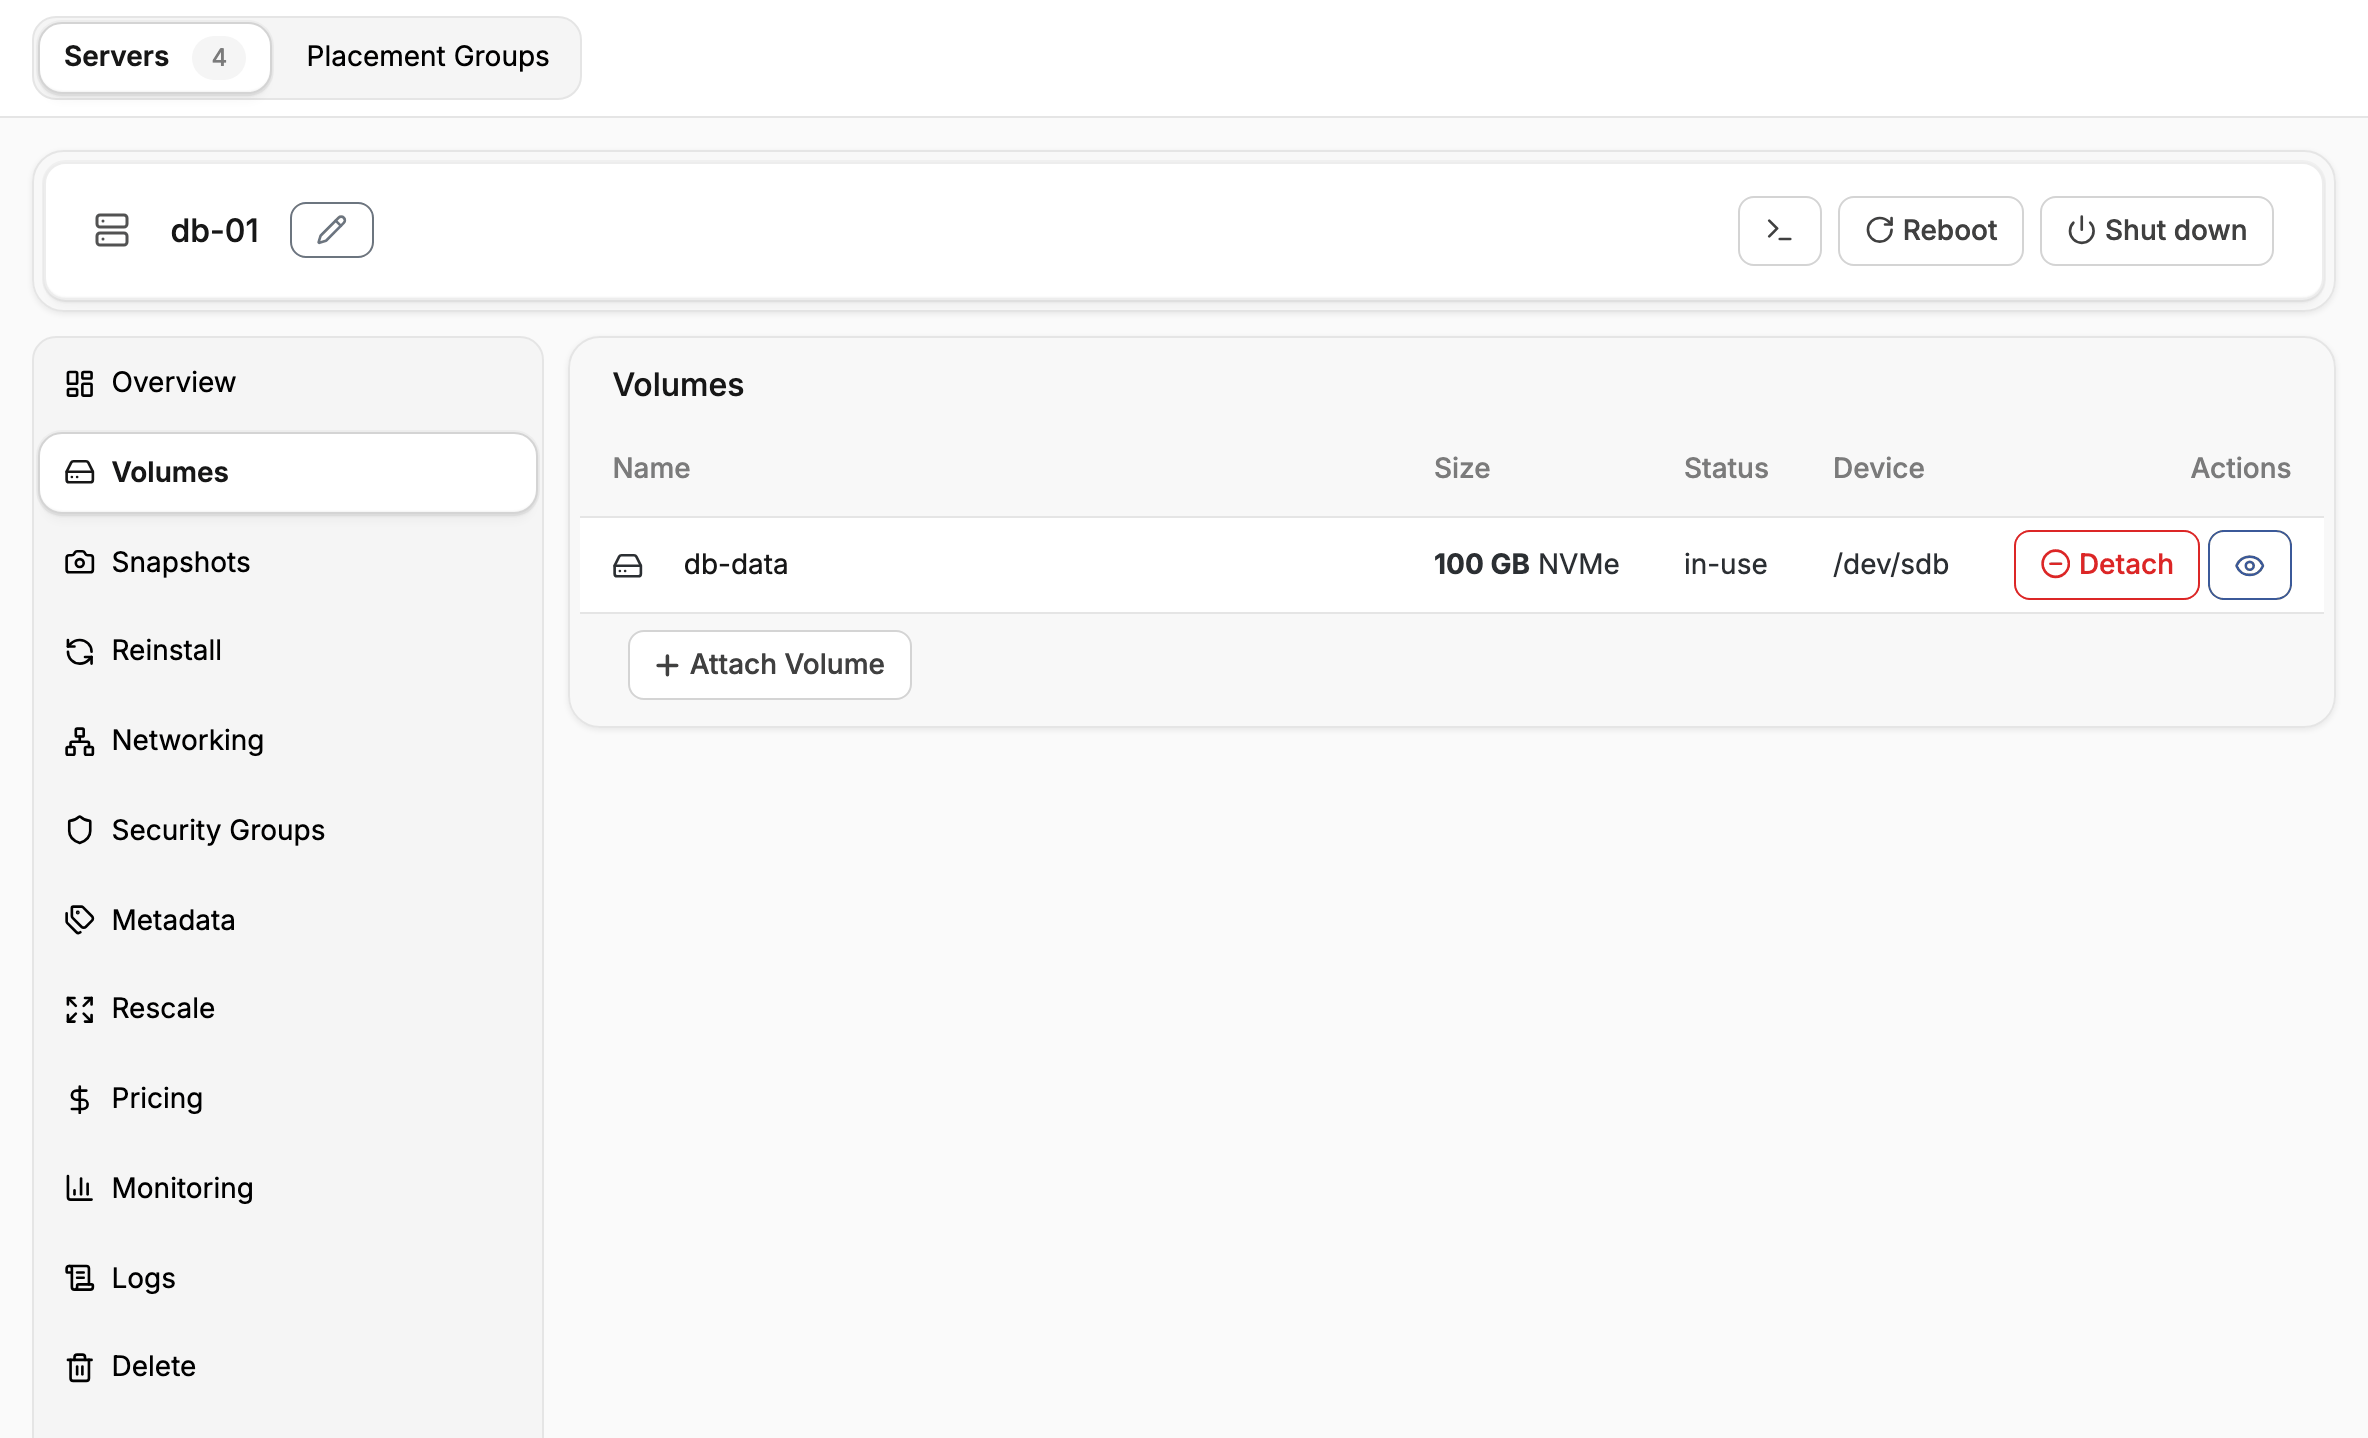
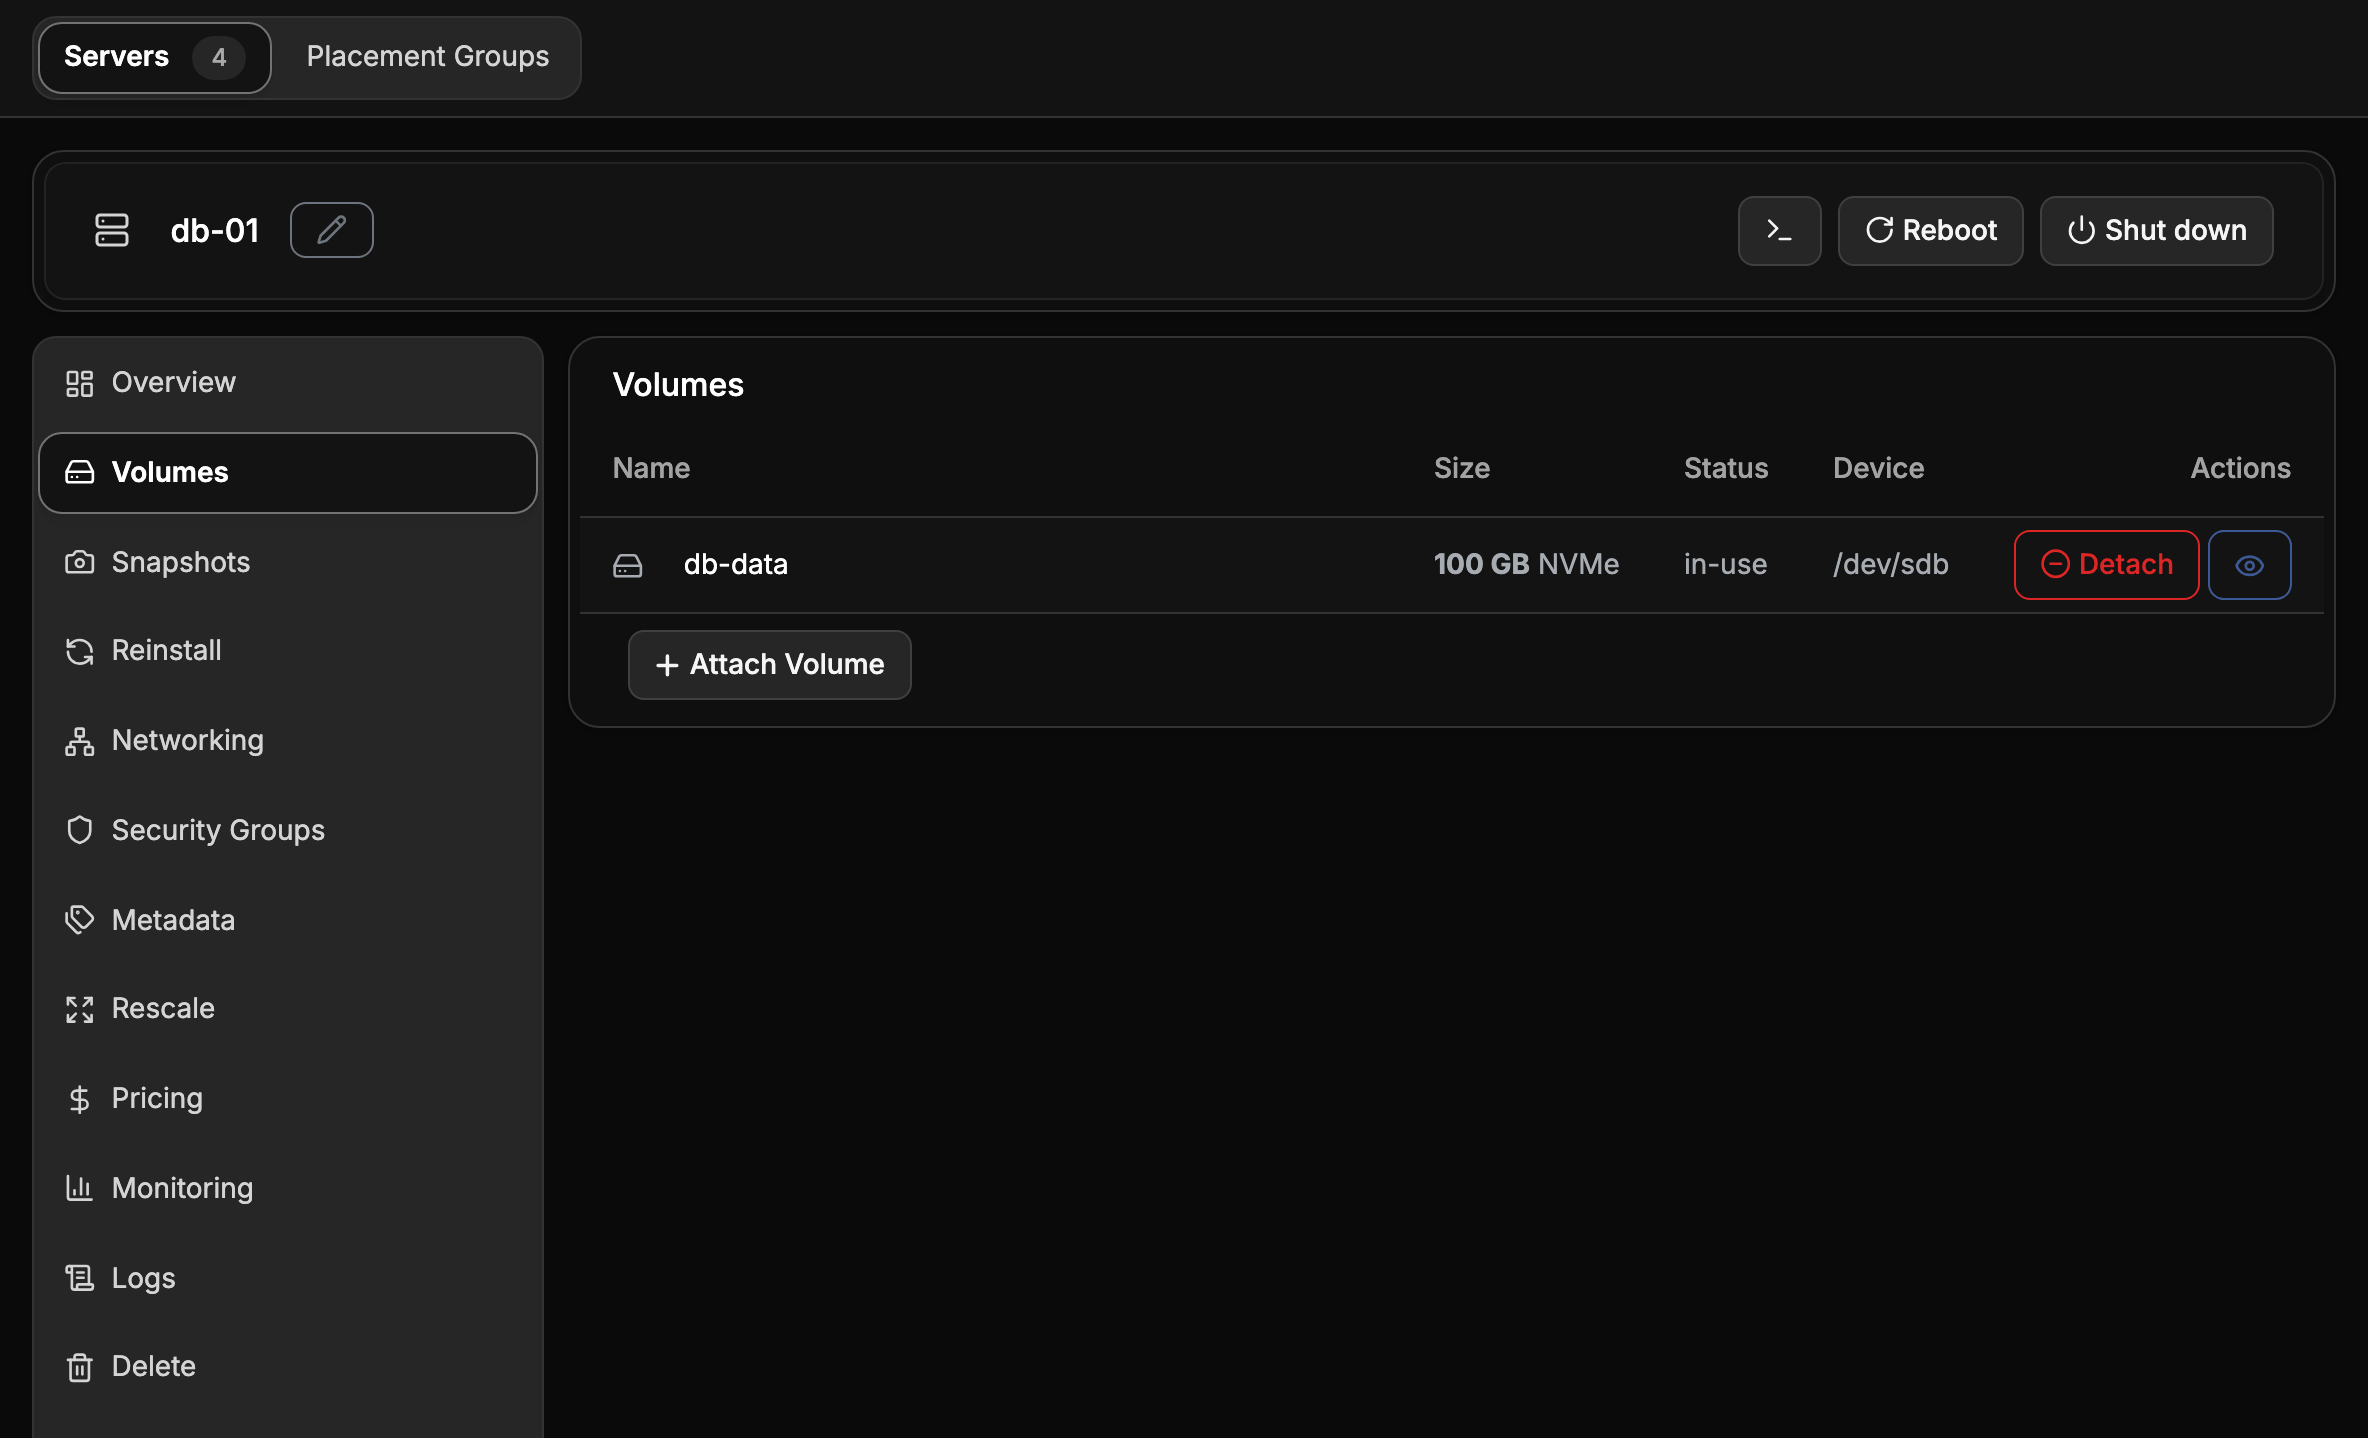
Volumes lists the volumes attached to the server. Choose Attach Volume to attach a volume from the same location, or Detach to remove one. Unmount the file system in the operating system before you detach a volume.
Change the server's networks
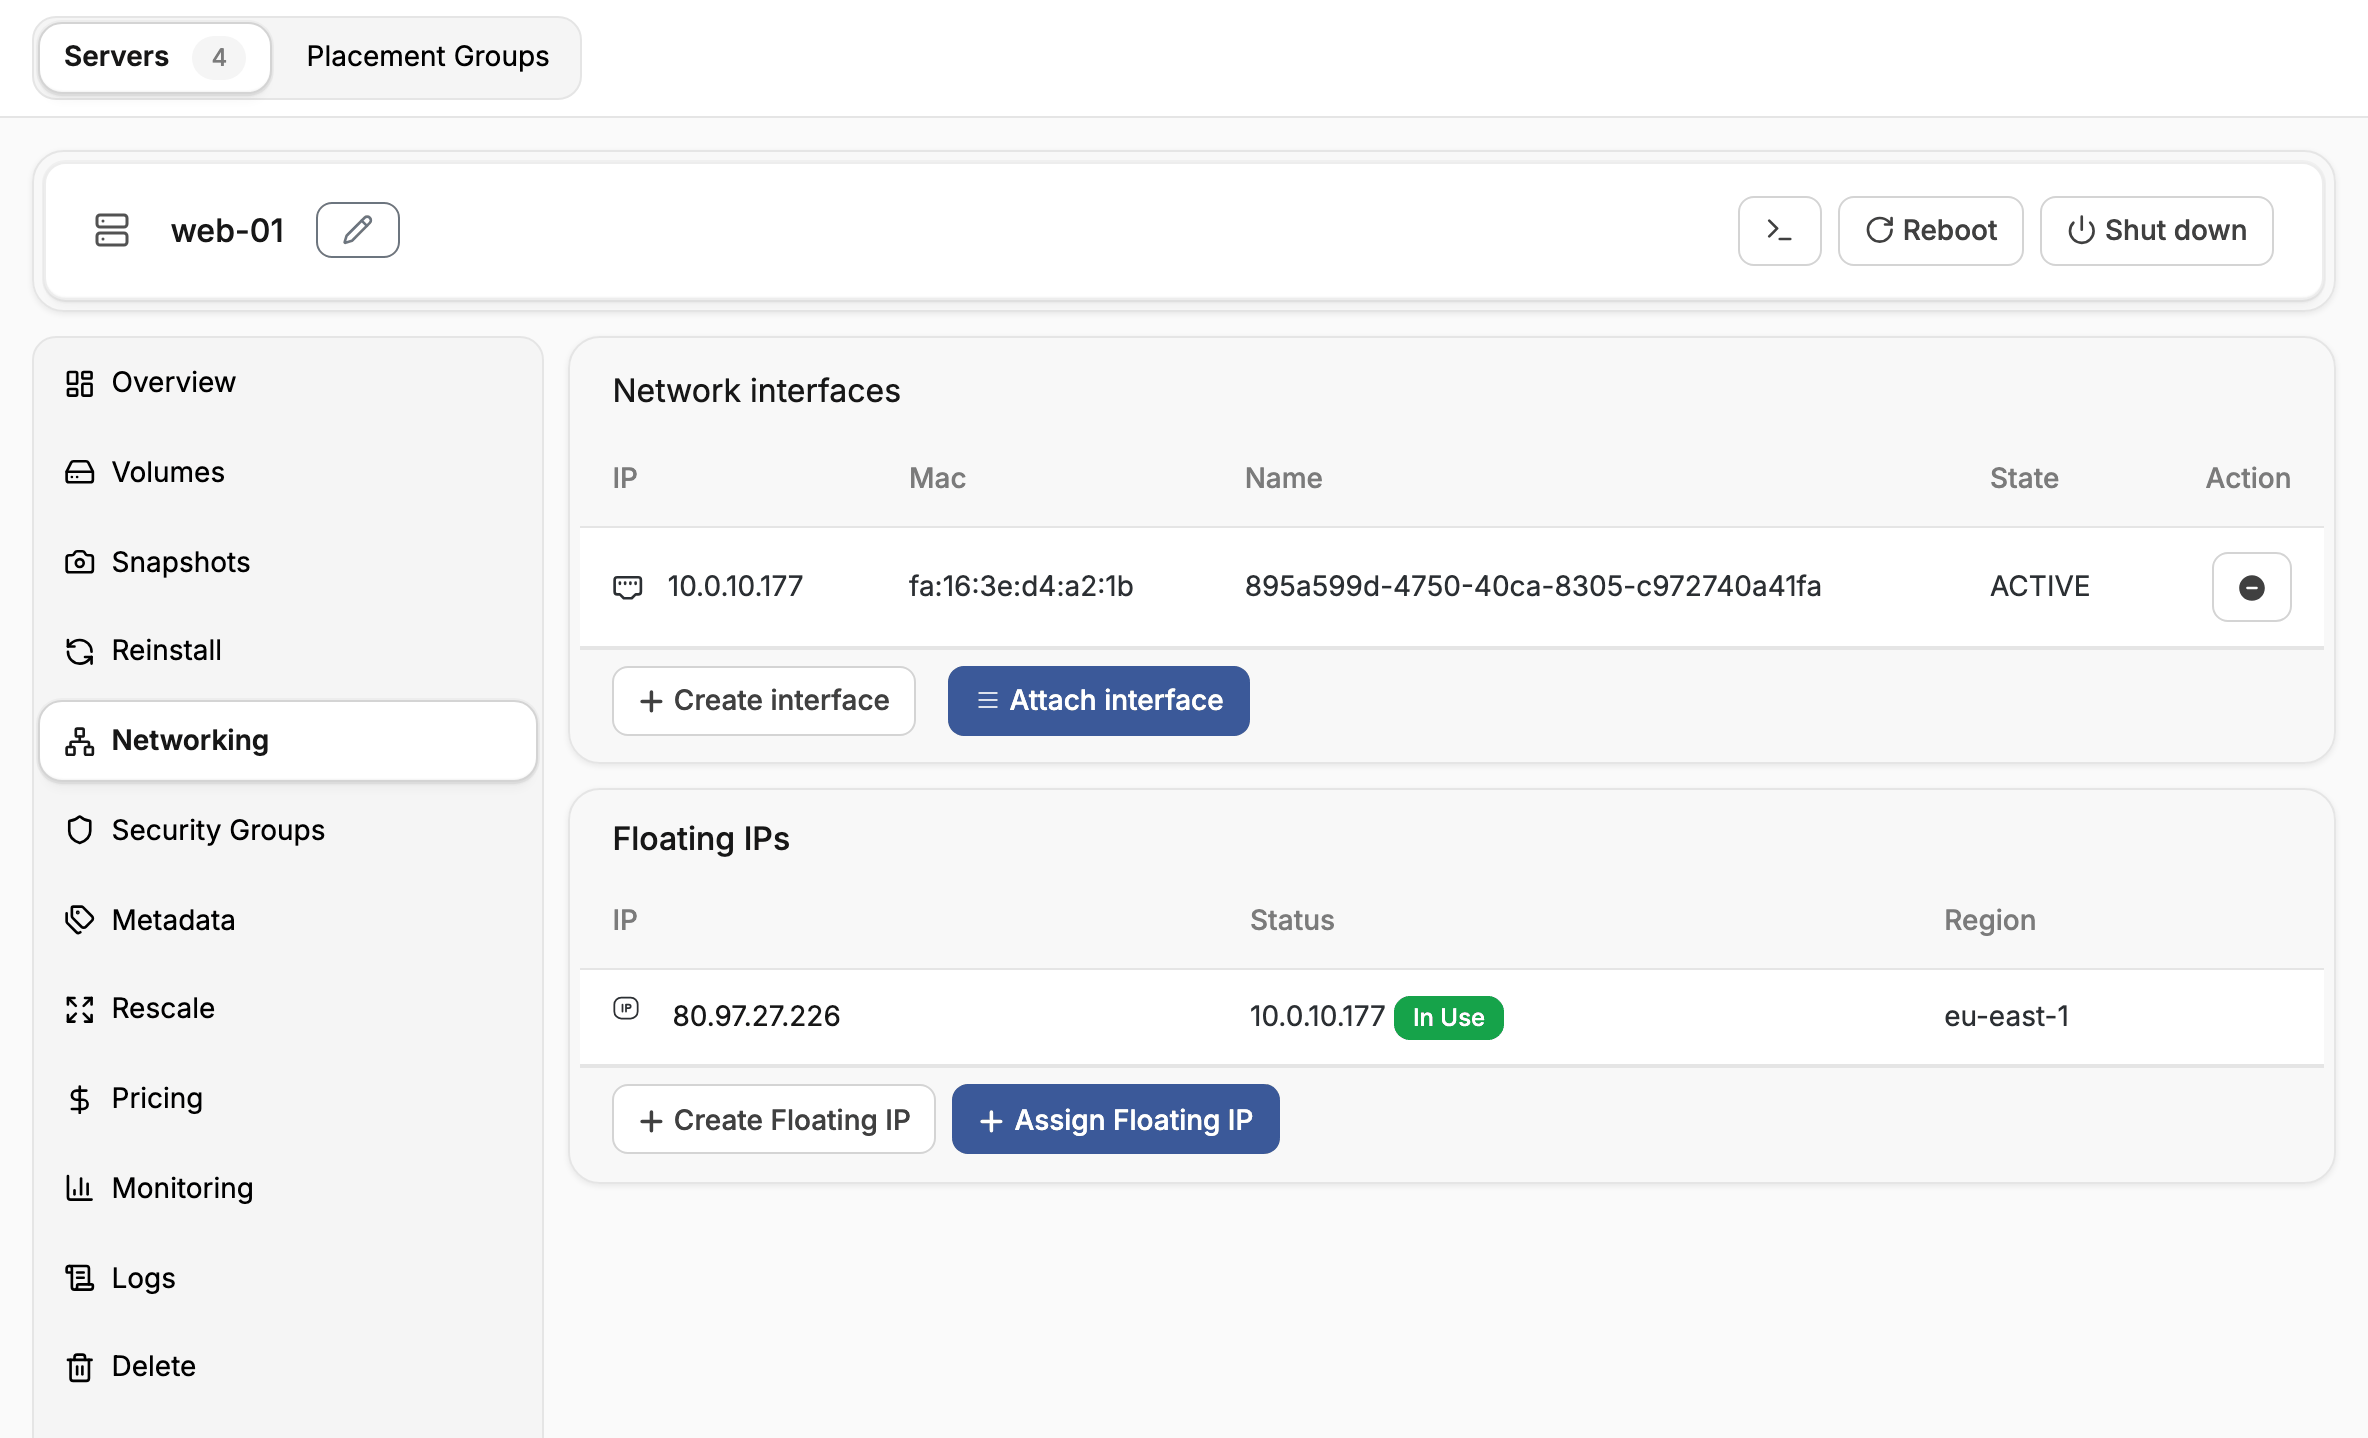
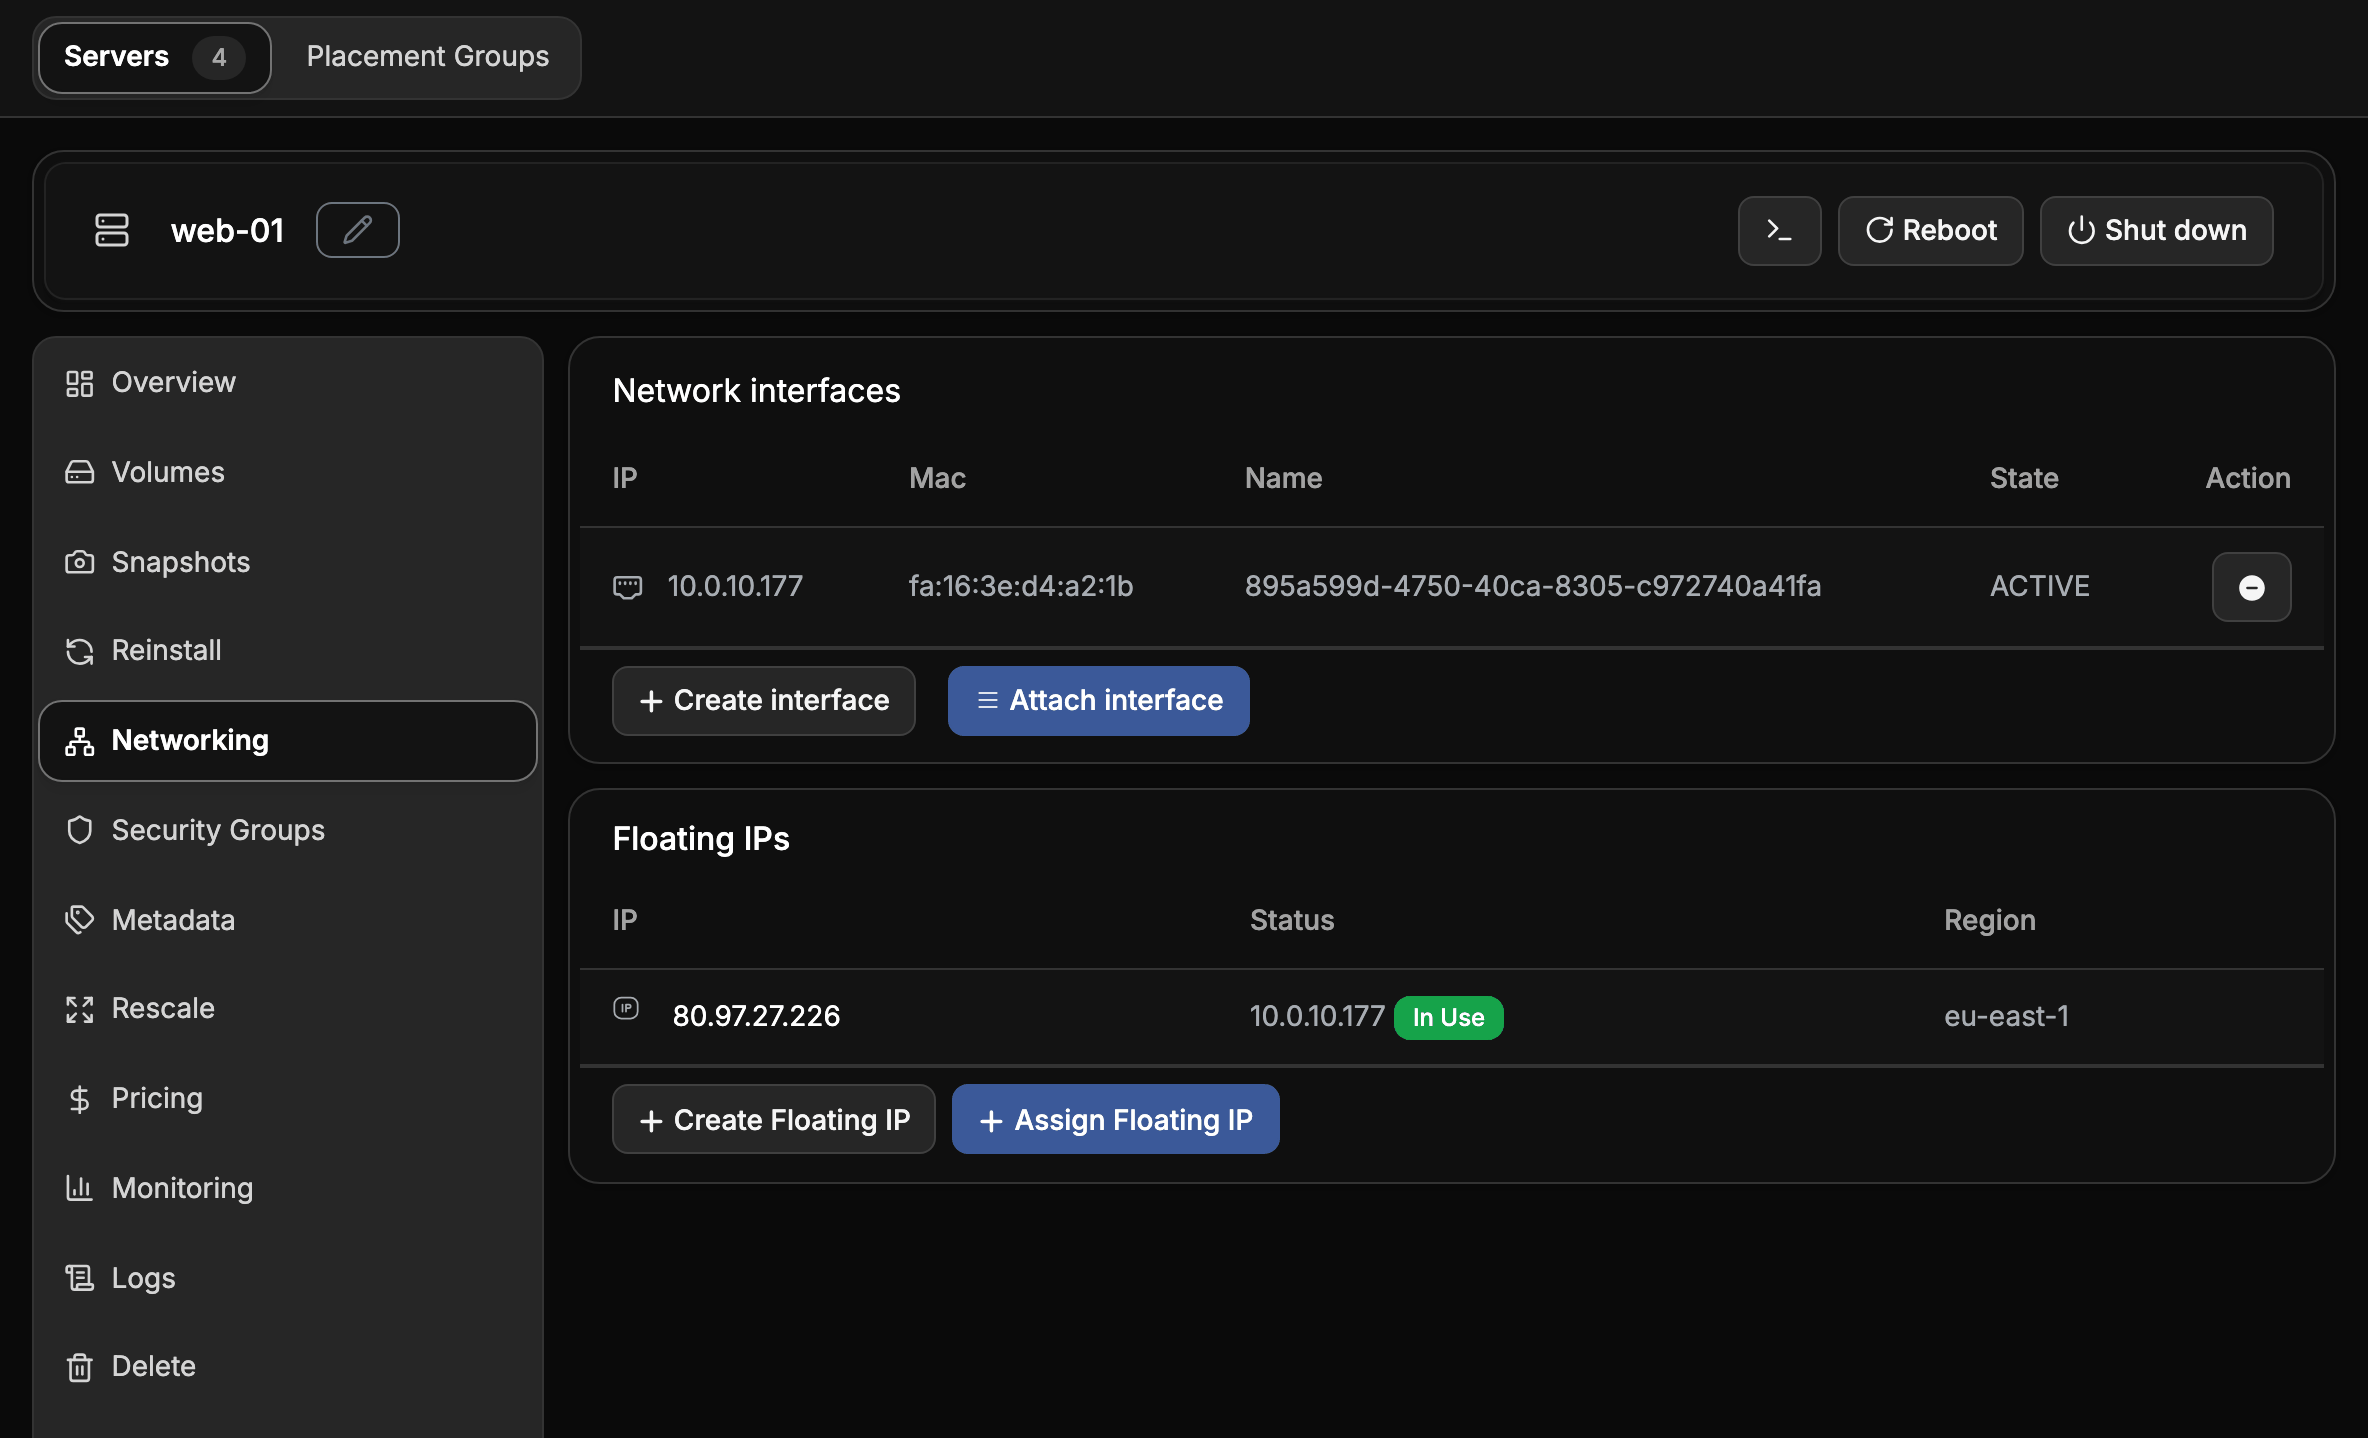
Networking lists the server's network interfaces and floating IPs.
- Create interface connects the server to another network. Attach interface attaches an existing port.
- The remove button on an interface's row detaches it. Tick Delete the interface to delete its port as well.
- Create Floating IP and Assign Floating IP give the server a public address. See Floating IPs.
Change the server's security groups
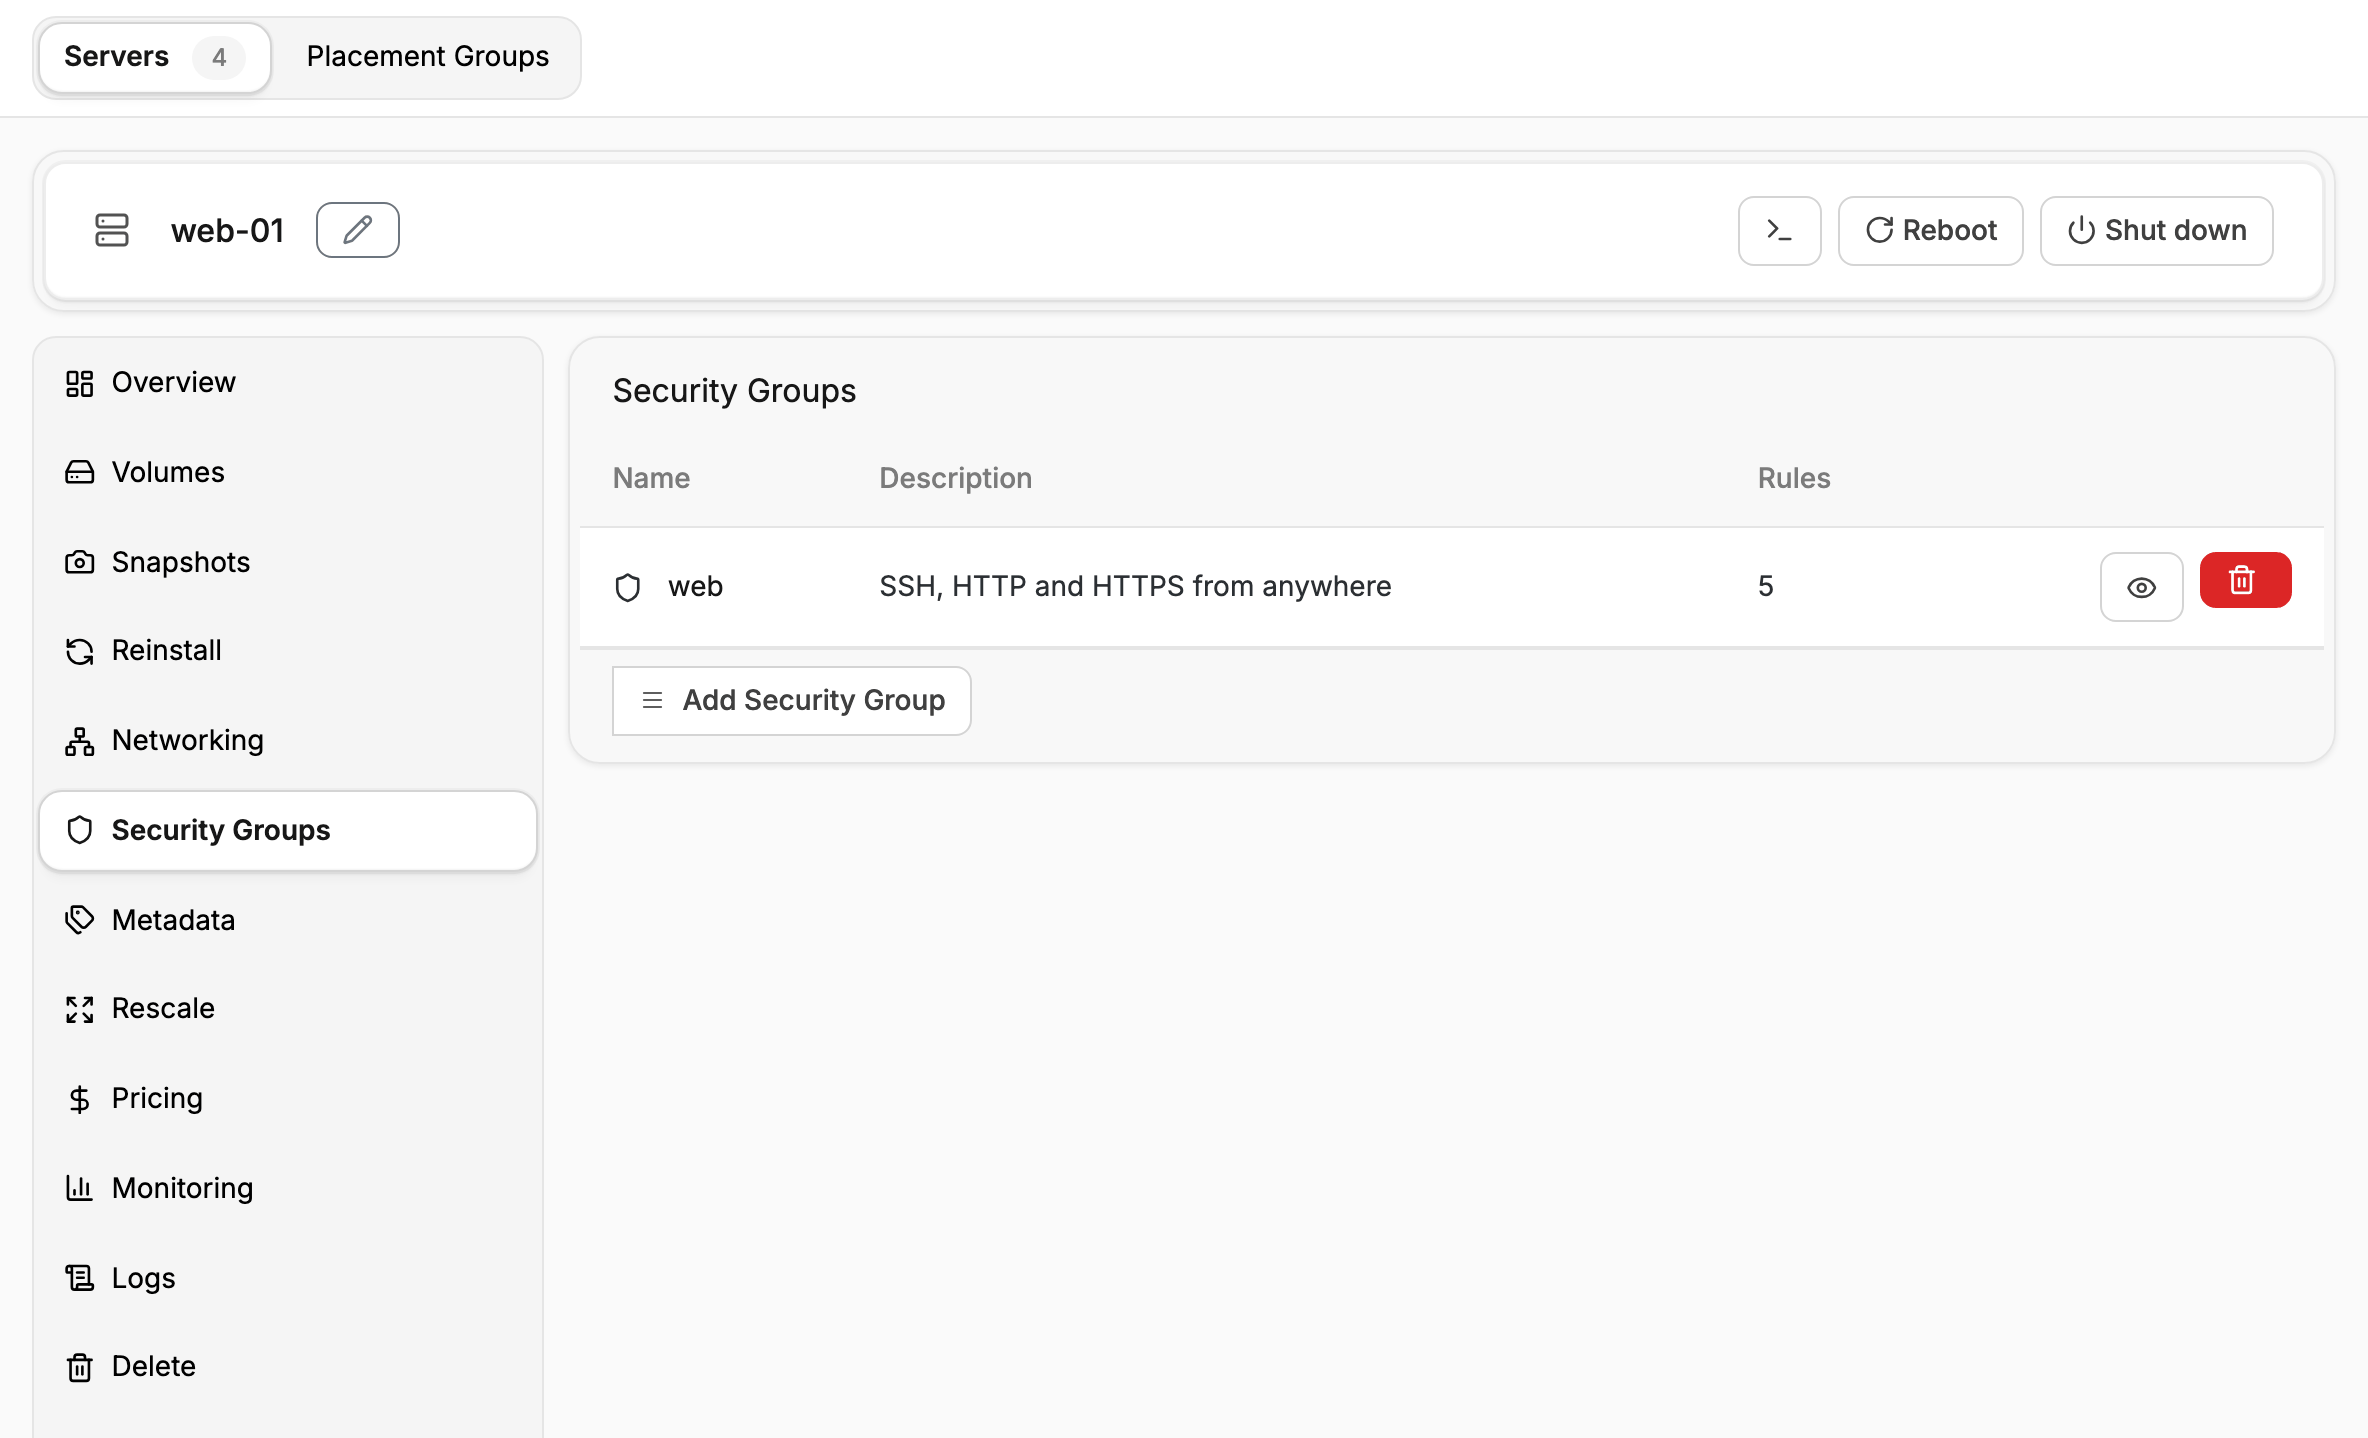
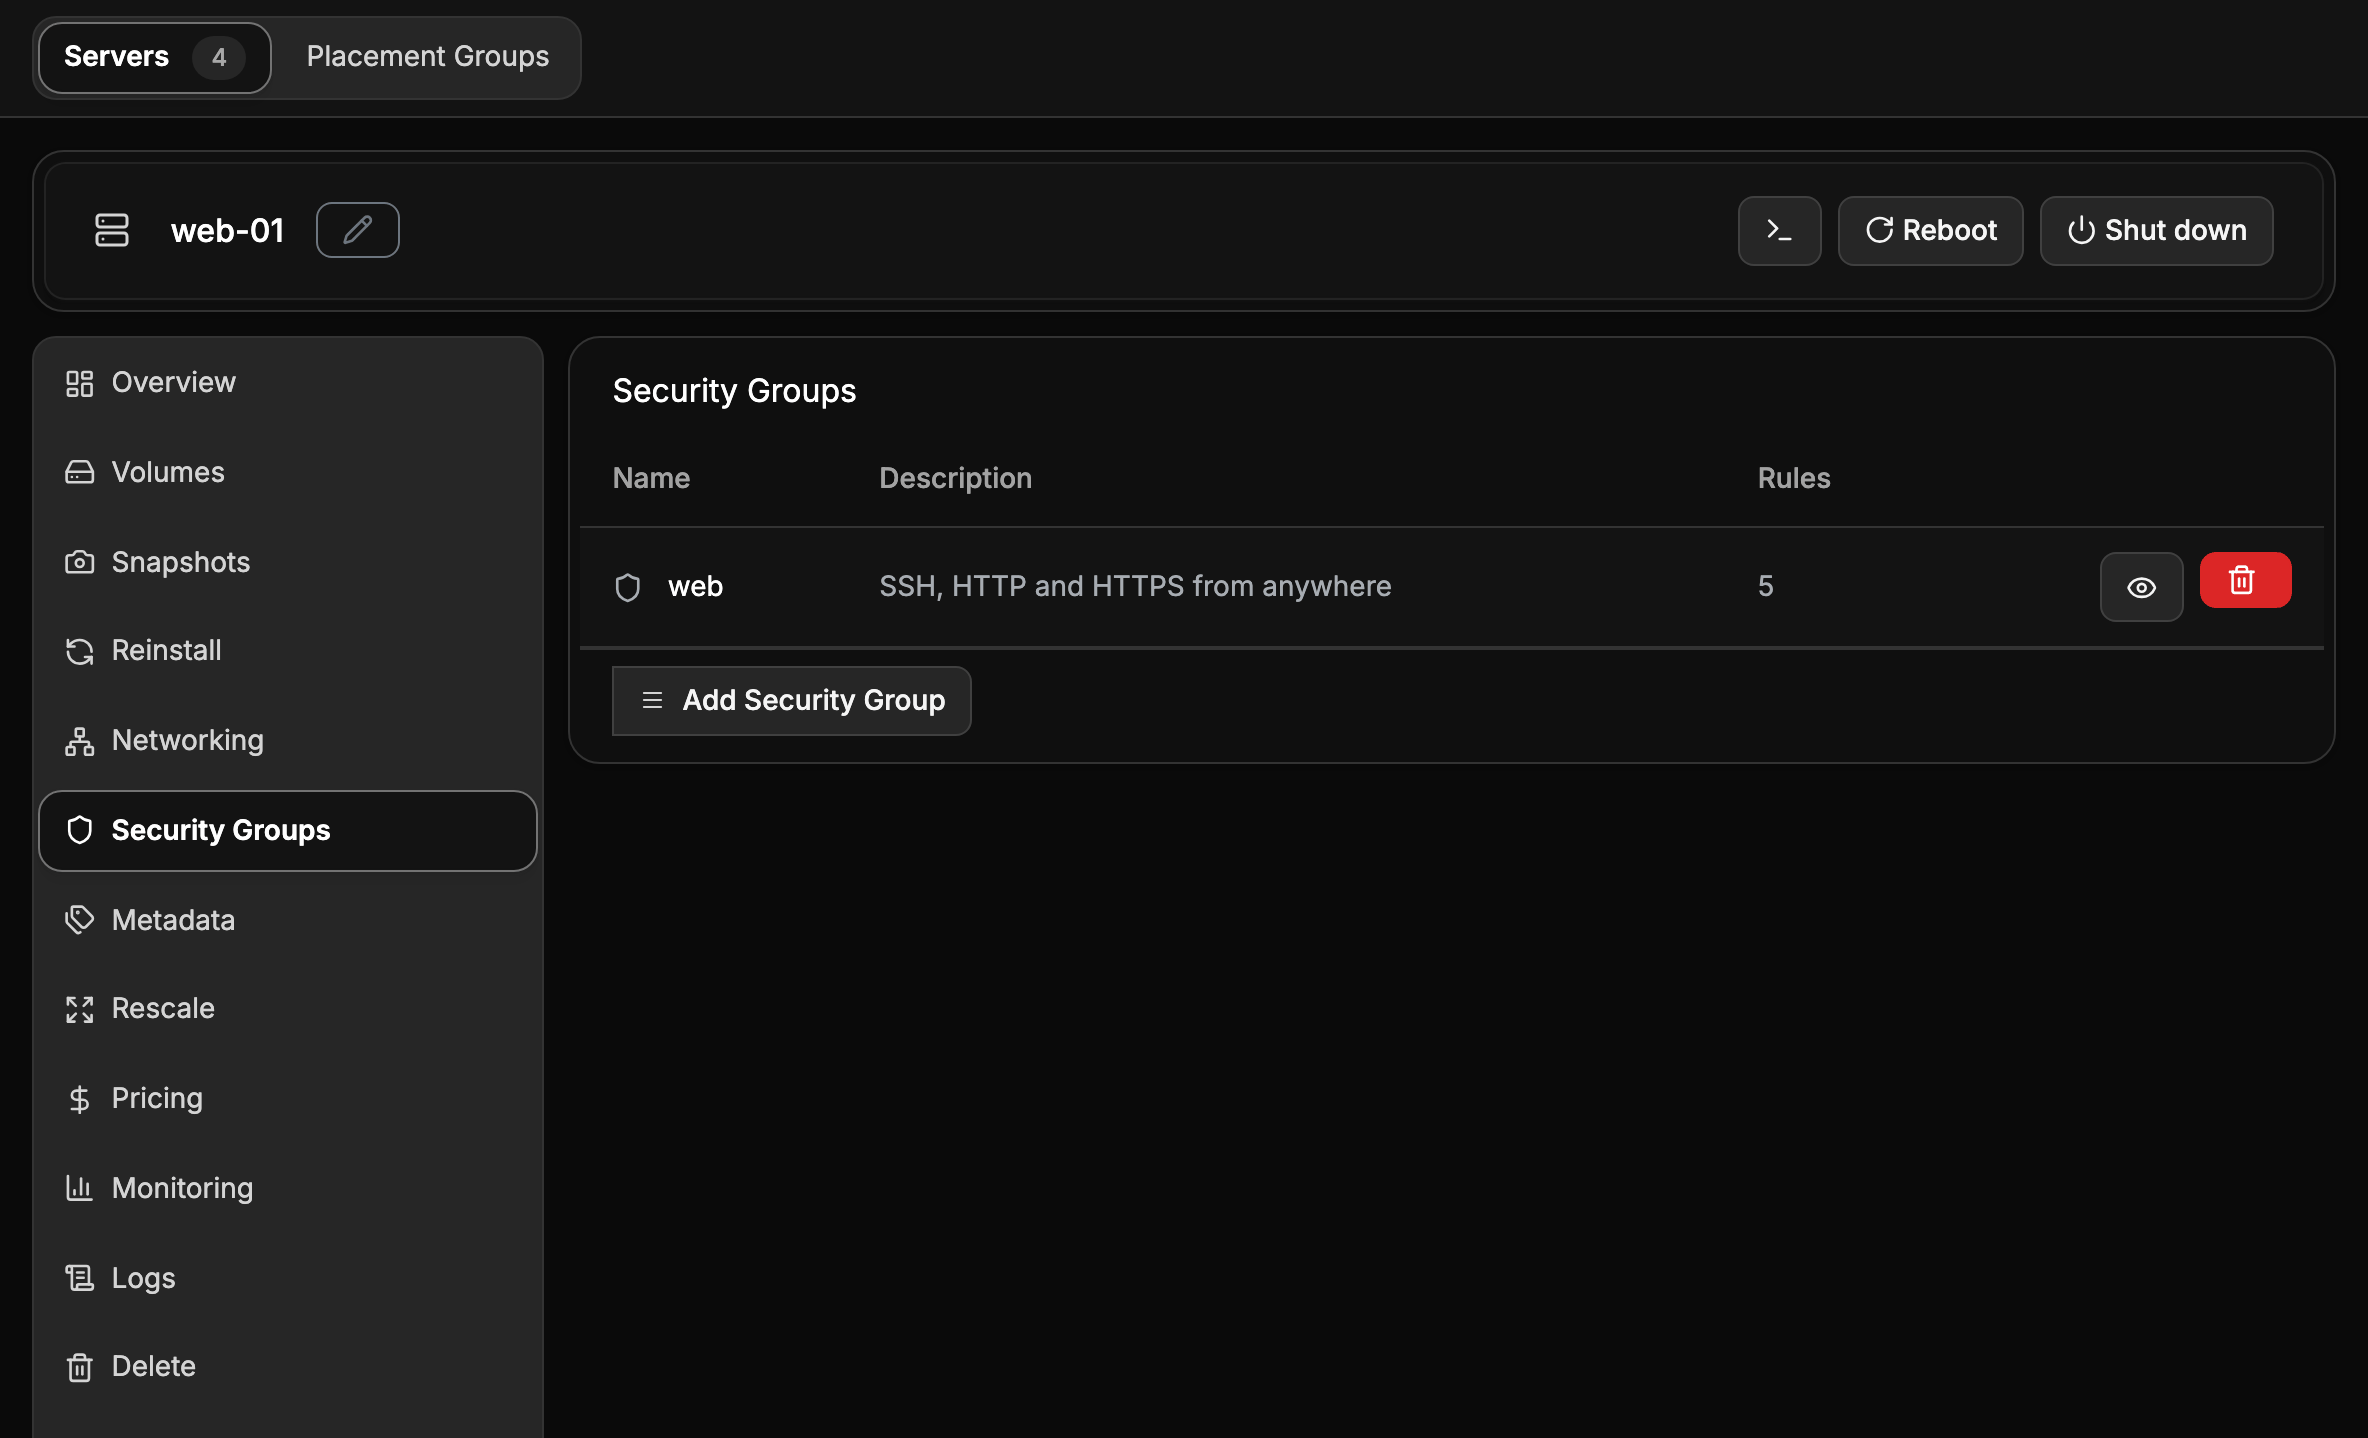
Security Groups lists the groups applied to the server. Choose Add Security Group to apply another group, or remove one from its row. Changes apply at once to the running server. See Security groups.
Edit metadata
Metadata shows the server's key-value properties. Add, change or remove properties there. Keys that
start with hw:, os_ or osie_ are reserved.
Follow usage and cost
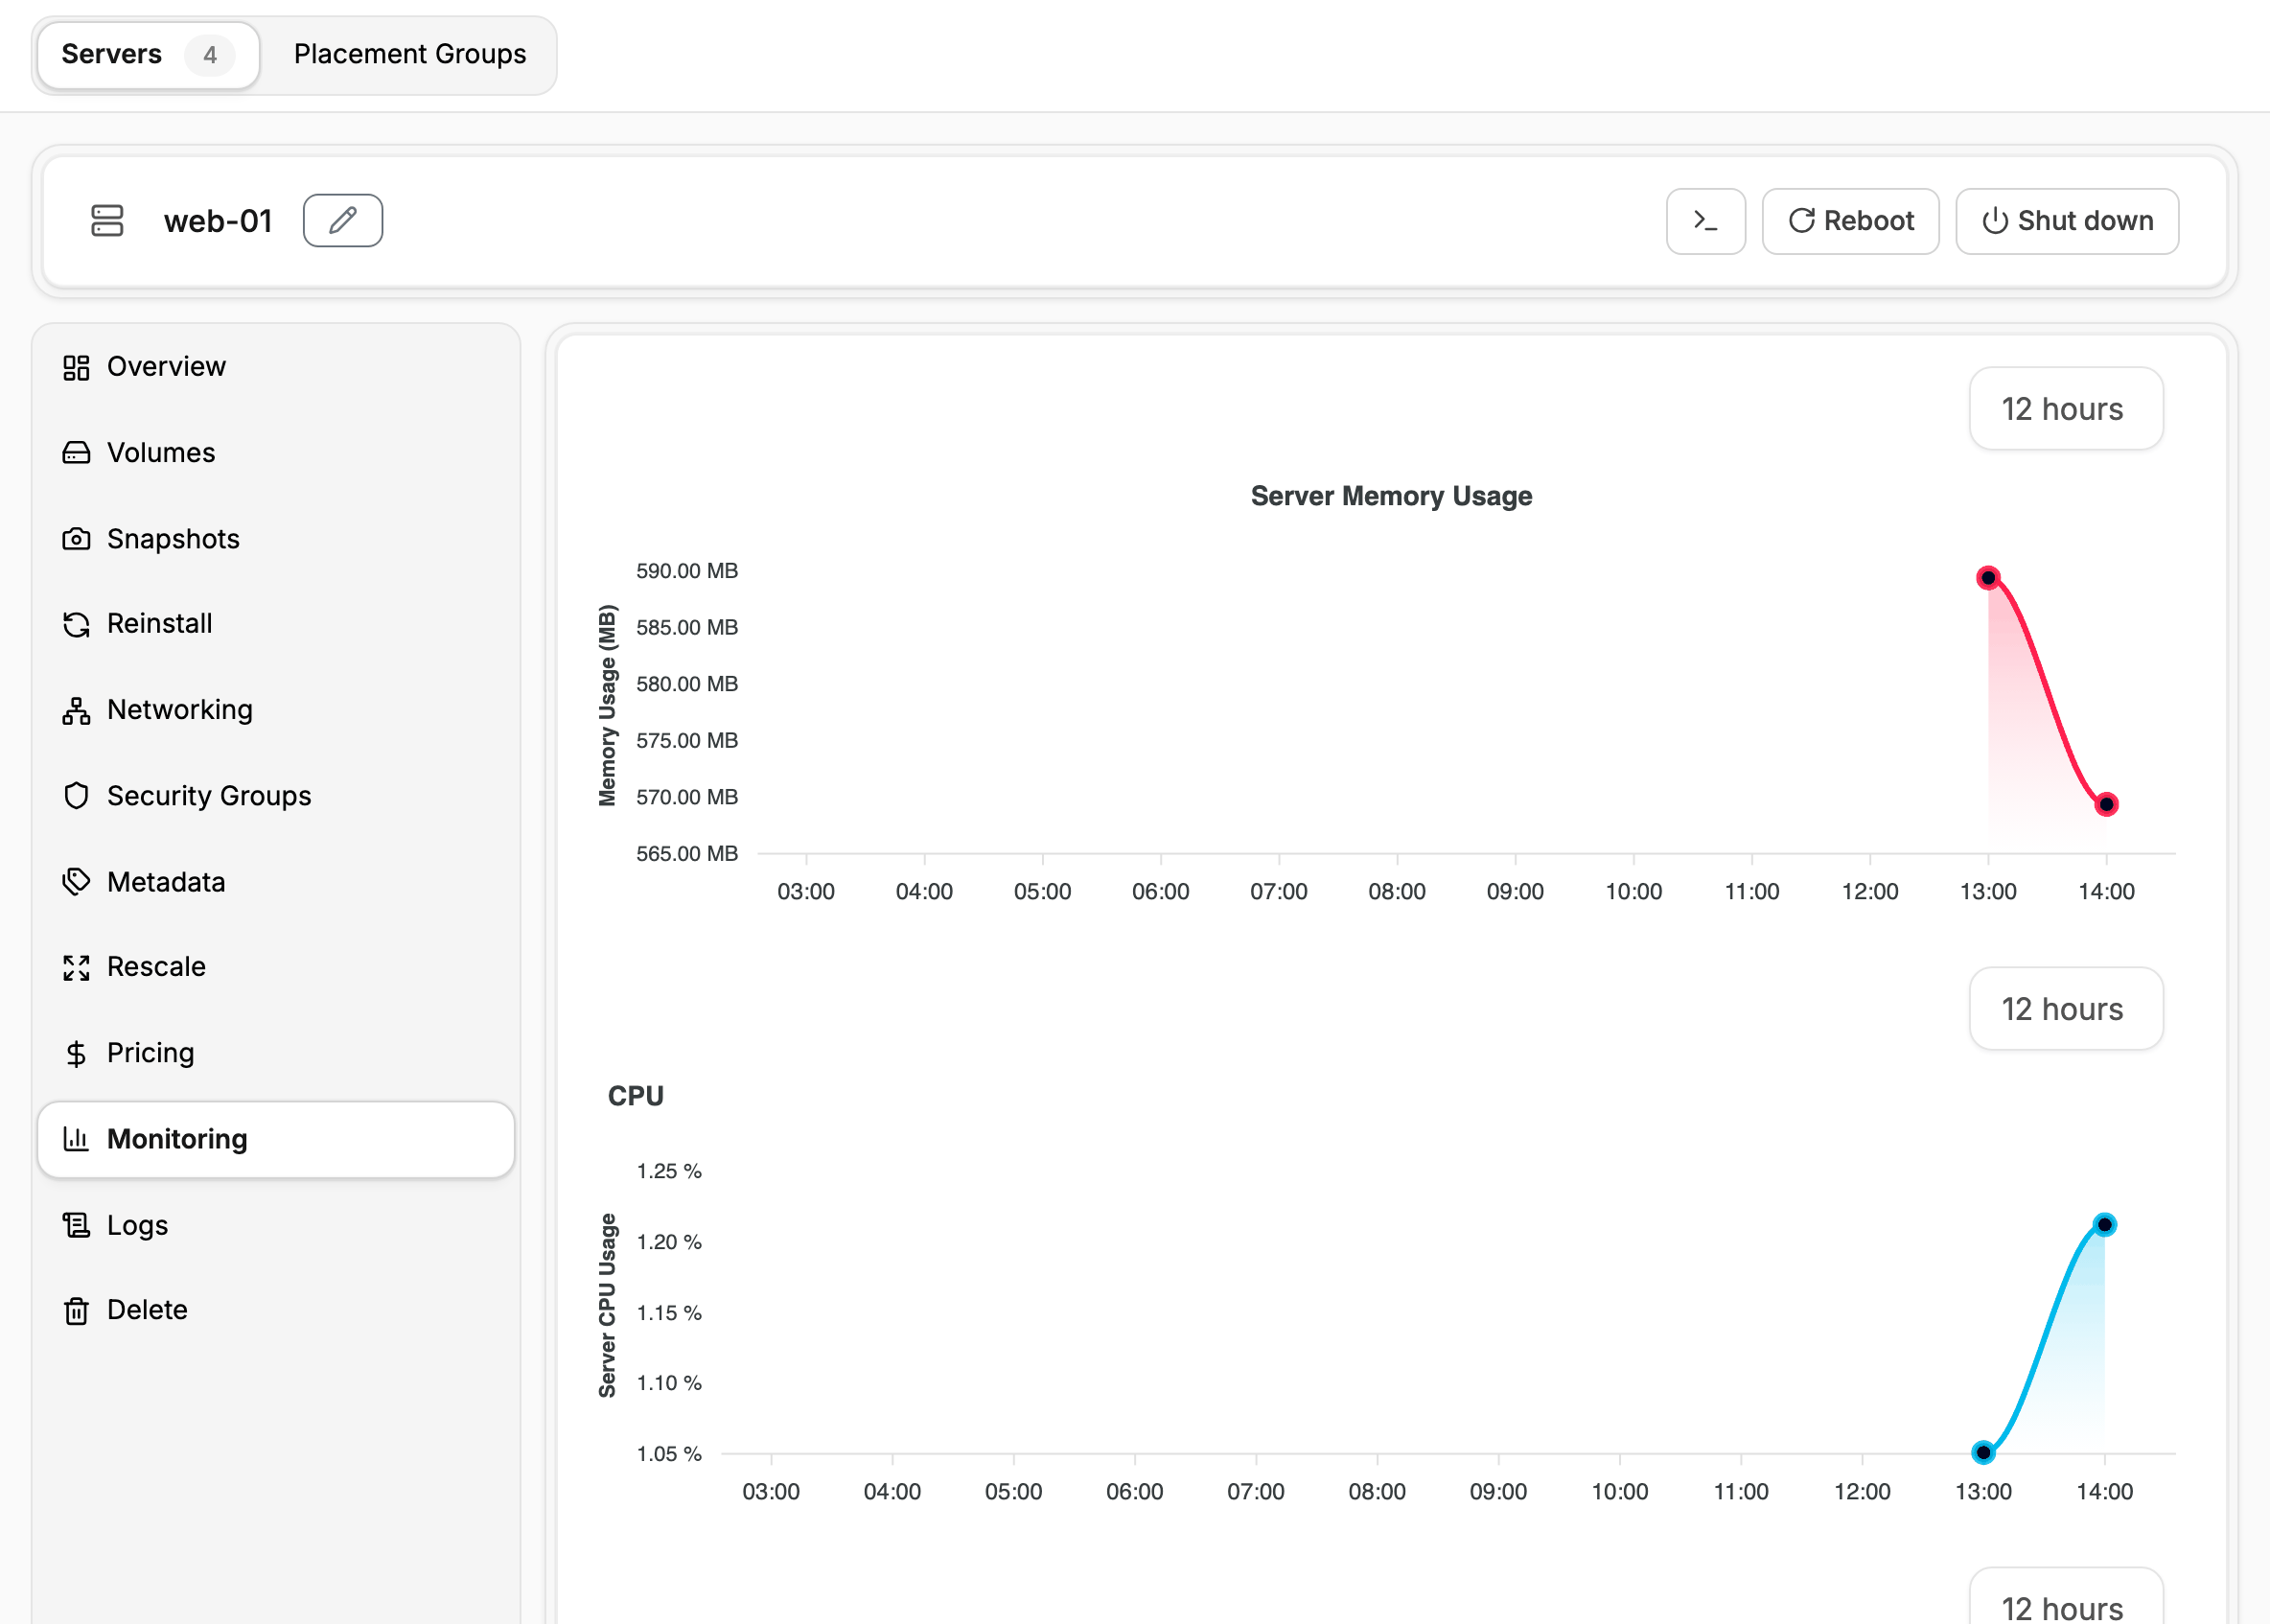
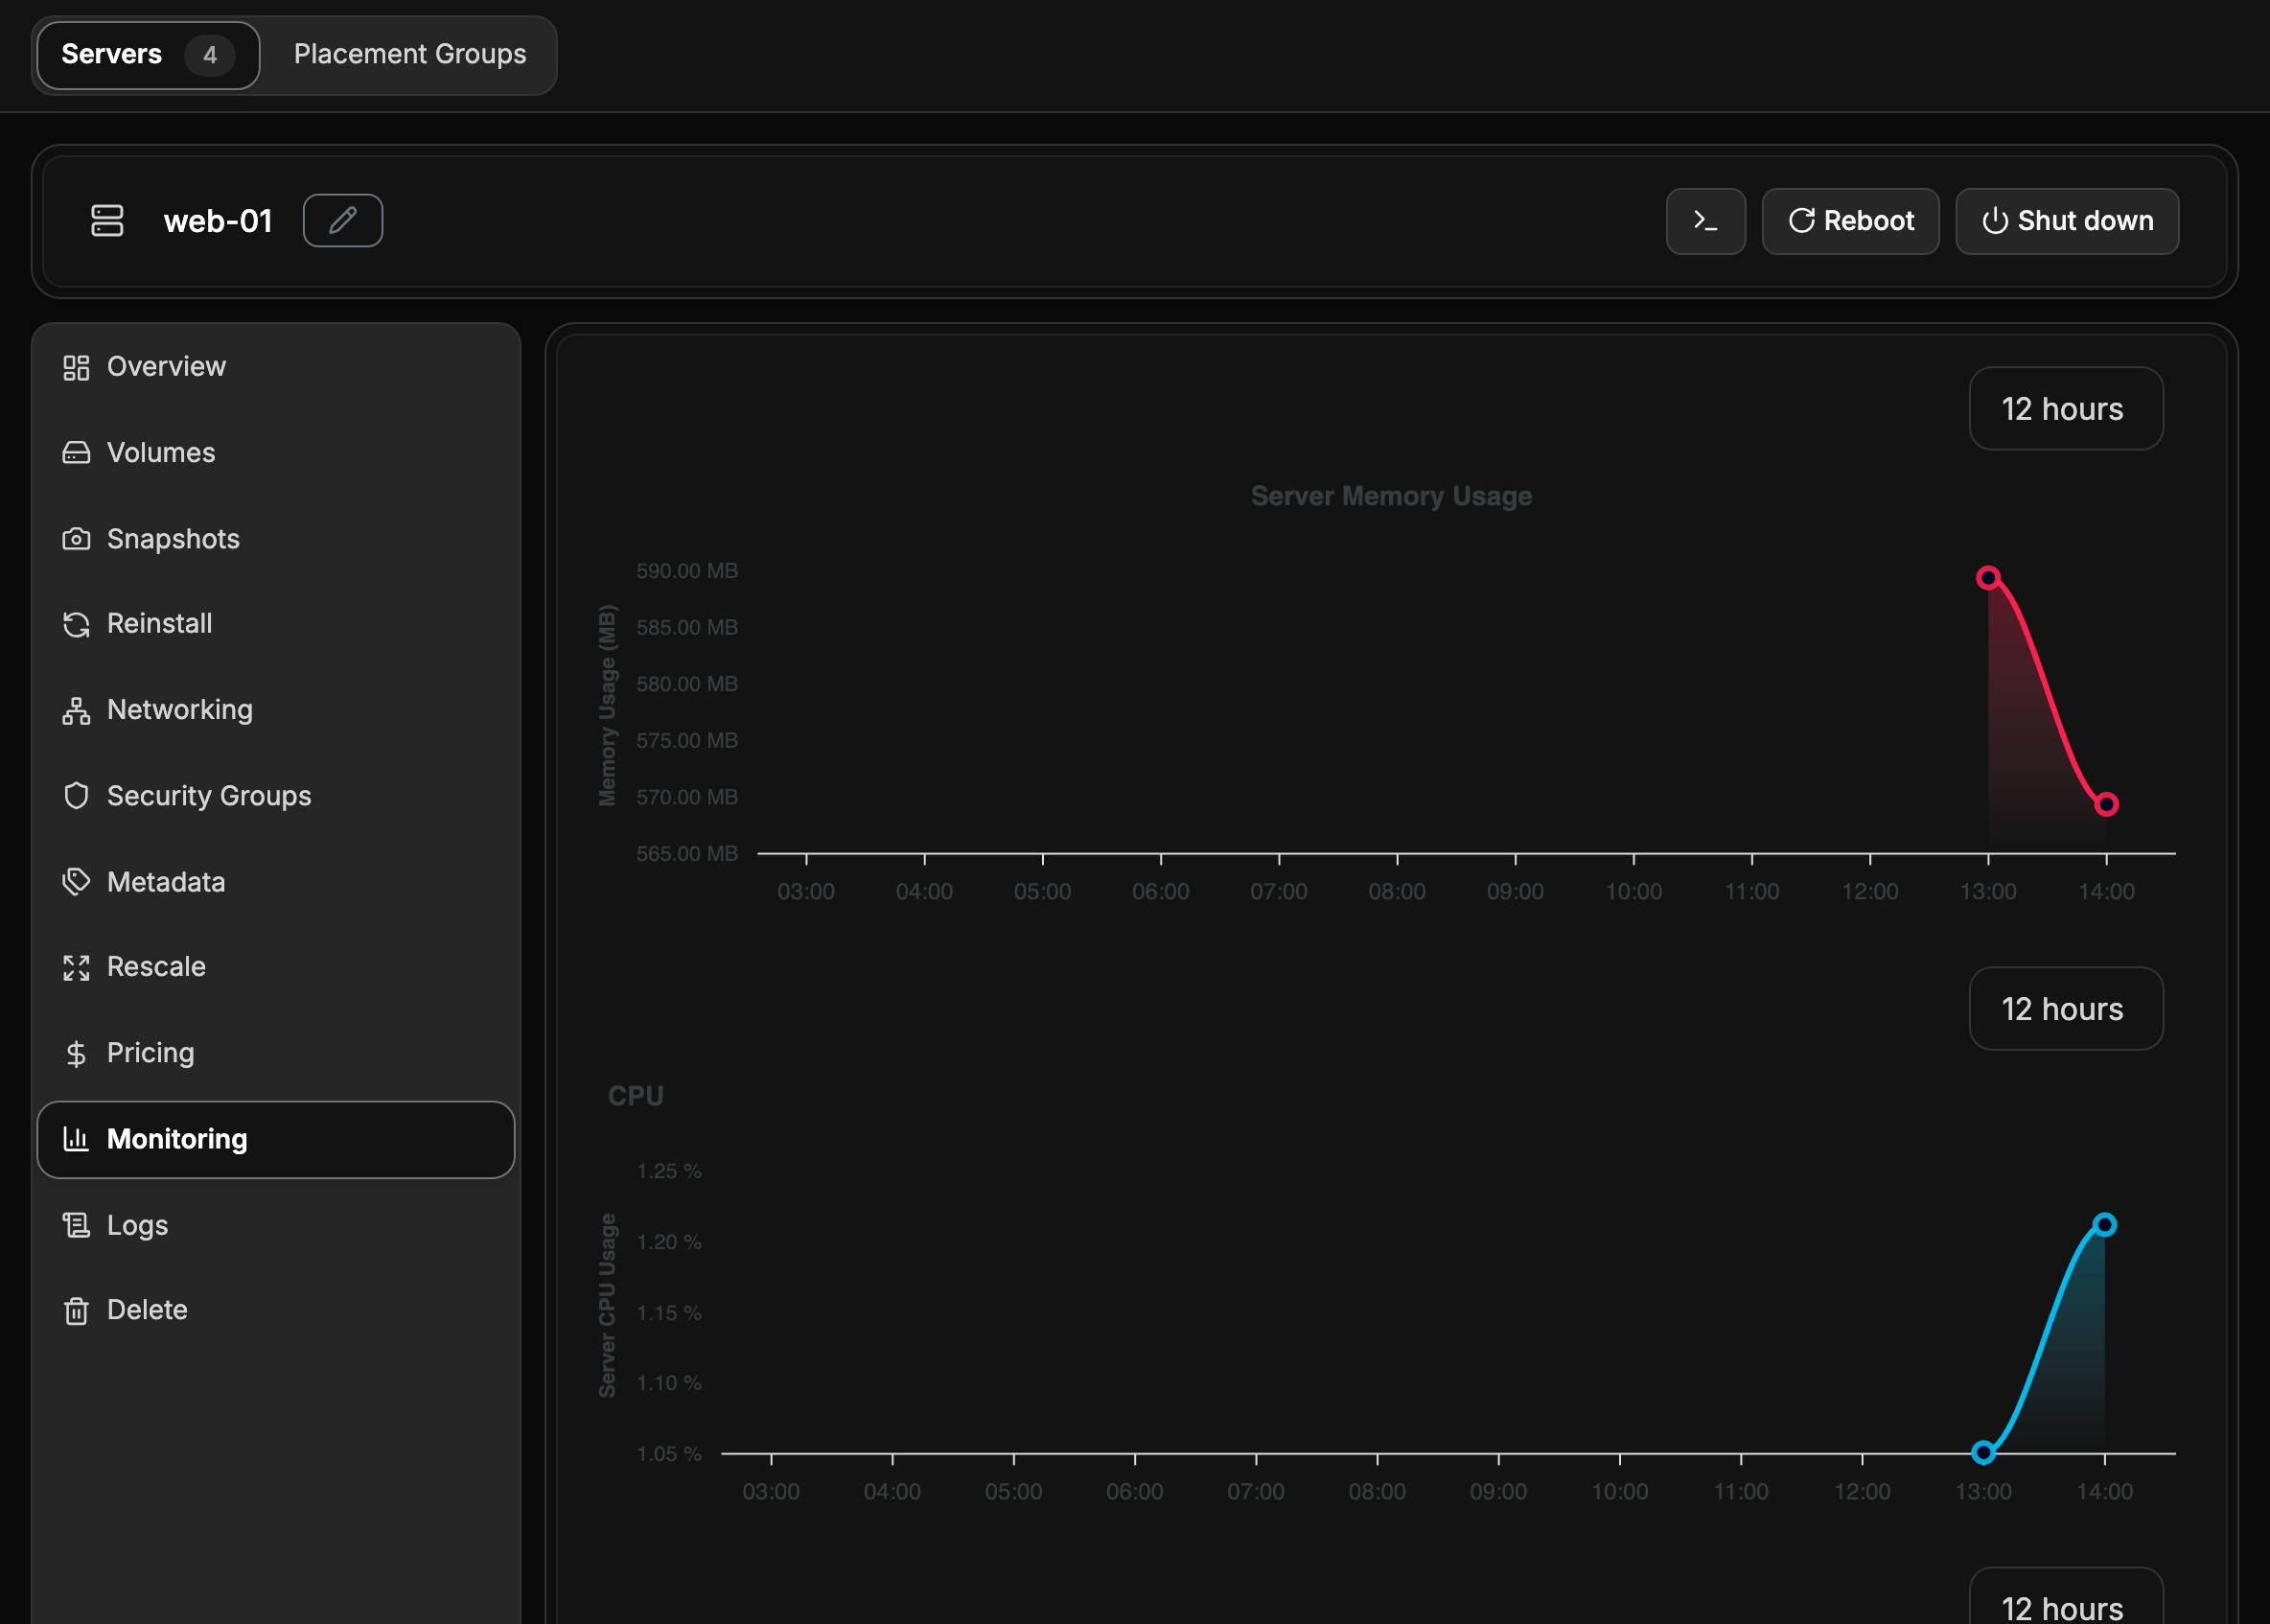
Monitoring graphs the server's CPU, memory, network traffic and disk activity over a period you choose, from one hour to one month. The graphs are available when your provider collects metrics for the location.
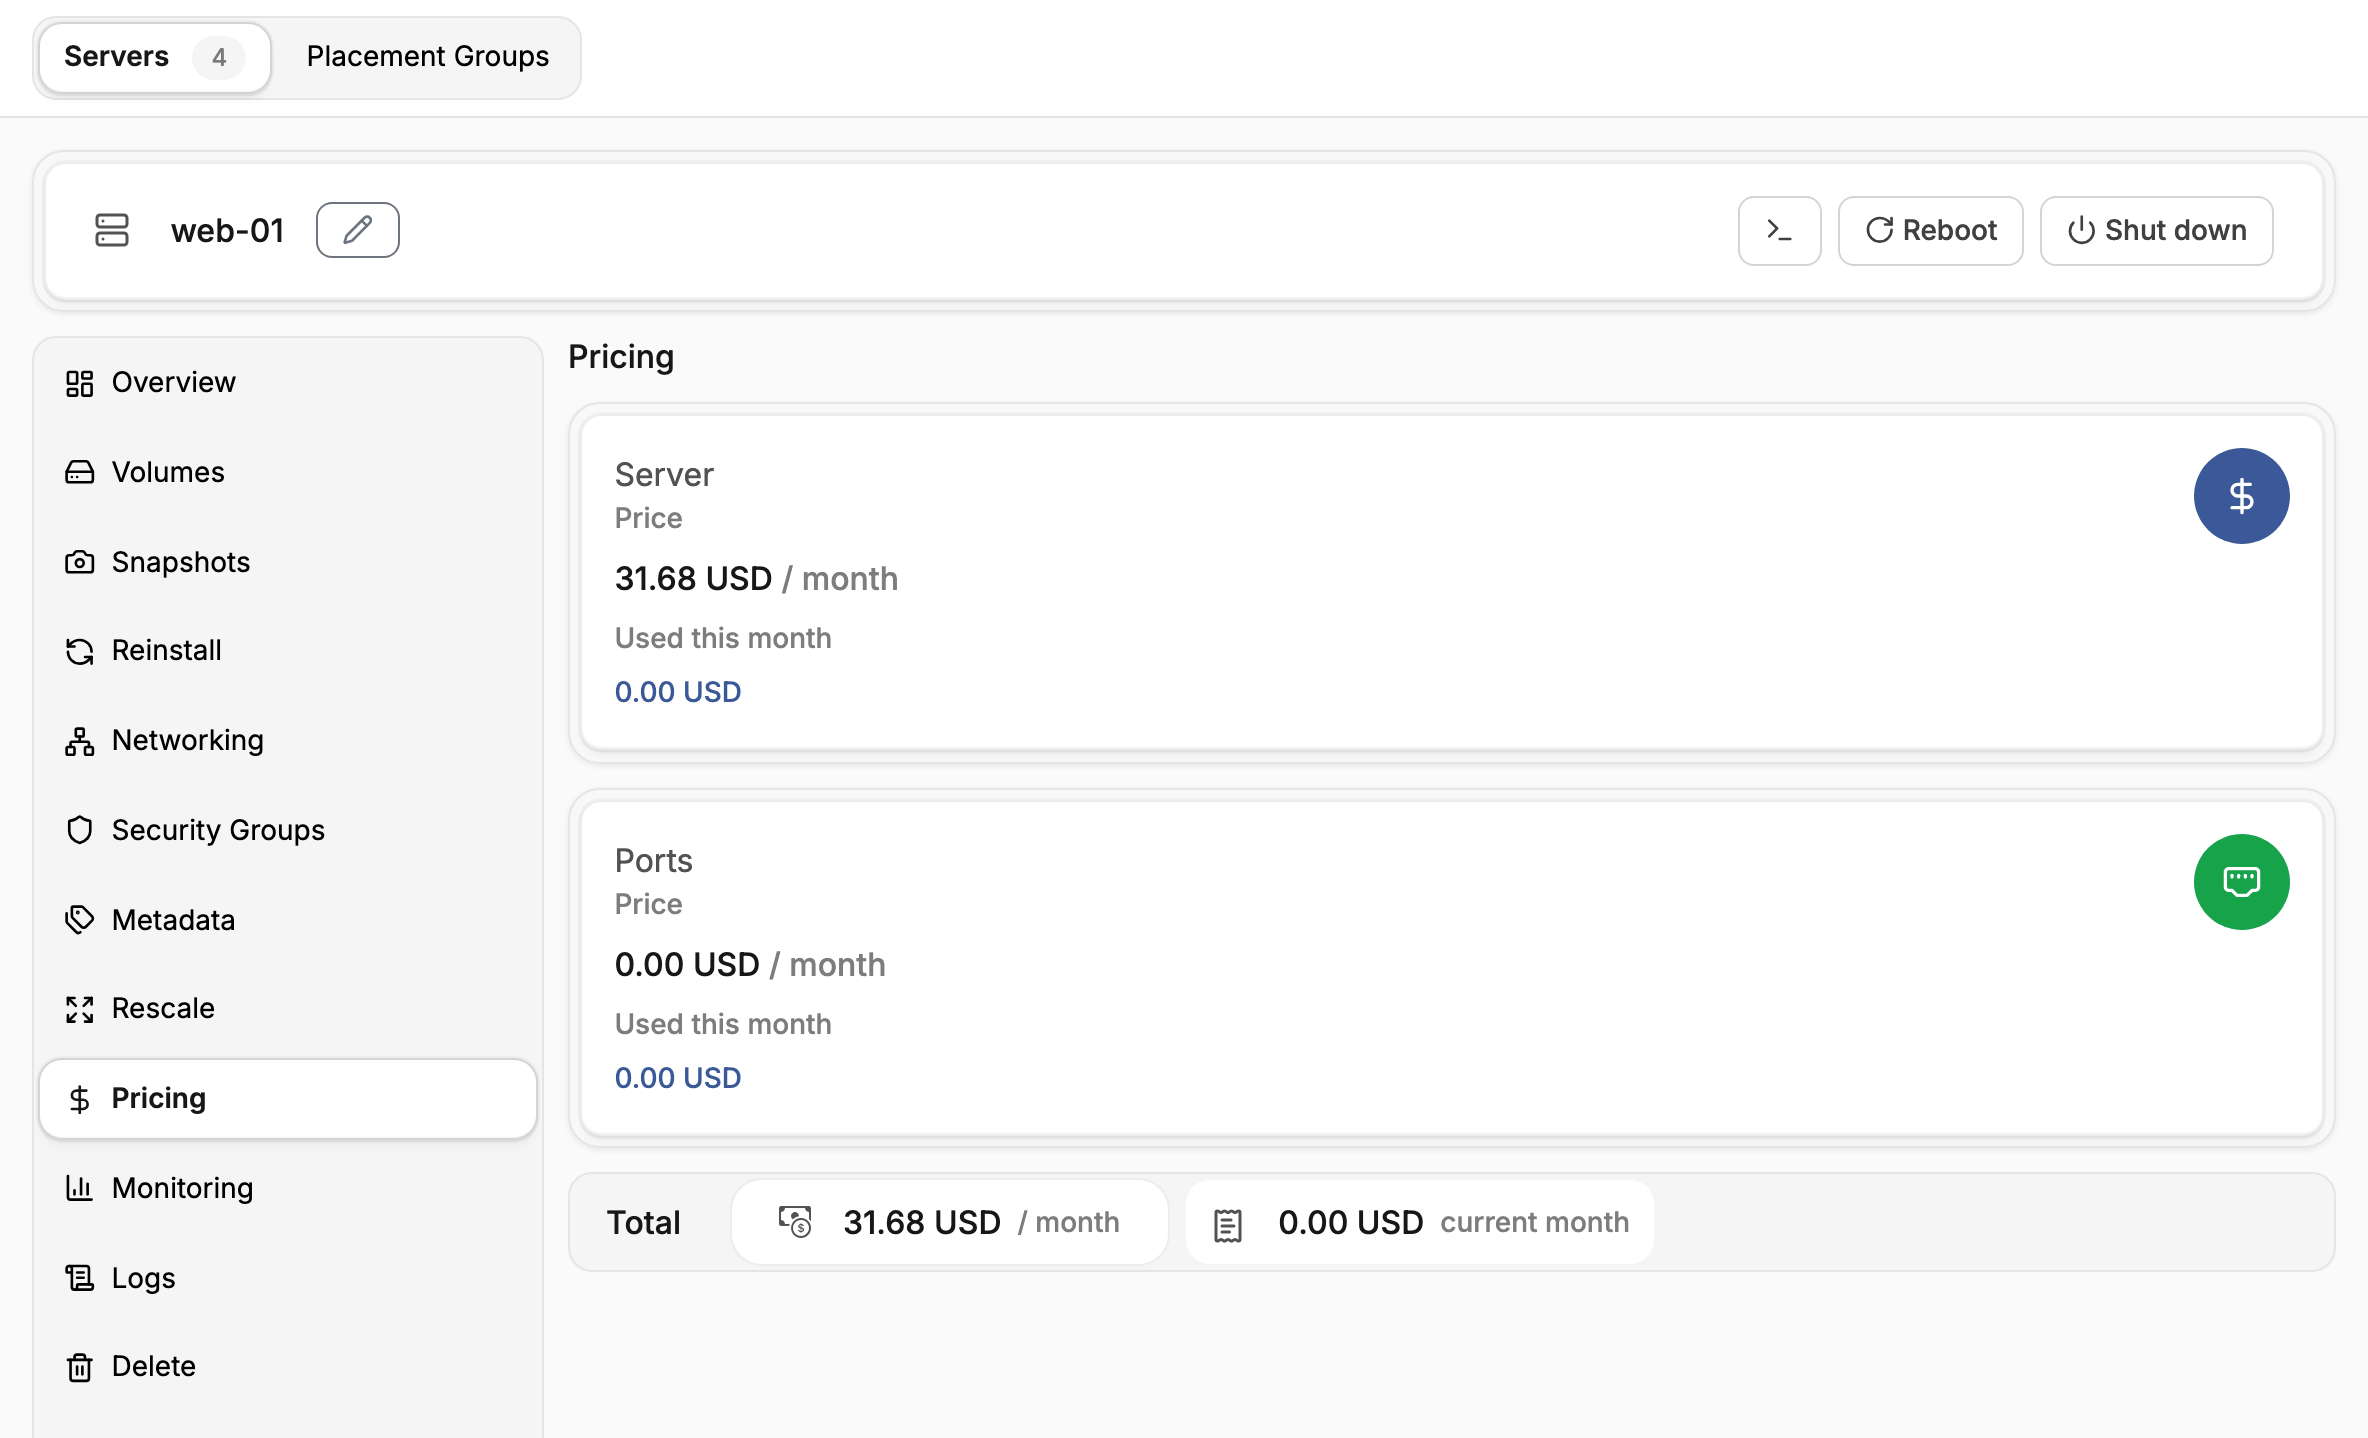
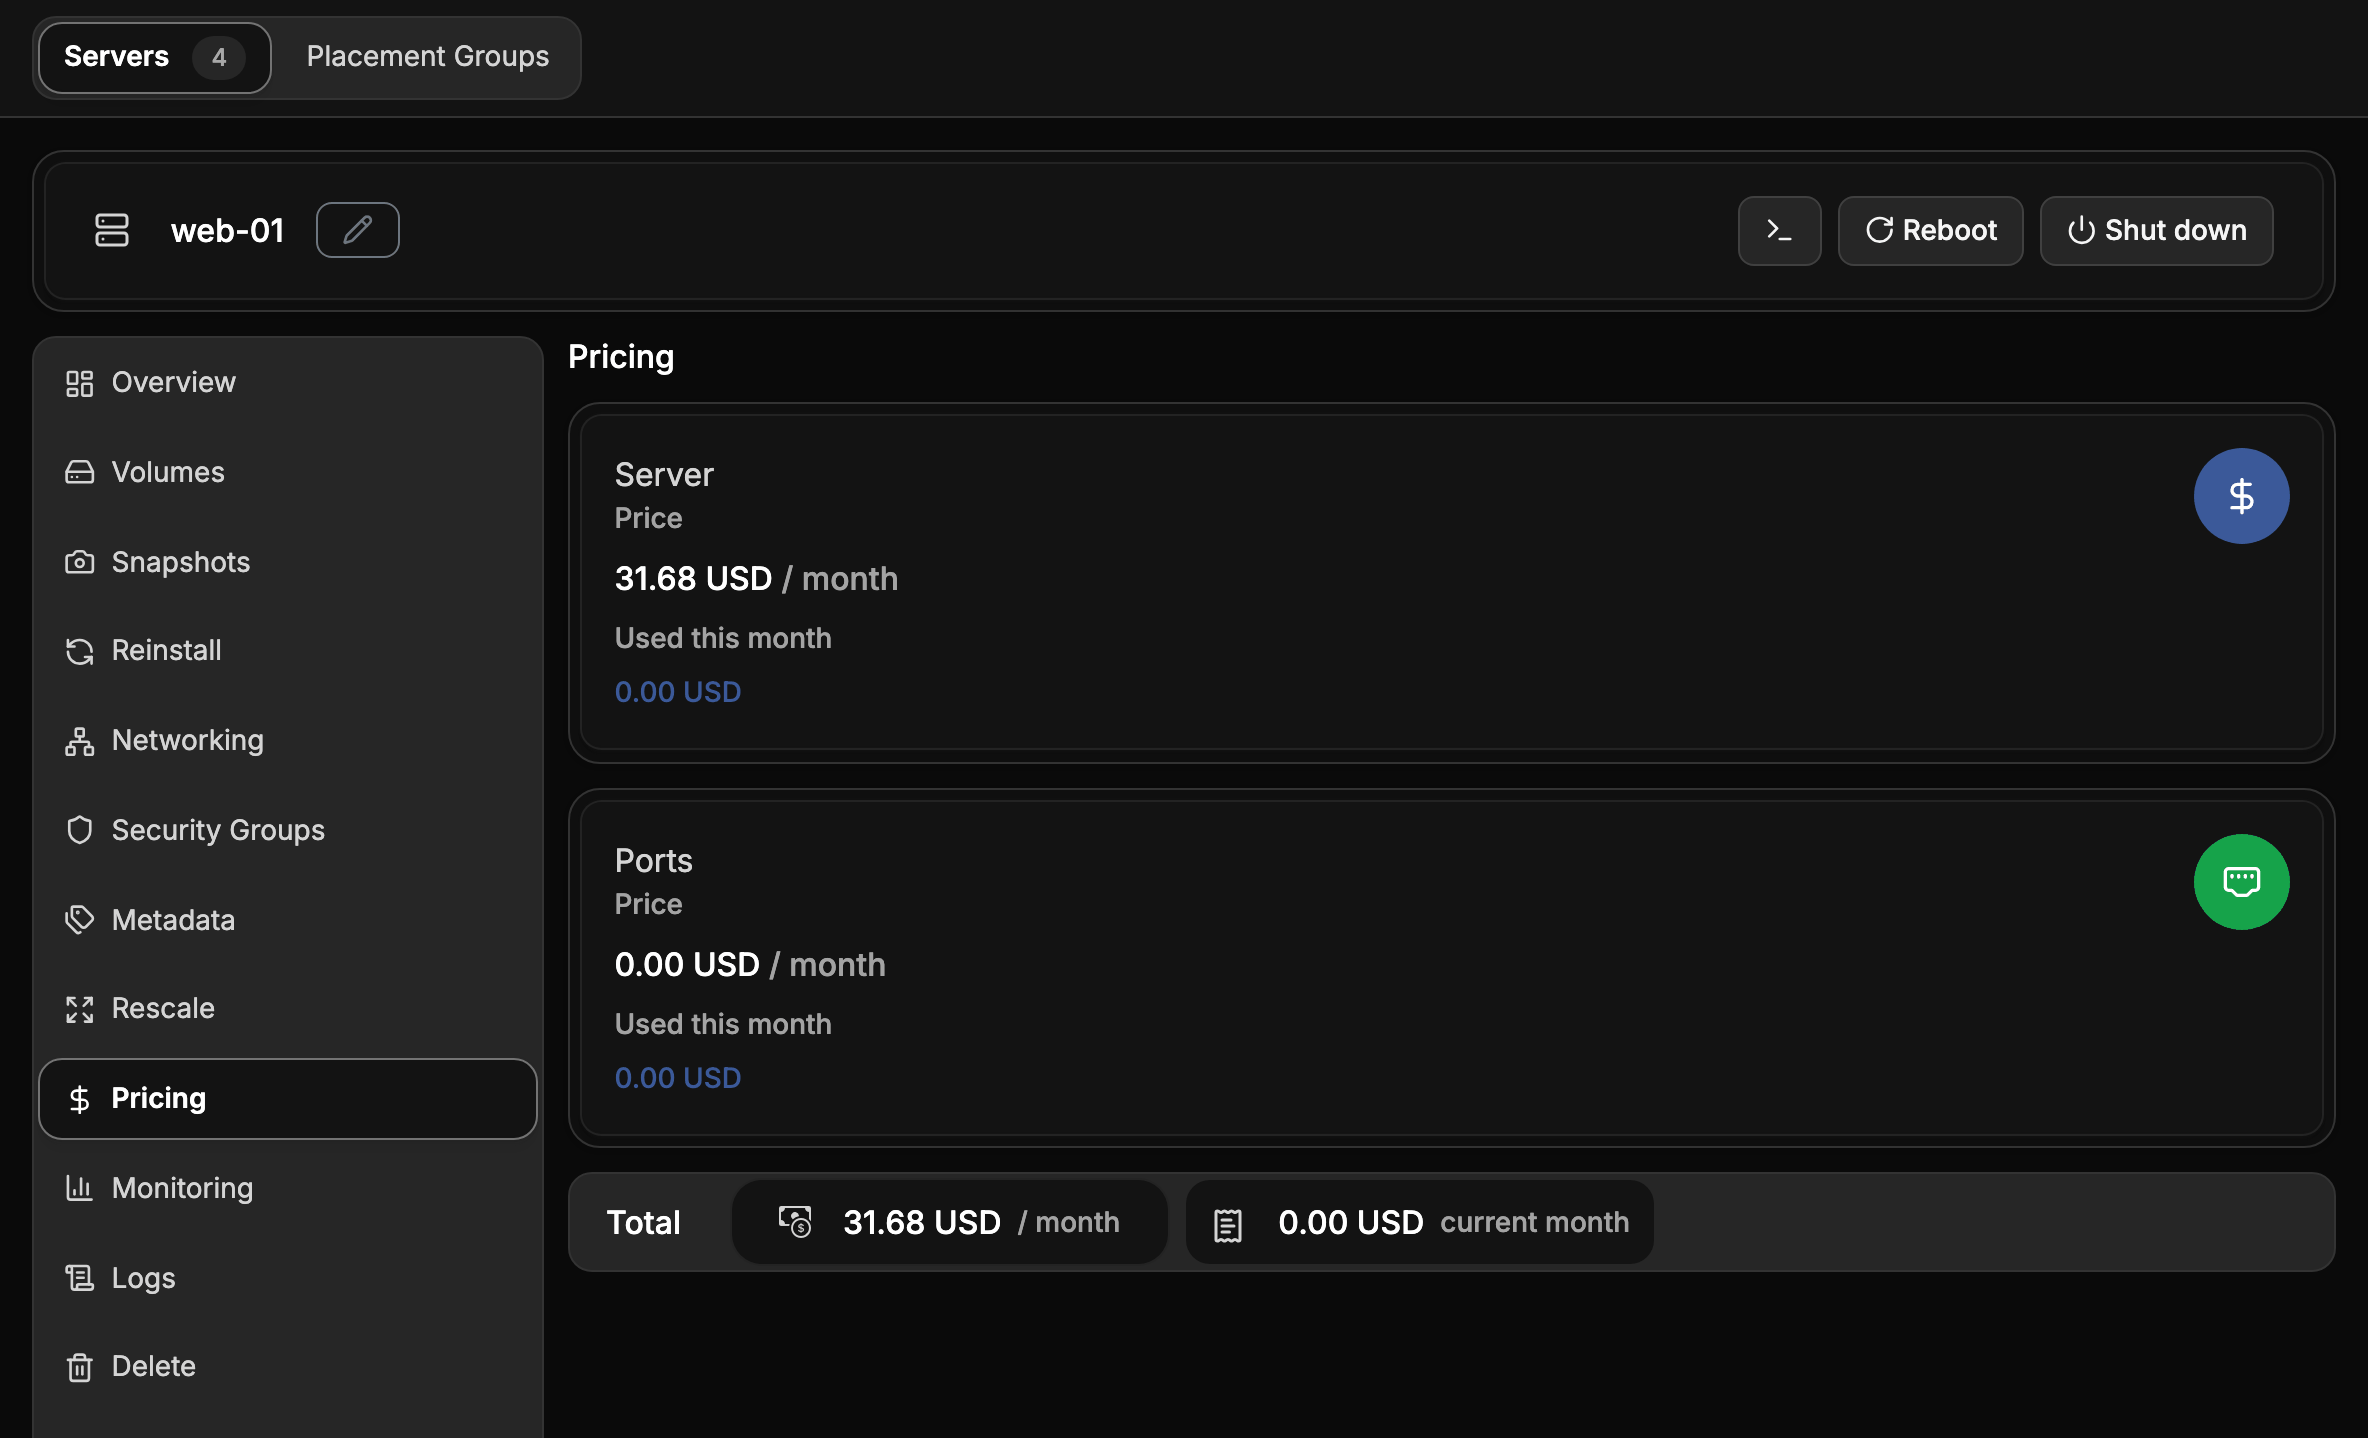
Pricing shows the monthly price of the server, its ports and its volumes, and the amount used this month.
Retrieve a Windows password
Windows images set the administrator password at first boot and encrypt it with the server's SSH key. Choose Retrieve Password and provide the private key. The password is decrypted in your browser. The private key is never sent to the portal.
Delete a server
Open Delete and confirm. The server and its local disk are deleted. Volumes attached to it are detached and kept, unless they were created with Delete Volume on Termination. Floating IPs return to the project and stay allocated until you release them.
To delete several servers at once, tick them in the server list, choose the delete button above the list, and type the number of selected servers to confirm.