Account activation
Activation belongs to an organization. Each organization has a billing profile, and until that profile is active, none of the organization's projects can run cloud resources. Your provider decides what activates it, and the portal activates the account the moment the last of those steps is done.
| Step | What you do | When it applies |
|---|---|---|
| Billing details | Fill in your name, phone number and address, and your company's details if you want company invoices. | Always |
| Payment method | Add funds of at least the minimum your provider sets, or add a card. Your provider may accept either one, or ask for both. | When your provider asks for a payment method |
| Account review | Wait while your provider checks your billing details. | When your provider reviews new accounts |
Your provider can also activate an account themselves, whatever is left to do.
Sign up
Open the portal's sign-up page, enter your name, email address and a password, and choose Register. The portal sends a confirmation link to your email address. Open the link, then sign in with the email address and password you chose.
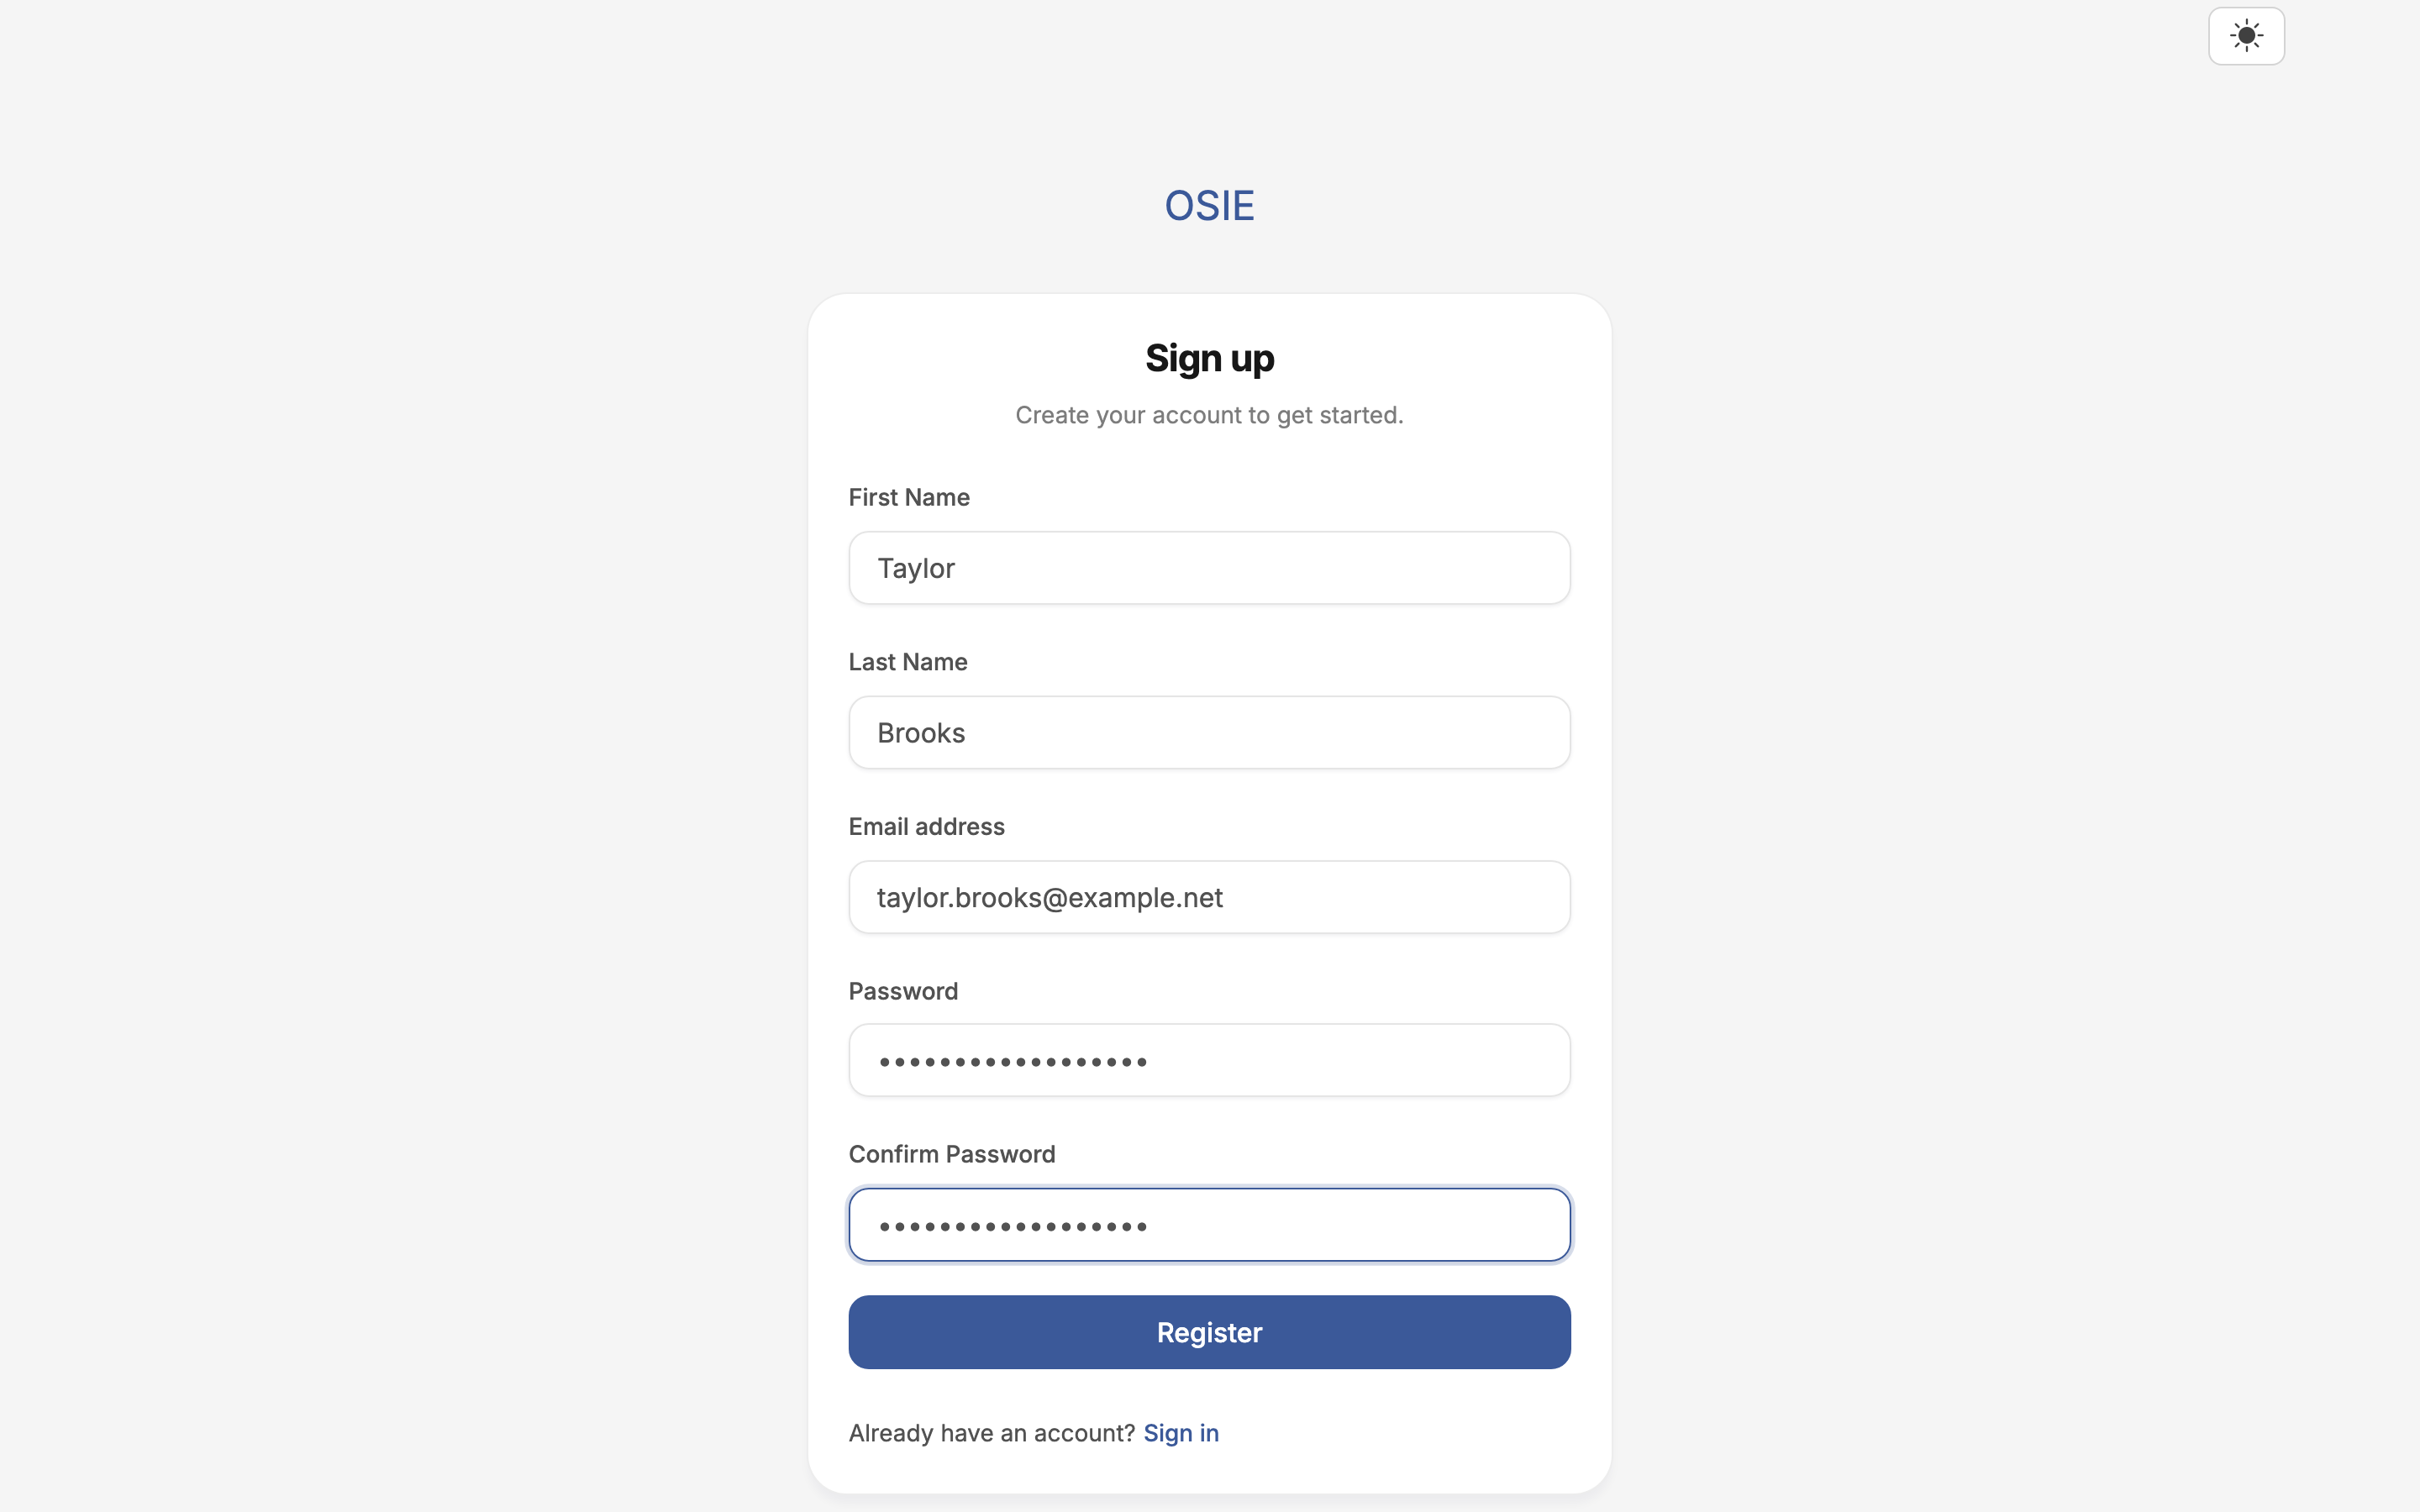
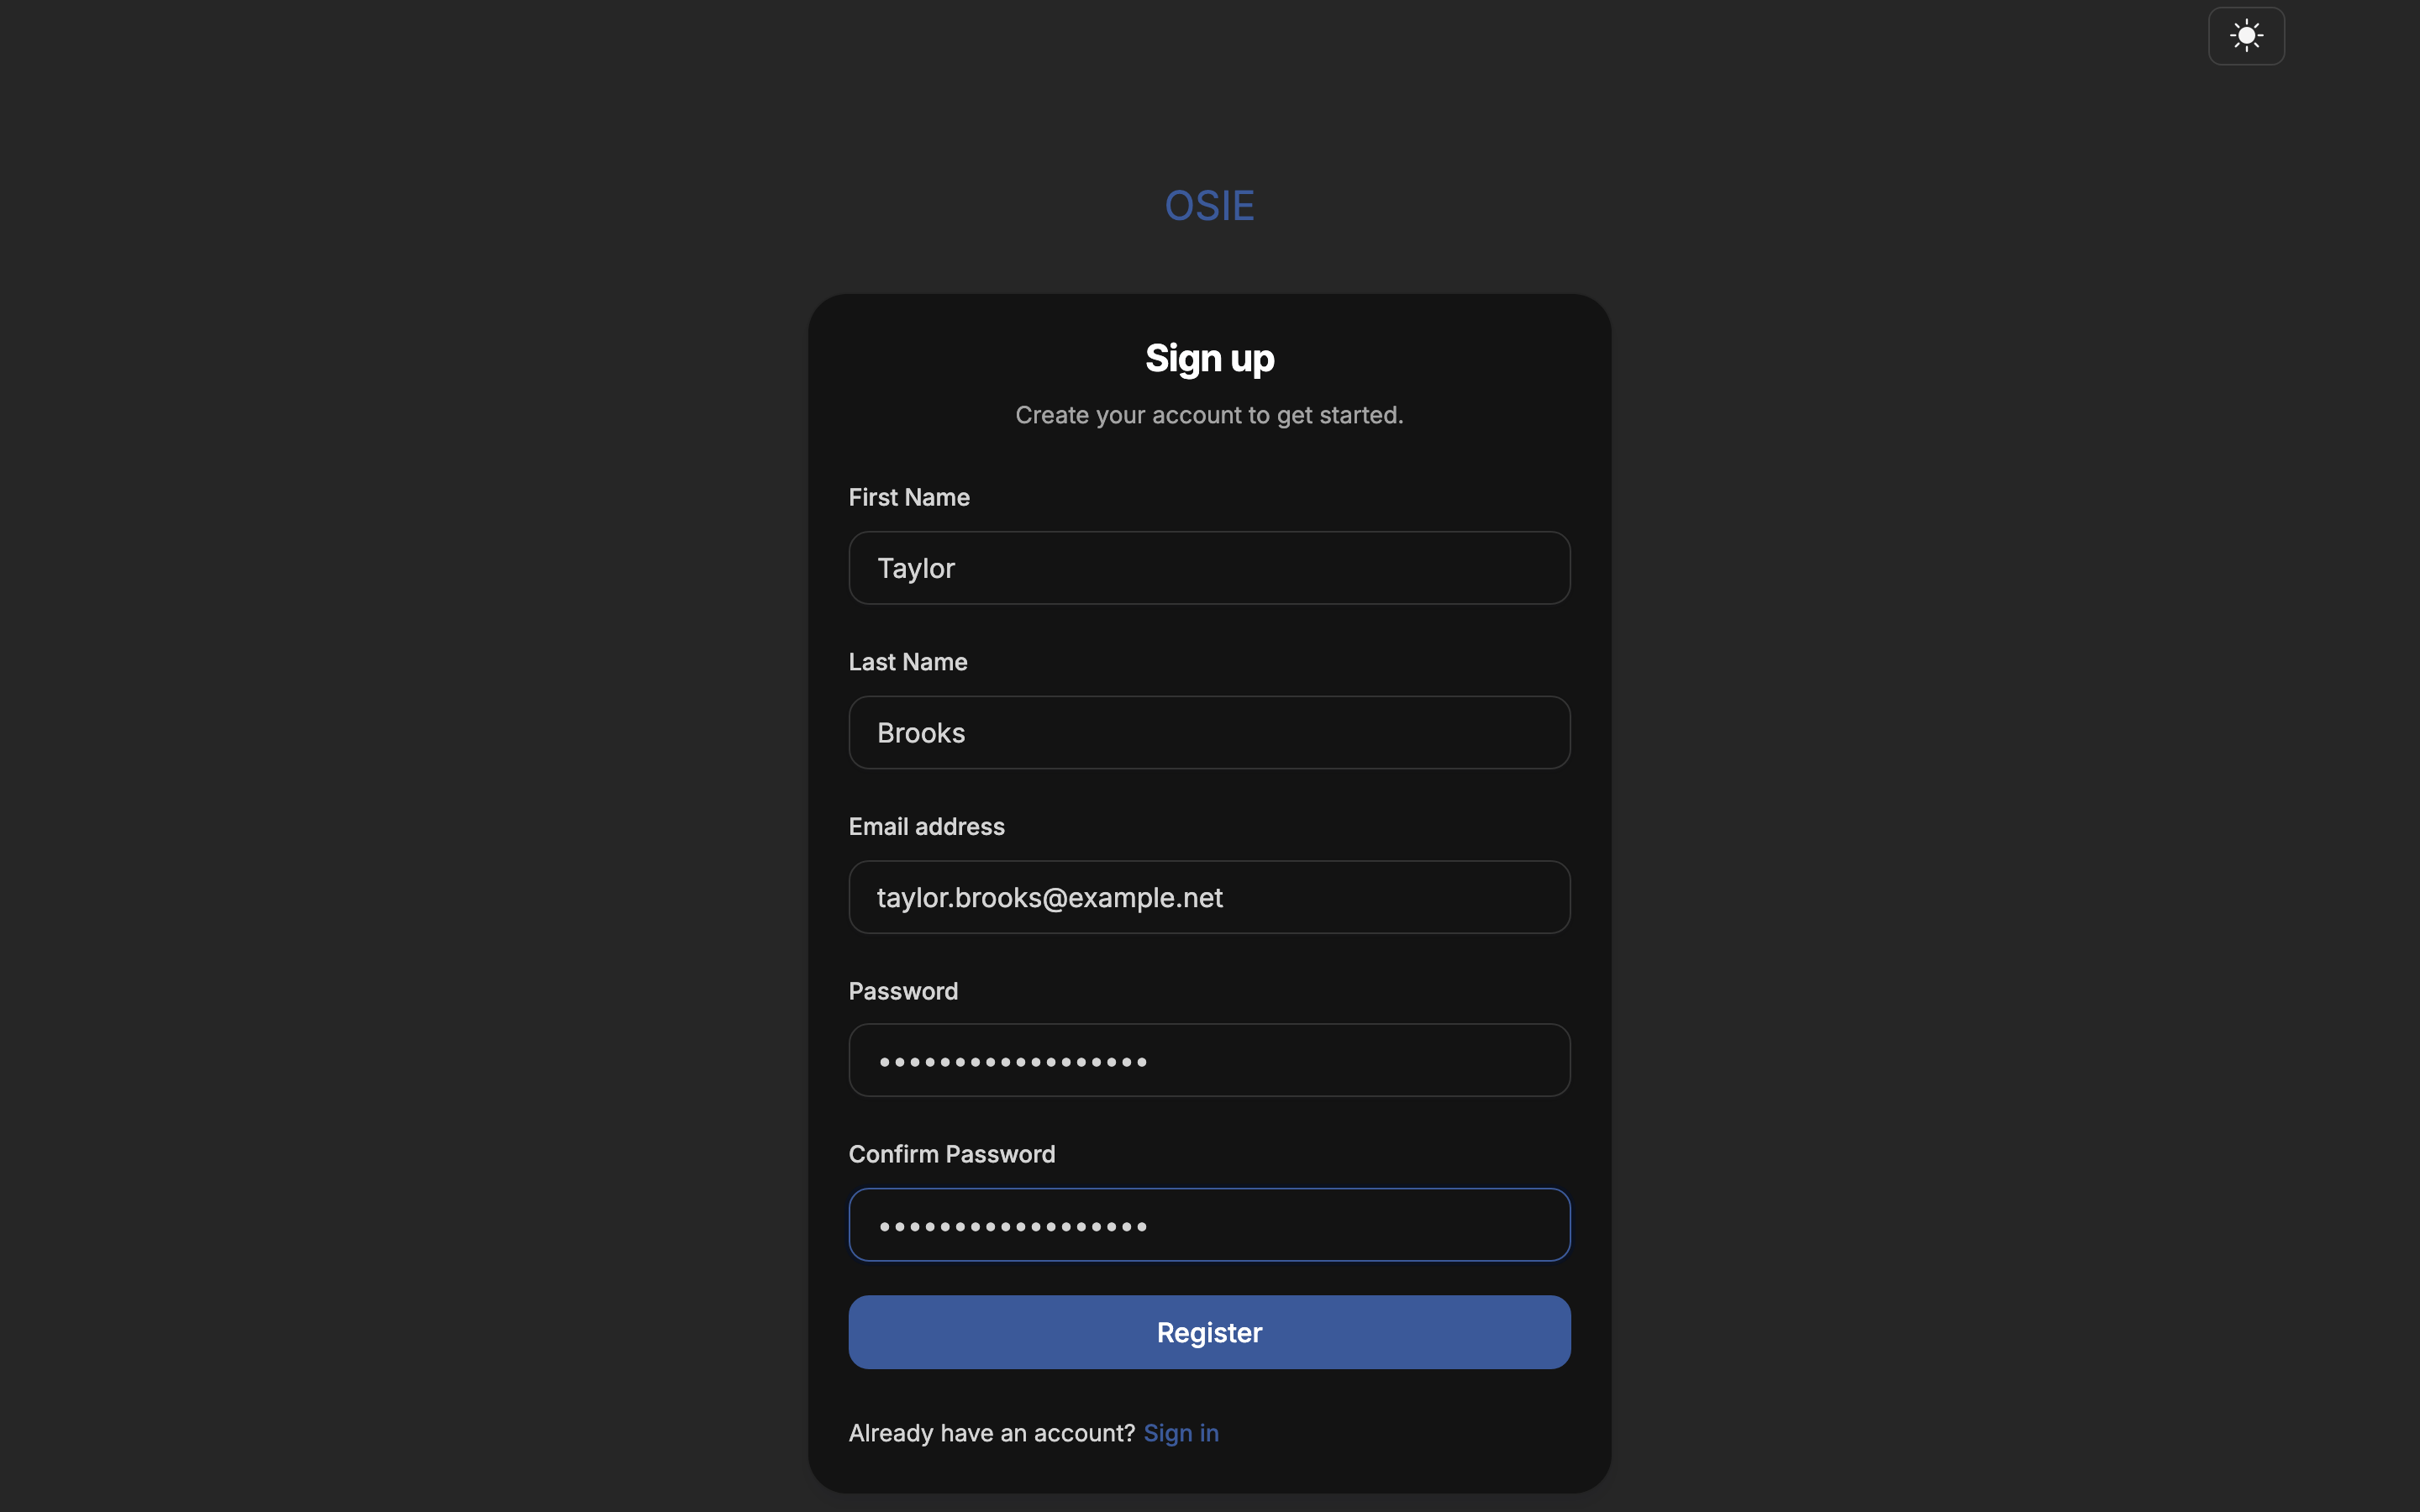
If your provider does not offer sign-up, ask them for an account, or ask a colleague to invite you to your company's organization.
Set up two-factor authentication
Your provider can require two-factor authentication. The portal then asks for an authenticator app the first time you sign in with your password. Scan the QR code with the app, or enter the code shown under it, then enter the 6-digit code the app displays and choose Verify. Every later sign-in with your password asks for a code from the app. Signing in with a passkey needs no code.
Create your organization and first project
The first time you sign in, the portal asks for an organization: the company or team your projects and invoices belong to. Enter its name and, optionally, a description, and choose Create Organization. You become its owner.
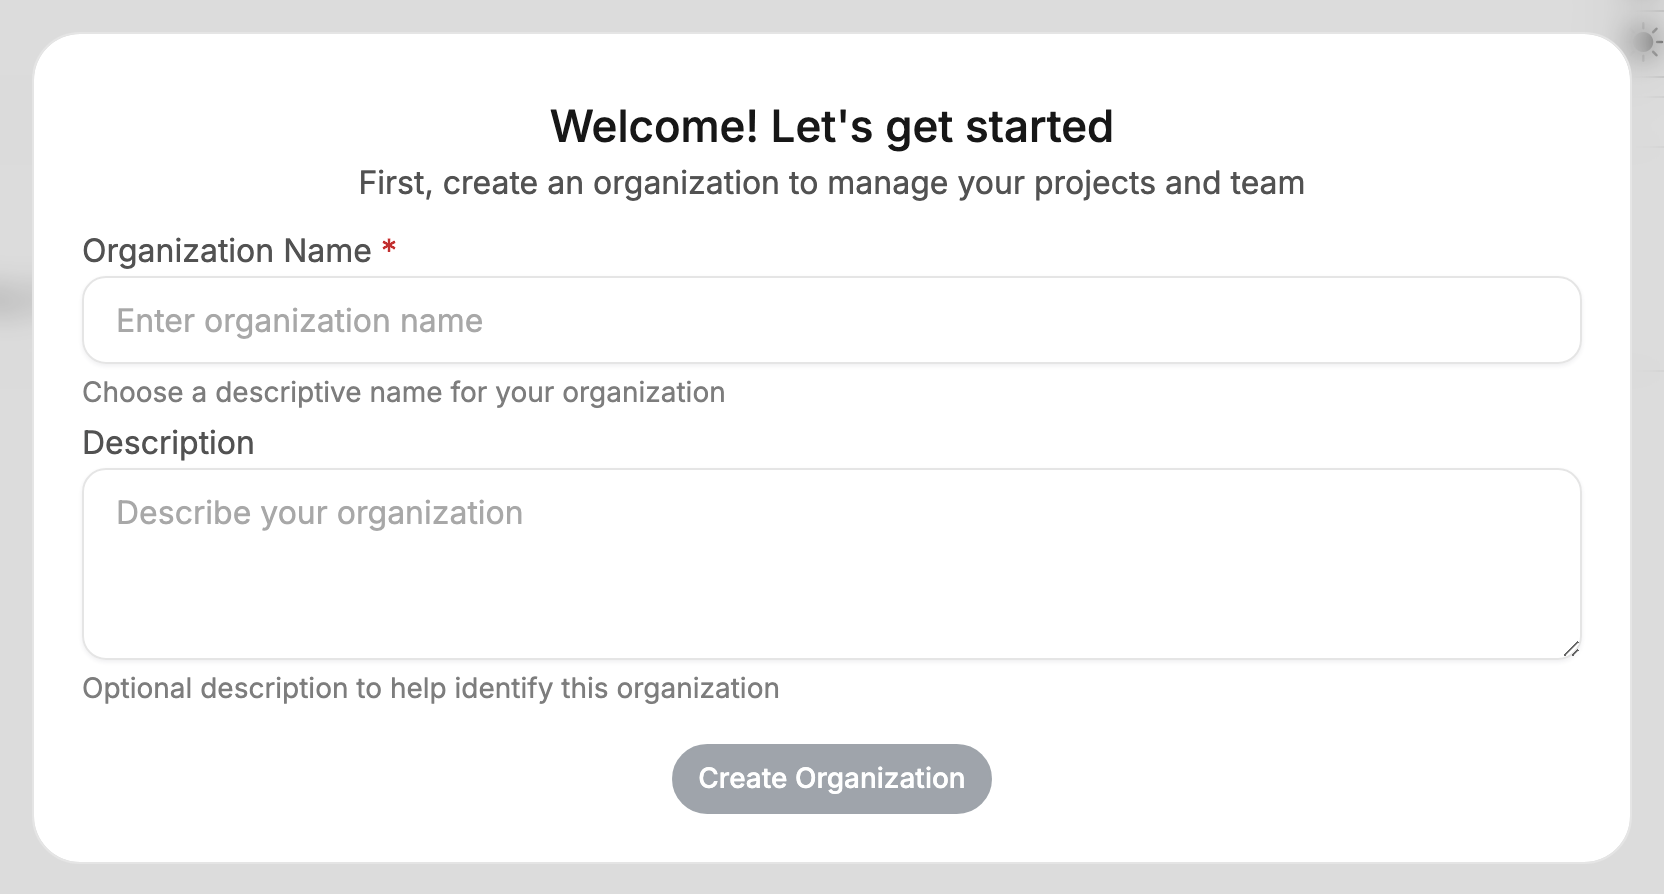
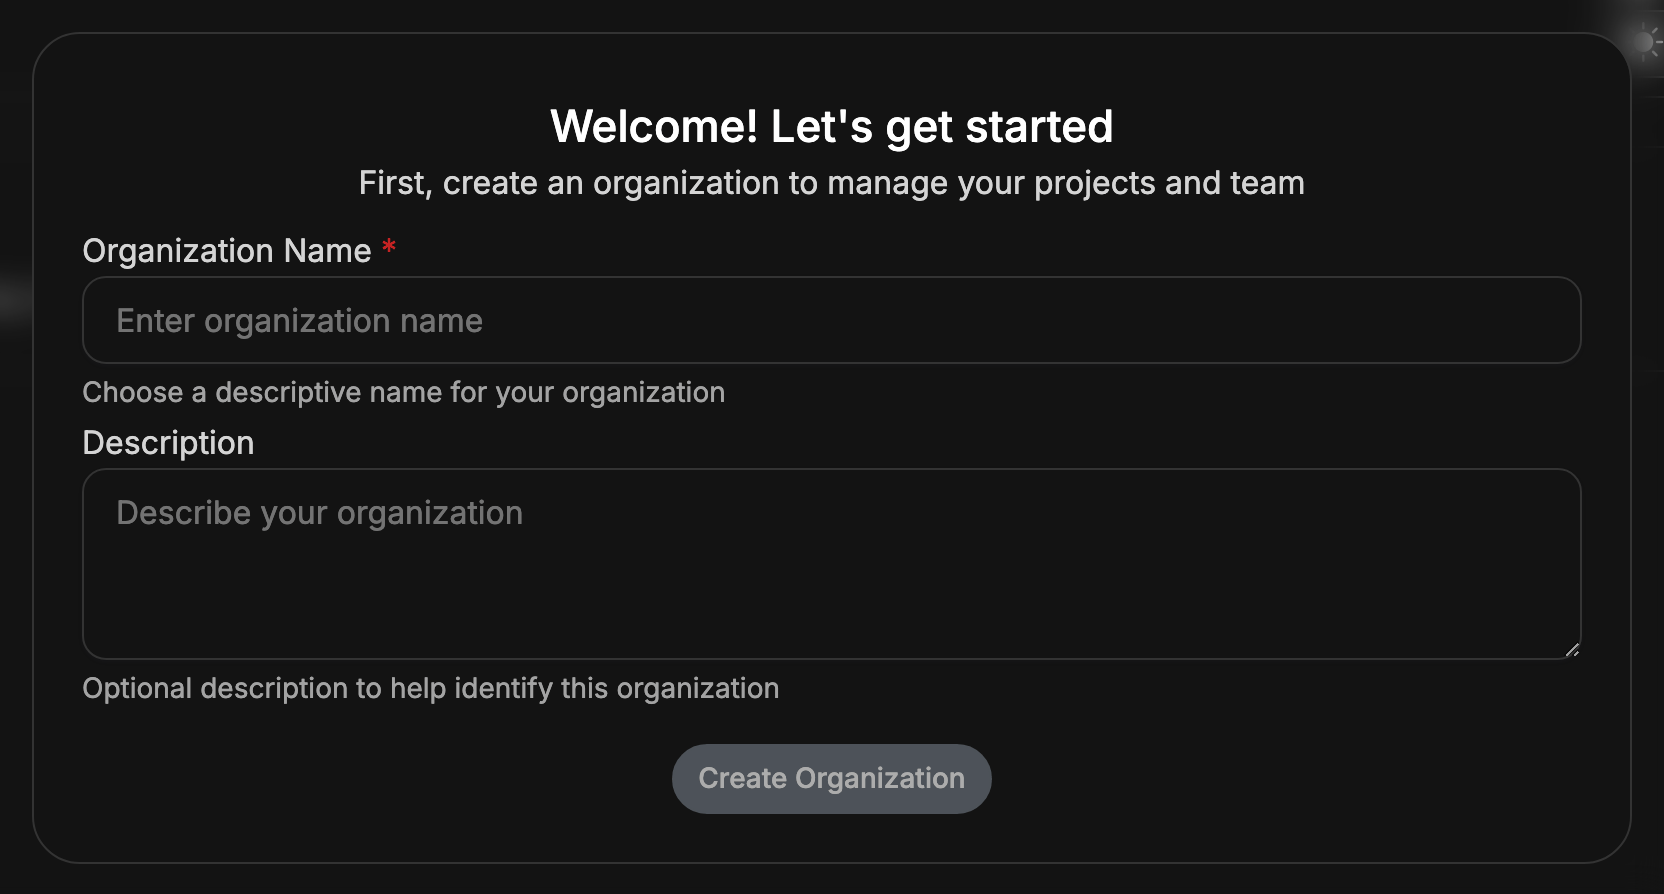
Next, name your first project and choose Create a project.
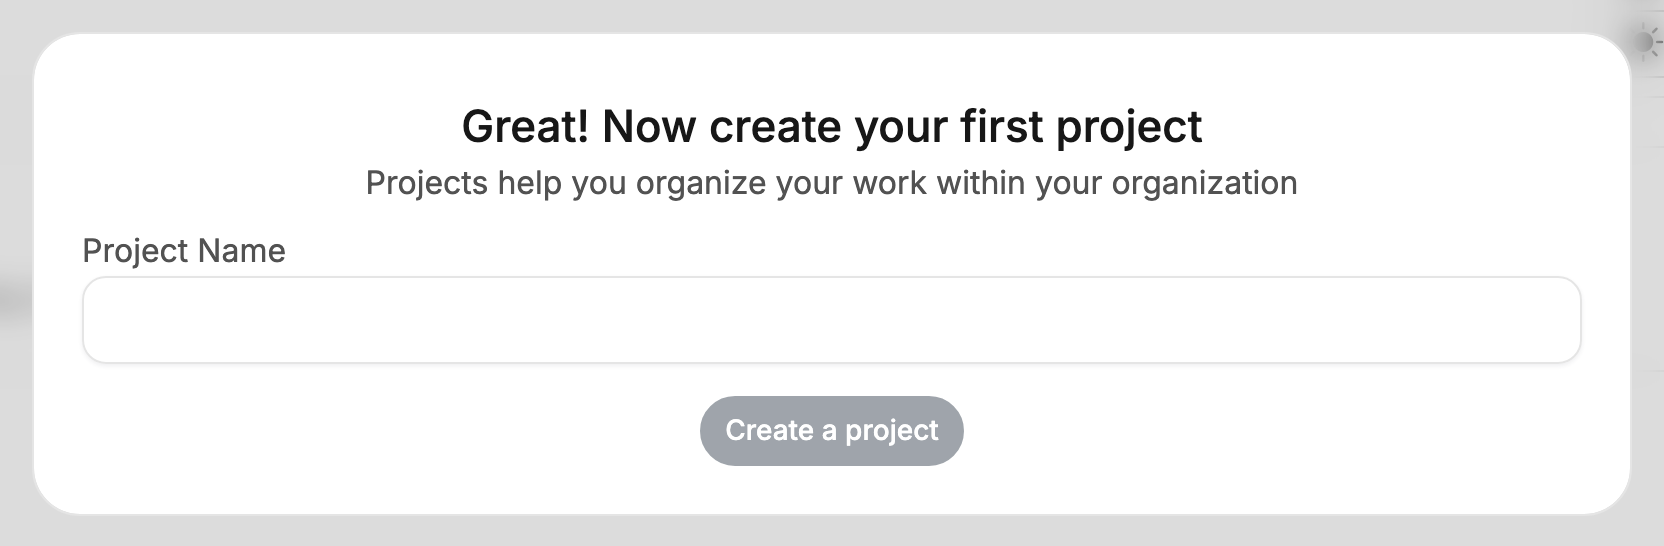
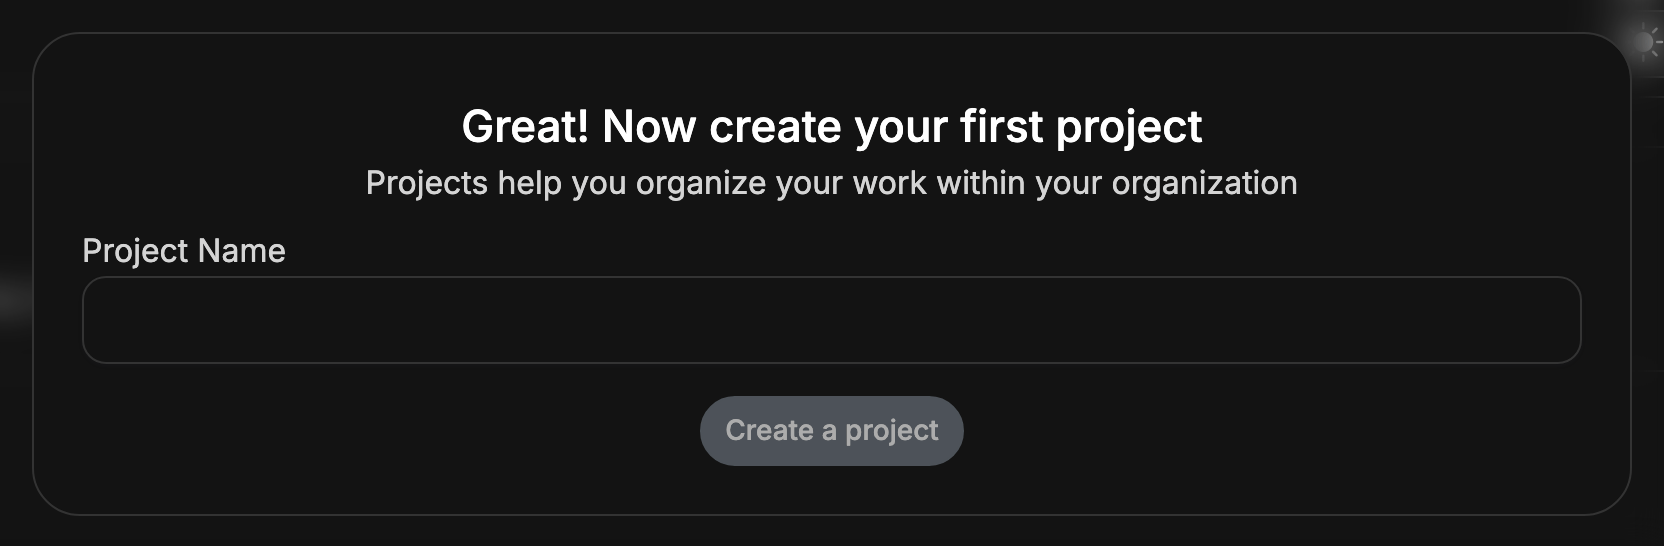
The portal opens the new project on its Financial page. See Organizations and Projects for everything else they hold.
Fill in your billing details
The Financial page asks for billing details first. Your provider puts them on every invoice.
- Select Company invoice to have invoices issued to a company. It adds Company name and TAX / VAT ID.
- Fill in First name, Surname, Phone, Street address, City and Country. State and Zip code are optional, and so is the tax ID; the company name is required for company invoices.
- Choose Save.
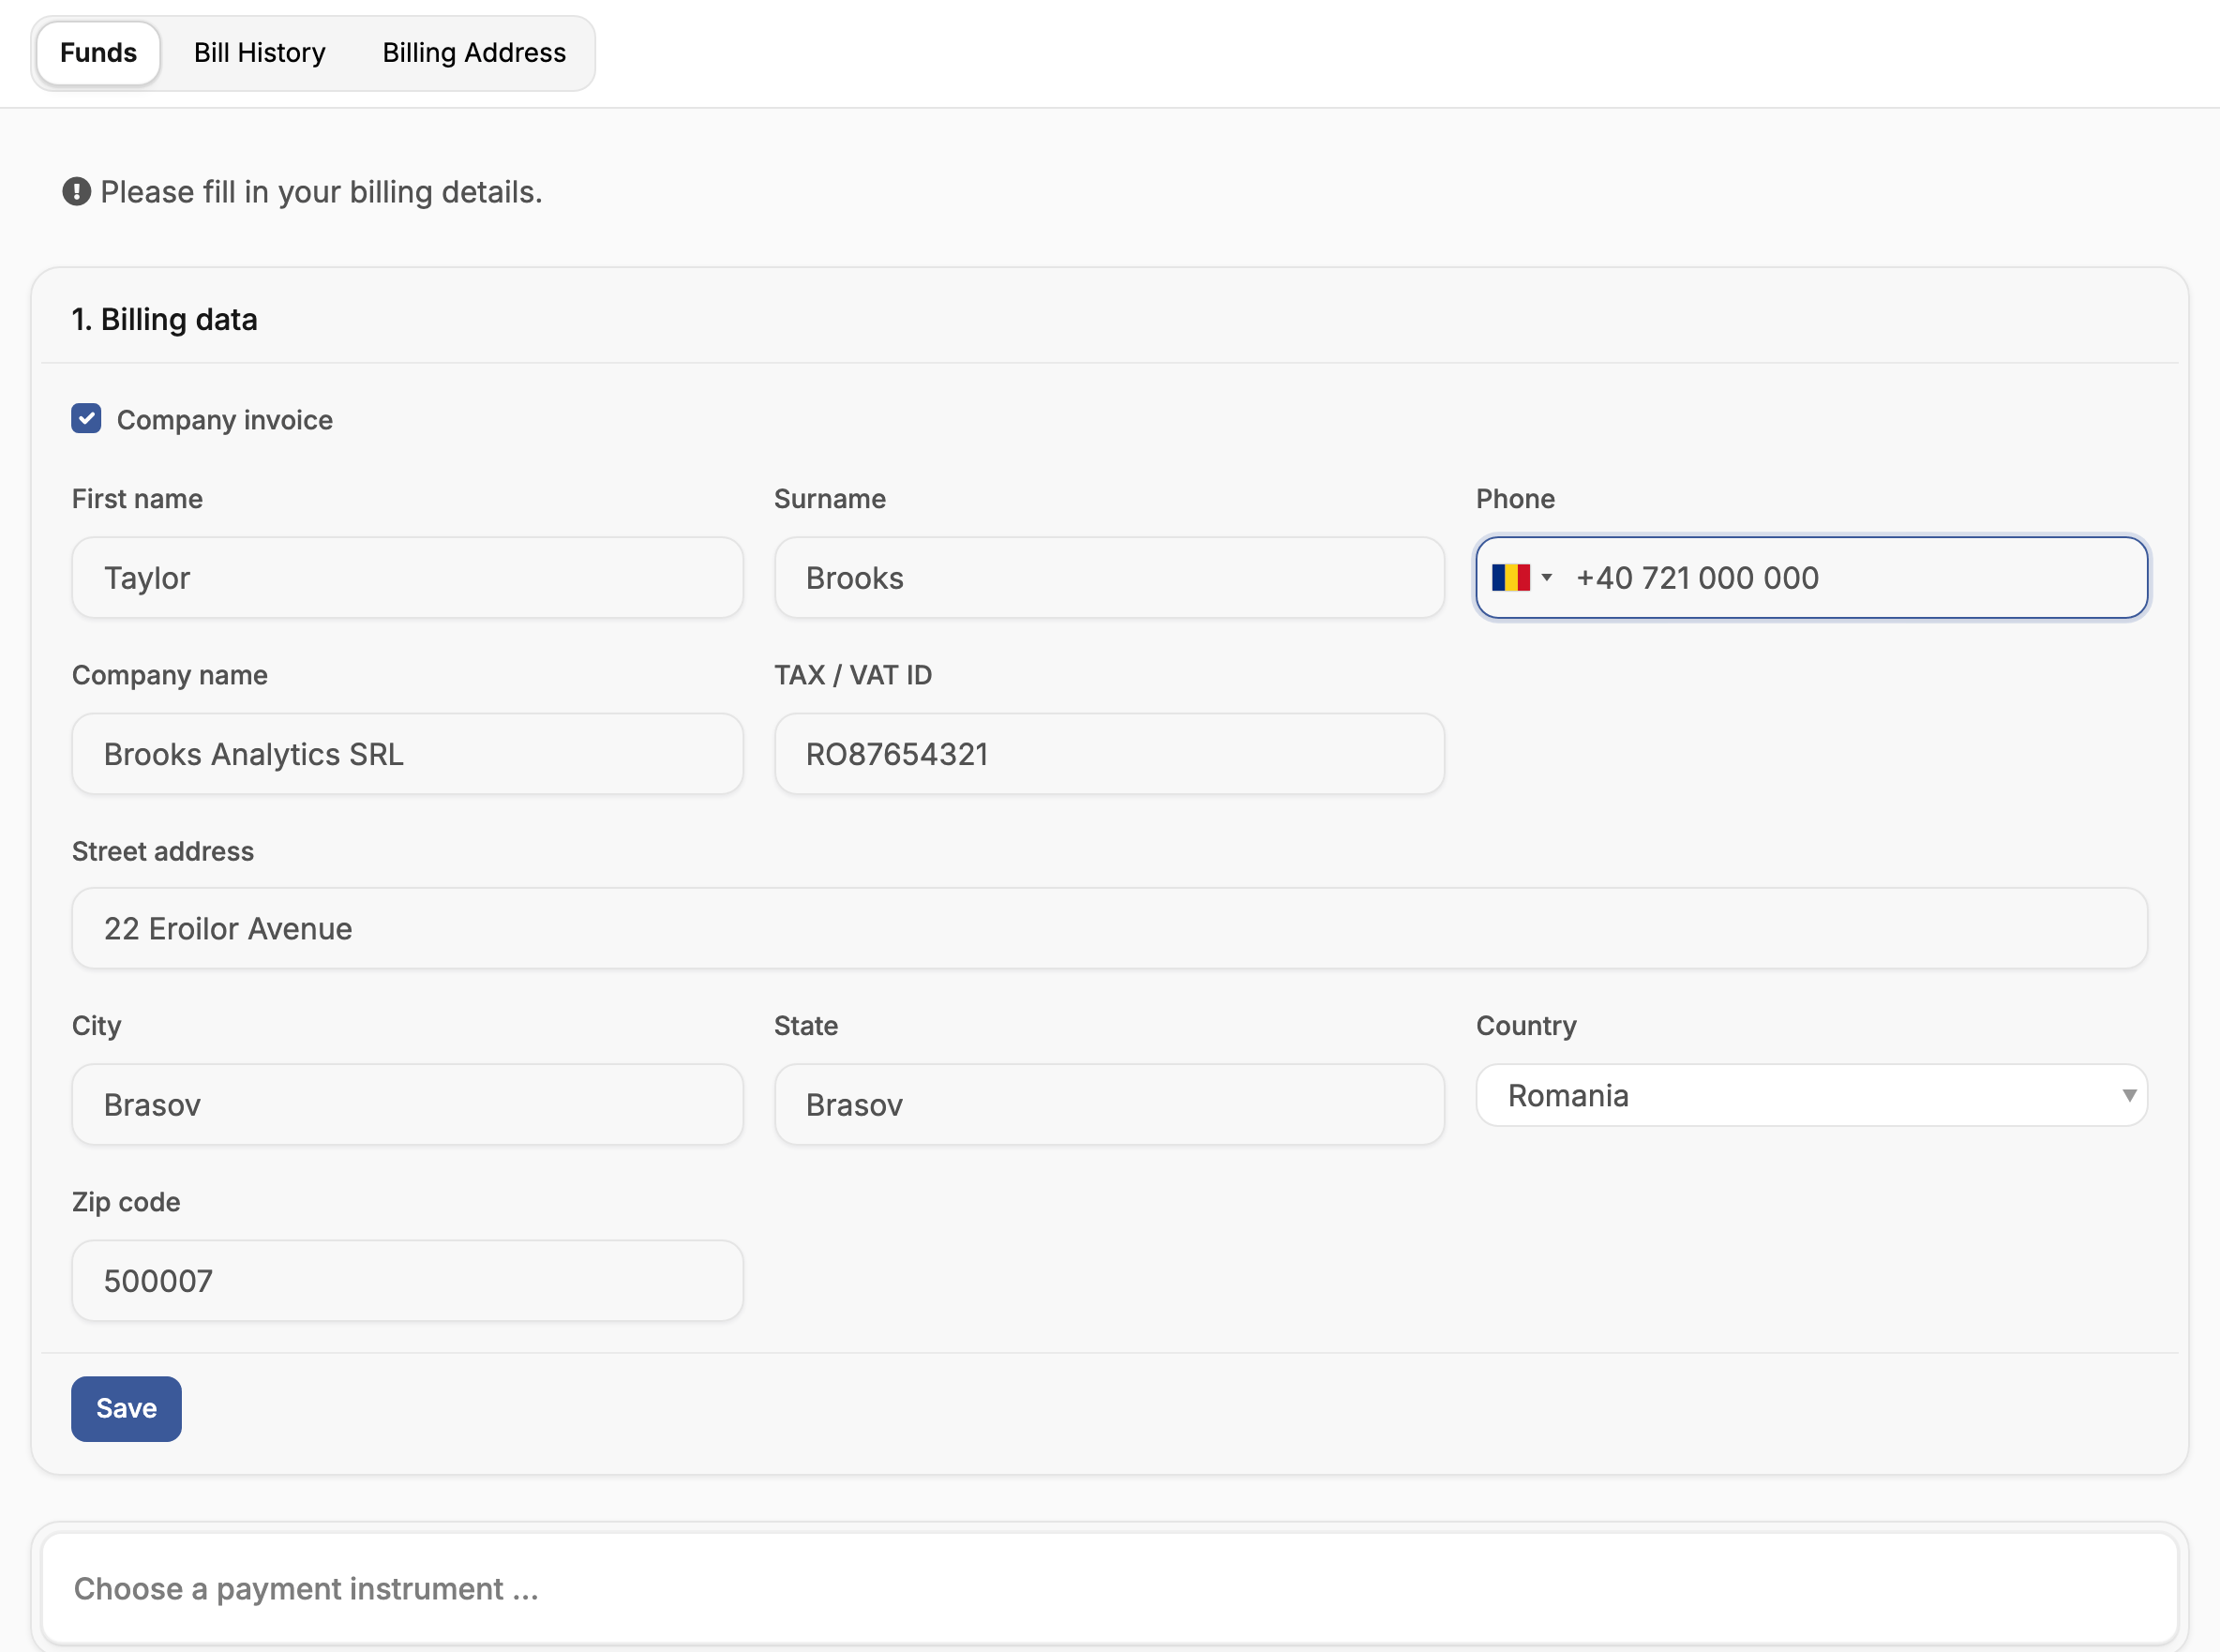
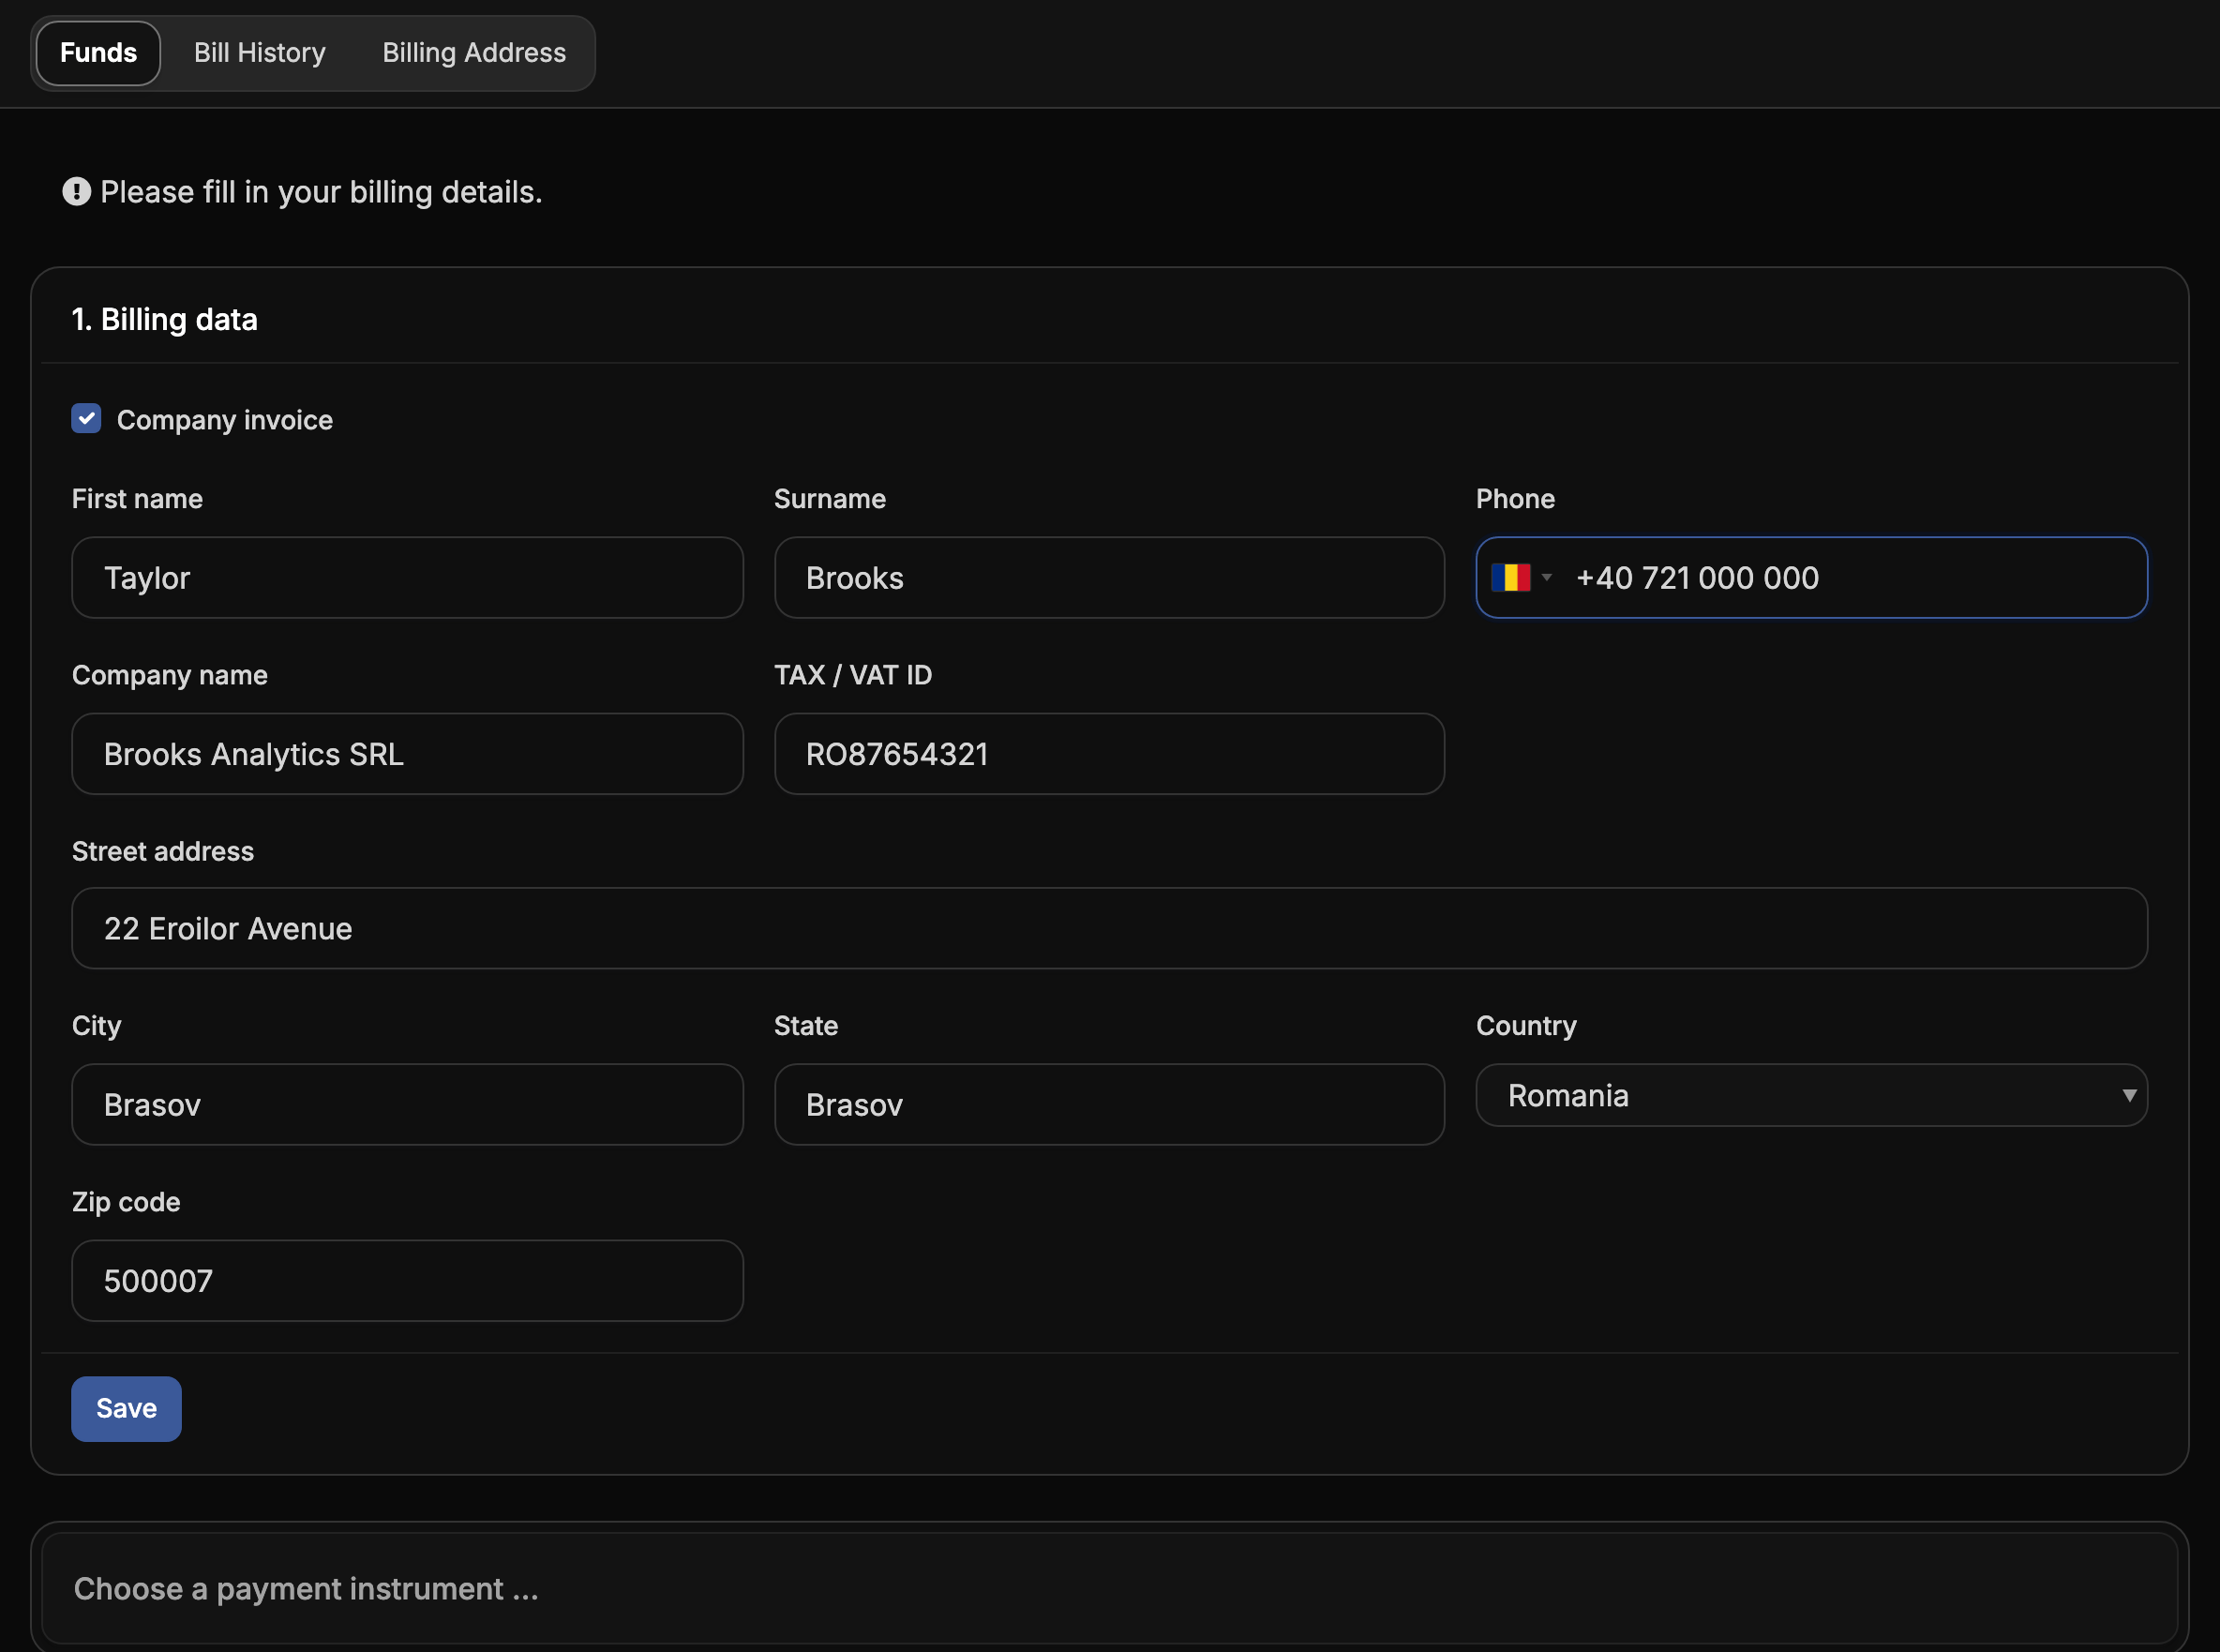
When your provider asks for nothing more, saving the details activates the account. You can change them later in the Billing Address tab, or in the organization's settings.
Add funds
Until the account is active, the Cloud menus of every project in the organization are greyed out, and the Funds tab says Your account is not active yet. The Dashboard, Financial and Settings pages stay open, so you finish activation from inside the project.
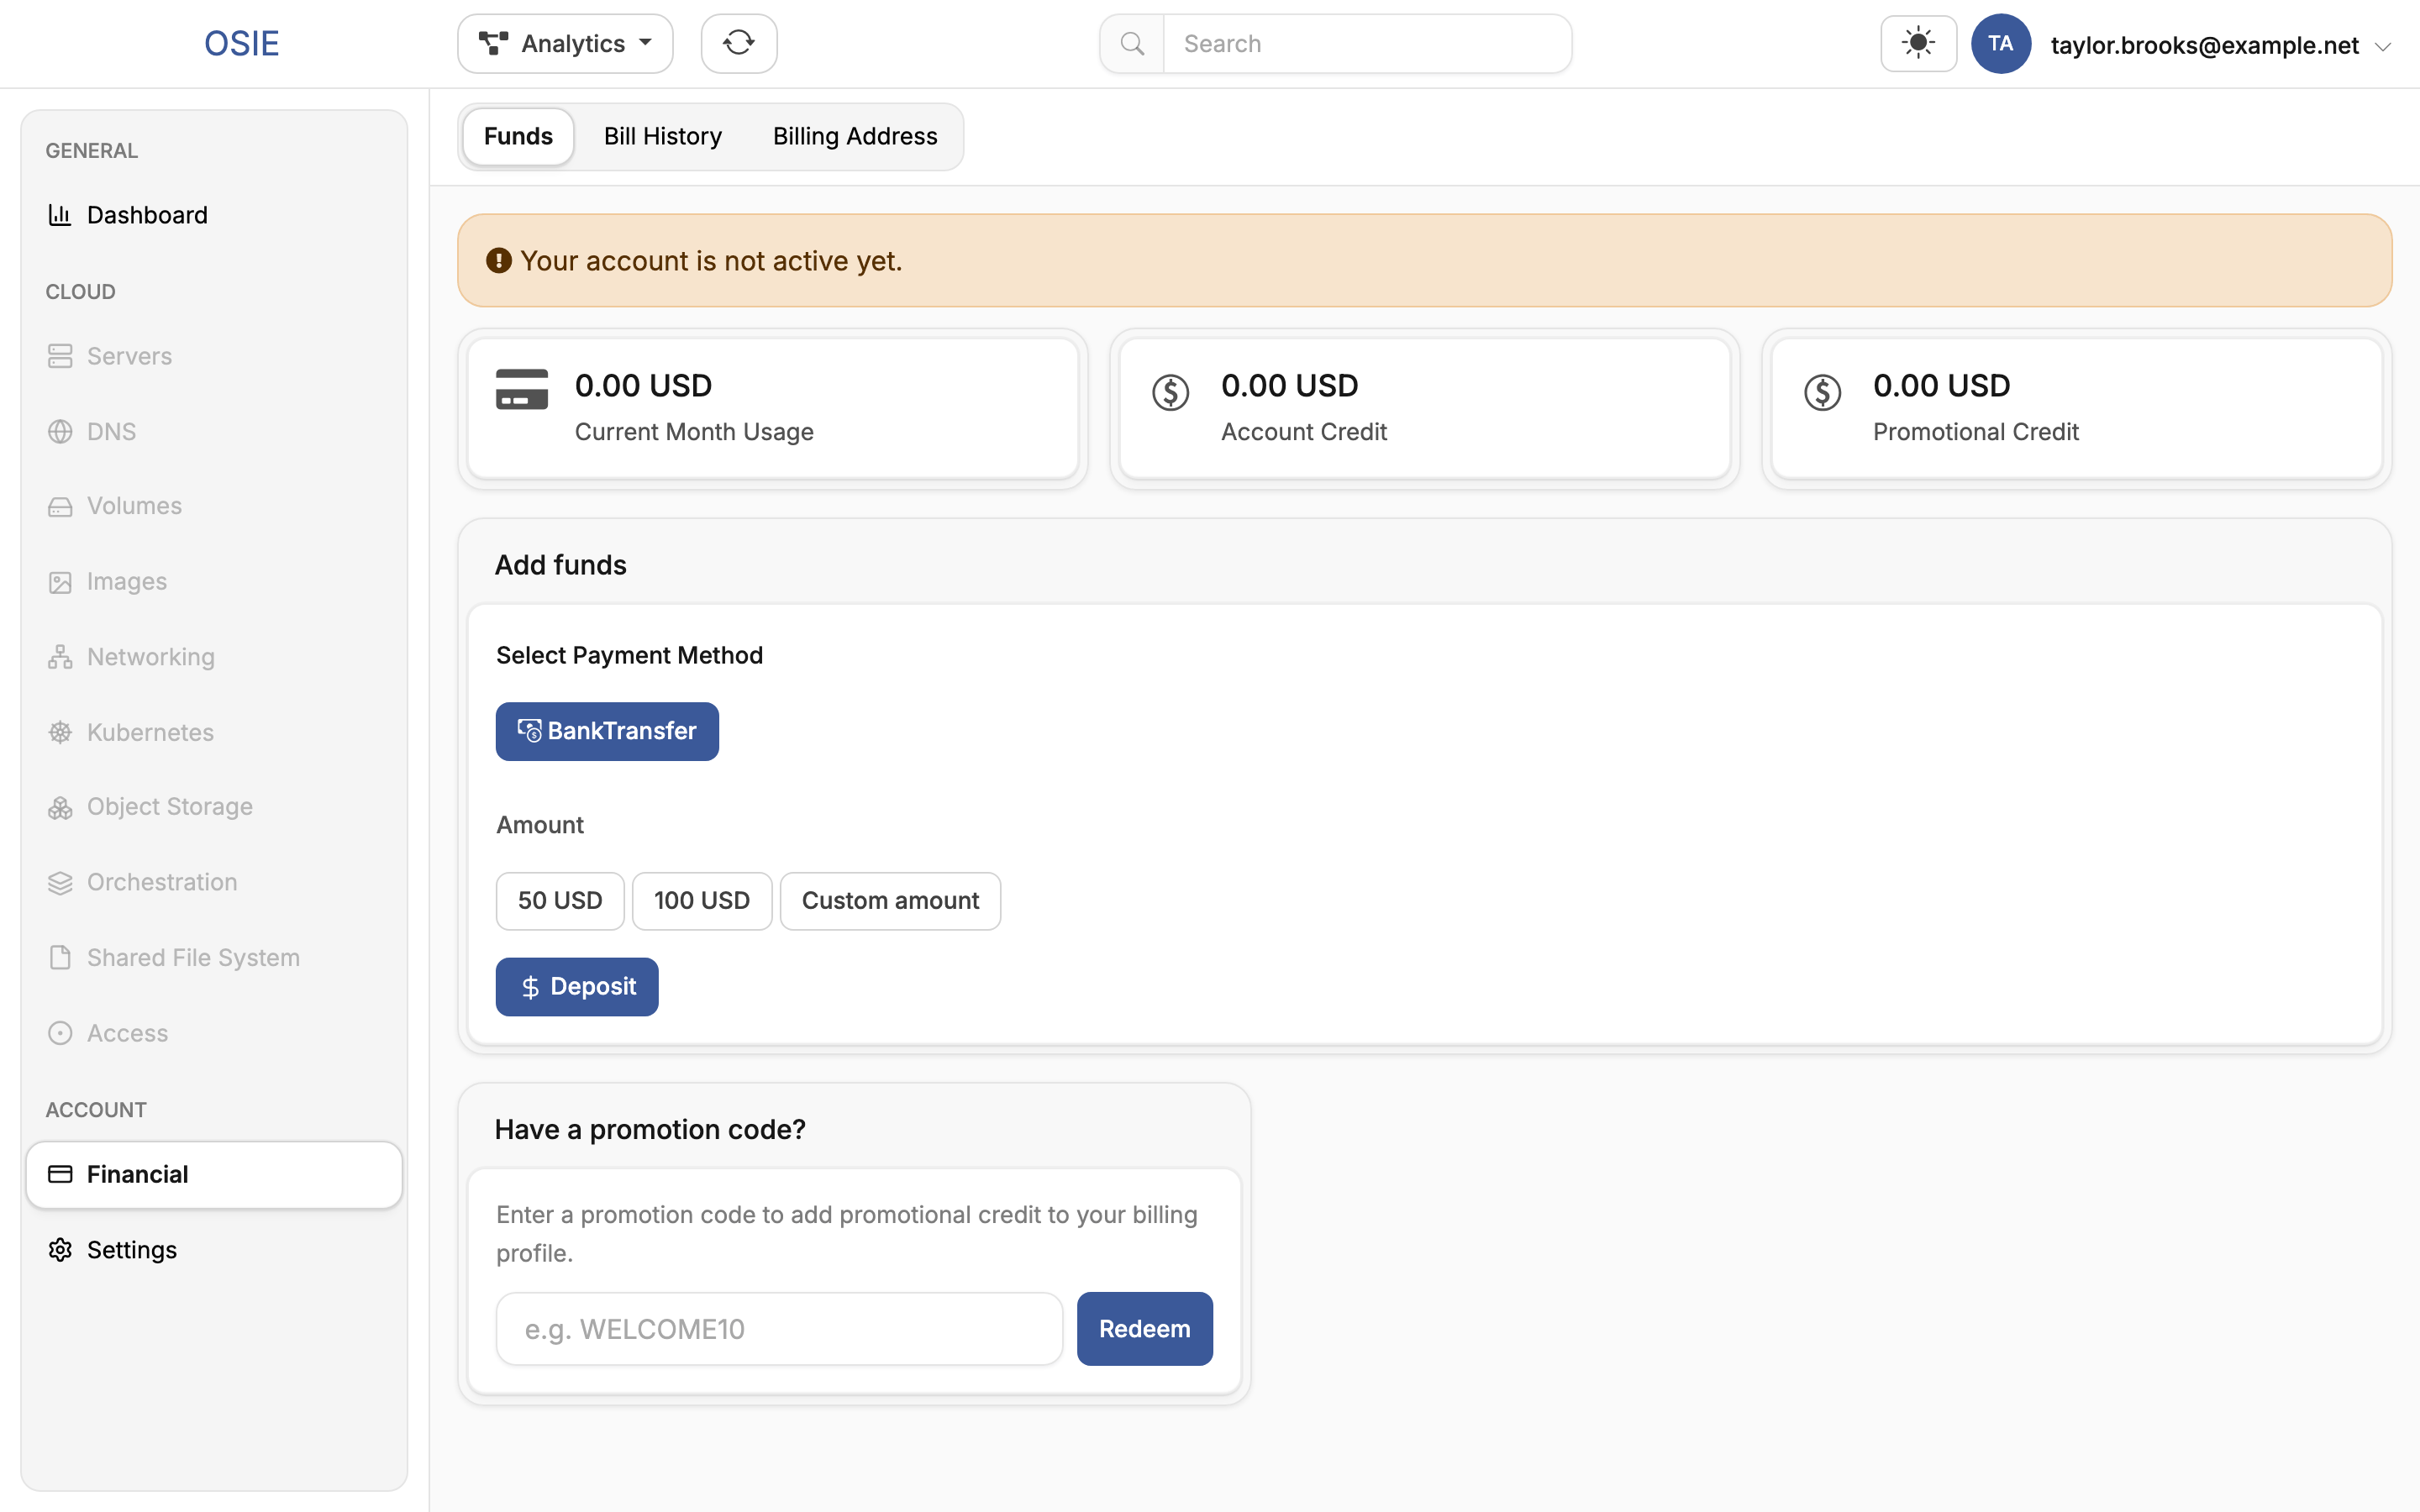
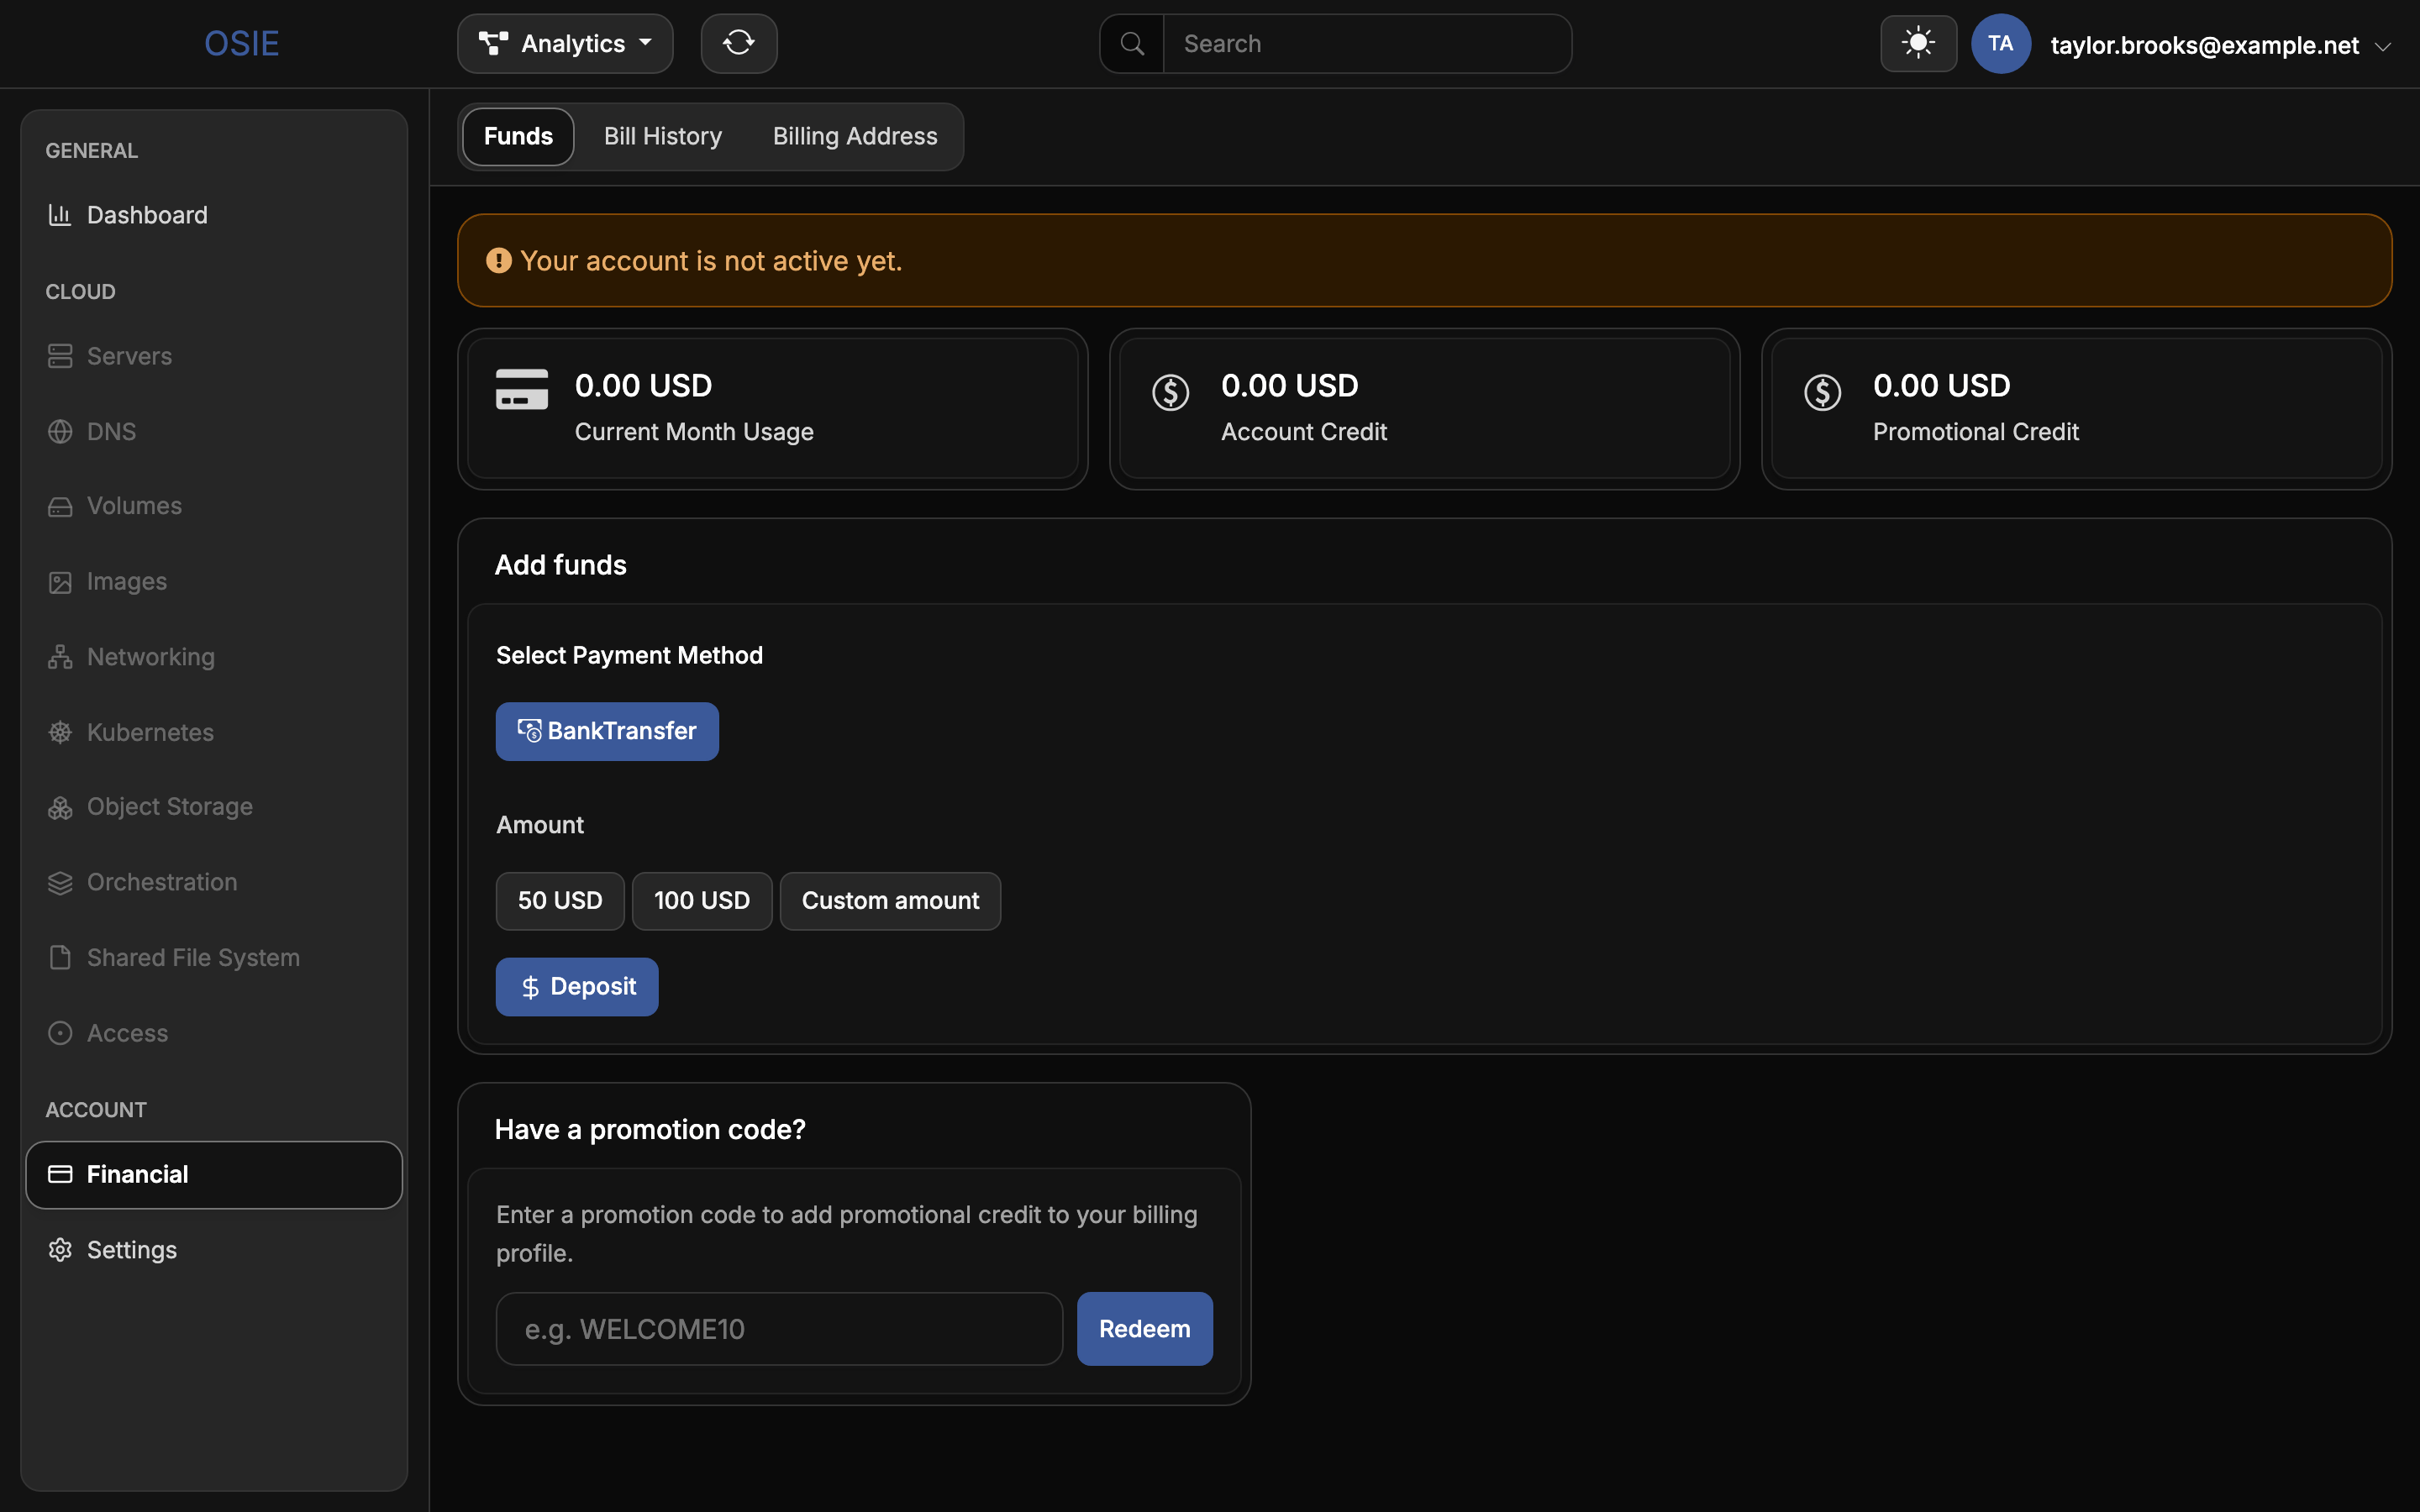
The Funds tab shows Current Month Usage, Account Credit and Promotional Credit, and lets you add funds:
- Under Select Payment Method, choose one of the methods your provider offers.
- Choose an amount, or Custom amount to enter your own. To activate the account, the funds you add have to reach the minimum your provider sets.
- Choose Deposit.
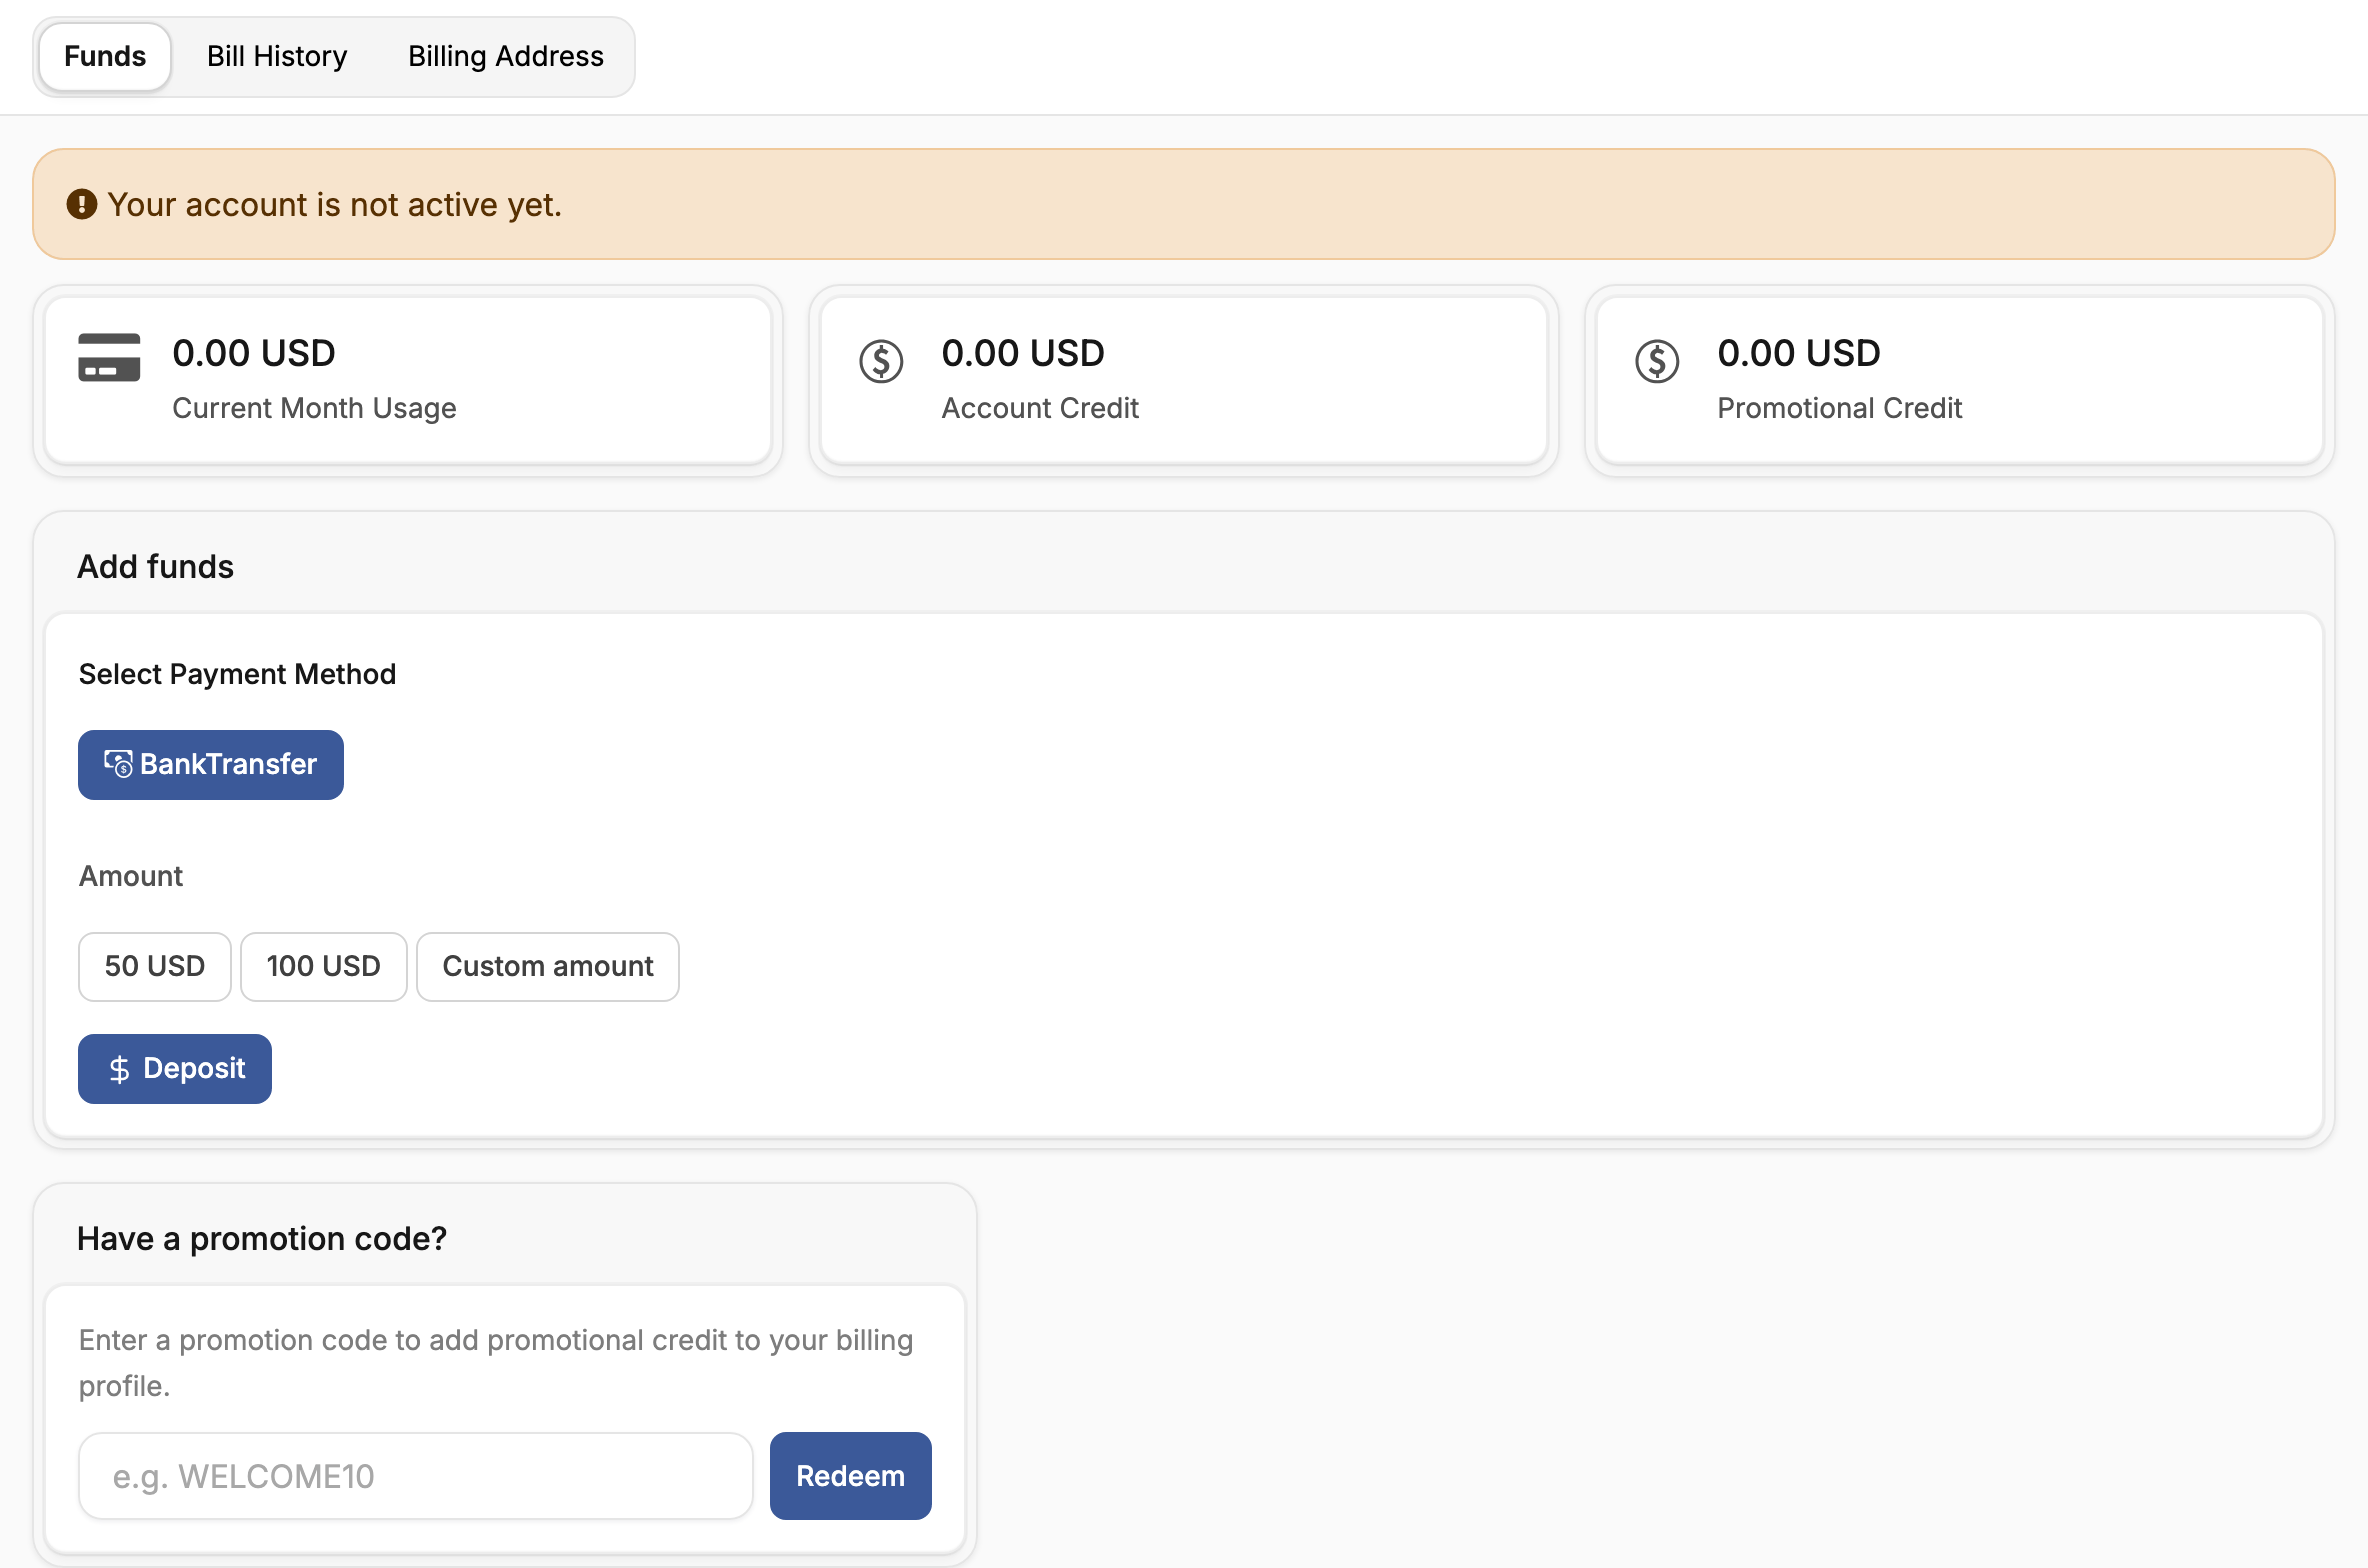
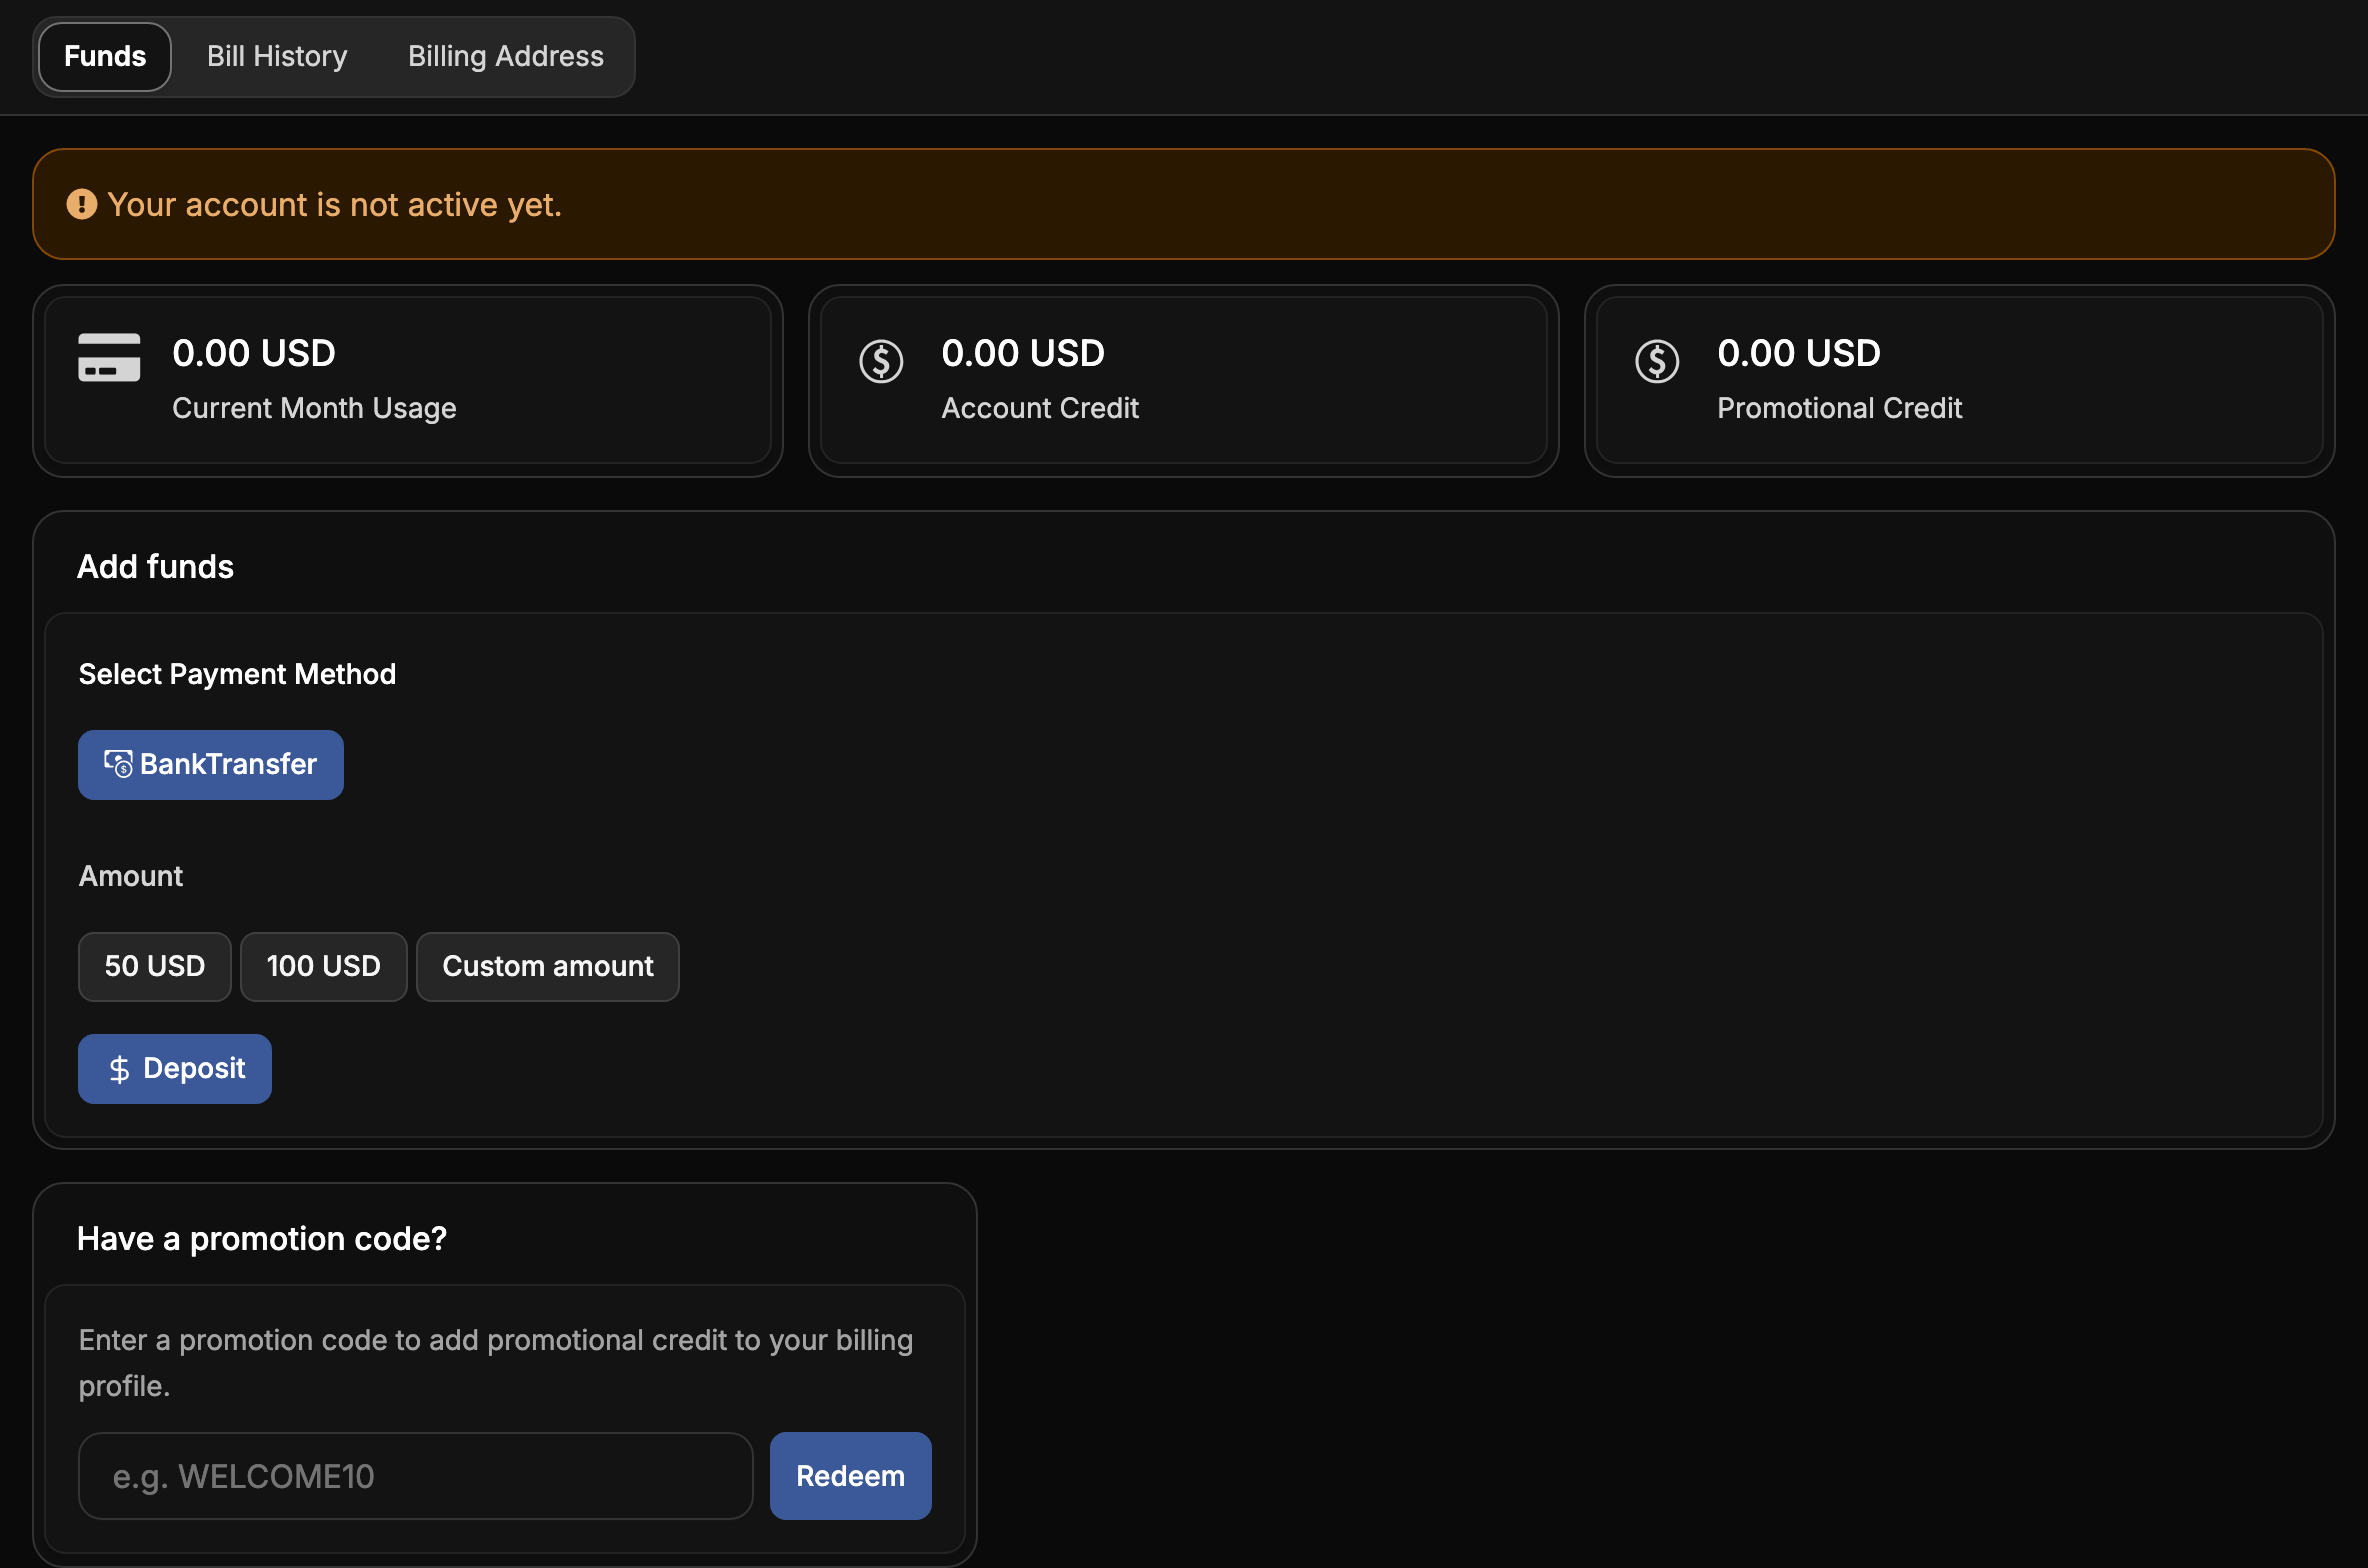
Funds land in Account Credit once your payment is received, and the portal emails you an invoice for them. Adding funds that reach the minimum activates the account, provided the other steps are done.
Pay by bank transfer
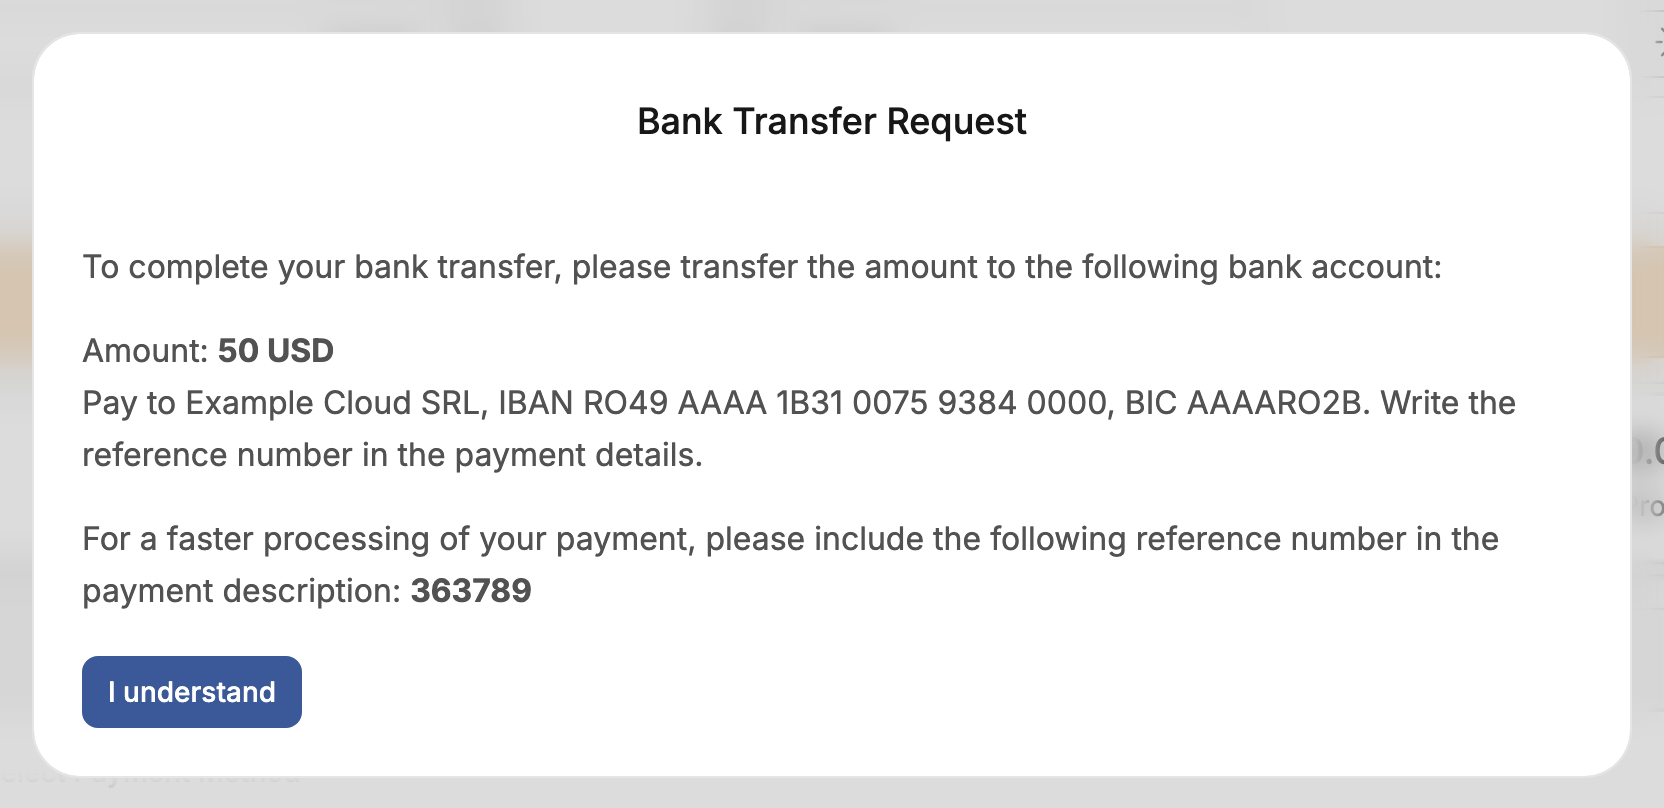
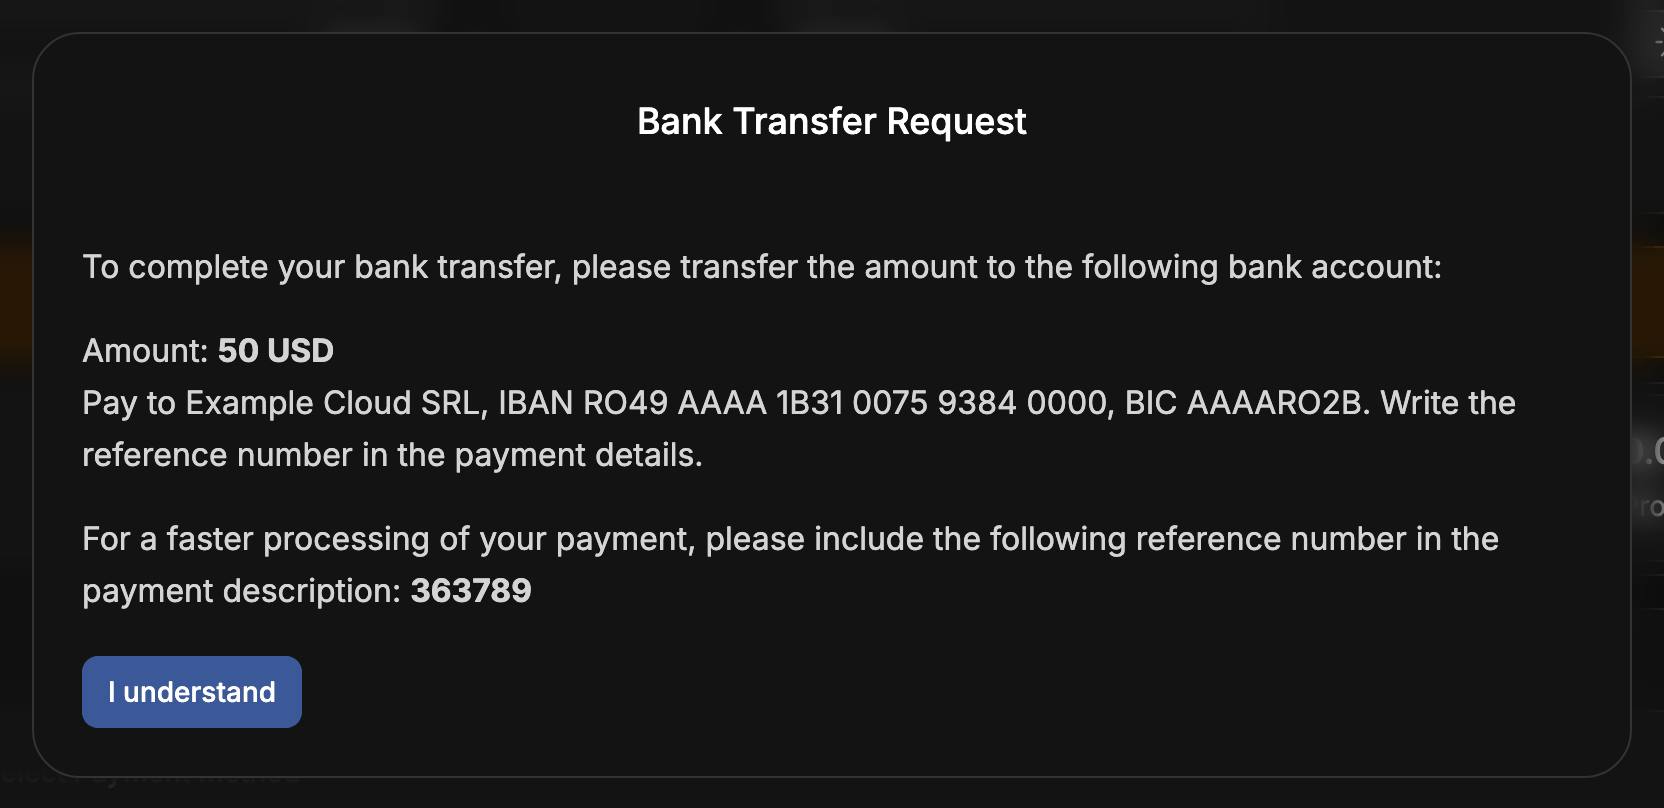
A bank transfer is credited when your provider receives it. After you choose Deposit, the portal shows the amount, your provider's bank details and a reference number. Include the reference number in the transfer's description, so your provider can match the payment to your account, and choose I understand.
Add a card
When your provider accepts cards, the Financial page has a Cards tab where you add one. If your provider accepts a card in place of a deposit, adding it activates the account, provided the other steps are done.
Wait for your provider's review
Some providers check each new account's billing details. Then the Funds tab says Your account is being validated. You will be notified by email once the validation is completed. You receive an email when your provider approves the account, and the account activates at that moment, provided the other steps are done.
Changes after activation
- The warning leaves the Funds tab, and the Cloud menus open in every project of the organization.
- Every project the organization created before activation is enabled and connected to your provider's clouds.
- Every member of the organization joins each of those projects: owners as project owners, everyone else as members. Change who works on which project in the organization's projects, or with groups.