Organizations
An organization stands for your company or team. It owns projects, the people who work on them, and one billing profile that pays for everything the organization uses. Invoices carry the billing profile's details.
Each organization is separate. Its members, roles, groups and allow lists apply only to its own projects. Belong to several organizations to keep separate companies, customers or cost centres apart.
Find your organizations
The portal's home page lists your organizations, each with your role in it and its projects. Choose a project card to open the project.
Organizations in the account menu lists every organization you belong to, with your role, the number of projects and members, and a Settings button.


The settings button on an organization's card on the home page opens the same settings.
Create an organization
- Open Organizations and choose Create Organization.
- Enter the Organization Name and an optional Description.
- Choose Create Organization.
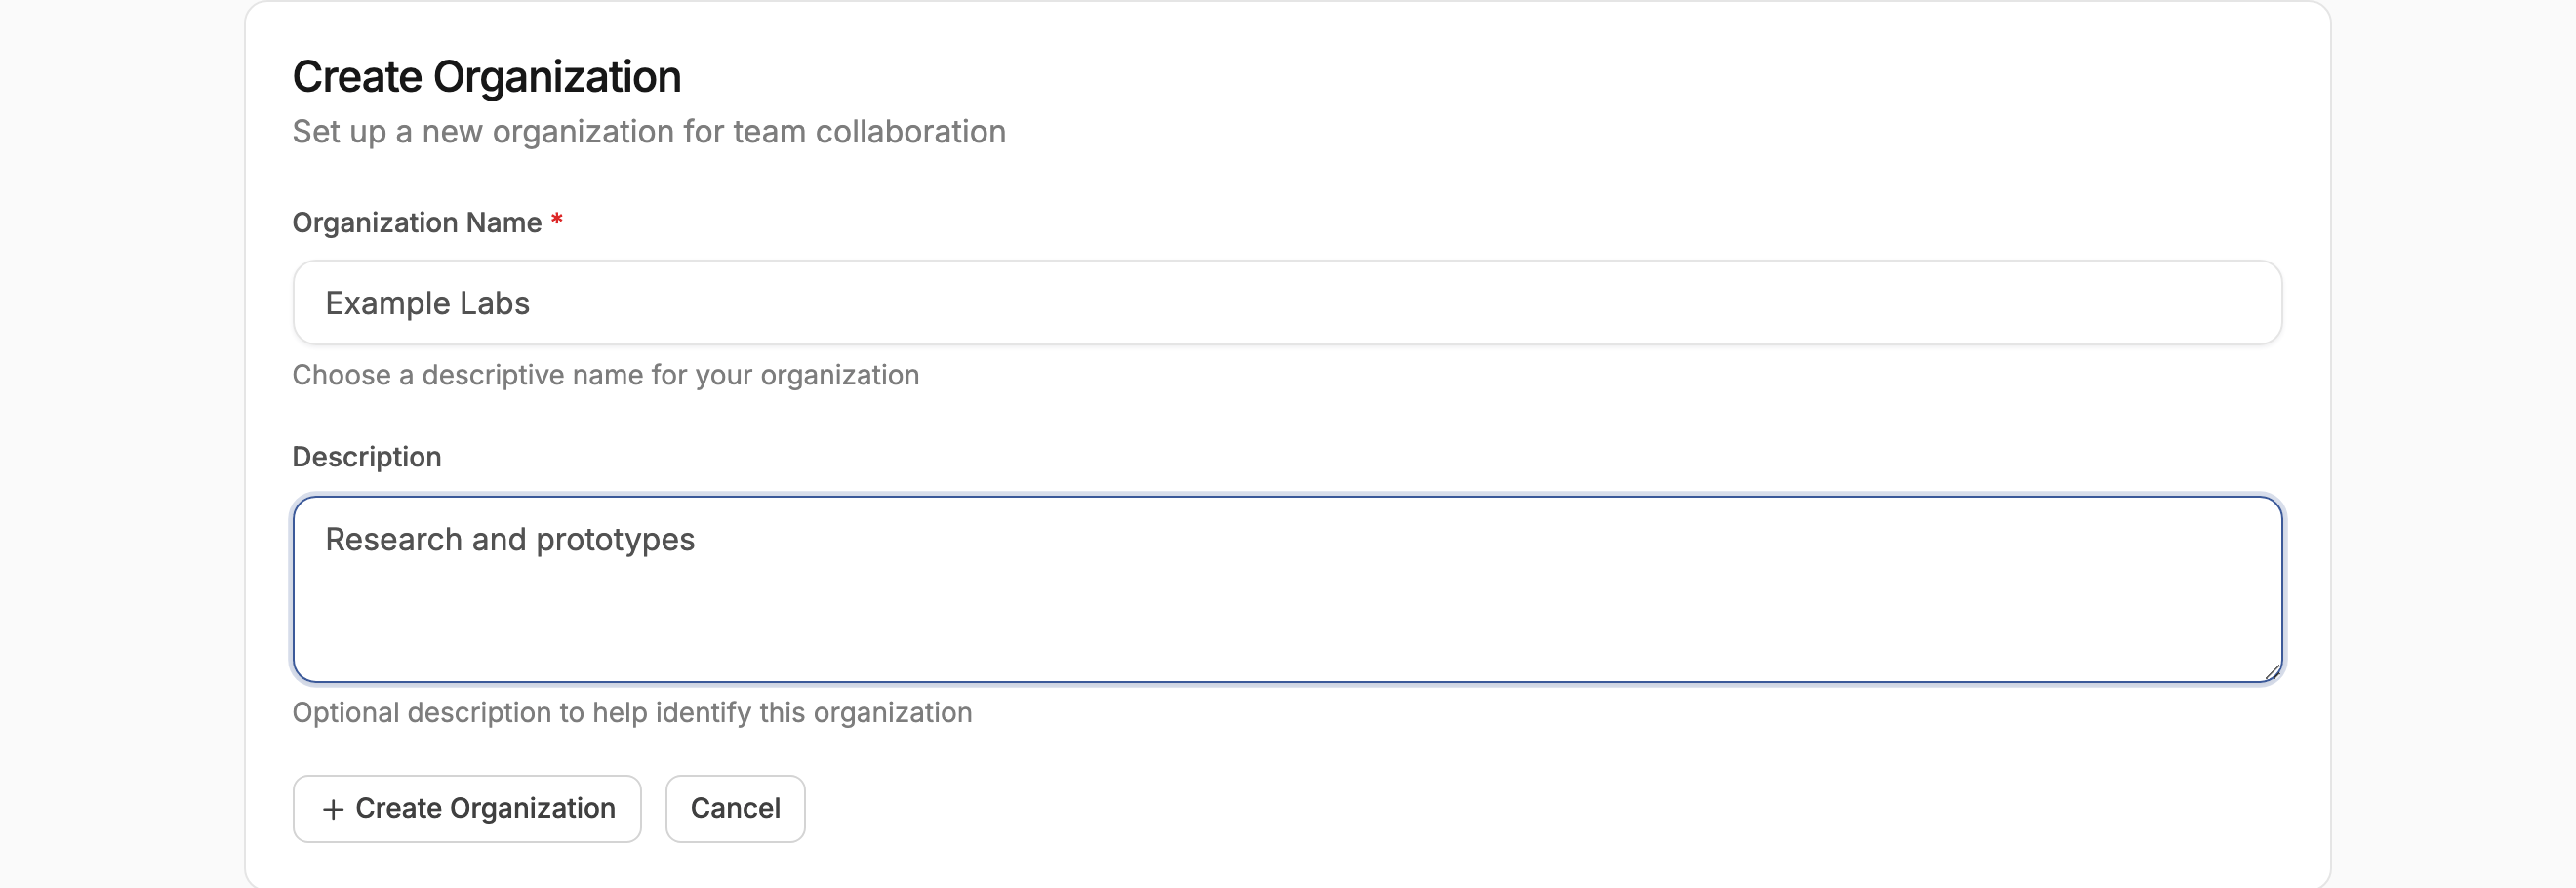
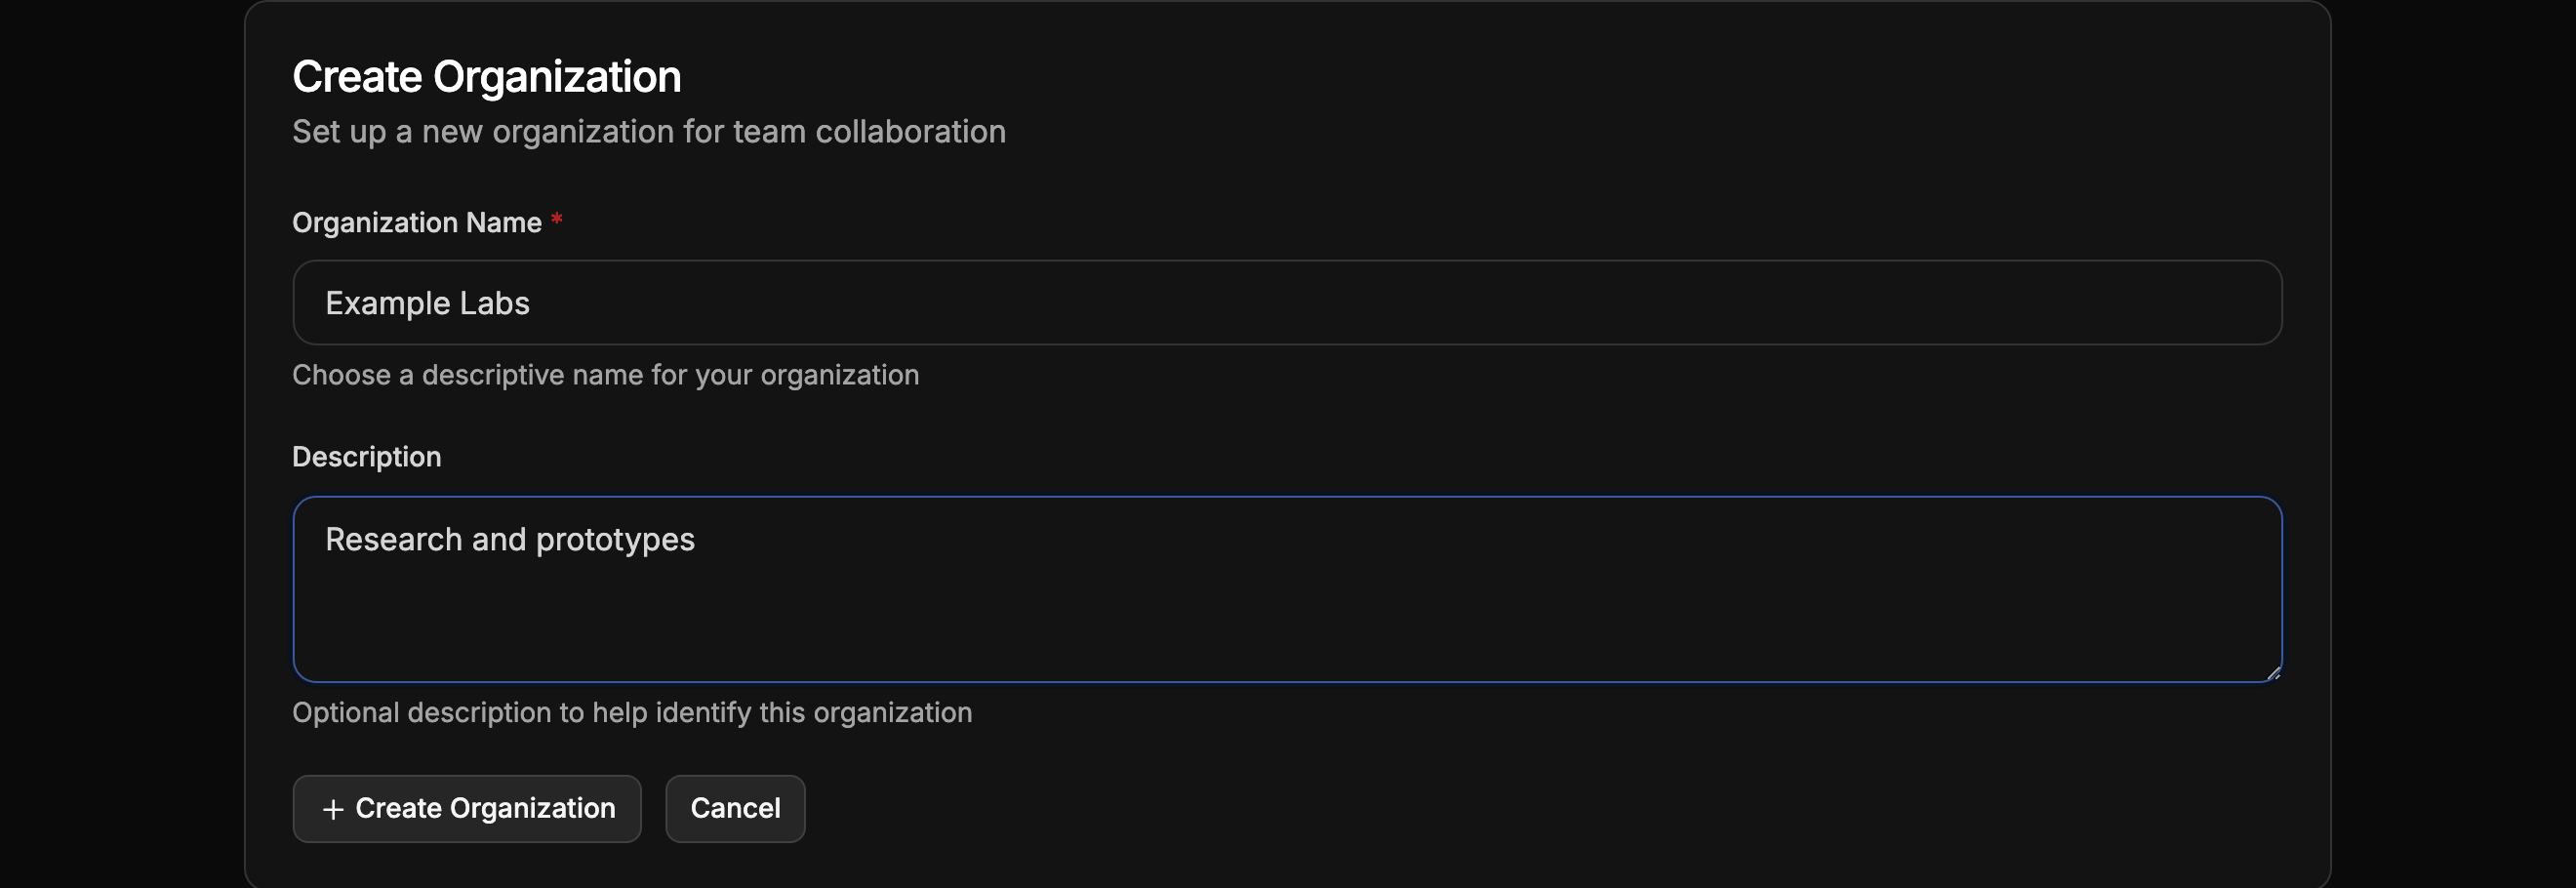
You become the organization's owner. The organization gets its own billing profile, filled in with your name and email address. When your provider bills through the portal, the billing profile has to be activated before projects in the new organization can run cloud resources. See Account activation.
Change the organization's details
Open the organization's settings and choose Details.
- Organization Name and Description identify the organization in the portal. Choose Update Organization to save them.
- Billing Profile holds the details printed on invoices. Tick Company invoice to invoice a company, and enter its Company name and TAX / VAT ID. Then enter the contact name, Phone, address and Country, and choose Update Billing Details.
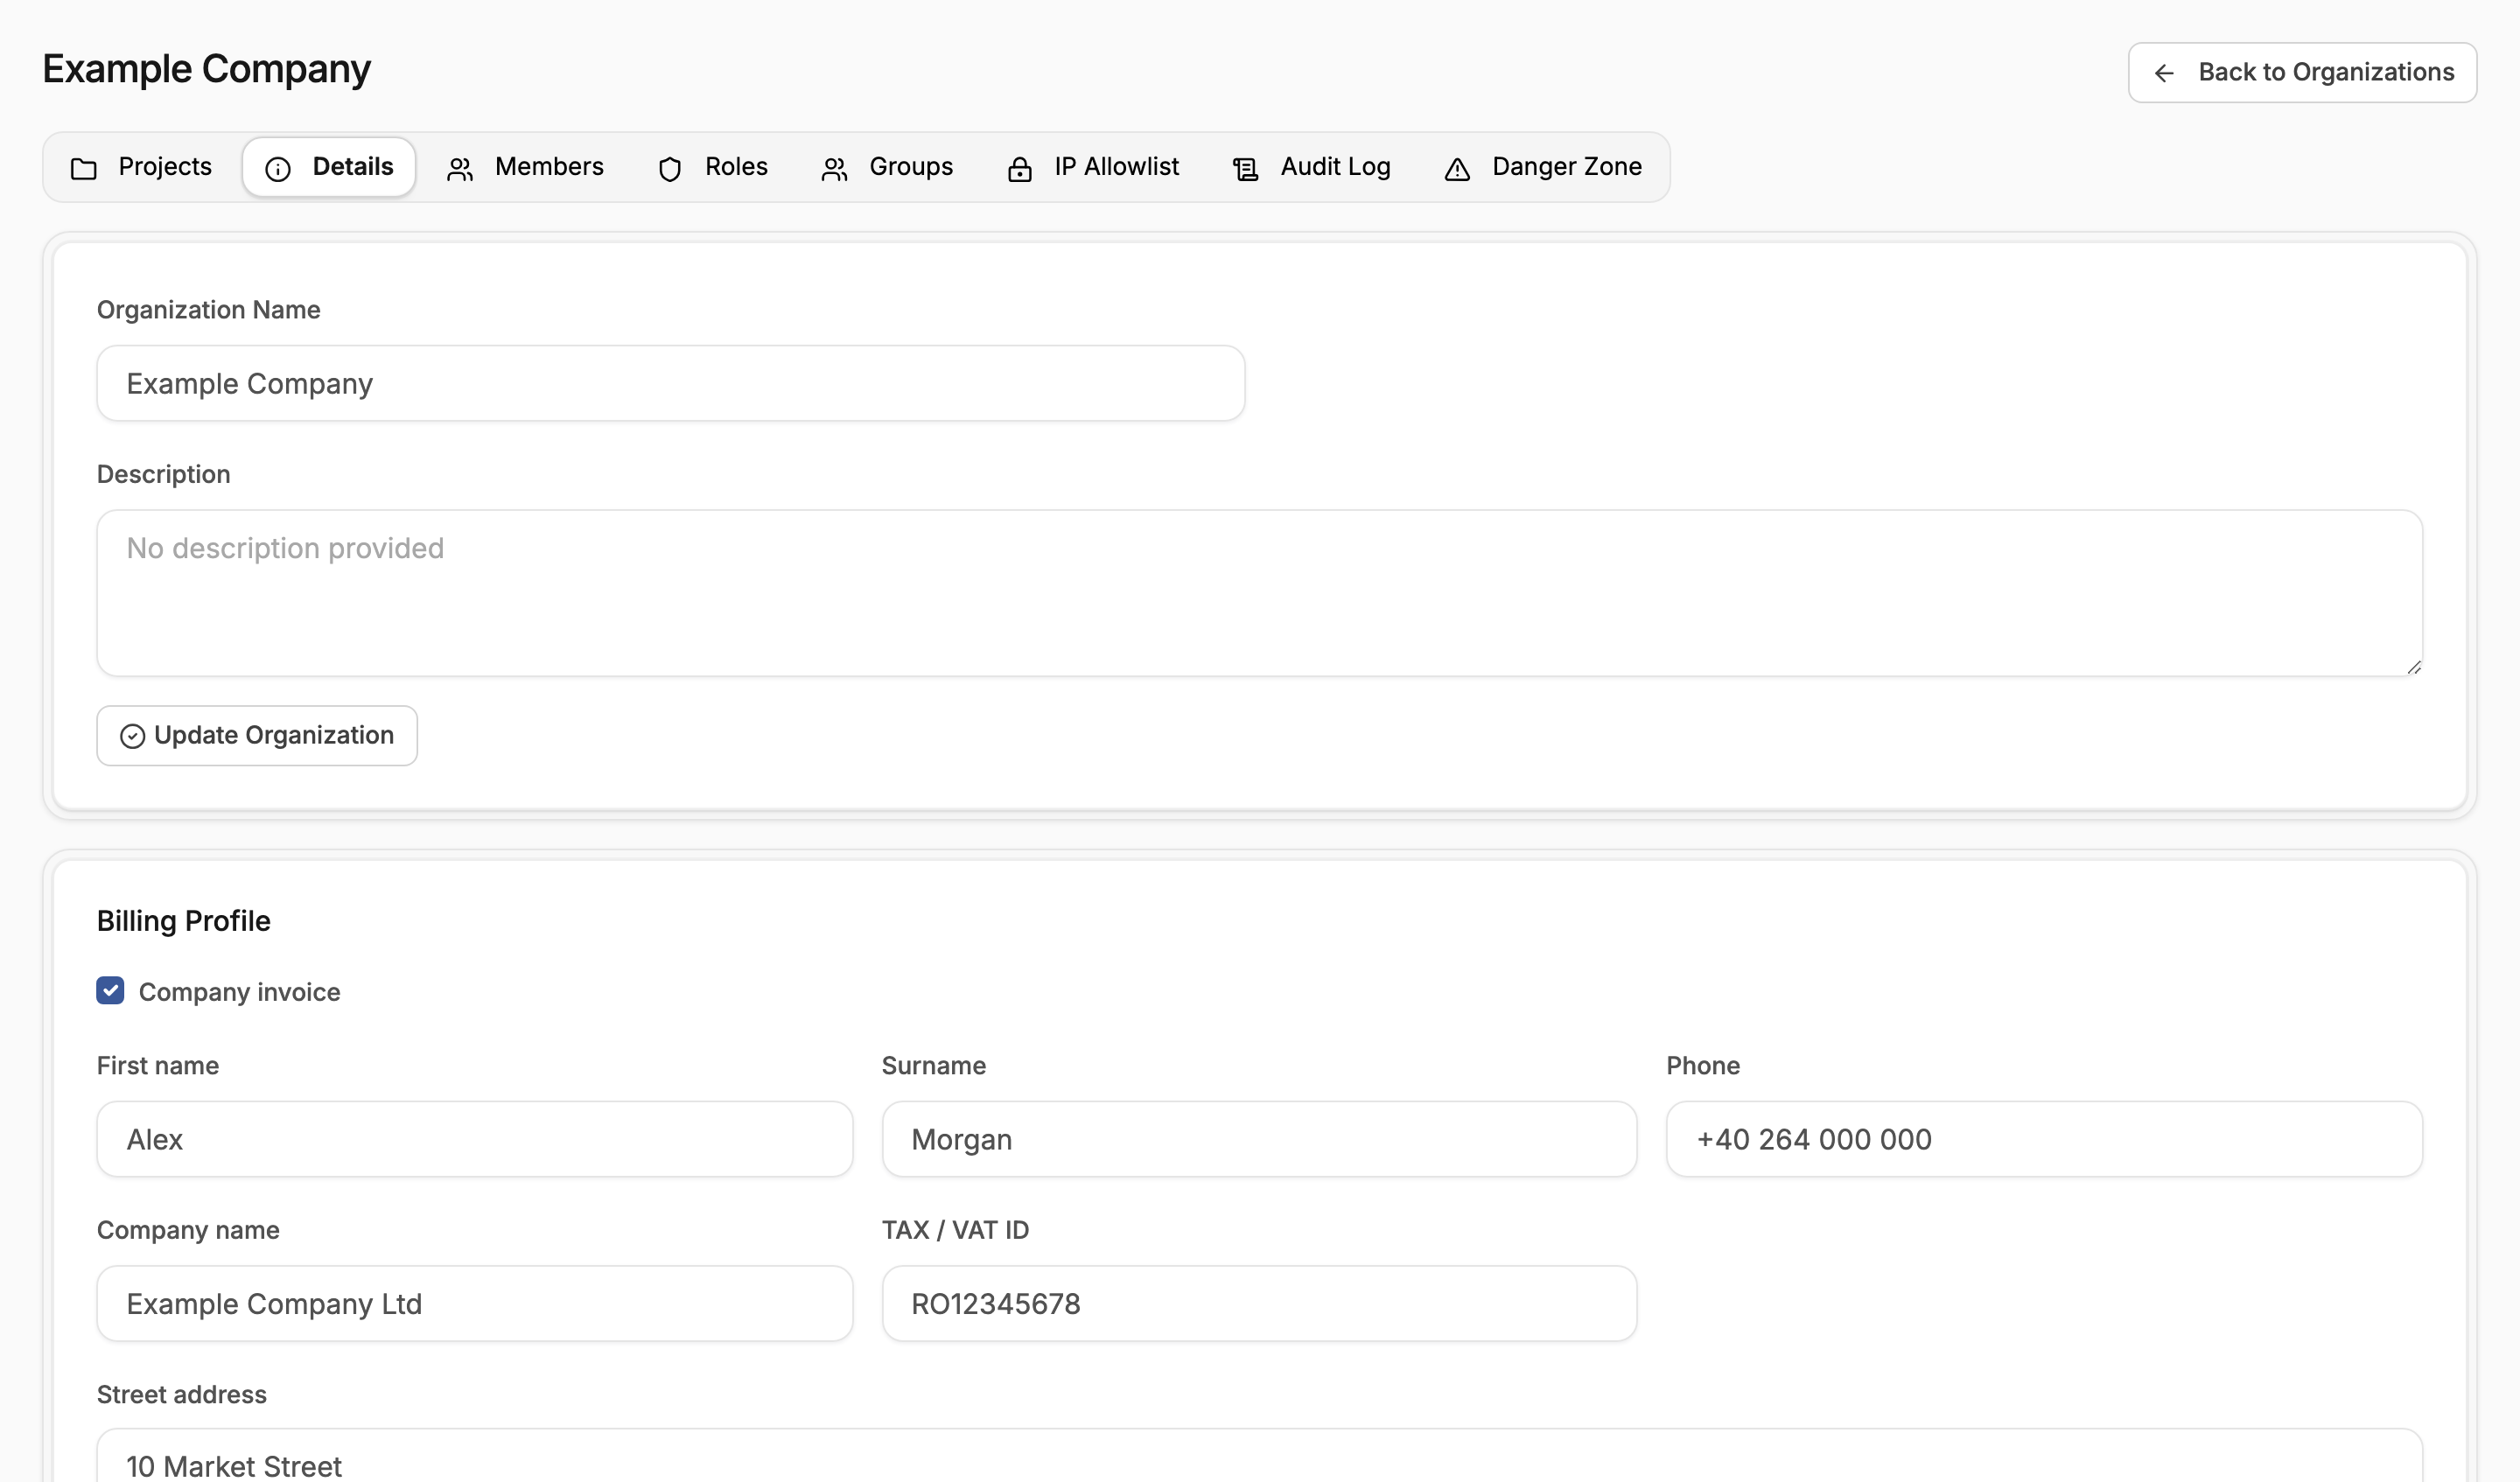
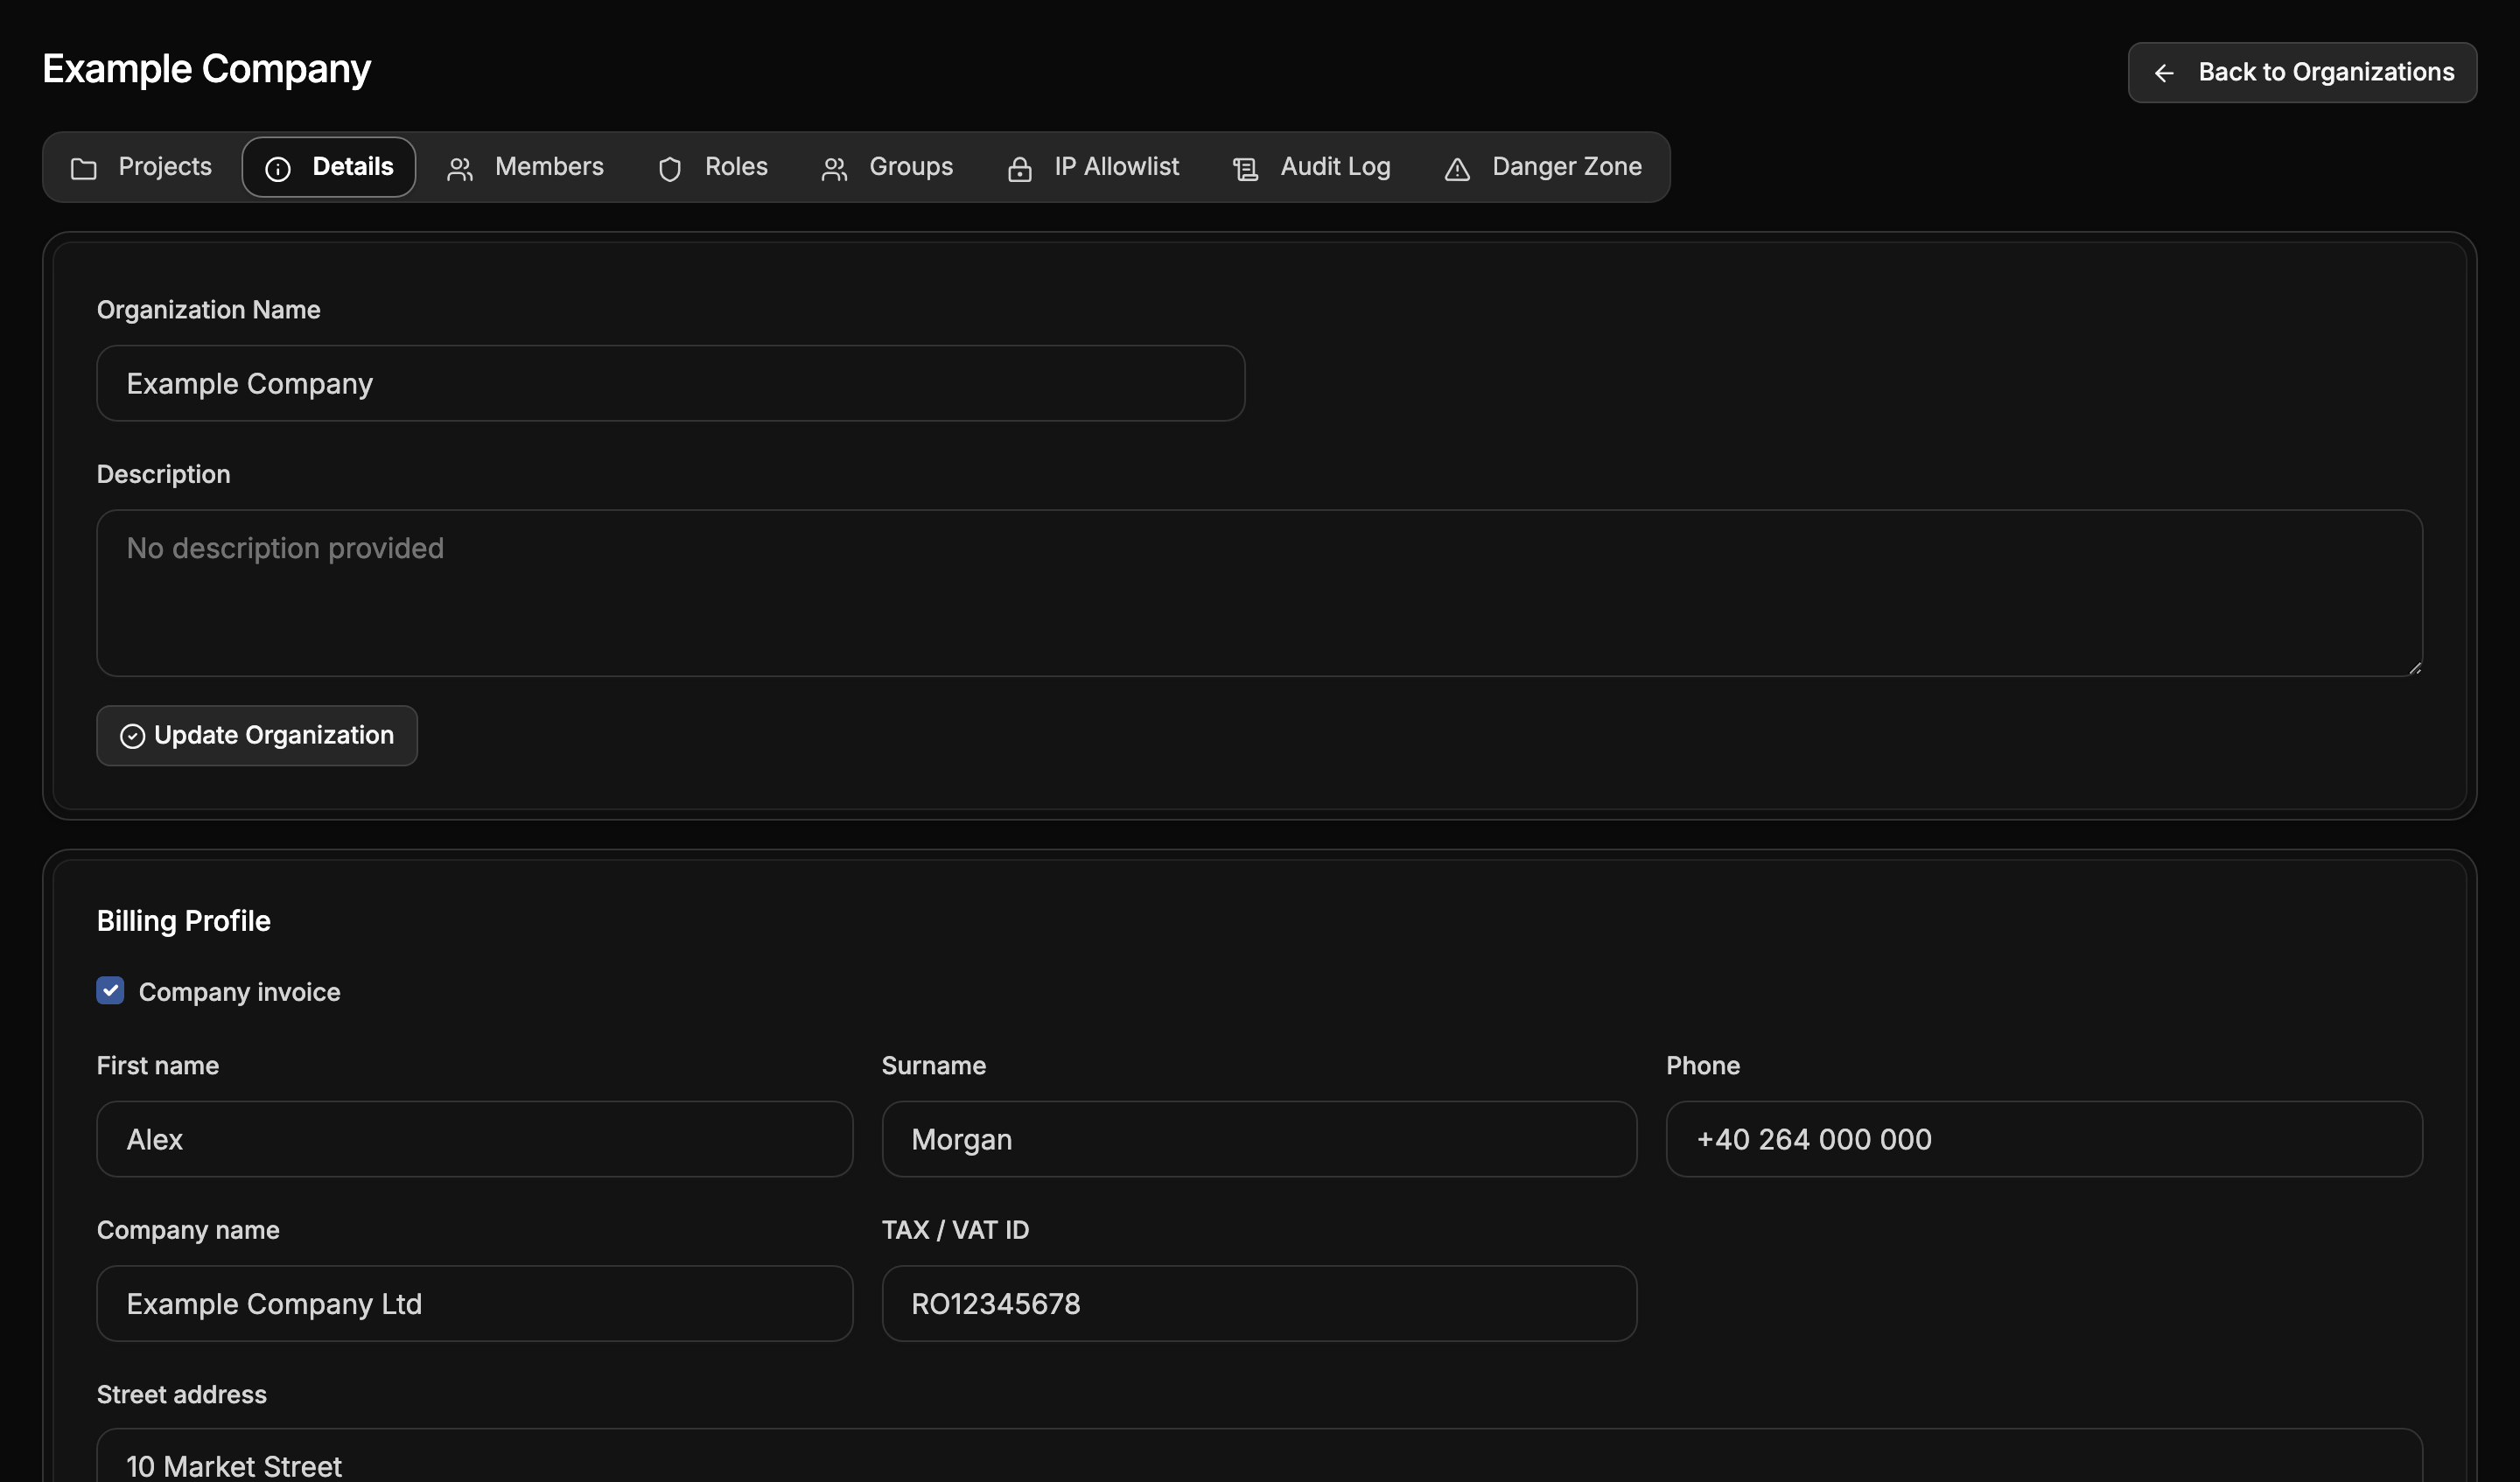
The country and the company or consumer choice decide which taxes apply to the invoices.
Changing the name needs the Owner or Admin role. Changing the billing details needs a role that may edit the billing profile, which the Owner and Admin roles can.
Manage the organization's projects
Projects lists every project of the organization with its status and the number of members.


- Manage Project Members on a project's row adds organization members to the project or removes them. Only members of the organization can be added.
- The delete button schedules a project for deletion. A project scheduled for deletion offers to cancel it. See Delete a project.
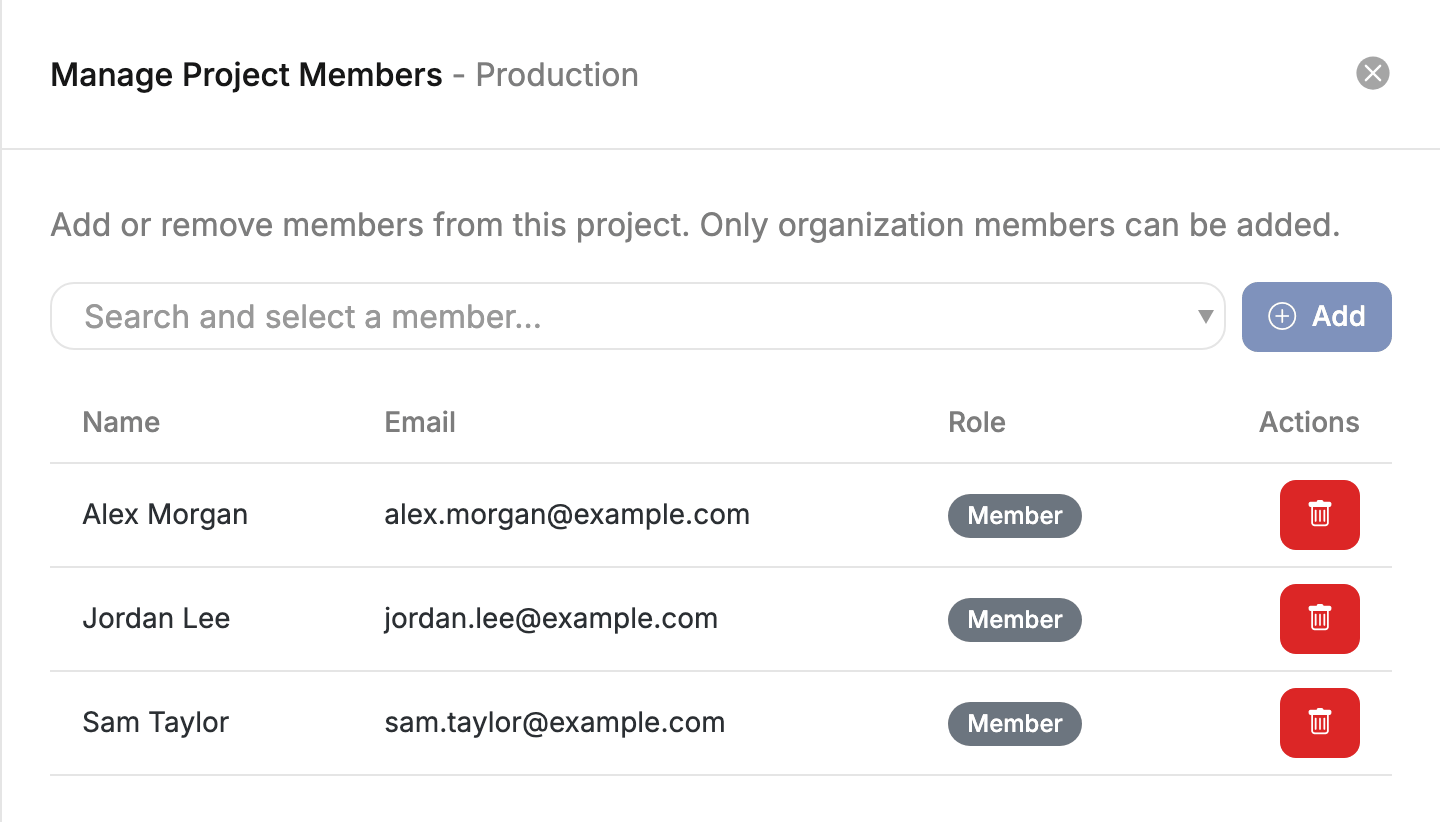
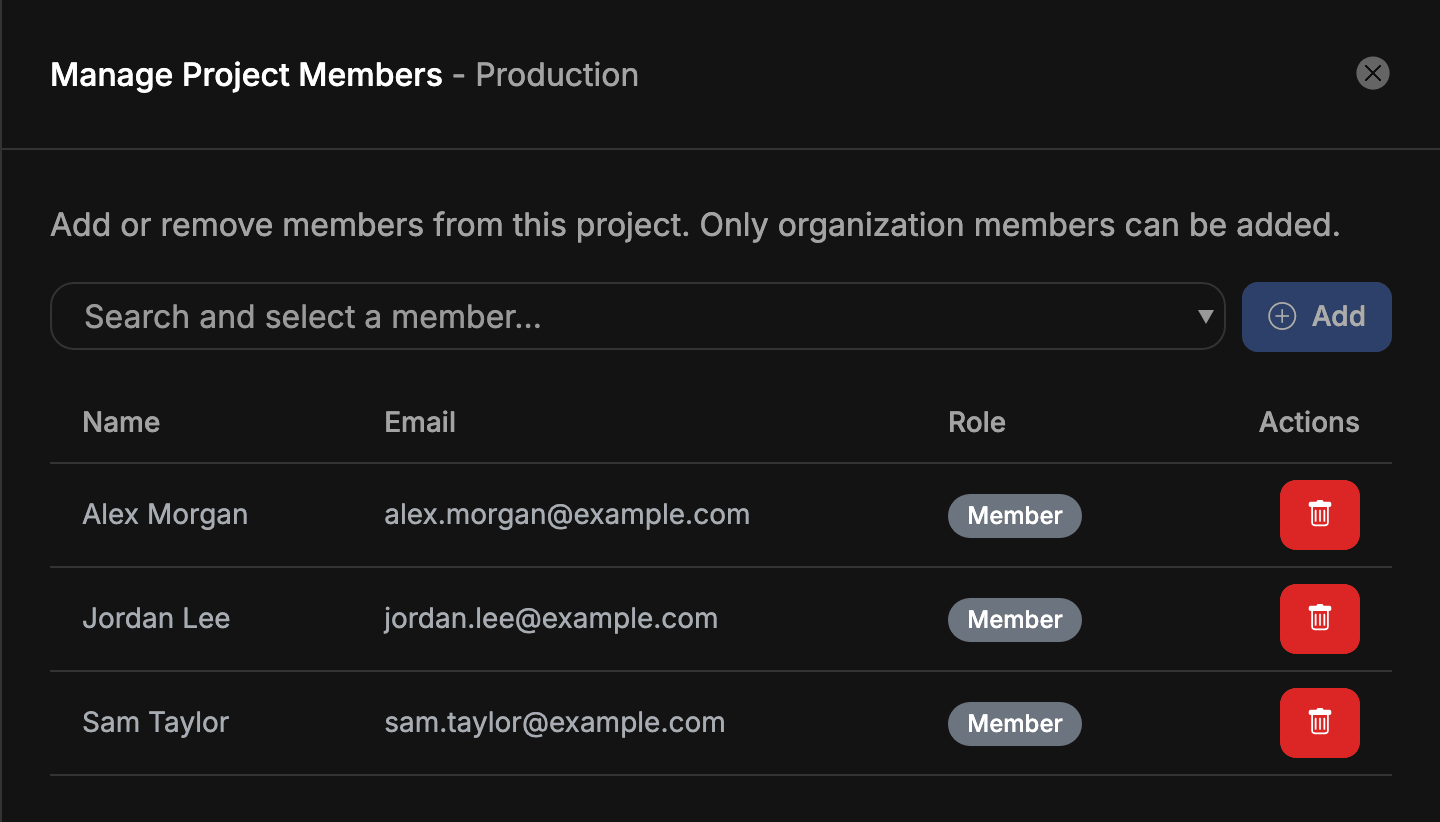
To give a team access to many projects at once, use a group instead of adding each person to each project.
Delete an organization
Delete every project of the organization first. Then open Danger Zone and choose Delete Organization. The deletion is permanent. Deleting an organization needs the Owner role.
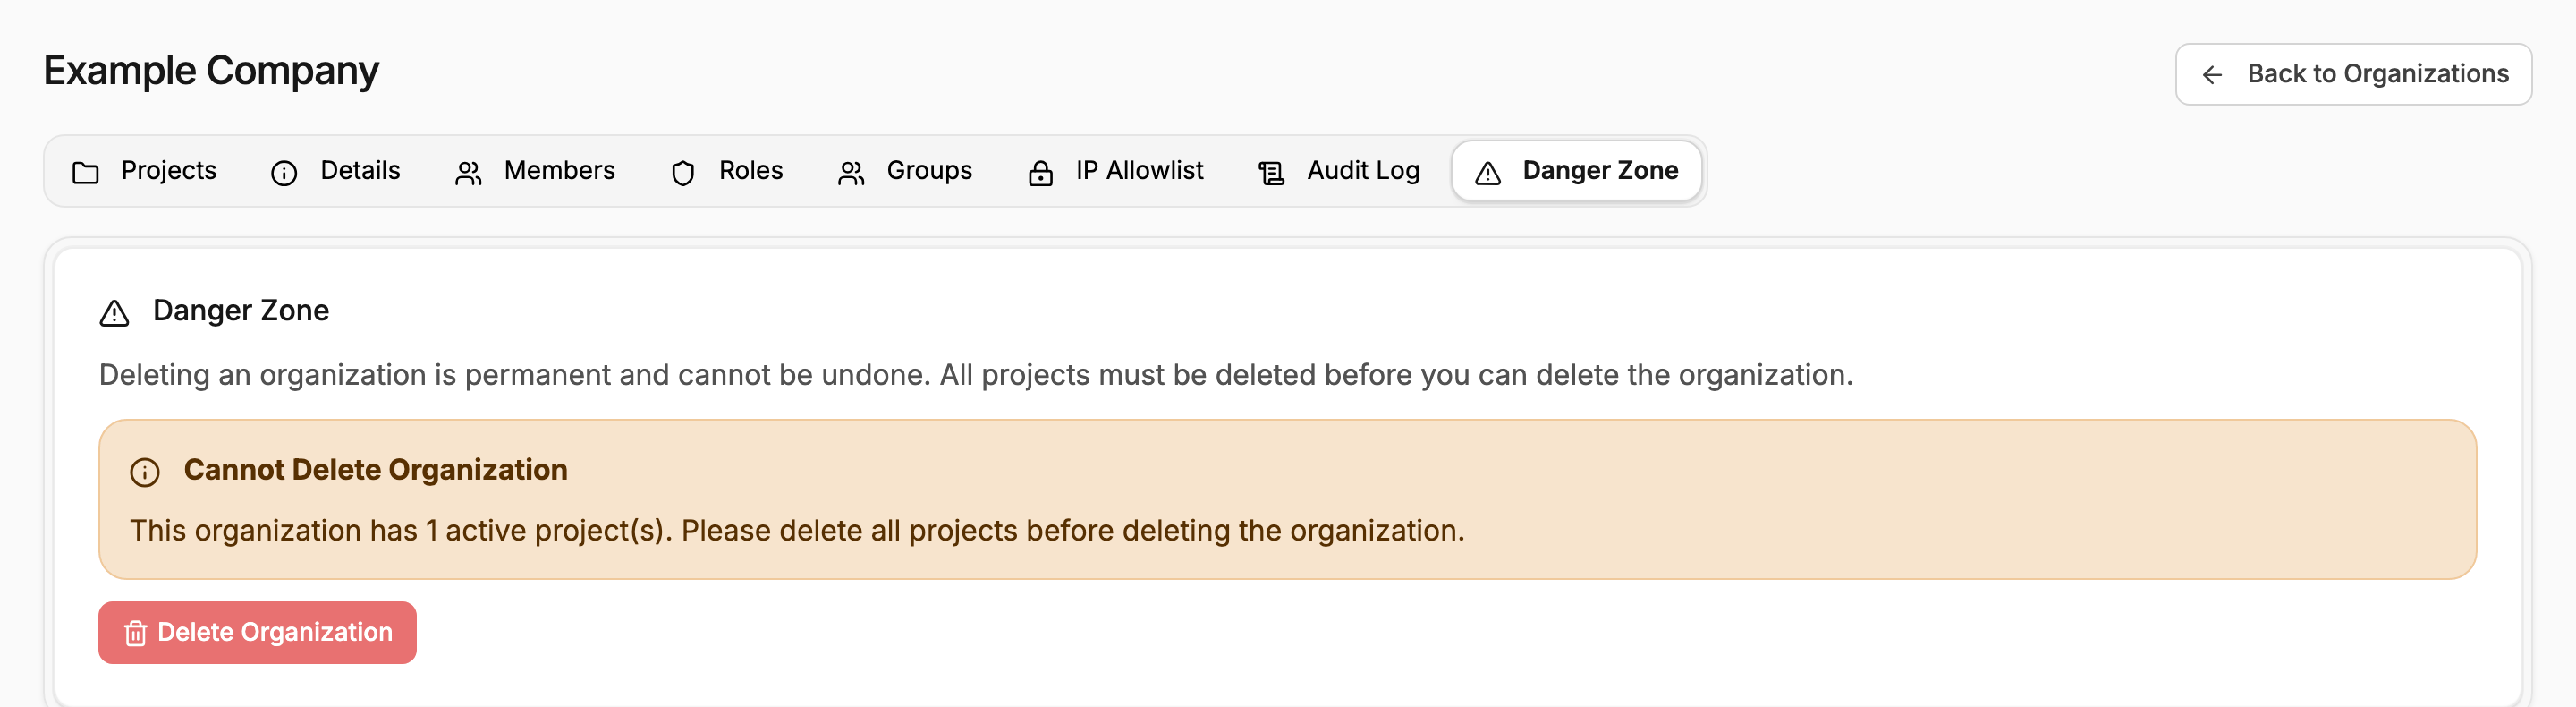
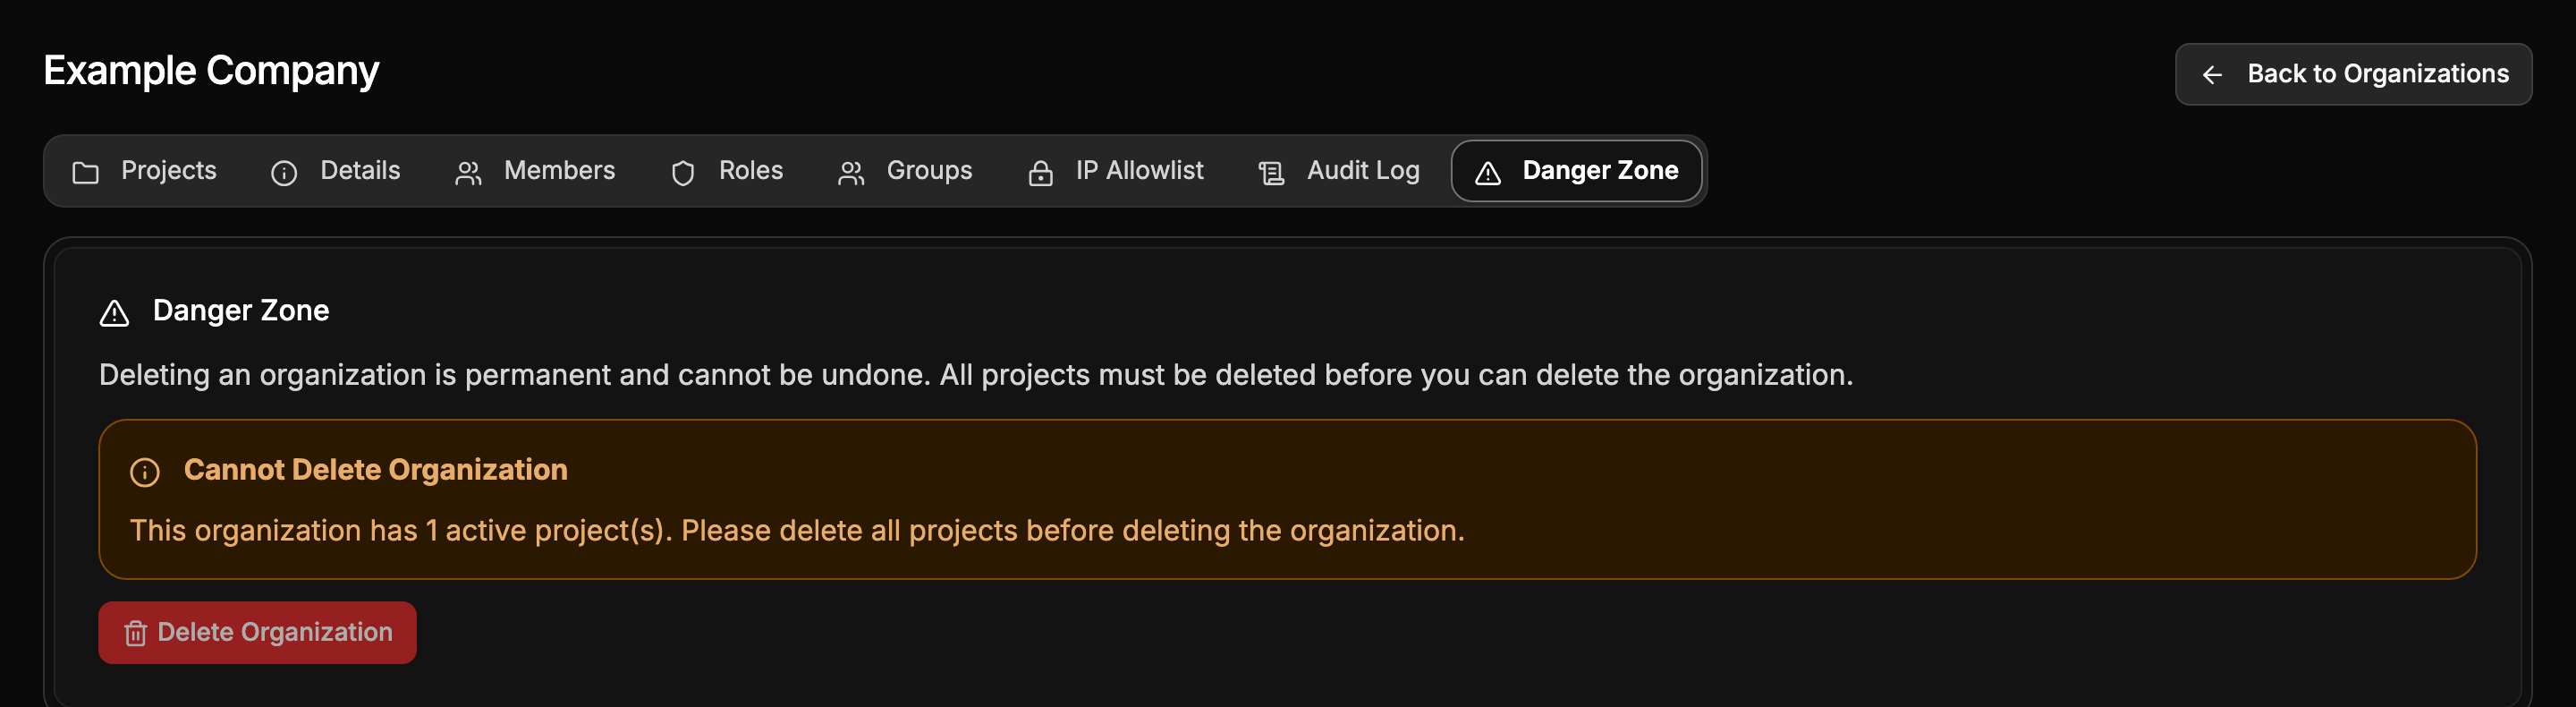
The portal refuses to delete an organization that still has active projects, and shows how many remain.