Create a server
A server is a virtual machine in one location of the cloud. You choose the operating system it boots, the hardware it runs on, the networks it joins and how you sign in to it. The portal shows the monthly price of your choices before you create it.
Open Servers in the project's sidebar and choose Create a Cloud Server. The form is one page. The summary on the right marks each step as complete and shows the server's monthly price.
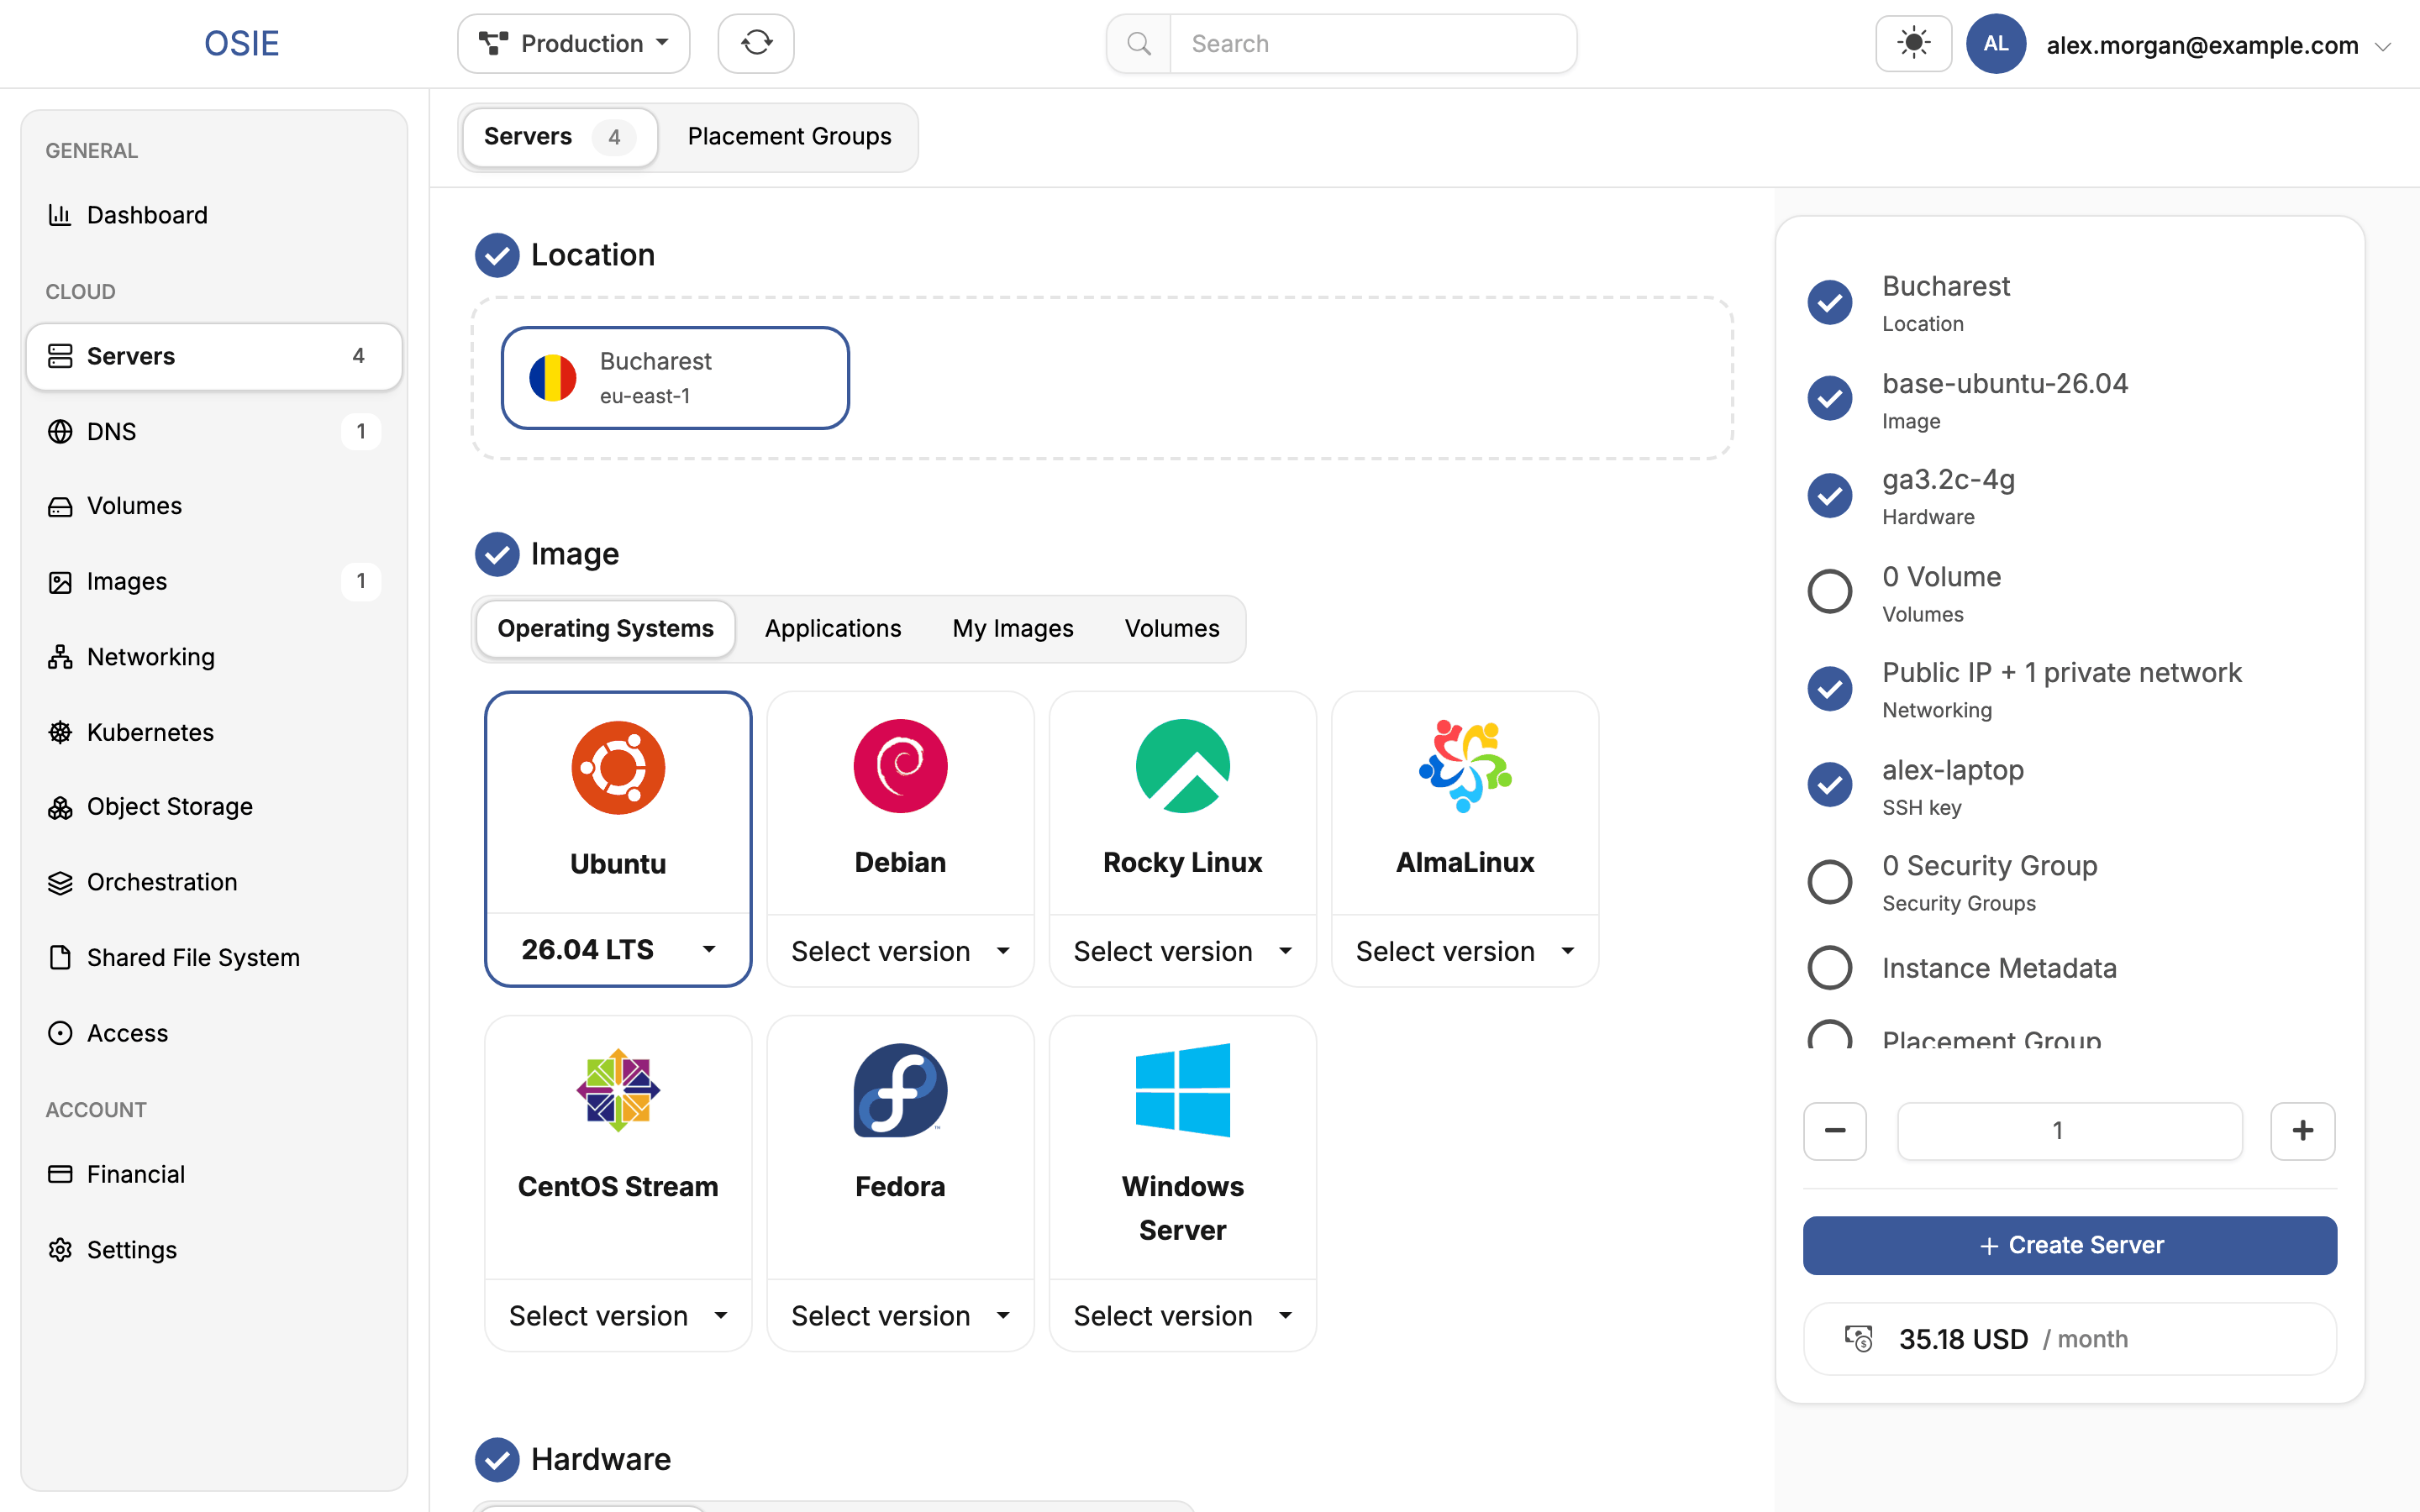
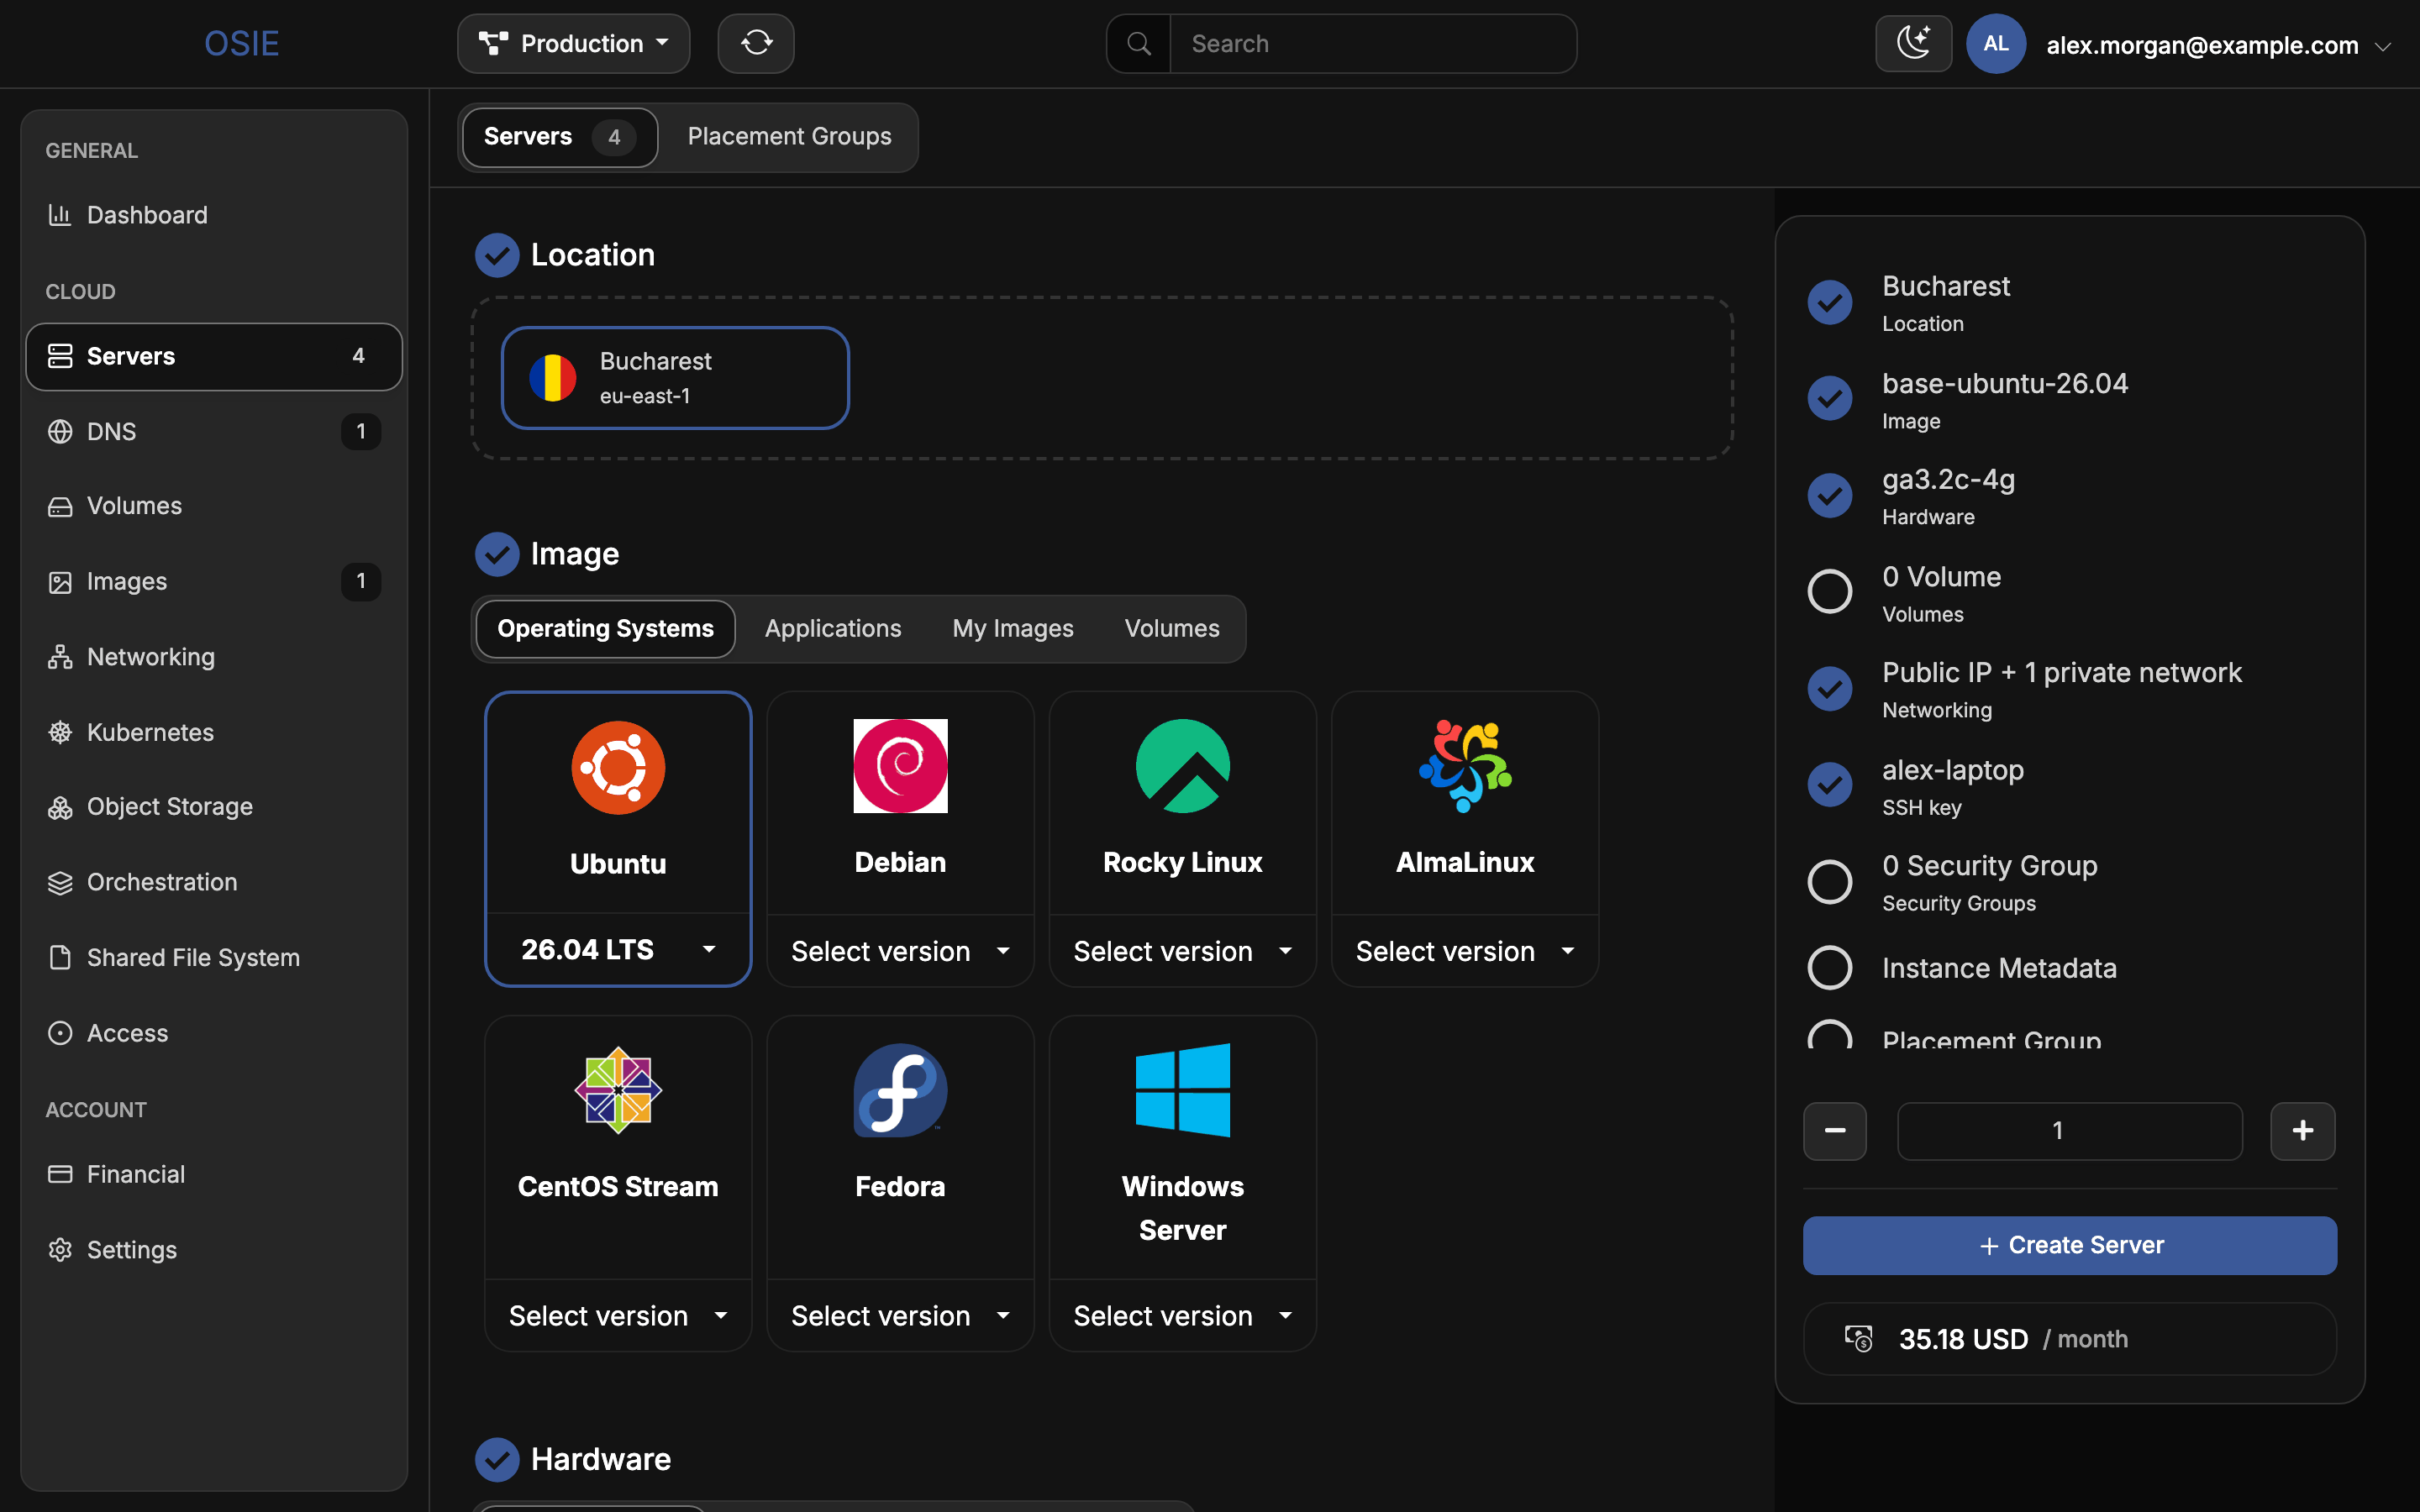
Choose the location
Choose the location the server runs in. Its networks, volumes and IP addresses must be in the same location. If the location has several availability zones, choose one as well.
Choose the image
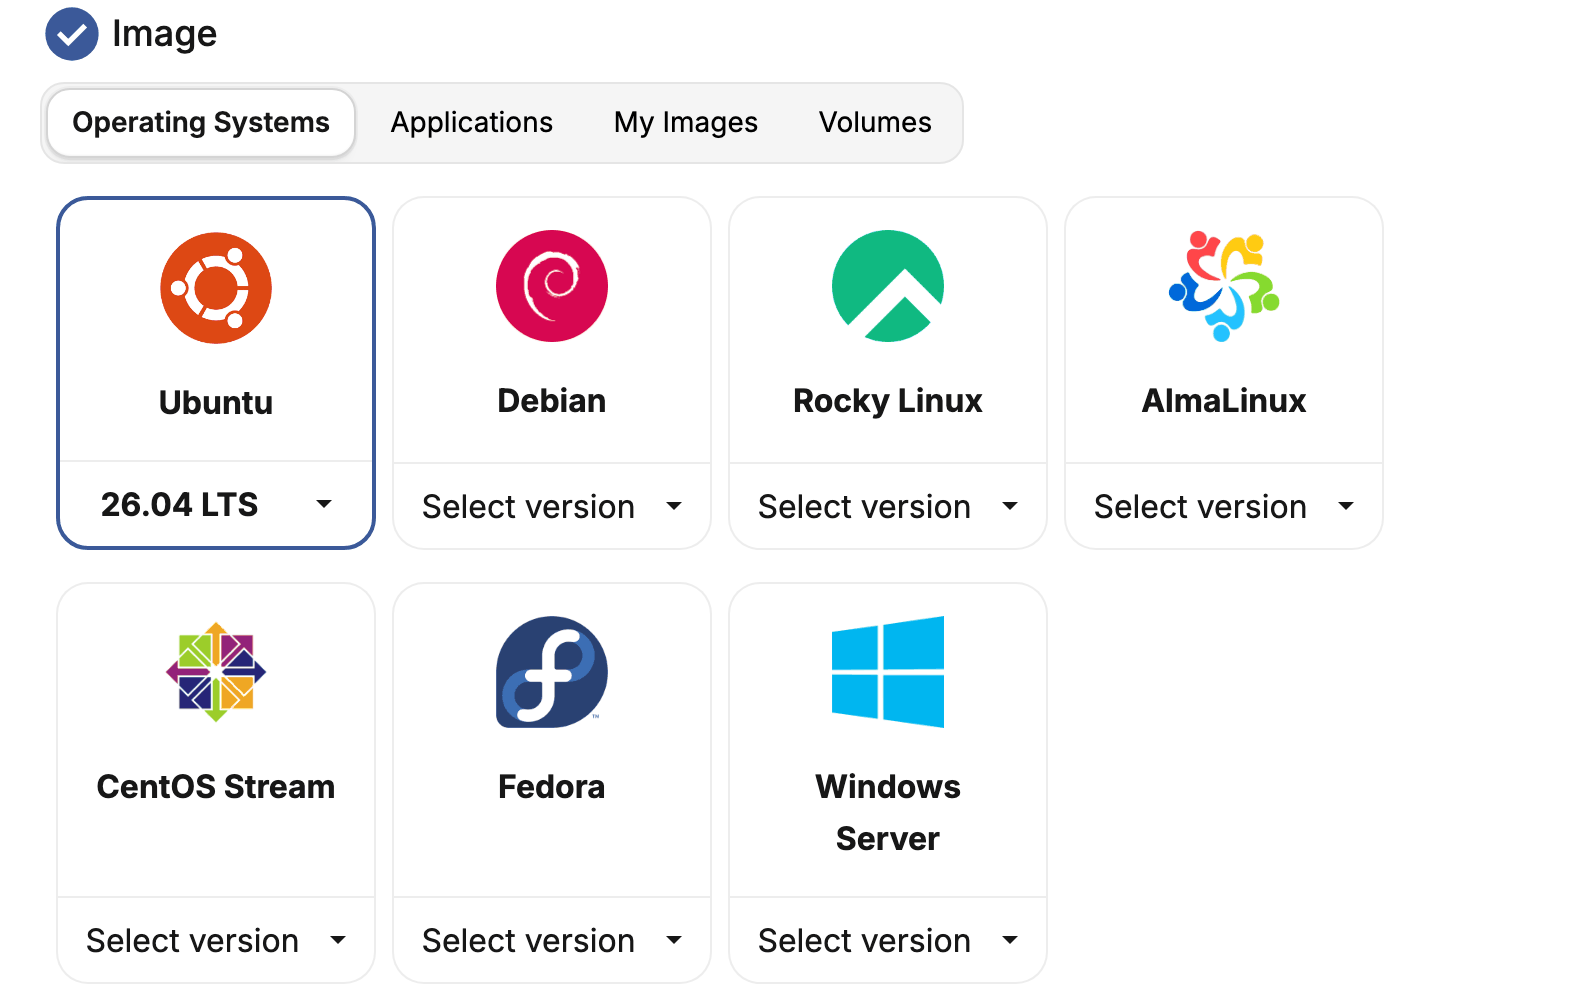
The image is the operating system or application the server boots. Images are grouped into tabs:
| Tab | Holds |
|---|---|
| Operating Systems, and other categories your provider defines | The provider's images, one card per distribution or application. Pick a card, then a version under Select version. |
| My Images | Snapshots and images of your own. See Images. |
| Volumes | Bootable volumes in the project. The server boots from the volume and keeps its data on it. |
Choose the hardware
The hardware, or flavor, sets the server's vCPUs, memory and local disk. Your provider groups flavors into categories, such as general purpose or compute optimized. Each row shows the flavor's monthly price.
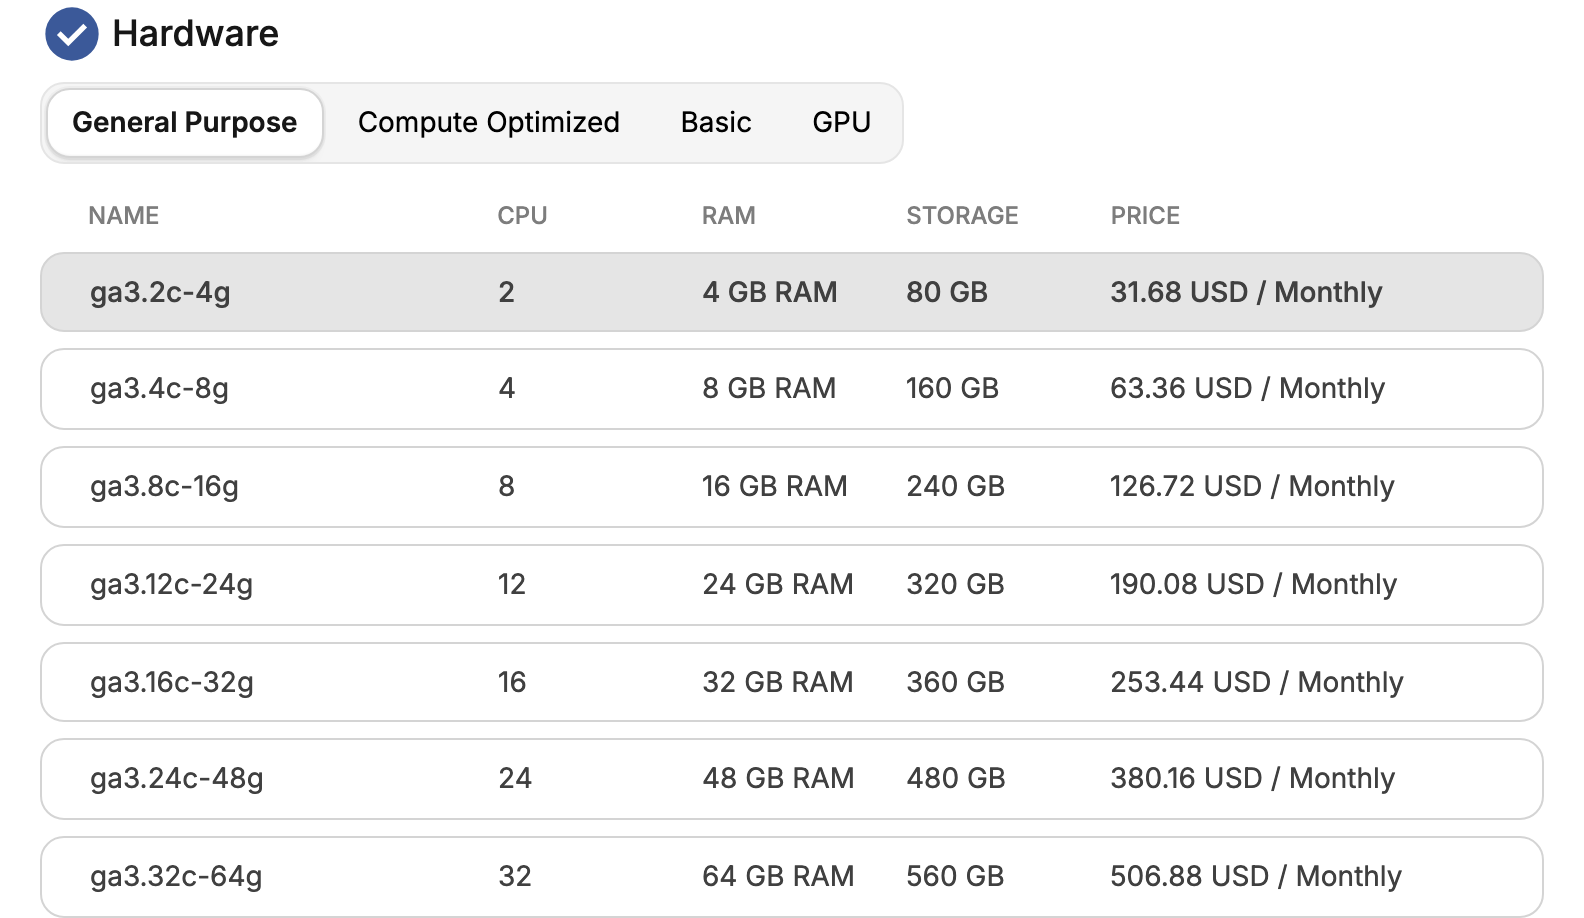
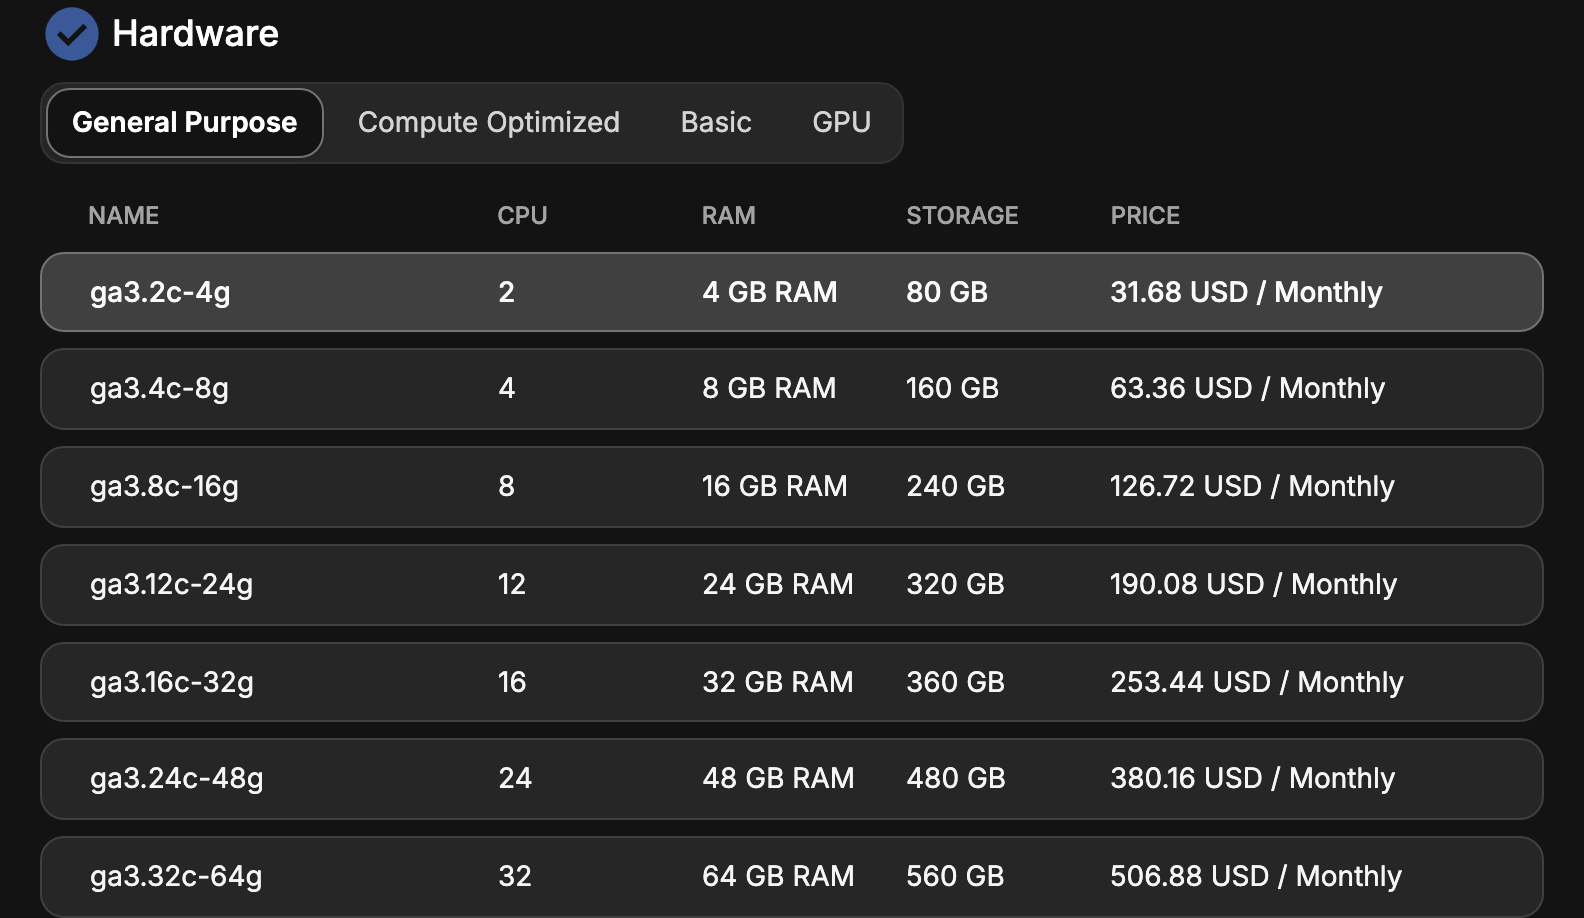
The flavor decides the price of the running server. You can move a server to a larger flavor later. See Resize a server.
Add volumes
Volumes add block storage that outlives the server's local disk. Choose Create volume to create one with the server, or Select volume to attach a volume that already exists in the location.
Some flavors have no local disk, such as those with 0 GB storage. The server then boots from a volume, and the form adds a System Disk volume of at least 20 GB, or the image's minimum disk size if that is larger. The volume is priced as storage on top of the flavor.
For a volume the server boots from, Delete Volume on Termination deletes the volume when you delete the server. Leave it off to keep the volume and its data. See Volumes.
Connect networks
Your provider sets how this step looks in each location: simple networking, where you choose a public IP and private networks, advanced networking, where you choose a network for each interface, or both. When both are offered, Advanced networking and Simple networking switch between them.
A server only on private networks reaches the internet through a router. To reach it from the internet, assign it a floating IP. See Networks and subnets and Routers.
Both kinds of networking also offer the networks other projects share with yours, marked Shared.
Simple networking
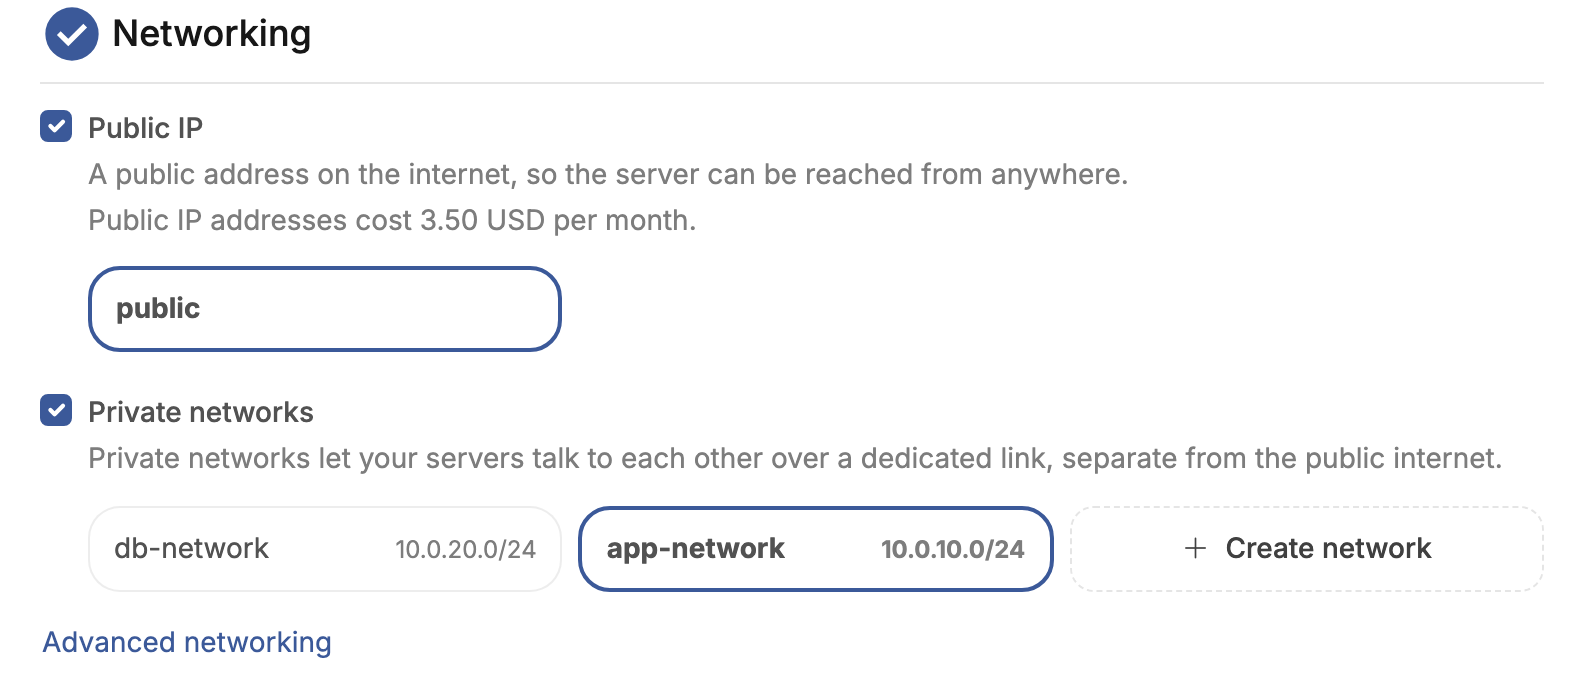
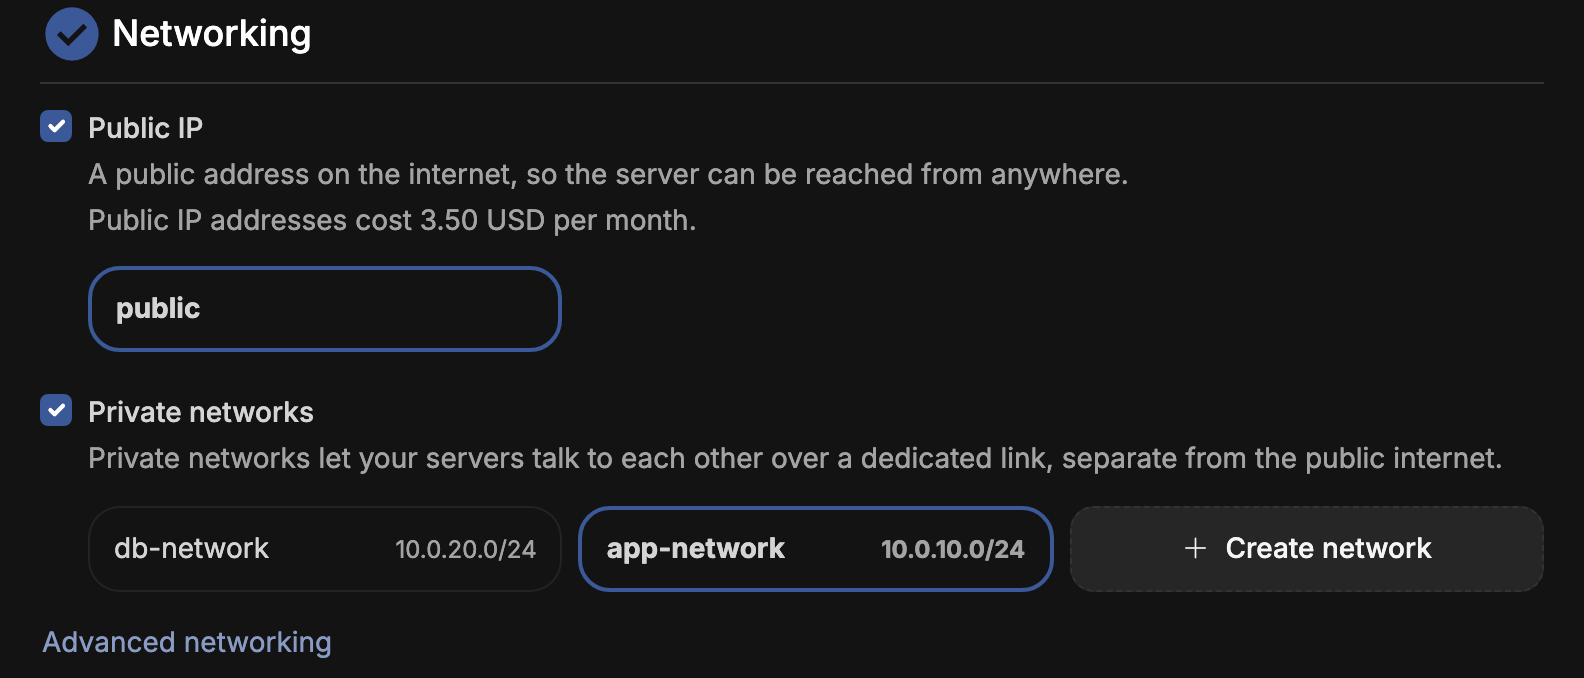
- Public IP gives the server an address on the internet, so it can be reached from anywhere. It is on by default when the location has public addresses, and the form shows what a public IP costs per month. If your provider lets you choose the public network, pick the one the address comes from; otherwise the portal picks it for you.
- Private networks connects the server to networks of your project, so it reaches your other servers without going through the internet. Select one or more; each card shows the network's address range. Create network creates one without leaving the form.
The server needs a public IP, a private network, or both. With neither, the form says A server with neither is unreachable. and does not create it. The summary on the right shows your choice, for example Public IP + 1 private network.
The server gets one interface for the public IP, then one for each private network, in the order you selected them.
Advanced networking
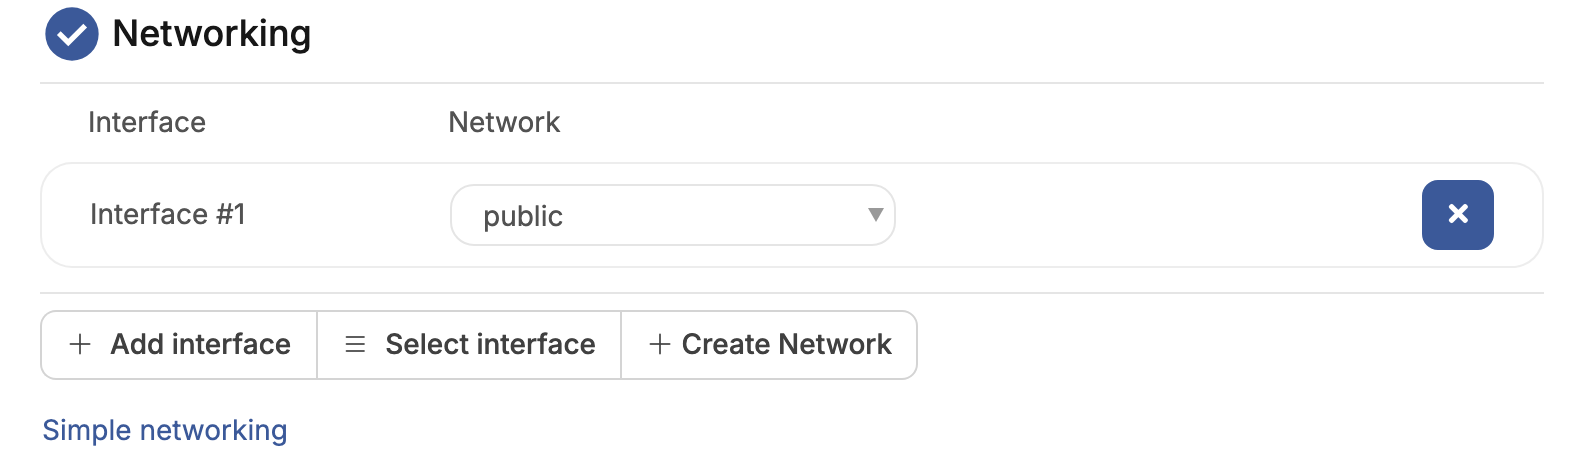
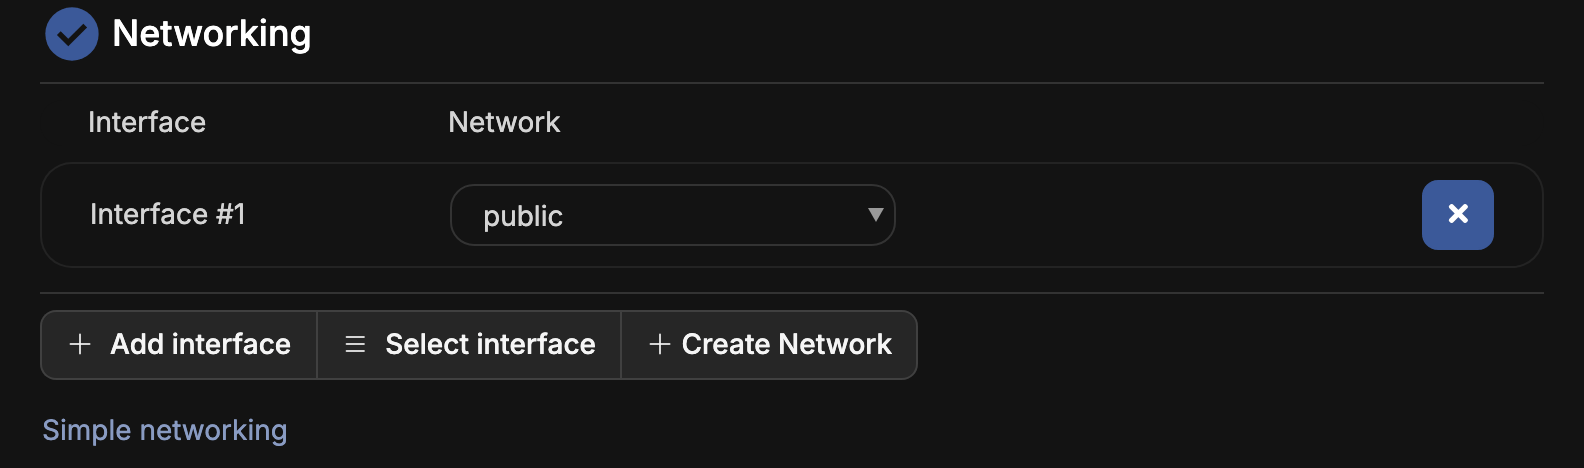
Each interface connects the server to one network. Interface #1 is created for you.
- Choose the network for each interface. A public network gives the server an address reachable from the internet. A private network connects it to your other servers.
- Add interface adds another interface on a second network.
- Select interface attaches a port that already exists, for example one with a fixed IP address.
- Create Network creates a private network without leaving the form.
Choose how you sign in
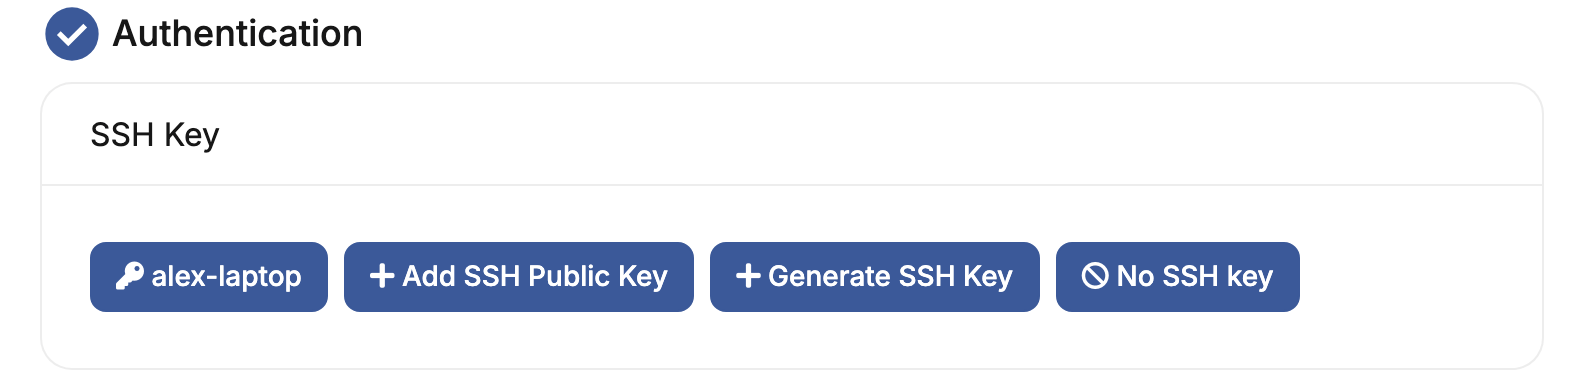
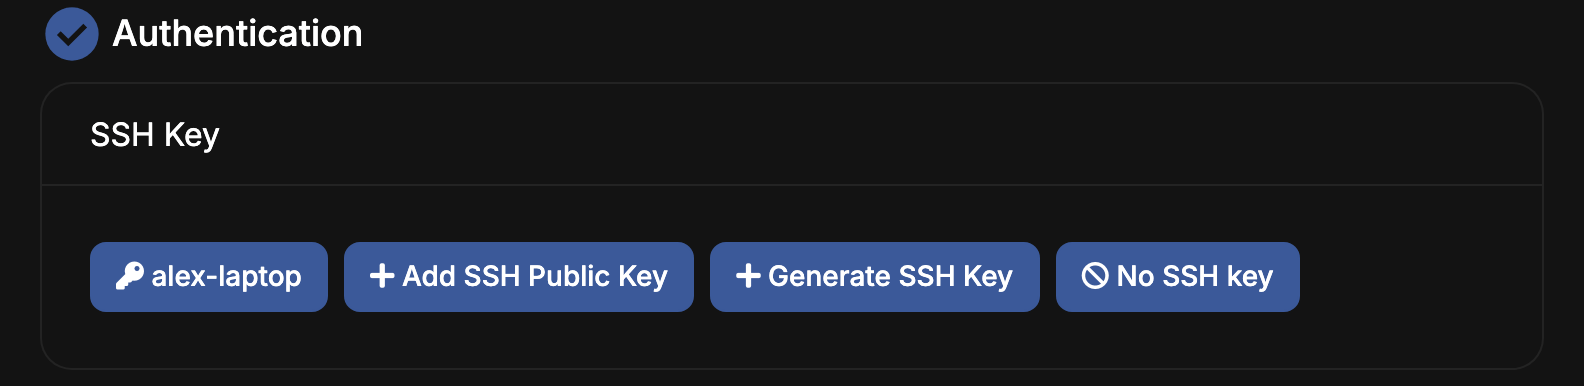
Linux images use SSH keys. Choose a key from the project, or add one:
- Add SSH Public Key stores the public key you paste.
- Generate SSH Key creates a key pair and downloads the private key to your computer once. Keep that file safe: without it, nobody can sign in with the key.
- No SSH key creates the server without a key. Choose this only when the image sets up another way to sign in.
Admin Username shows the user to sign in as, when the image declares one. For images that run the QEMU guest agent, the form also offers a password for that user.
Configure the server at first boot
Tick Insert cloud-init script and paste a cloud-init configuration under Cloud init configuration. The server runs it on its first boot, for example to install packages, create users or write files.
Attach security groups
Security groups filter the traffic that reaches the server. Choose Select Security Group to add groups from the project, or Create Security Group to create one. Your provider may attach default groups automatically. See Security groups.
Set metadata and placement
Instance Metadata adds key-value properties to the server. Your provider can offer predefined
options under Select property. Keys that start with hw:, os_ or osie_ are reserved.
Placement Group controls where the server runs relative to other servers in the same group:
| Policy | Effect |
|---|---|
| Affinity | All servers on the same physical host |
| Anti-Affinity | Each server on a different physical host |
| Soft Affinity | Same host when possible, without failing otherwise |
| Soft Anti-Affinity | Different hosts when possible, without failing otherwise |
Use anti-affinity for servers that replicate each other, such as database nodes, so one host failure does not stop them all. A strict policy fails the creation when no host satisfies it.
Name and create the server
Enter a Name and choose Create Server. To create several identical servers at once, set the number next to the button first.
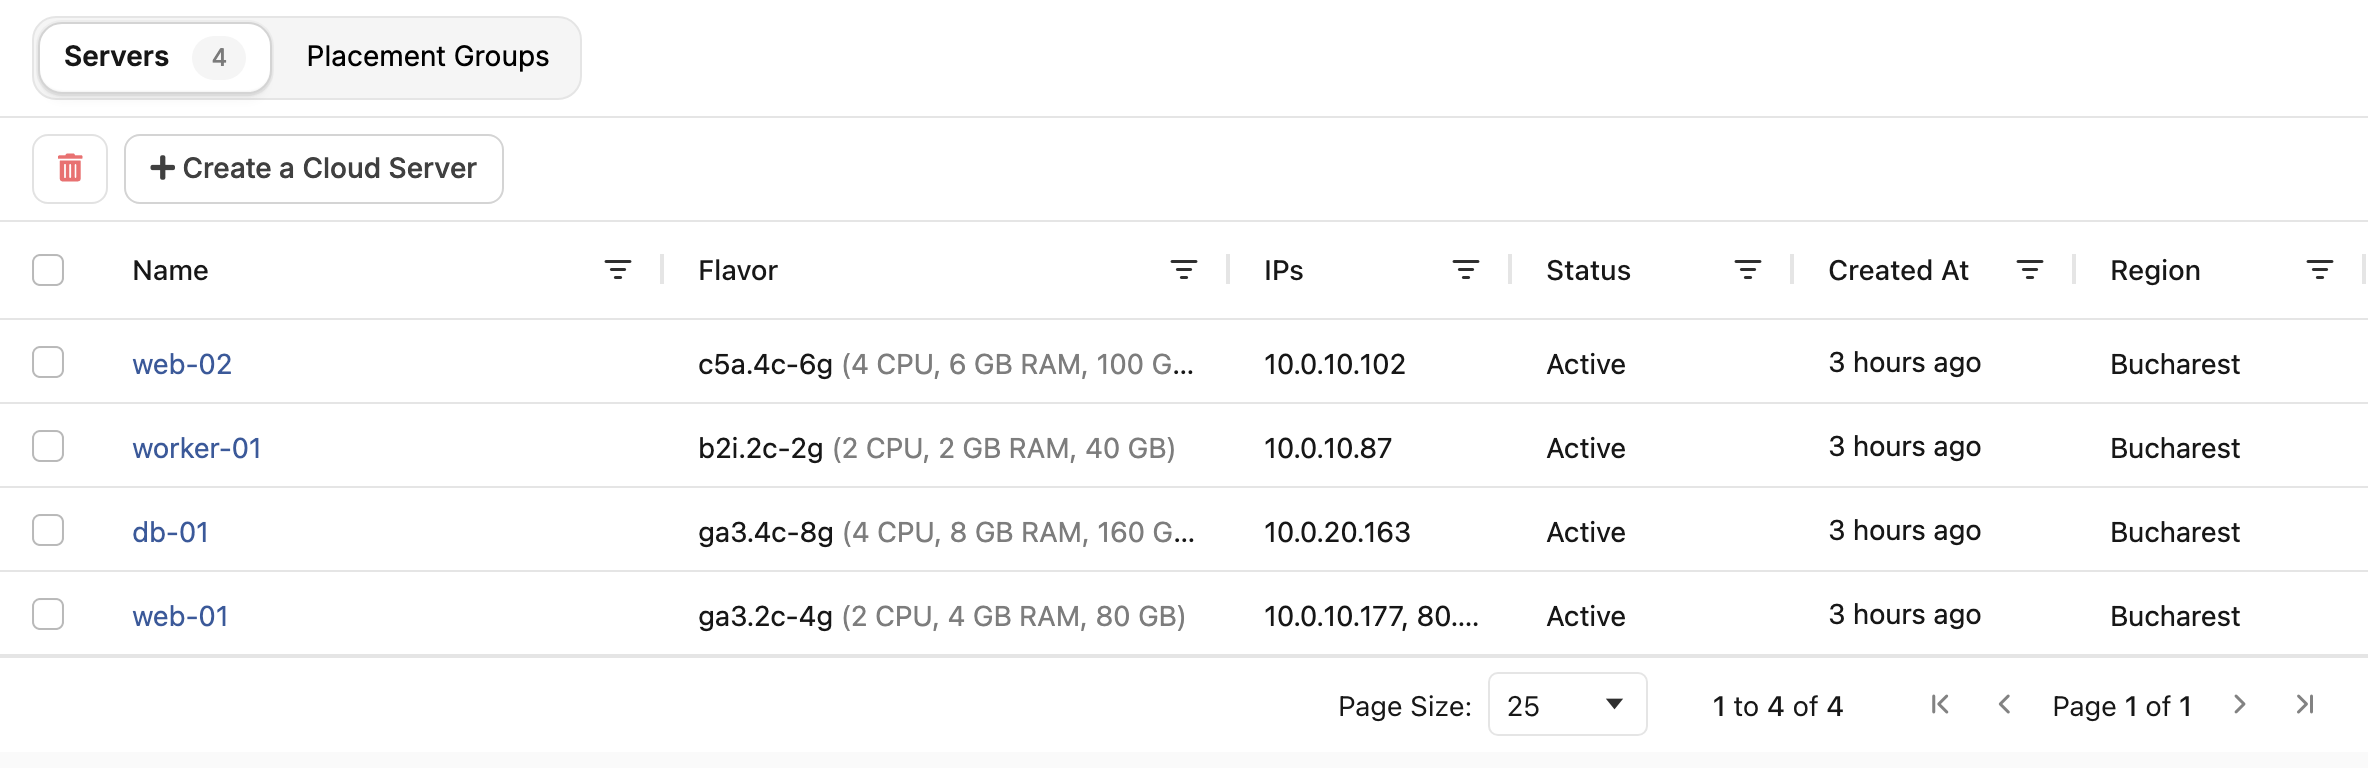
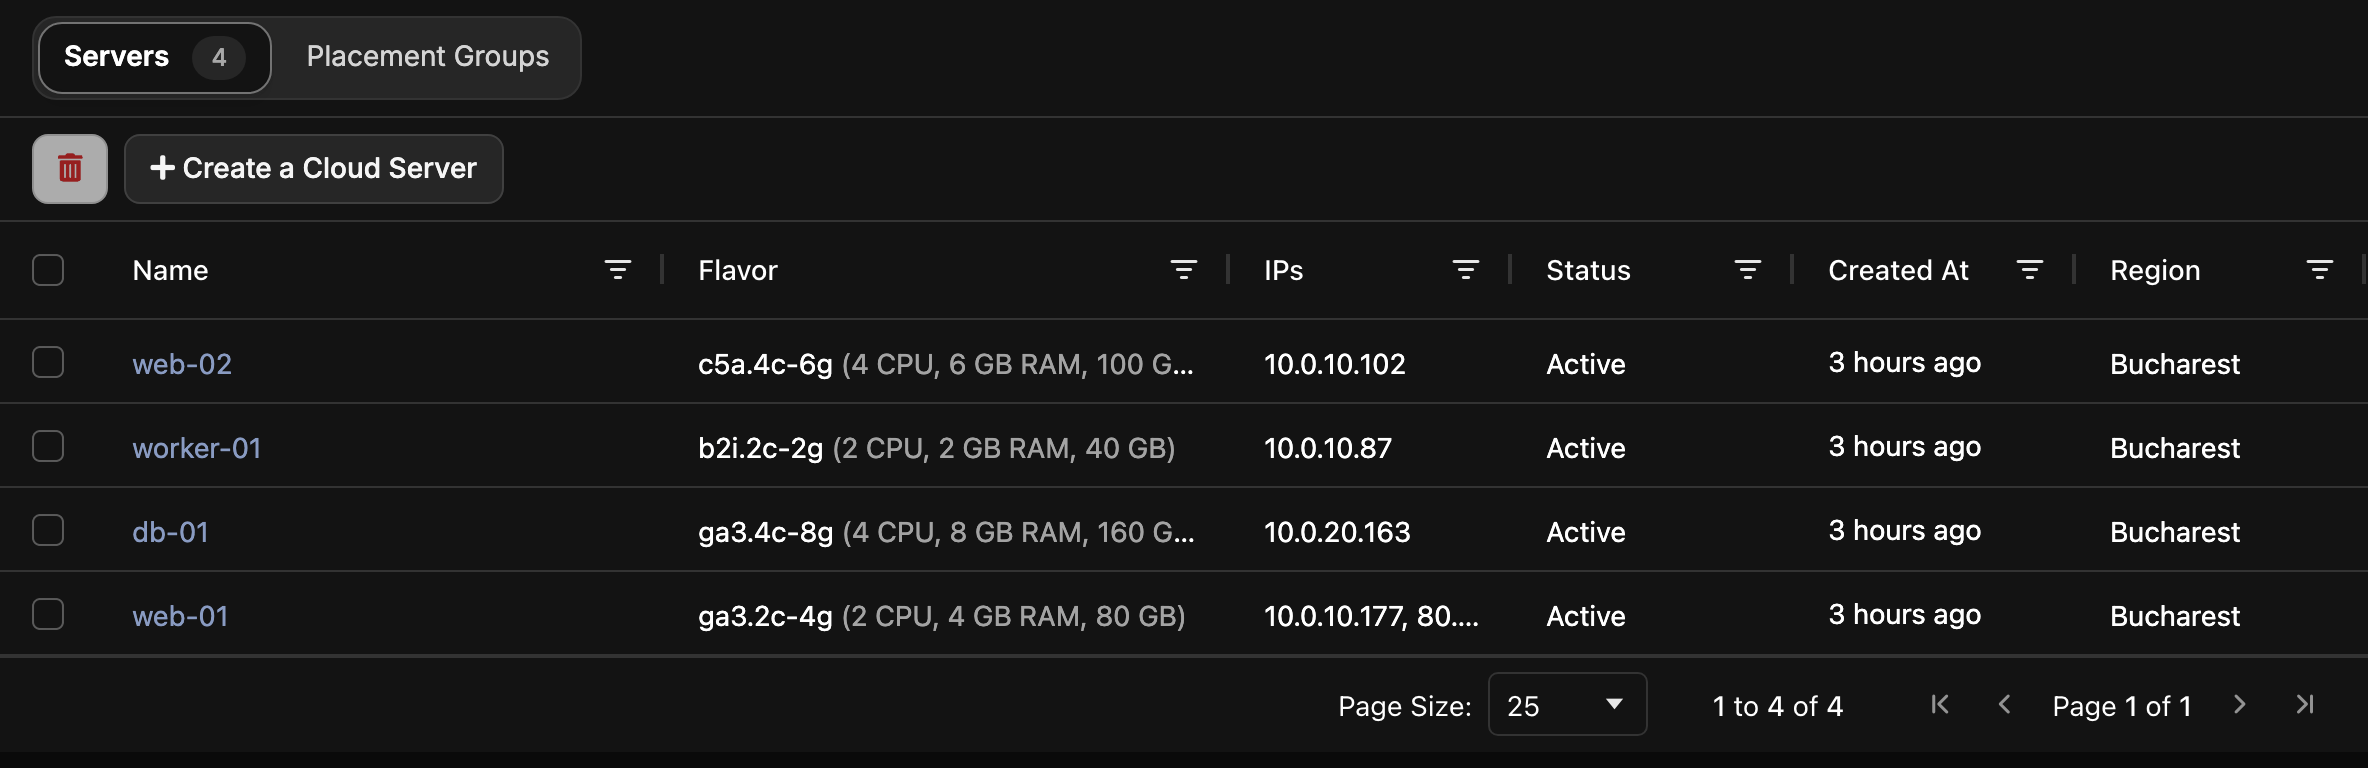
The server appears in the list with its status. It is ready when the status is Active.
If the cloud has no capacity for the chosen flavor, the server ends in Error. Delete it and try another flavor or location.