Projects
A project holds cloud resources: servers, volumes, networks, load balancers and DNS zones. Each project has its own members, quotas and costs, so separate projects keep environments such as Production and Staging apart. Projects belong to an organization, and the organization's billing profile pays for them.
Your organizations and their projects are listed on the portal's home page. Each project card shows how many resources the project holds and when it was created.


Create a project
Every built-in organization role can create projects: Owner, Admin and Member. A custom role needs the project create permission.
- Open the project menu in the top bar and choose Create a project. You can also open the account menu and choose Create, then Project.
- Enter a Project Name.
- If you belong to more than one organization, choose the Organization the project belongs to.
- Under Members, choose the organization members who get access to the project. Leave it empty to add every member of the organization.
- Choose Create a project.
You become an owner of the project you create, whatever your organization role. The organization's owners and administrators are always owners of the project too, whichever members you choose. See Members and roles.
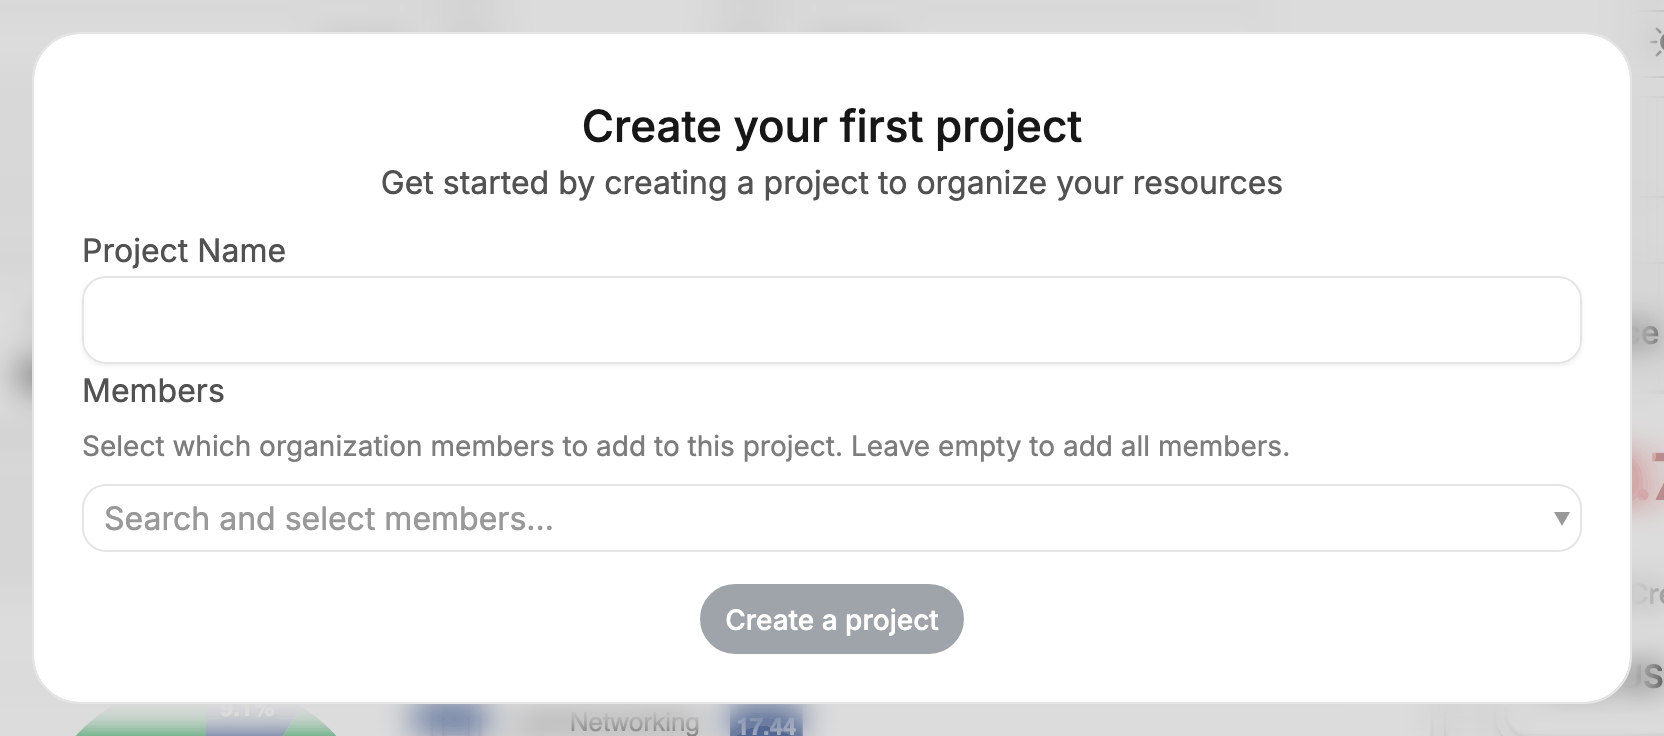
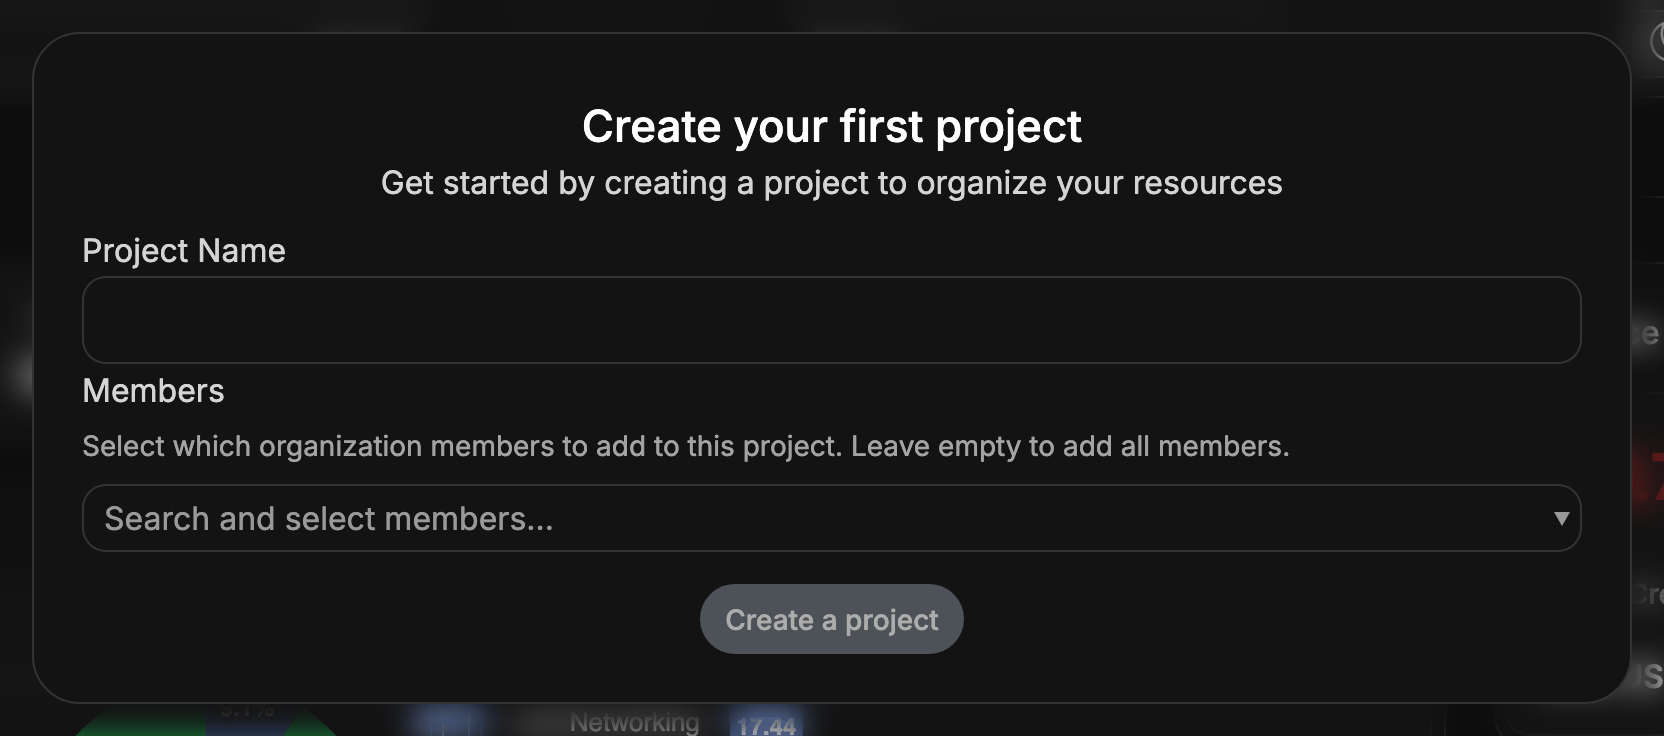
The portal then creates the project in the cloud. Its cloud menus become available when that completes.
Switch between projects
The project menu in the top bar shows the current project. Open it to list the other projects of the same organization under My projects, and choose one to switch to it. To reach a project in another organization, return to the home page and open it from that organization's card.
Follow a project's costs
The Billing view of the project Dashboard shows what the project costs. Current Month is the amount accrued since the start of the month, and Forecasted month end projects it to the end of the month at the current rate. Last Month is the previous month's total. The charts break the current month down by resource type and compare it with previous months, and Top Cost Generators lists the resources that cost the most. Balance shows the billing profile's balance, with its credits and unpaid amount. Add funds tops it up, and Last Transactions lists recent payments.
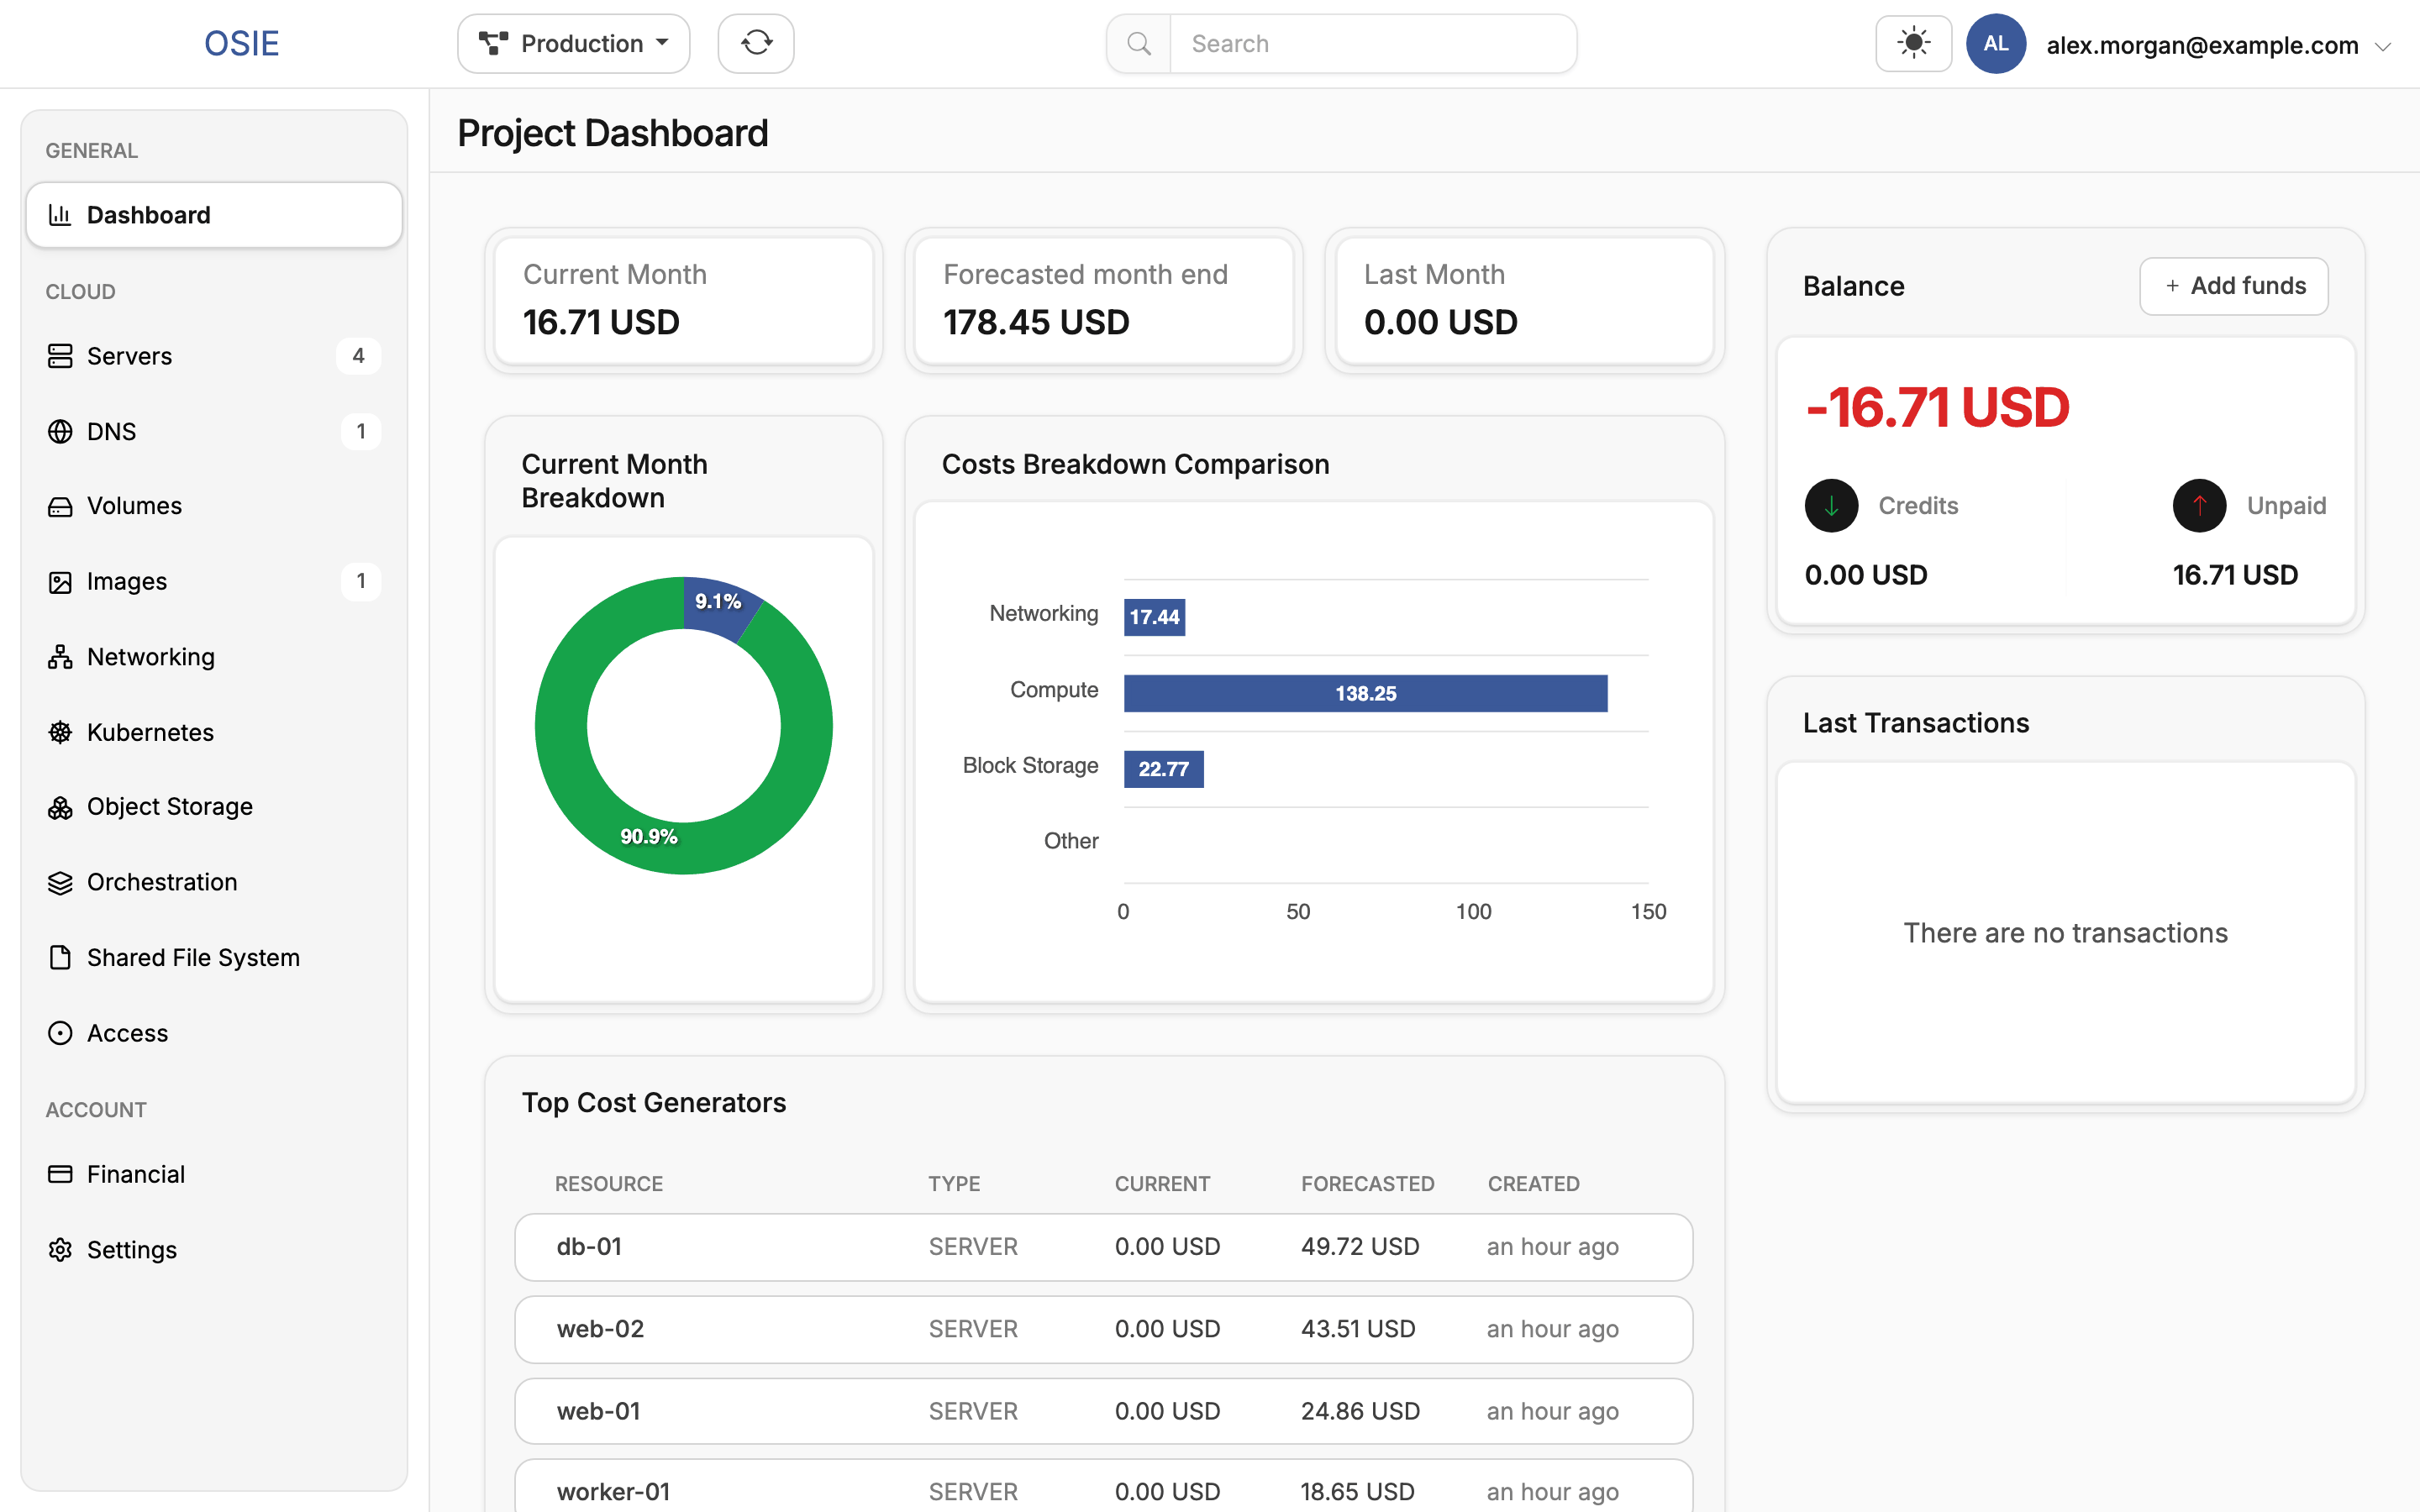
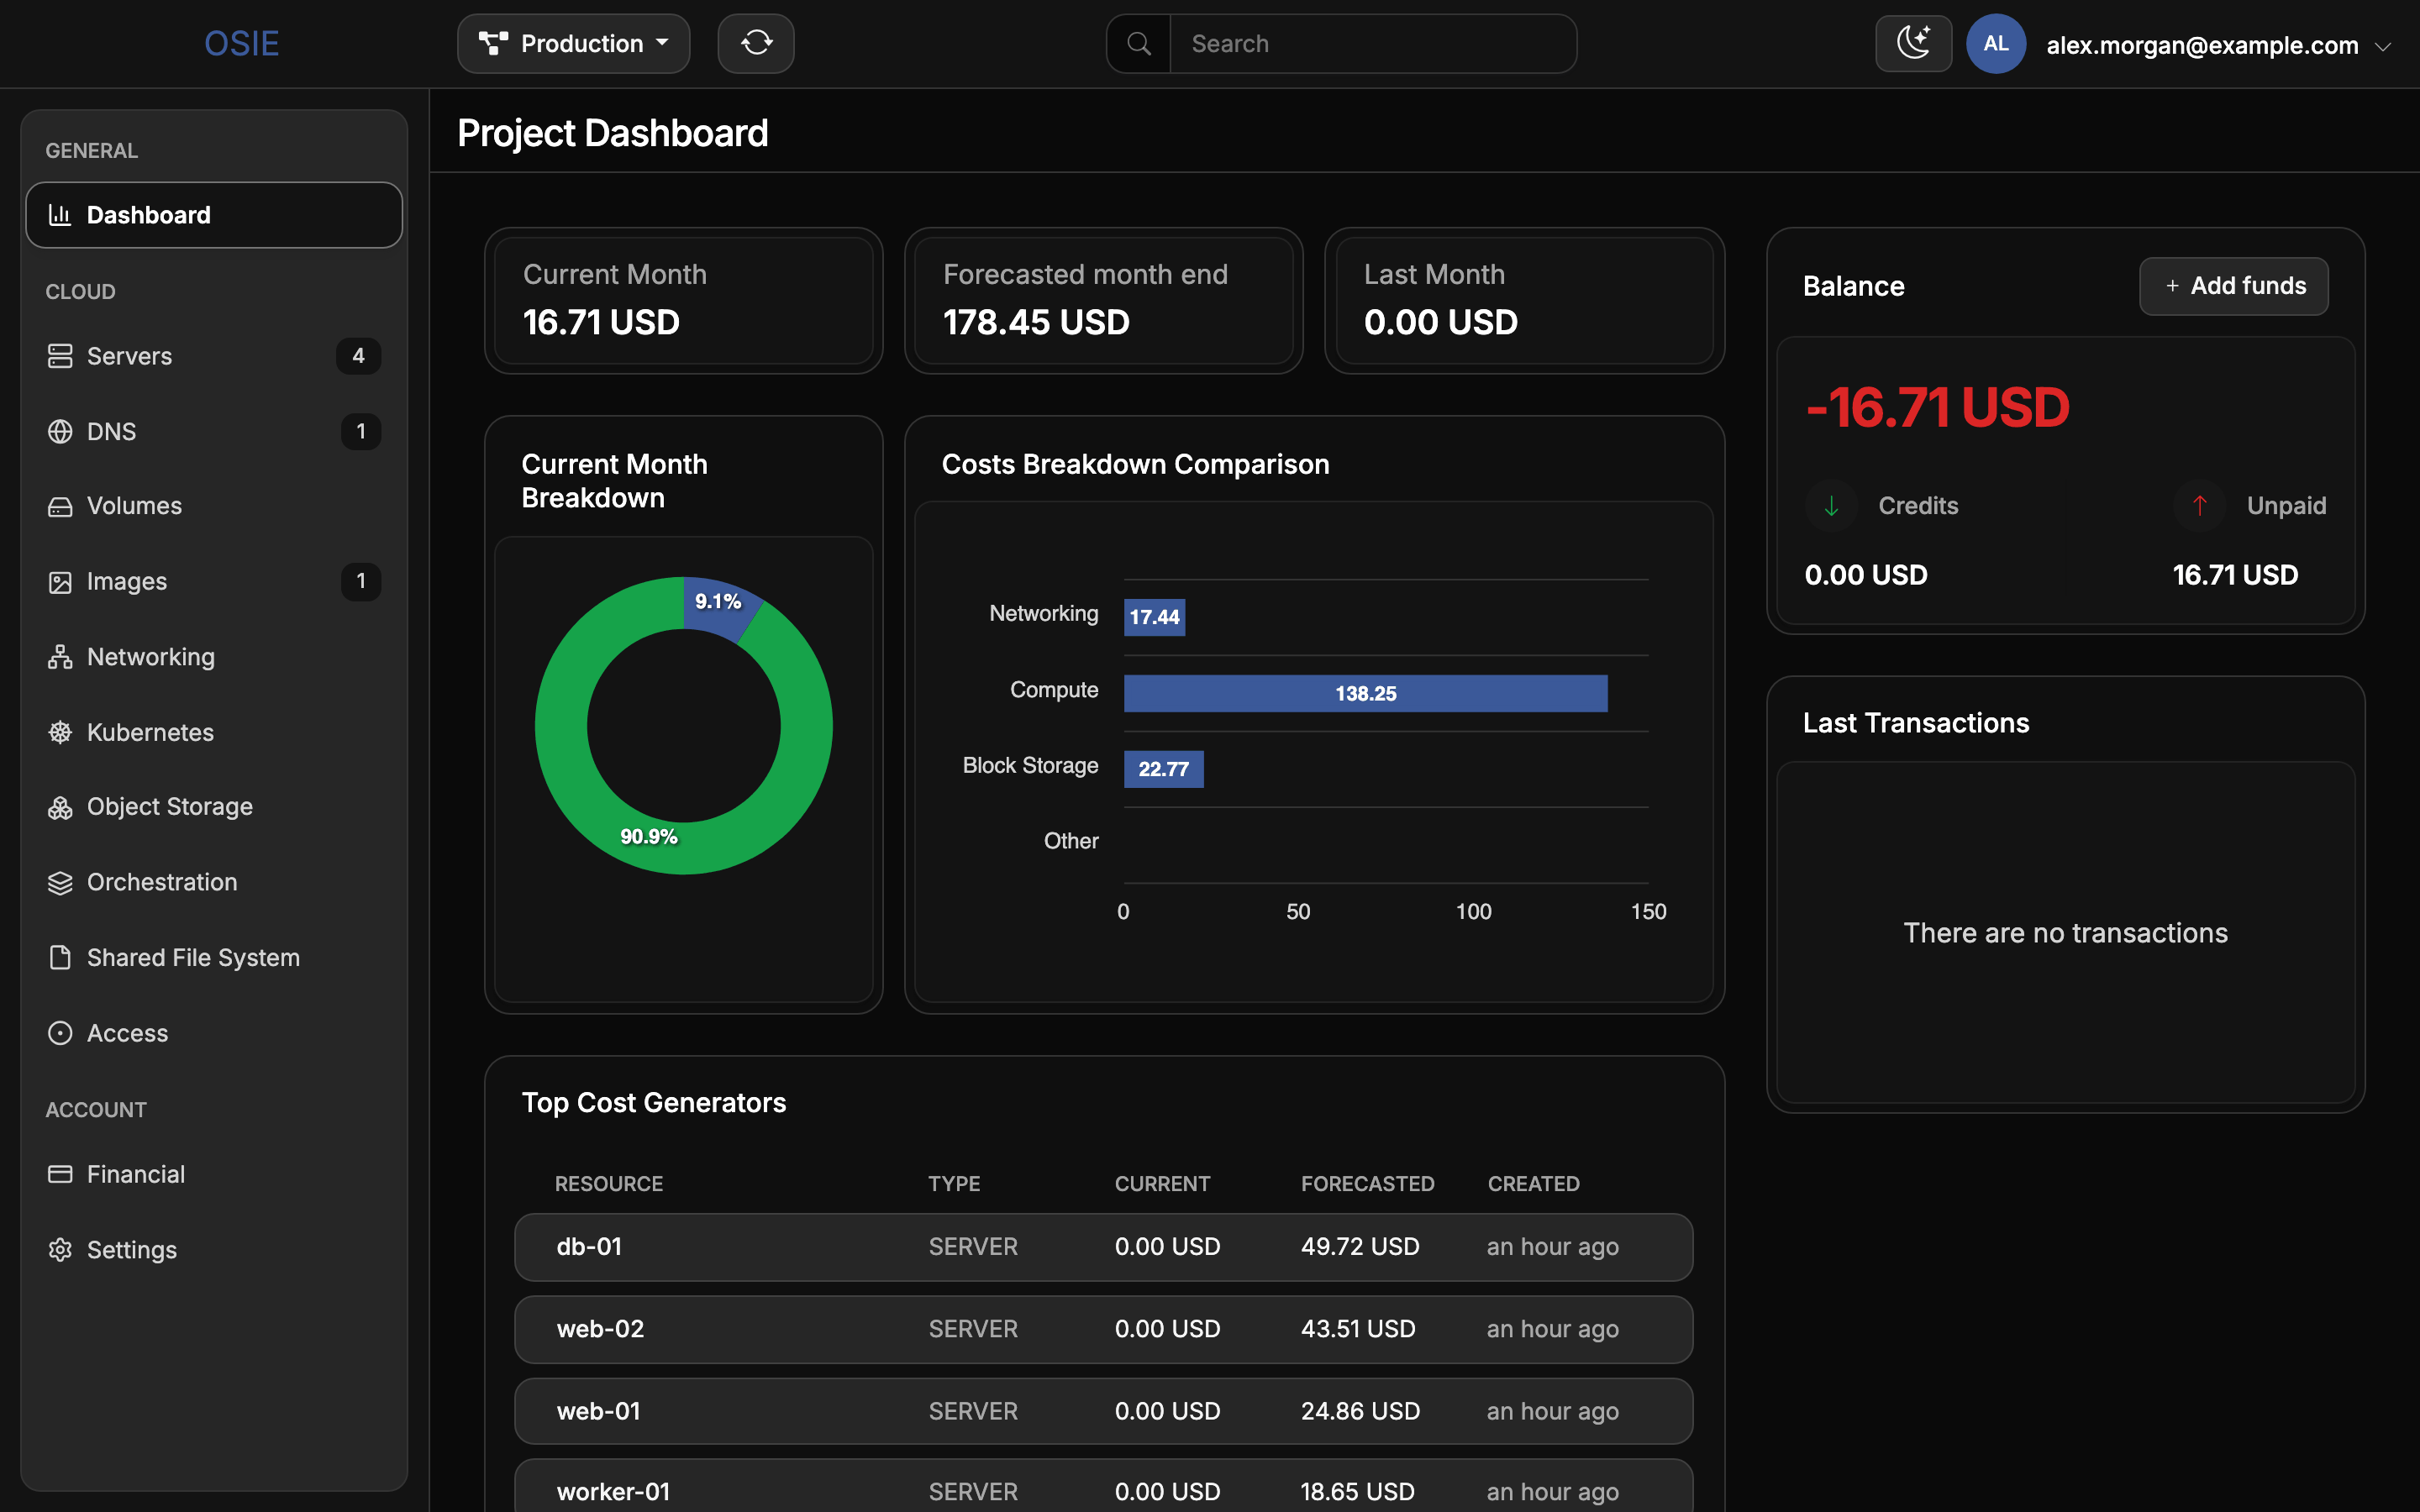
Costs appear only when the cloud bills your organization through the portal. Without billing, the dashboard shows the project's resources and quotas only.
Check resources and quotas
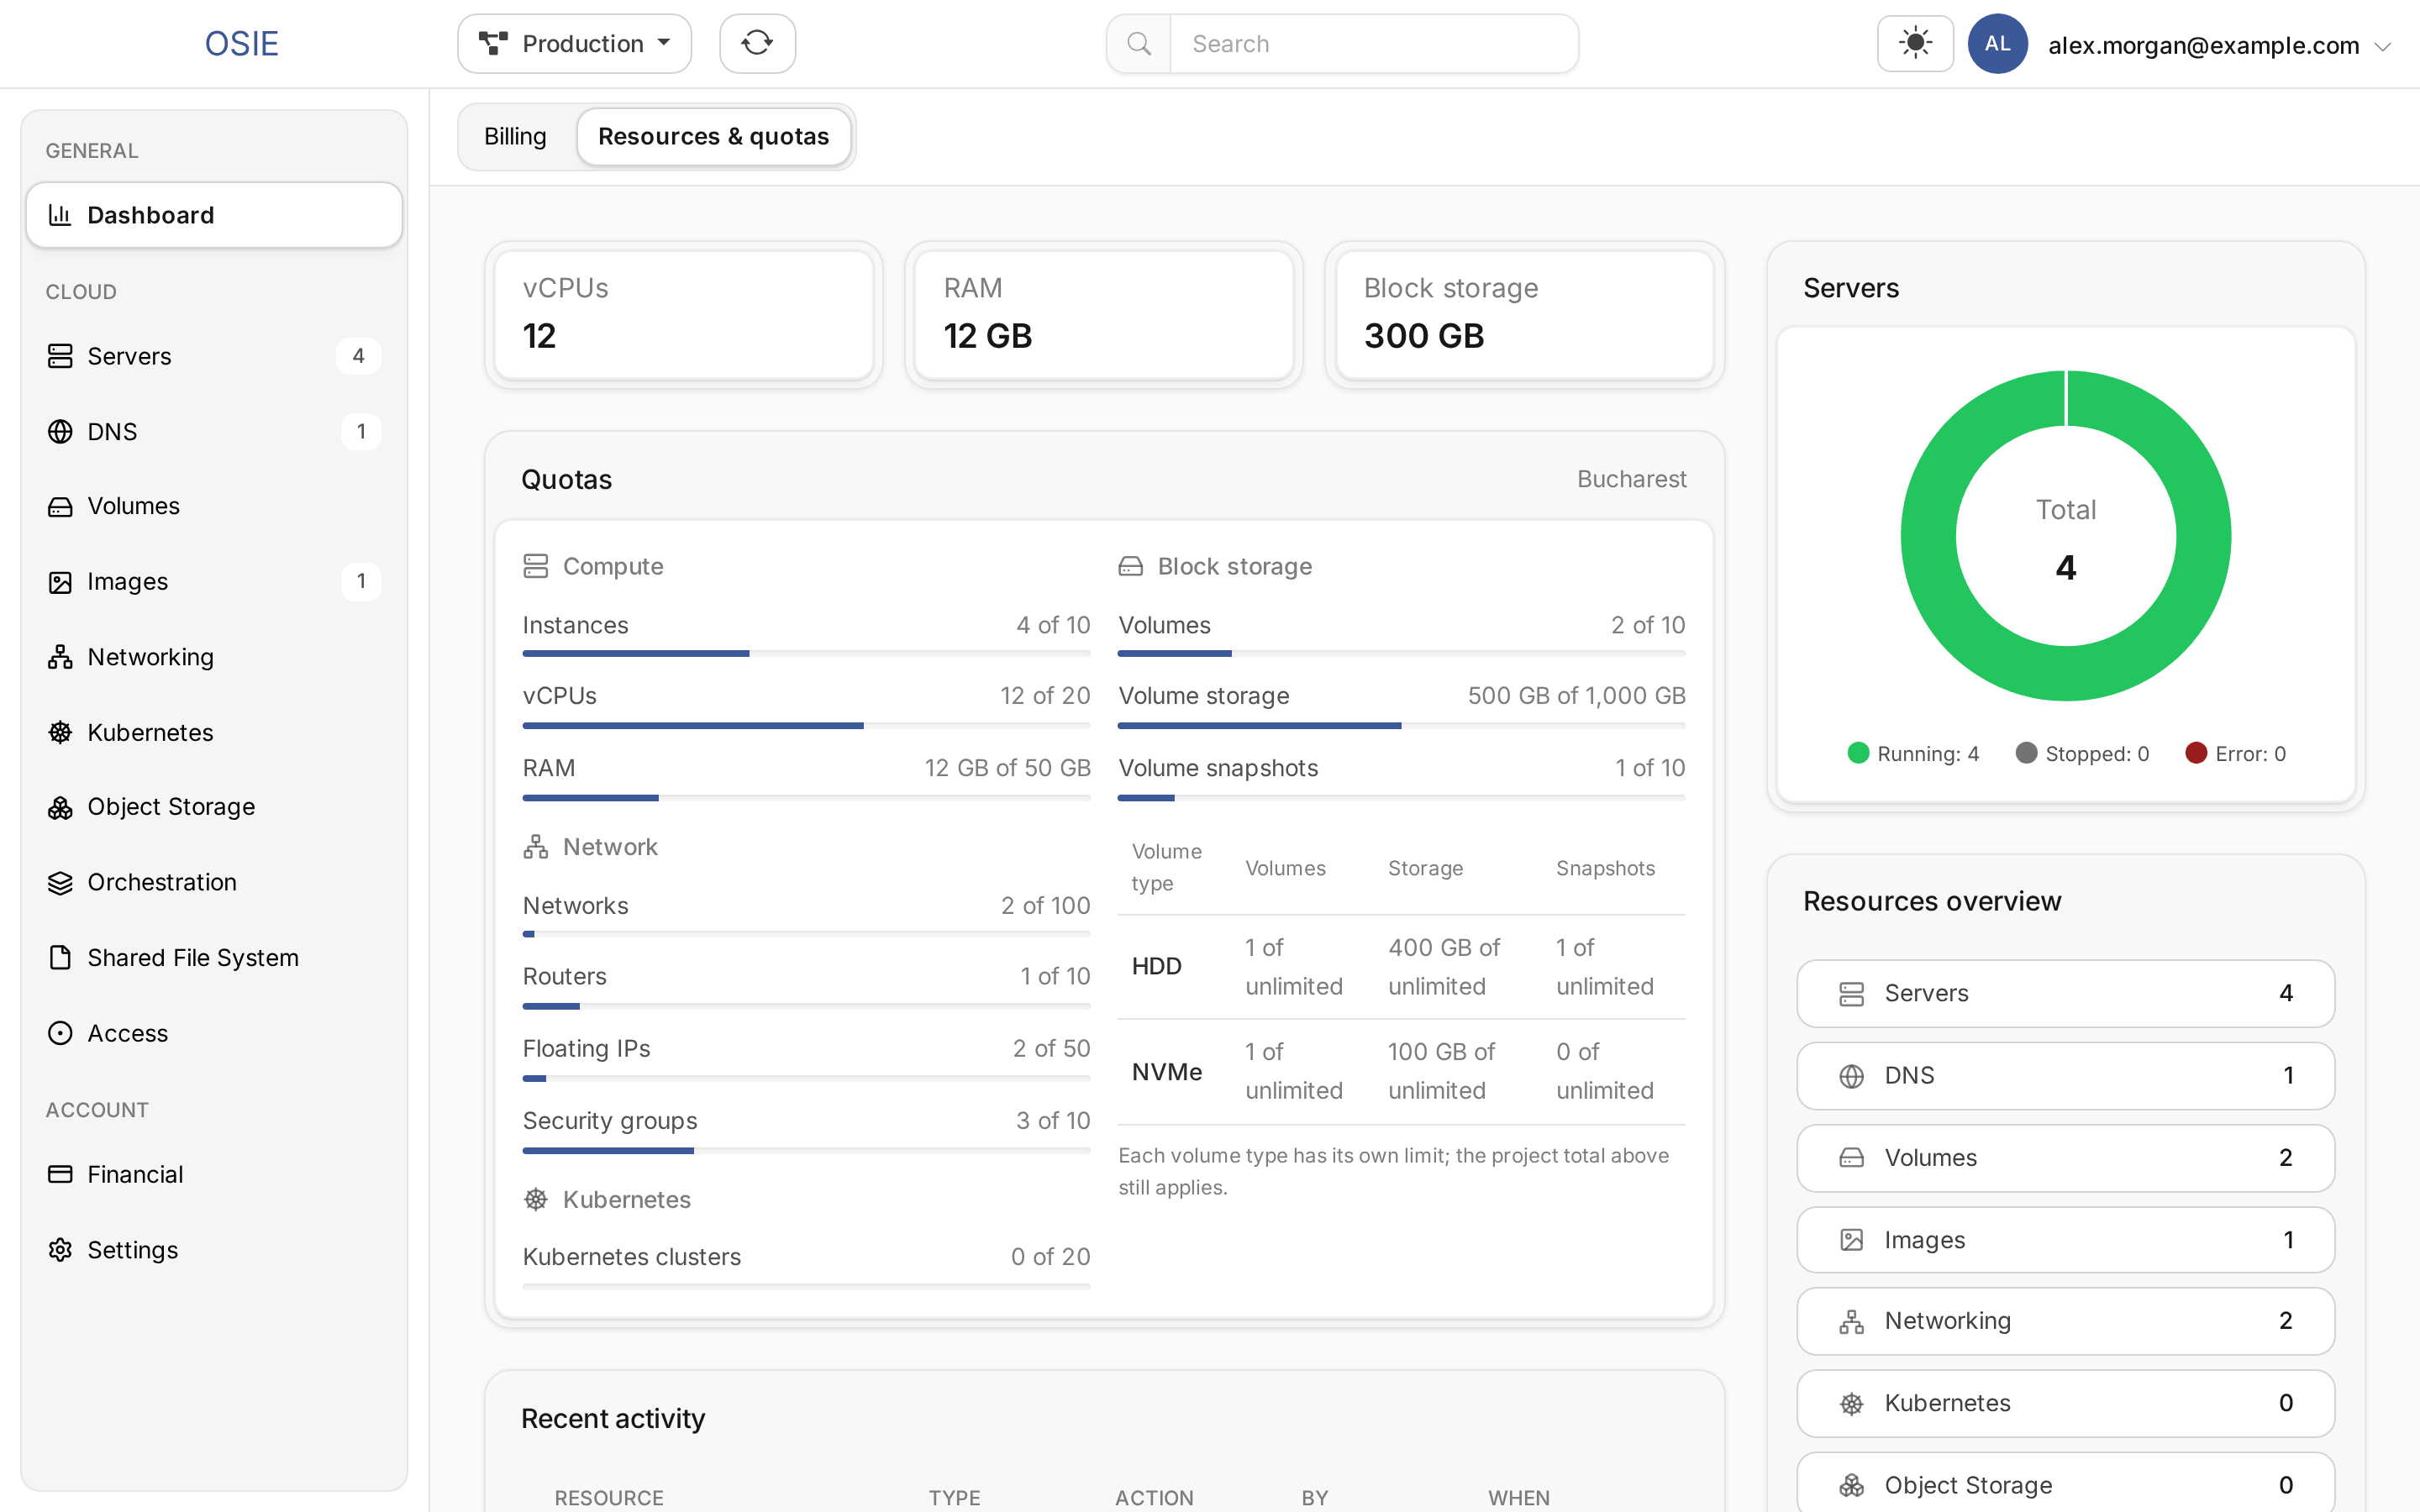
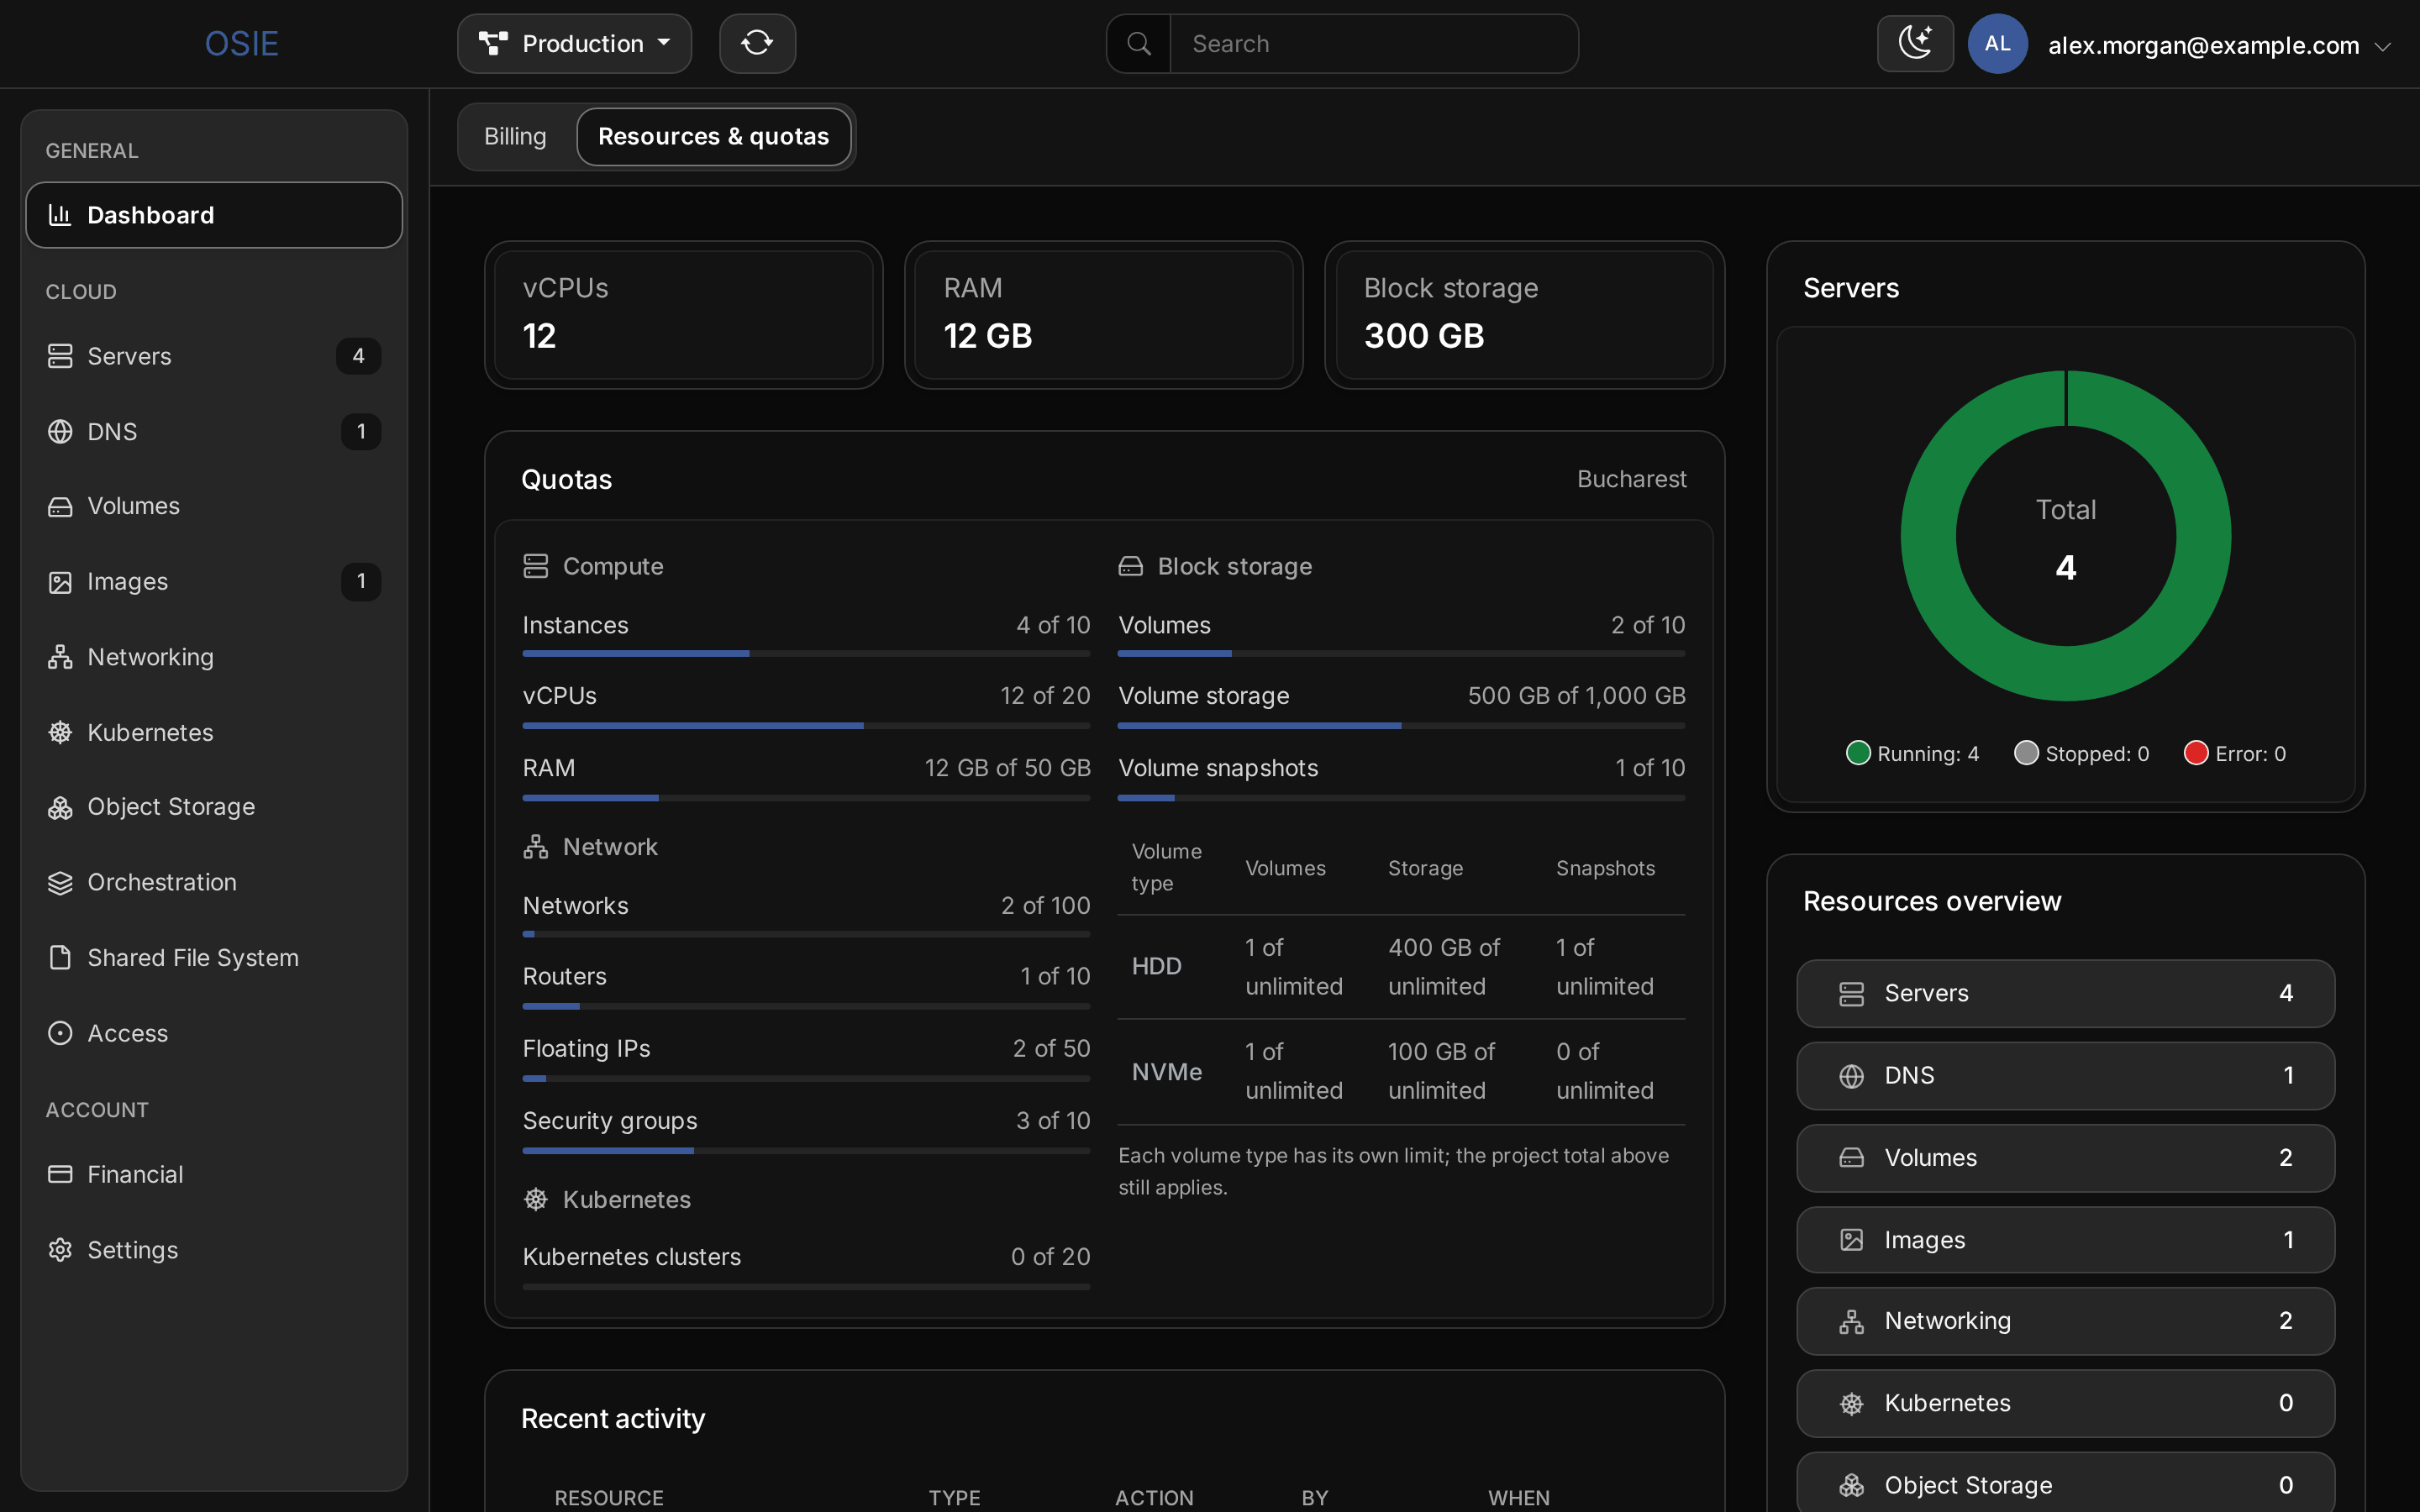
The Resources & quotas view of the Dashboard shows how much of the cloud the project uses, and how much room its quotas leave. Check it before you create resources: the cloud refuses a request that would take the project over a quota.
The totals at the top add up the vCPUs and RAM of every server, running or stopped, and the size of every volume. The quotas show, per region, how much of each limit is in use: instances, vCPUs and RAM, volumes, volume storage and snapshots, networks, routers, floating IPs, security groups and Kubernetes clusters. Ask your provider when the project needs a higher limit.
Block storage can also be limited per volume type. Under the totals, a table lists the volumes, storage and snapshots of each volume type your provider offers in the region, or of each type with a limit of its own. The table lists only the types the project can use: public types, and private types shared with the project. A volume needs room in both its type's limit and the project's total.
The view also counts the project's servers by state and its resources per service, and lists the latest resources created or deleted with who did it. Changes made directly through the OpenStack APIs appear there too.
Rename a project and set its tags
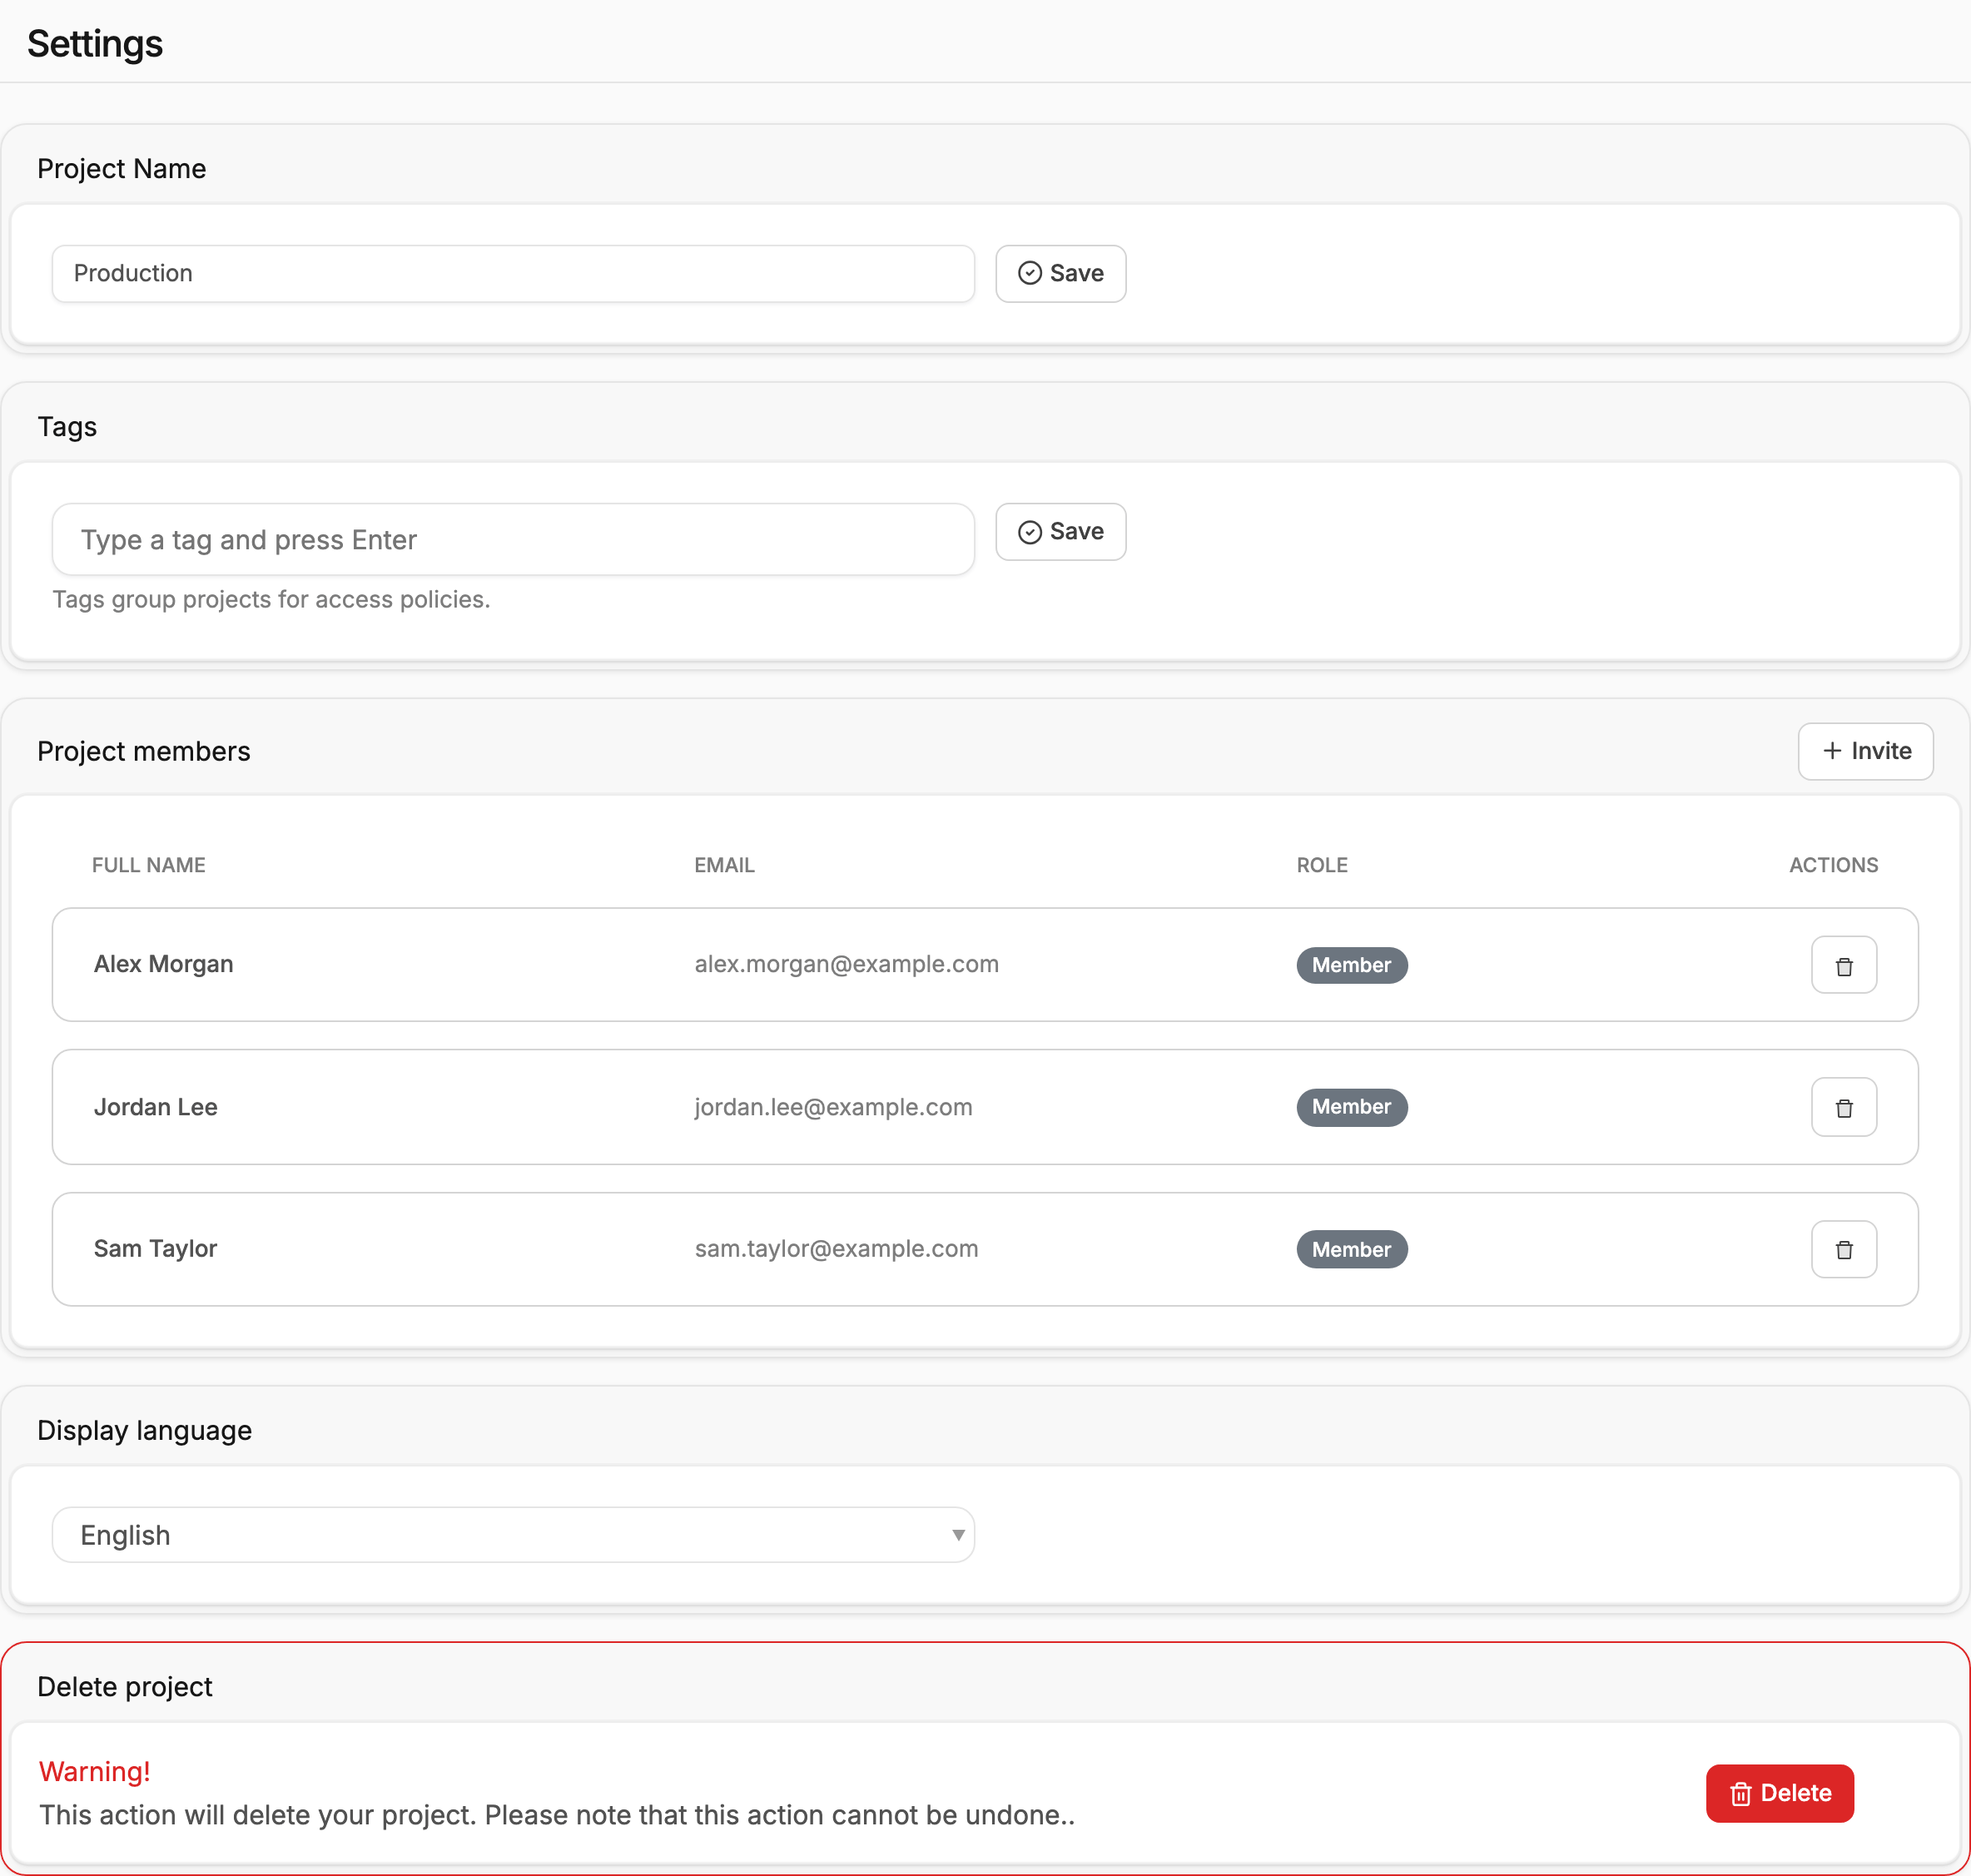
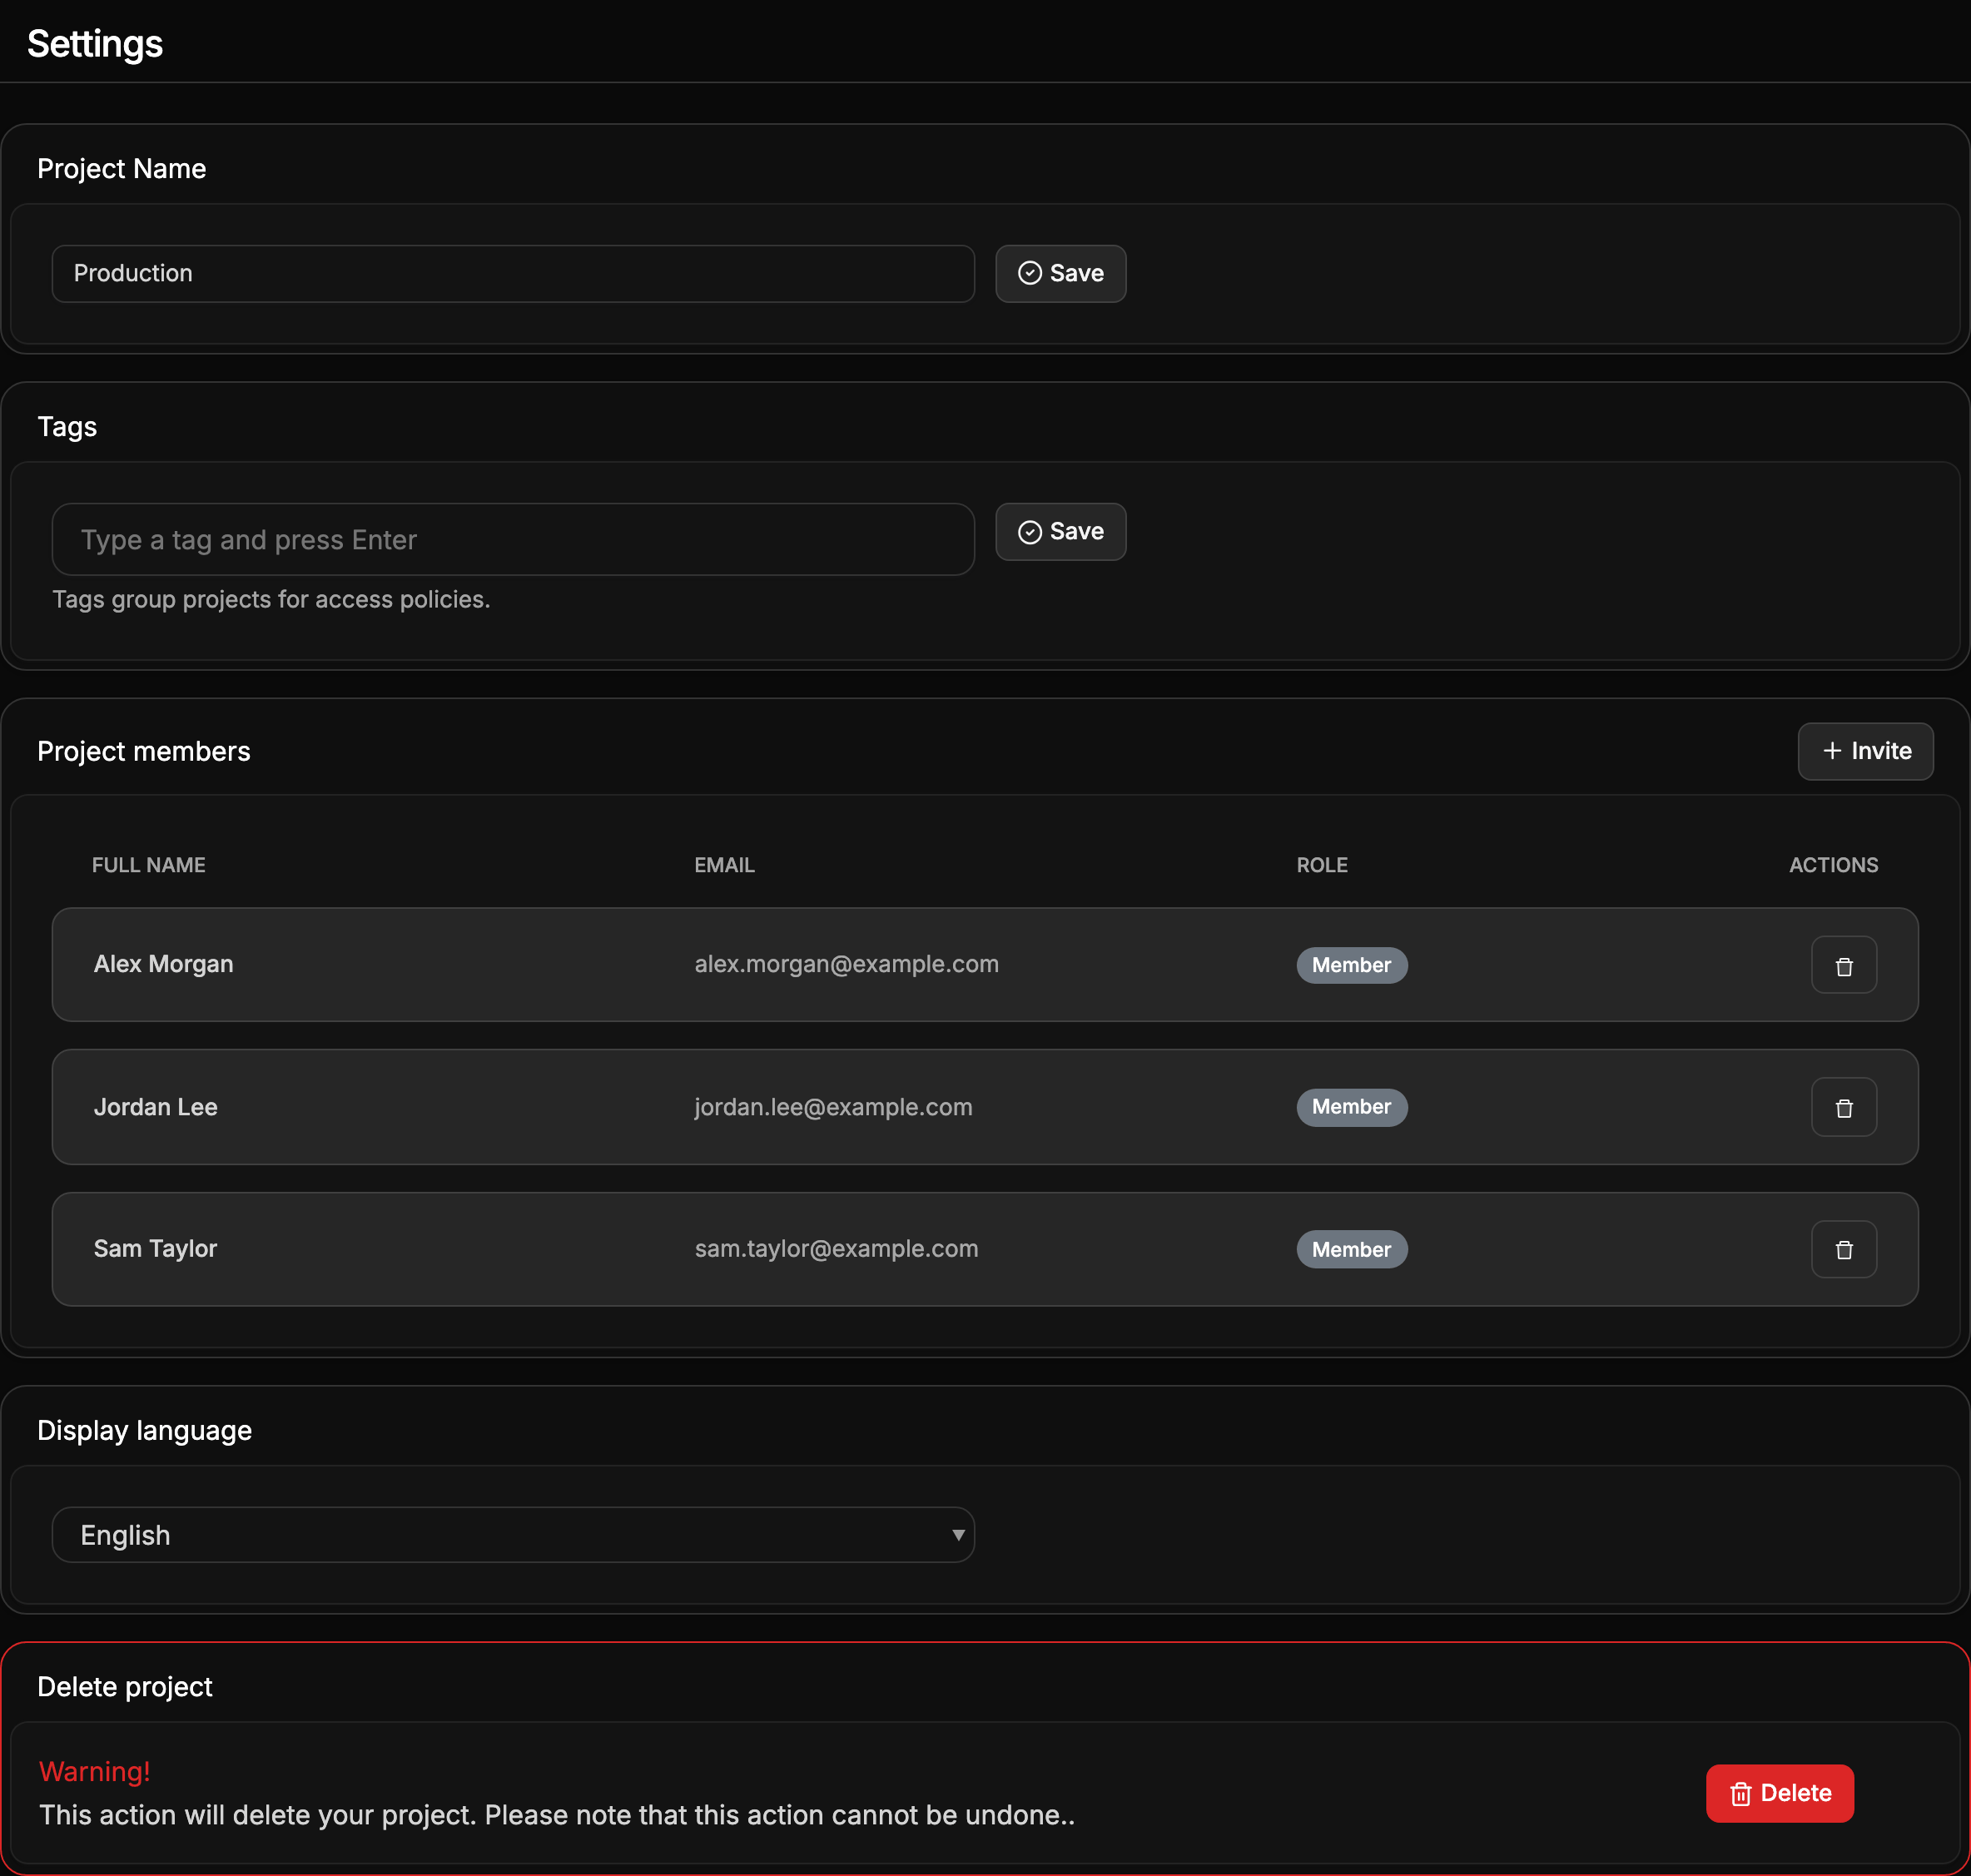
Open Settings in the project's sidebar.
- Project Name renames the project. The name is a label, and renaming changes no resource.
- Tags group projects for access policies. An organization group can grant its members a role on every project that carries a given tag. See Groups.
- Display language sets the language the portal is shown in.
Changing the name or tags needs the project update permission, which the Owner and Admin roles hold.
Delete a project
Deleting a project removes its cloud resources and the project itself. It cannot be undone. The Owner and Admin roles can delete projects.
- Open Settings and choose Delete under Delete project.
- If the project still holds resources, tick Delete everything in this project. The portal then deletes servers, volumes, backups, networks and every other resource with the project. Without the tick, the portal refuses to delete a project that still holds resources. In that case, delete them yourself first.
- Confirm.
Before the deletion starts, the portal checks the project against the cloud. OpenStack refuses to delete some resources in their current state, such as a protected image, a volume that is being attached, or a database that is still being created. While the project holds one, the dialog names it and Delete stays disabled. Wait for the resource to settle or change it, then delete the project. When the platform itself cannot reach the project on the cloud, contact your provider.
Resources whose deletion may still fail, such as a load balancer in an error state, are named in the dialog but do not stop the deletion.
The project is scheduled for deletion and is deleted within the next 5 to 10 minutes. Until then, its card on the home page shows Scheduled for deletion. Open the card's menu and choose Cancel Deletion to keep the project, or Delete now to start the deletion at once.
If the cloud refuses to remove a resource, the resource stays in the cloud and your provider's administrators remove it.