Groups
A group grants its members a role on every project that carries given tags. Use groups for teams that work on a changing set of projects. Tag a new project, and the group's members reach it at once, without being added one by one.
A group has two parts:
| Part | Holds |
|---|---|
| Access policies | Project tags and the role granted on the projects that carry them |
| Members | The organization members who receive that access |
Managing groups needs the Owner or Admin role.
Create a group
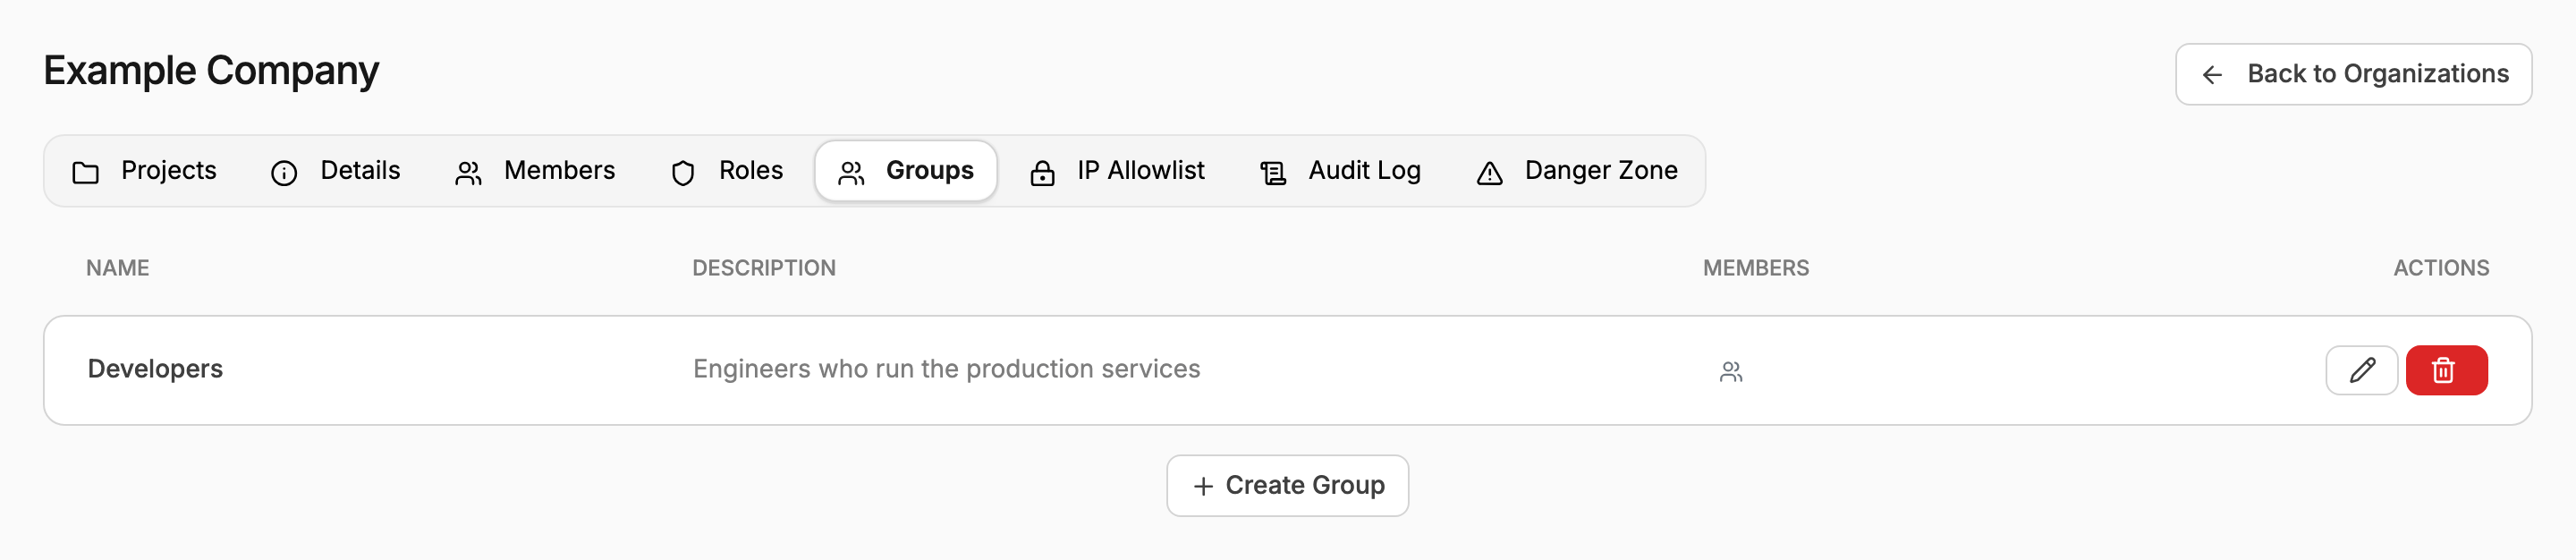
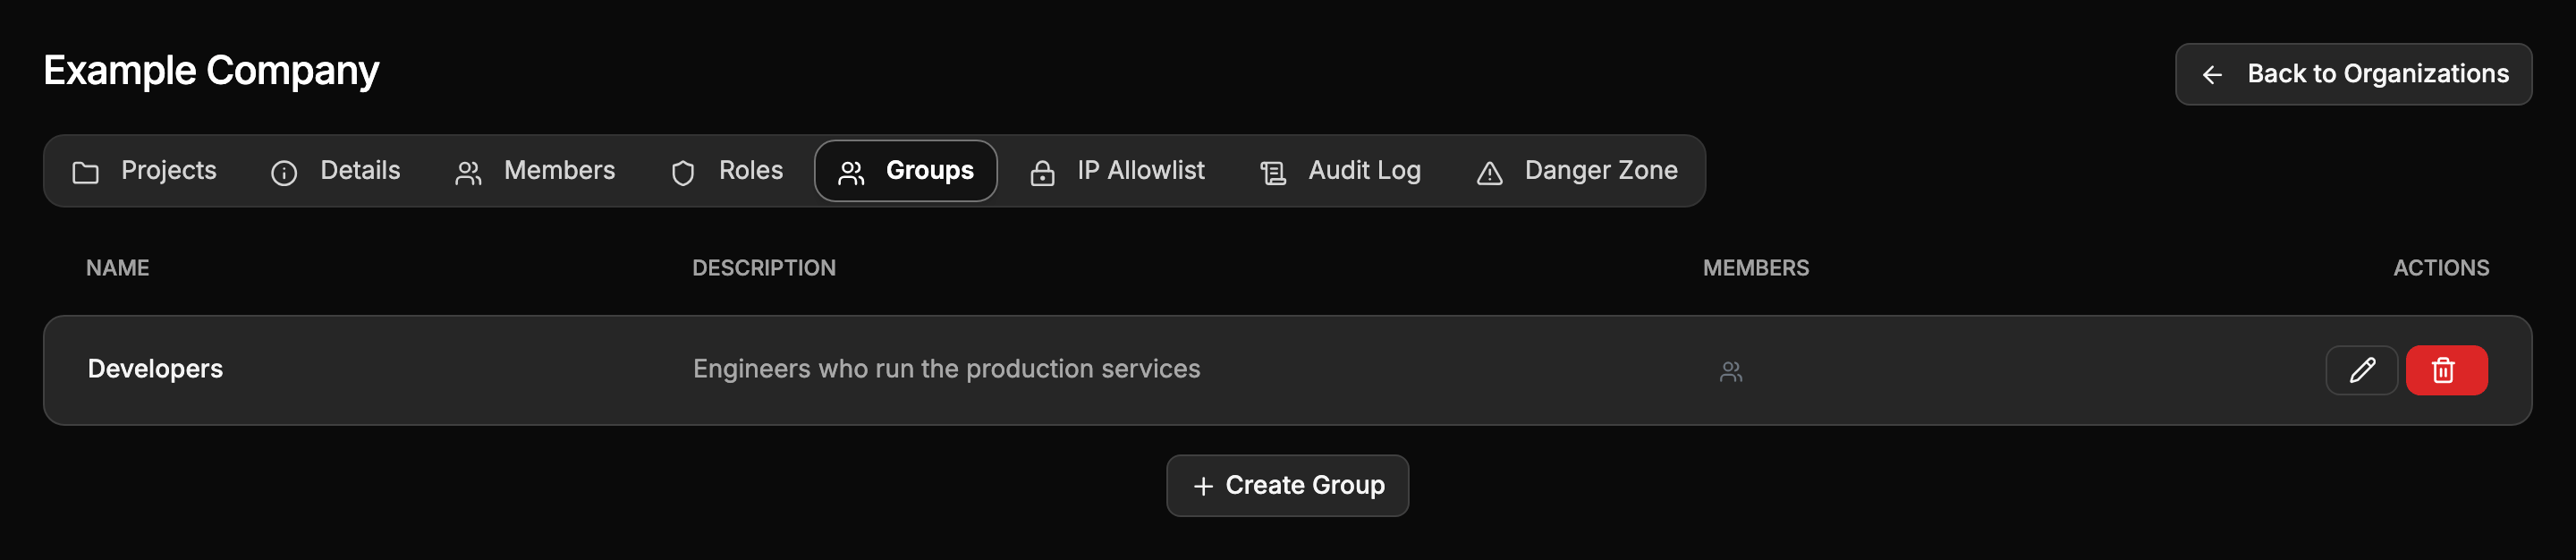
- Open the organization's settings and choose Groups.
- Choose Create Group, enter a Name, such as Developers, and a Description.
- Choose Create Group.
Grant access by project tag
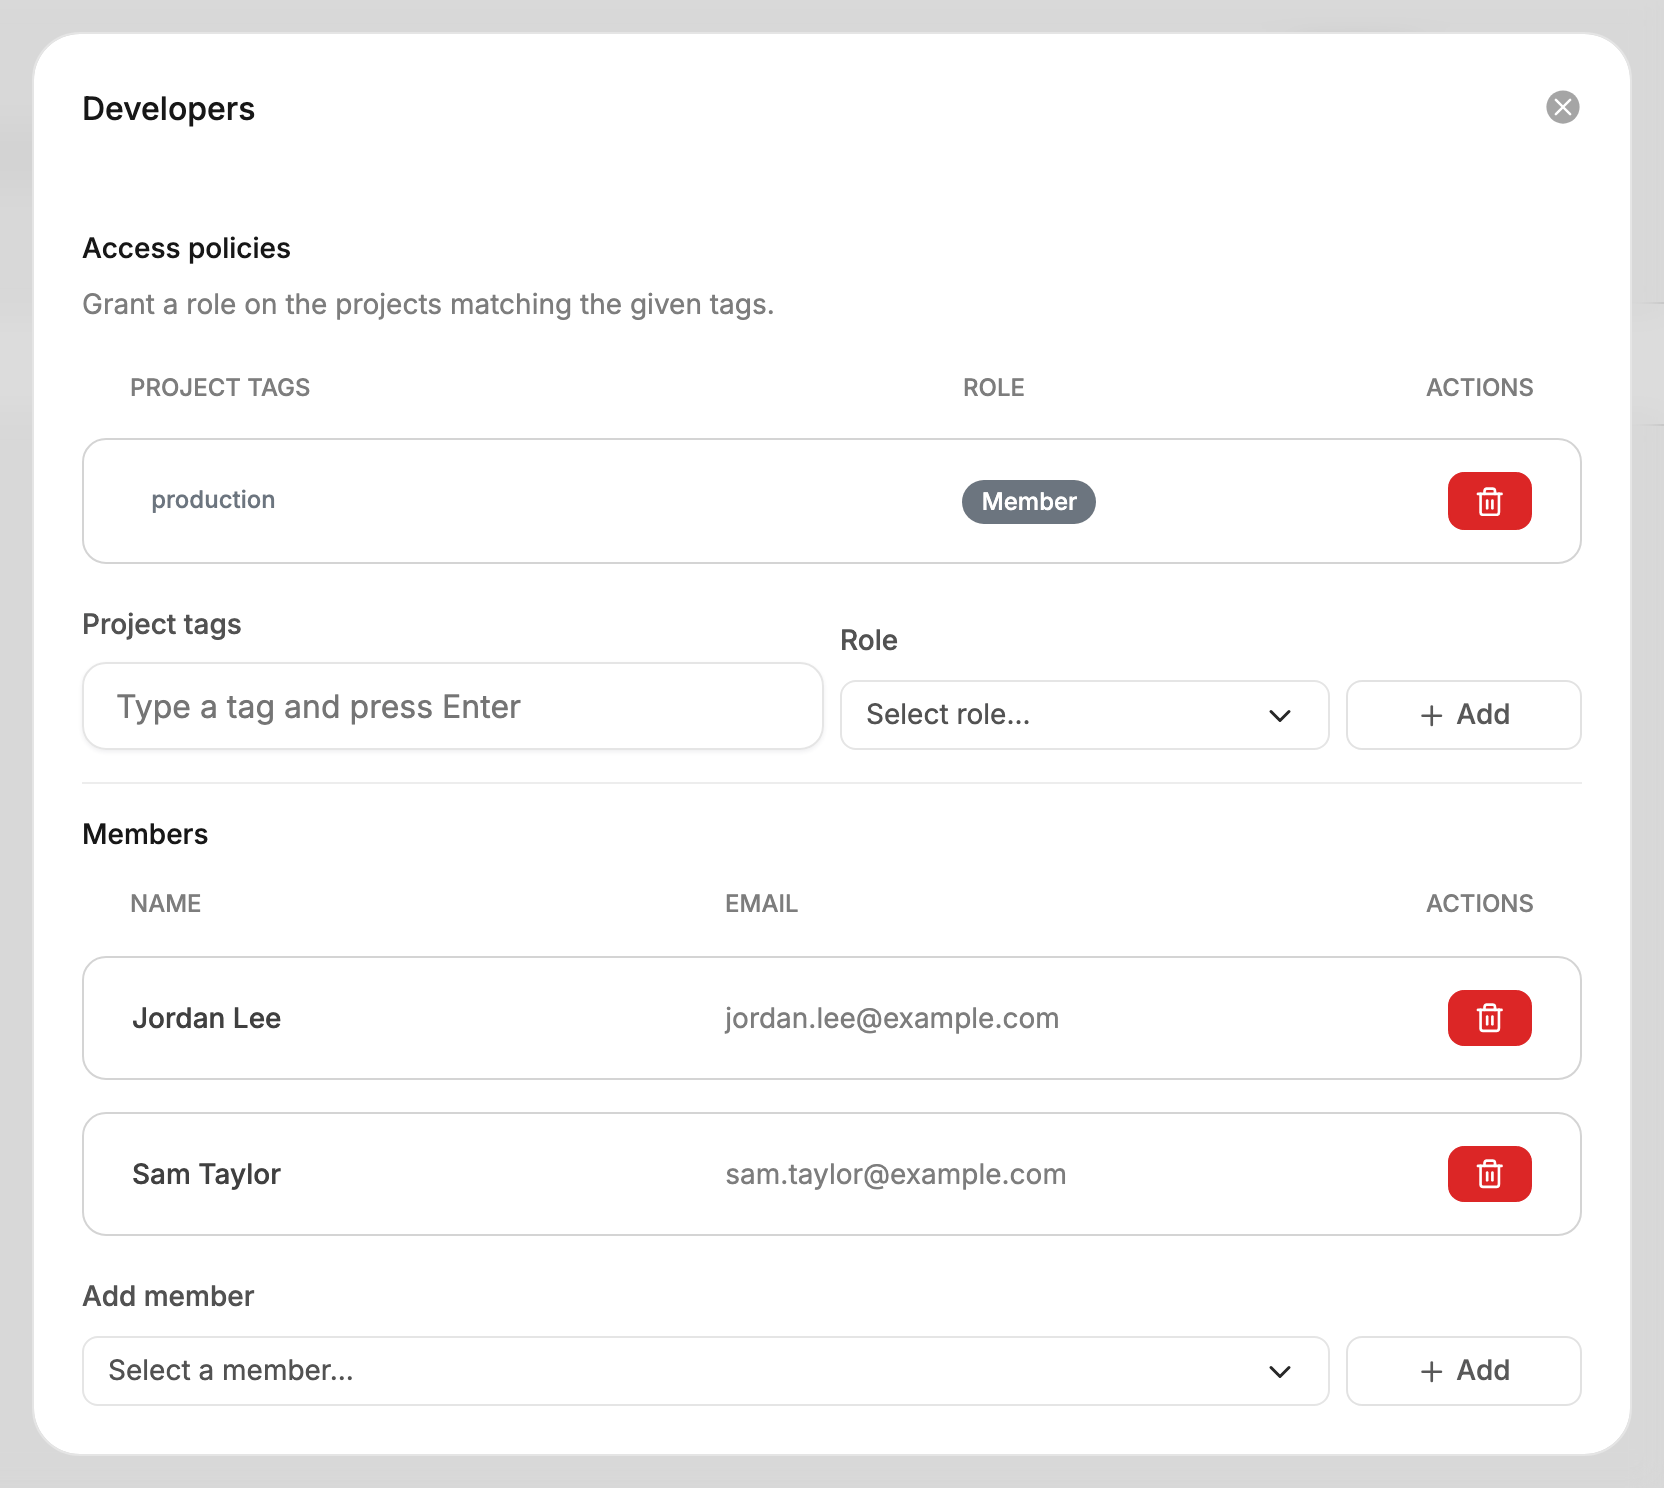
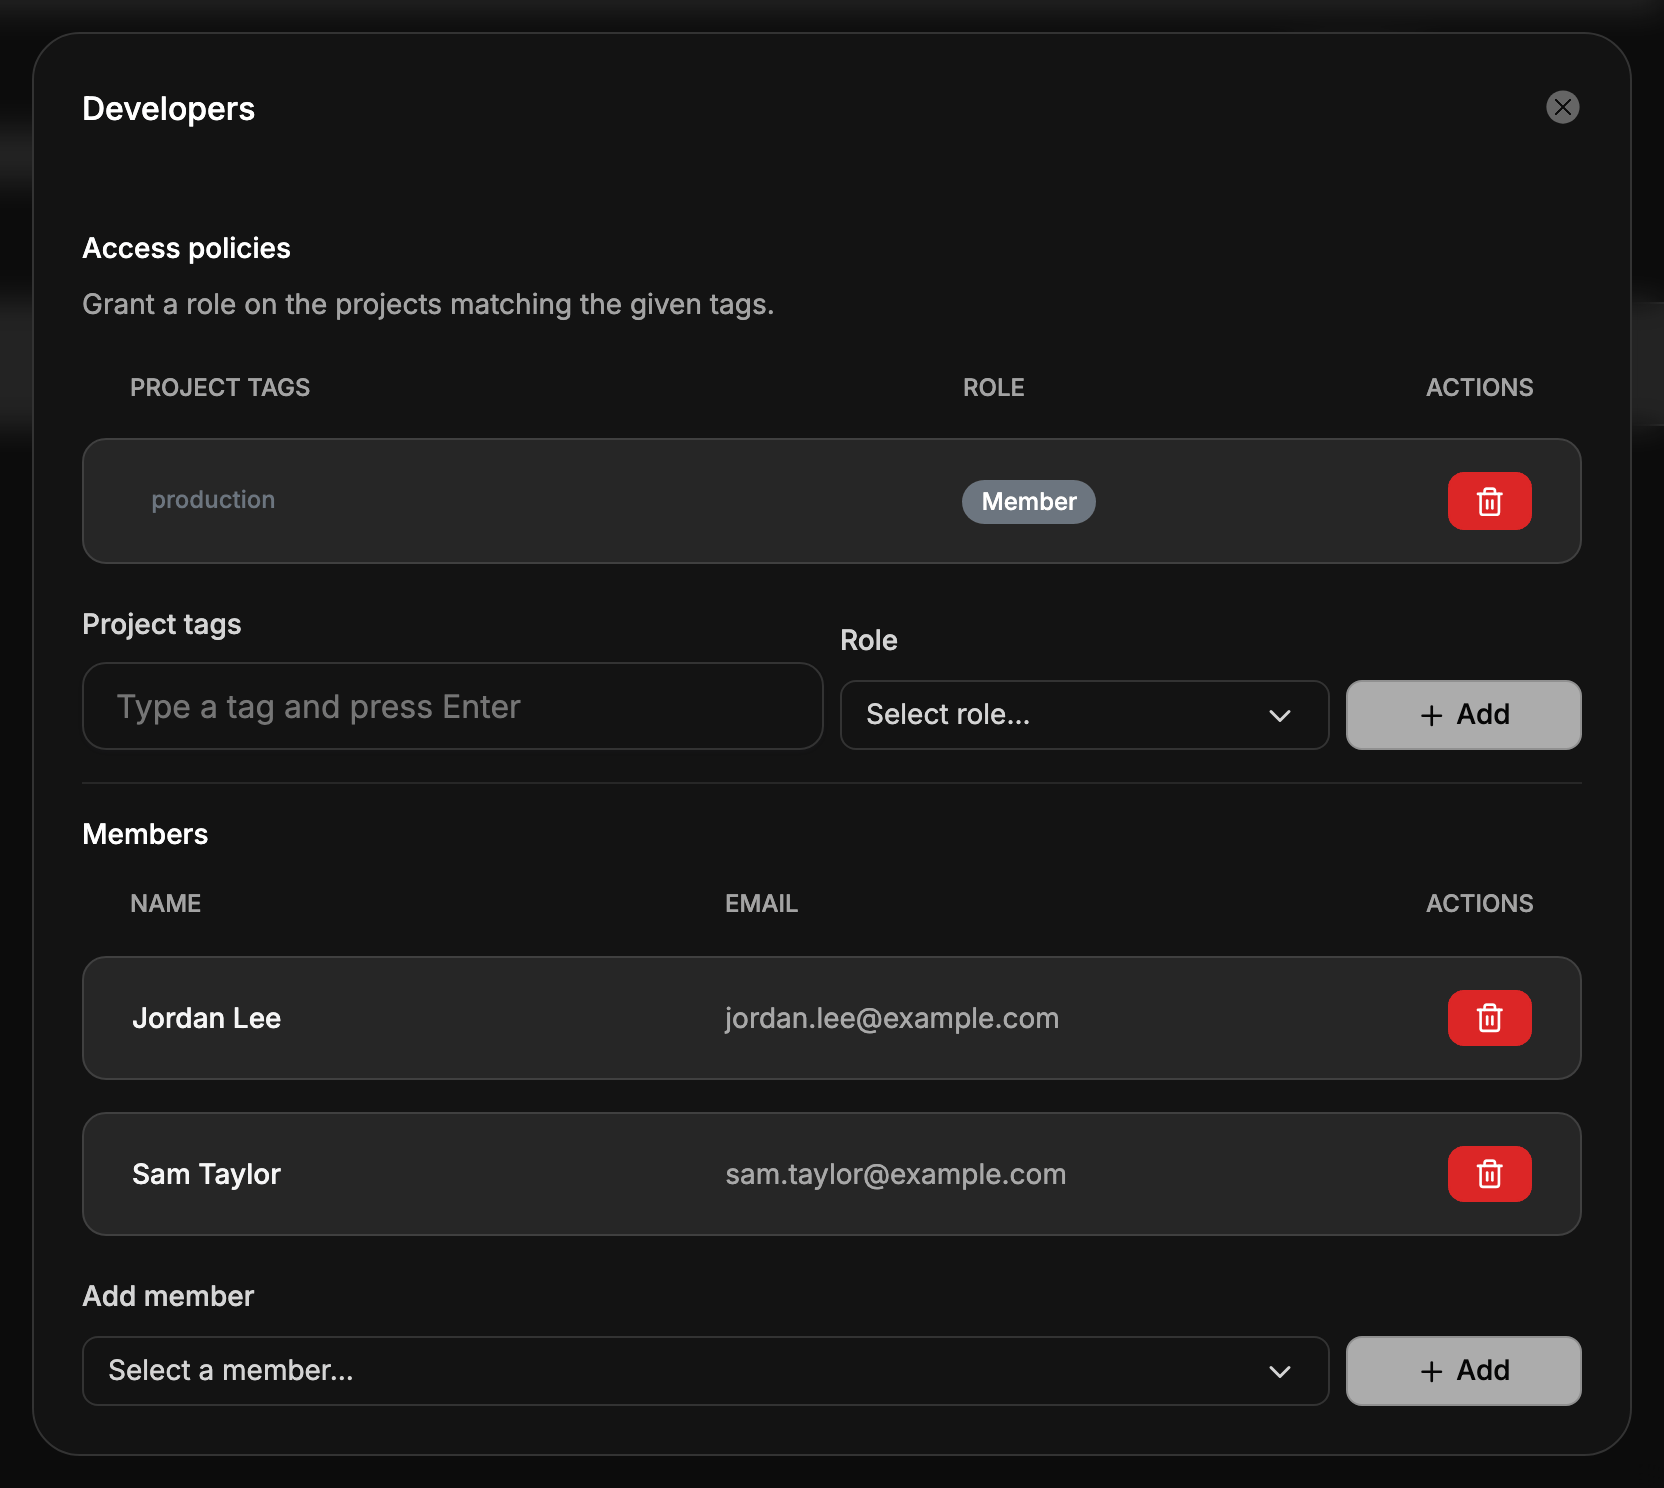
Open the group to manage it.
- Under Access policies, type a tag in Project tags and press Enter. Add more tags if the policy should match several.
- Choose the Role to grant on the matching projects, such as Member. Custom roles are offered too.
- Choose Add.
Then add the people under Members: choose a member under Add member and choose Add.
Set a project's tags in its Settings. See Rename a project and set its tags. Access is applied to the group's members when you add a policy or a member. A project tagged later receives the group's access when the portal next refreshes the members' access.
Remove access
Delete a policy from its row to withdraw the role it granted. Remove a member from the group to withdraw their access from every project the group reached. Access to a project the person was also added to directly stays in place.
Your provider can also fill groups from the claims of your identity provider, so that membership in your directory decides project access. Ask your provider whether that is set up for your organization.