IP allow lists
An IP allow list limits access to an organization's projects in the portal to the addresses it contains. From any other address, opening a covered project is refused, even with a valid sign-in, and the portal answers that access to this project is restricted to allowed IP addresses. Use allow lists to keep portal access to your projects within your offices and VPN.
The lists apply to the portal. Requests sent straight to the cloud's APIs with a project's credentials are not checked against them. Revoke credentials that should not be used outside your network. See Credentials for a project.
A list holds IP addresses or CIDR ranges, each with a description, and applies to the projects you choose, or to every project of the organization. Managing allow lists needs the Owner or Admin role.
Create an allow list
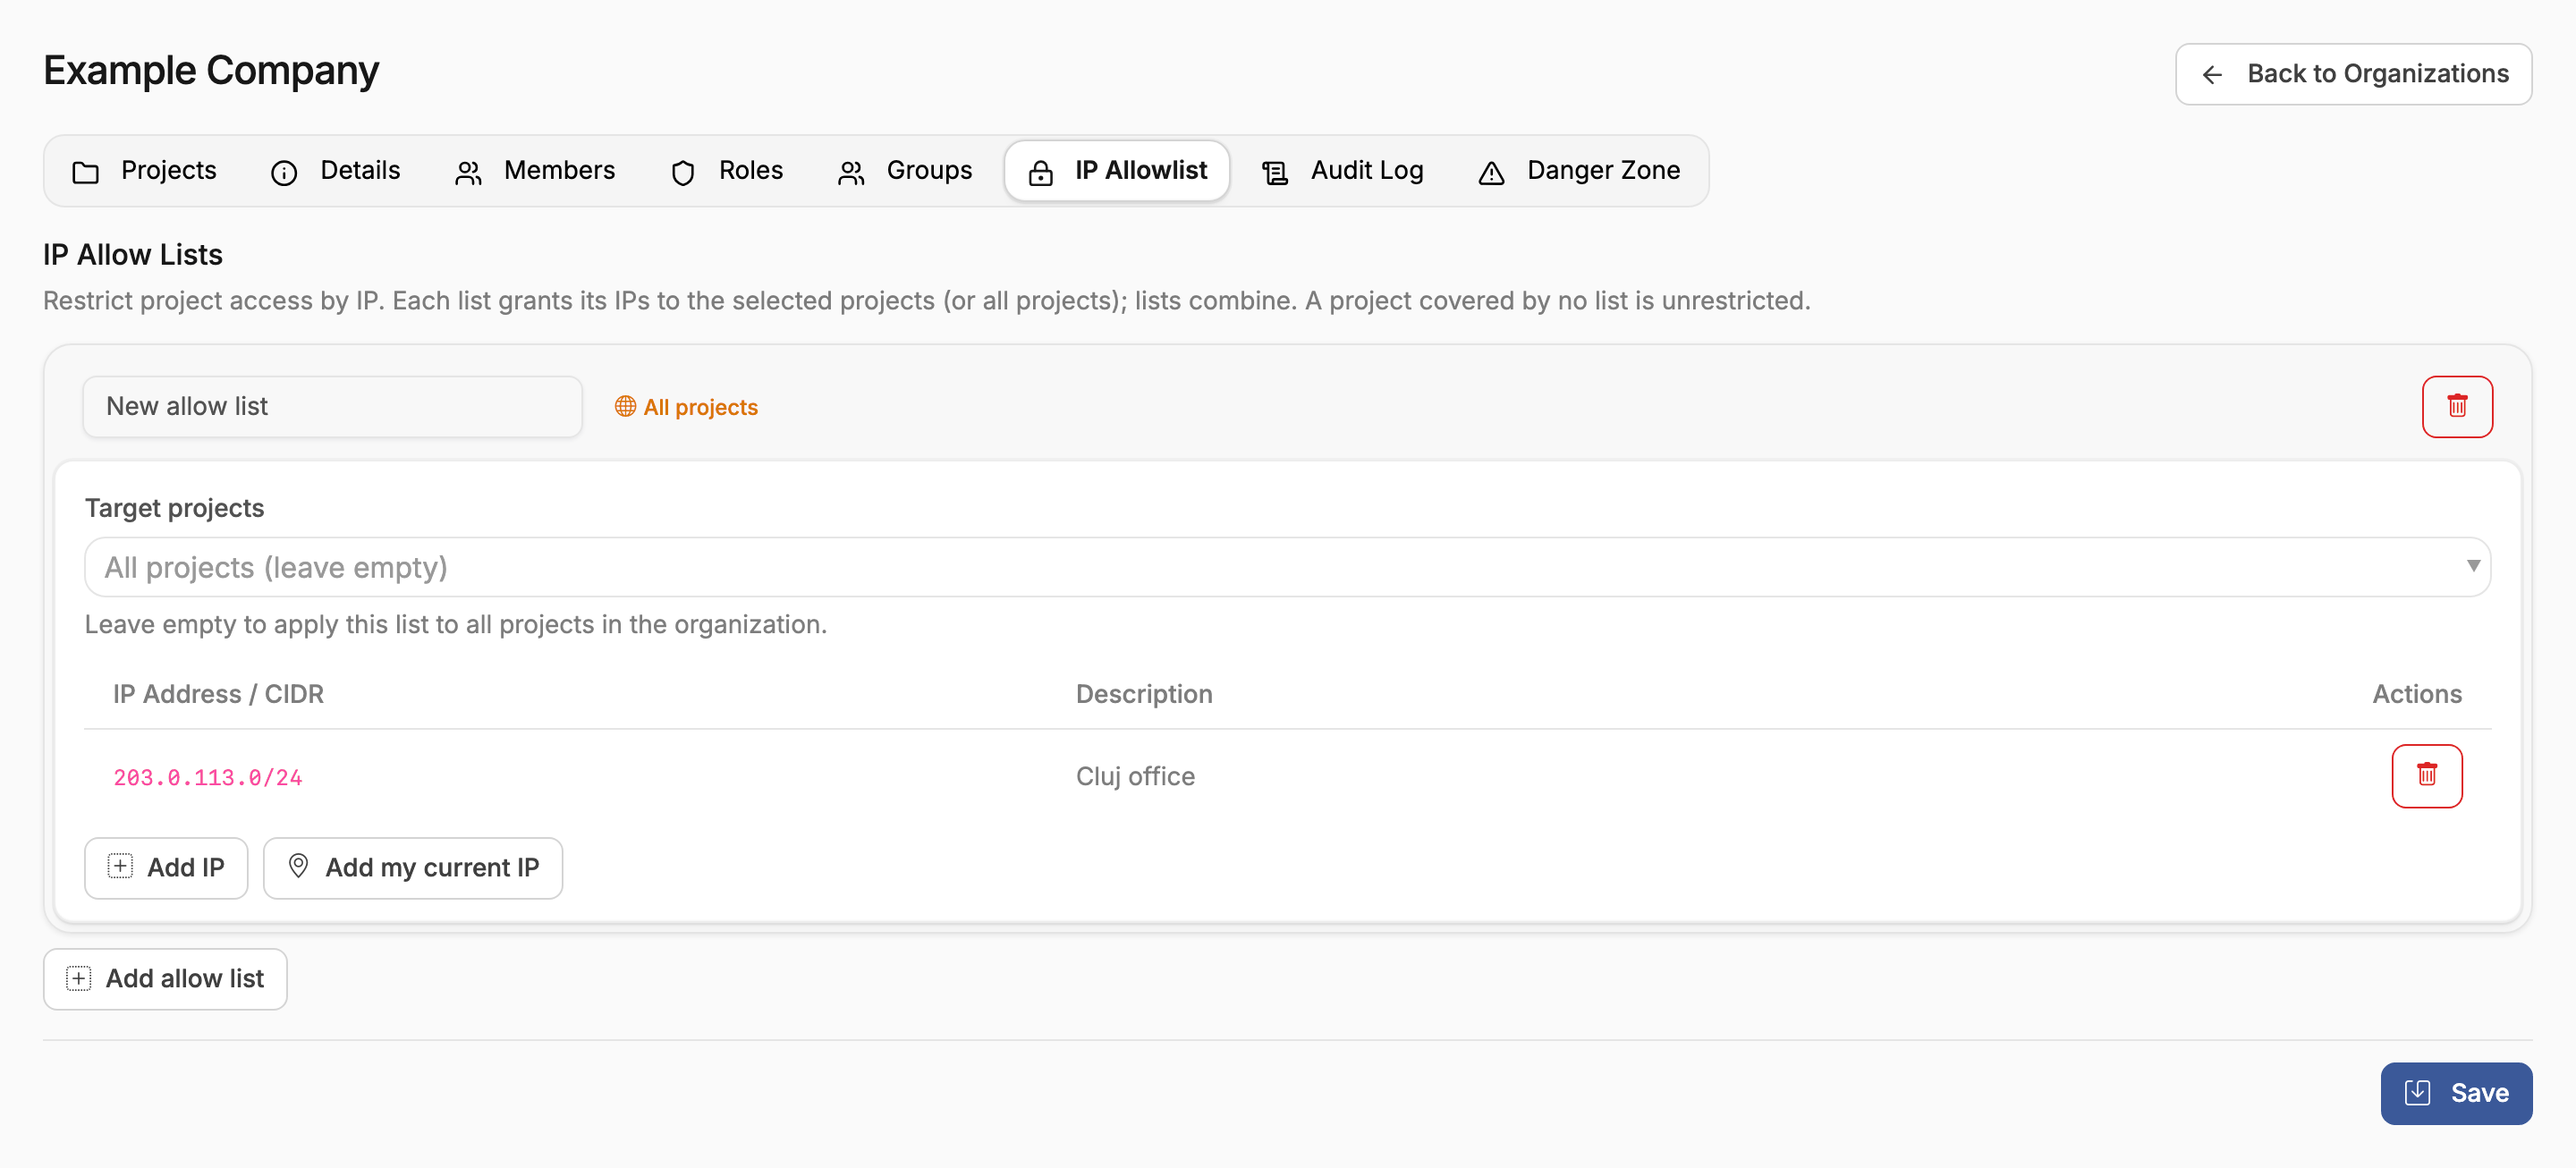
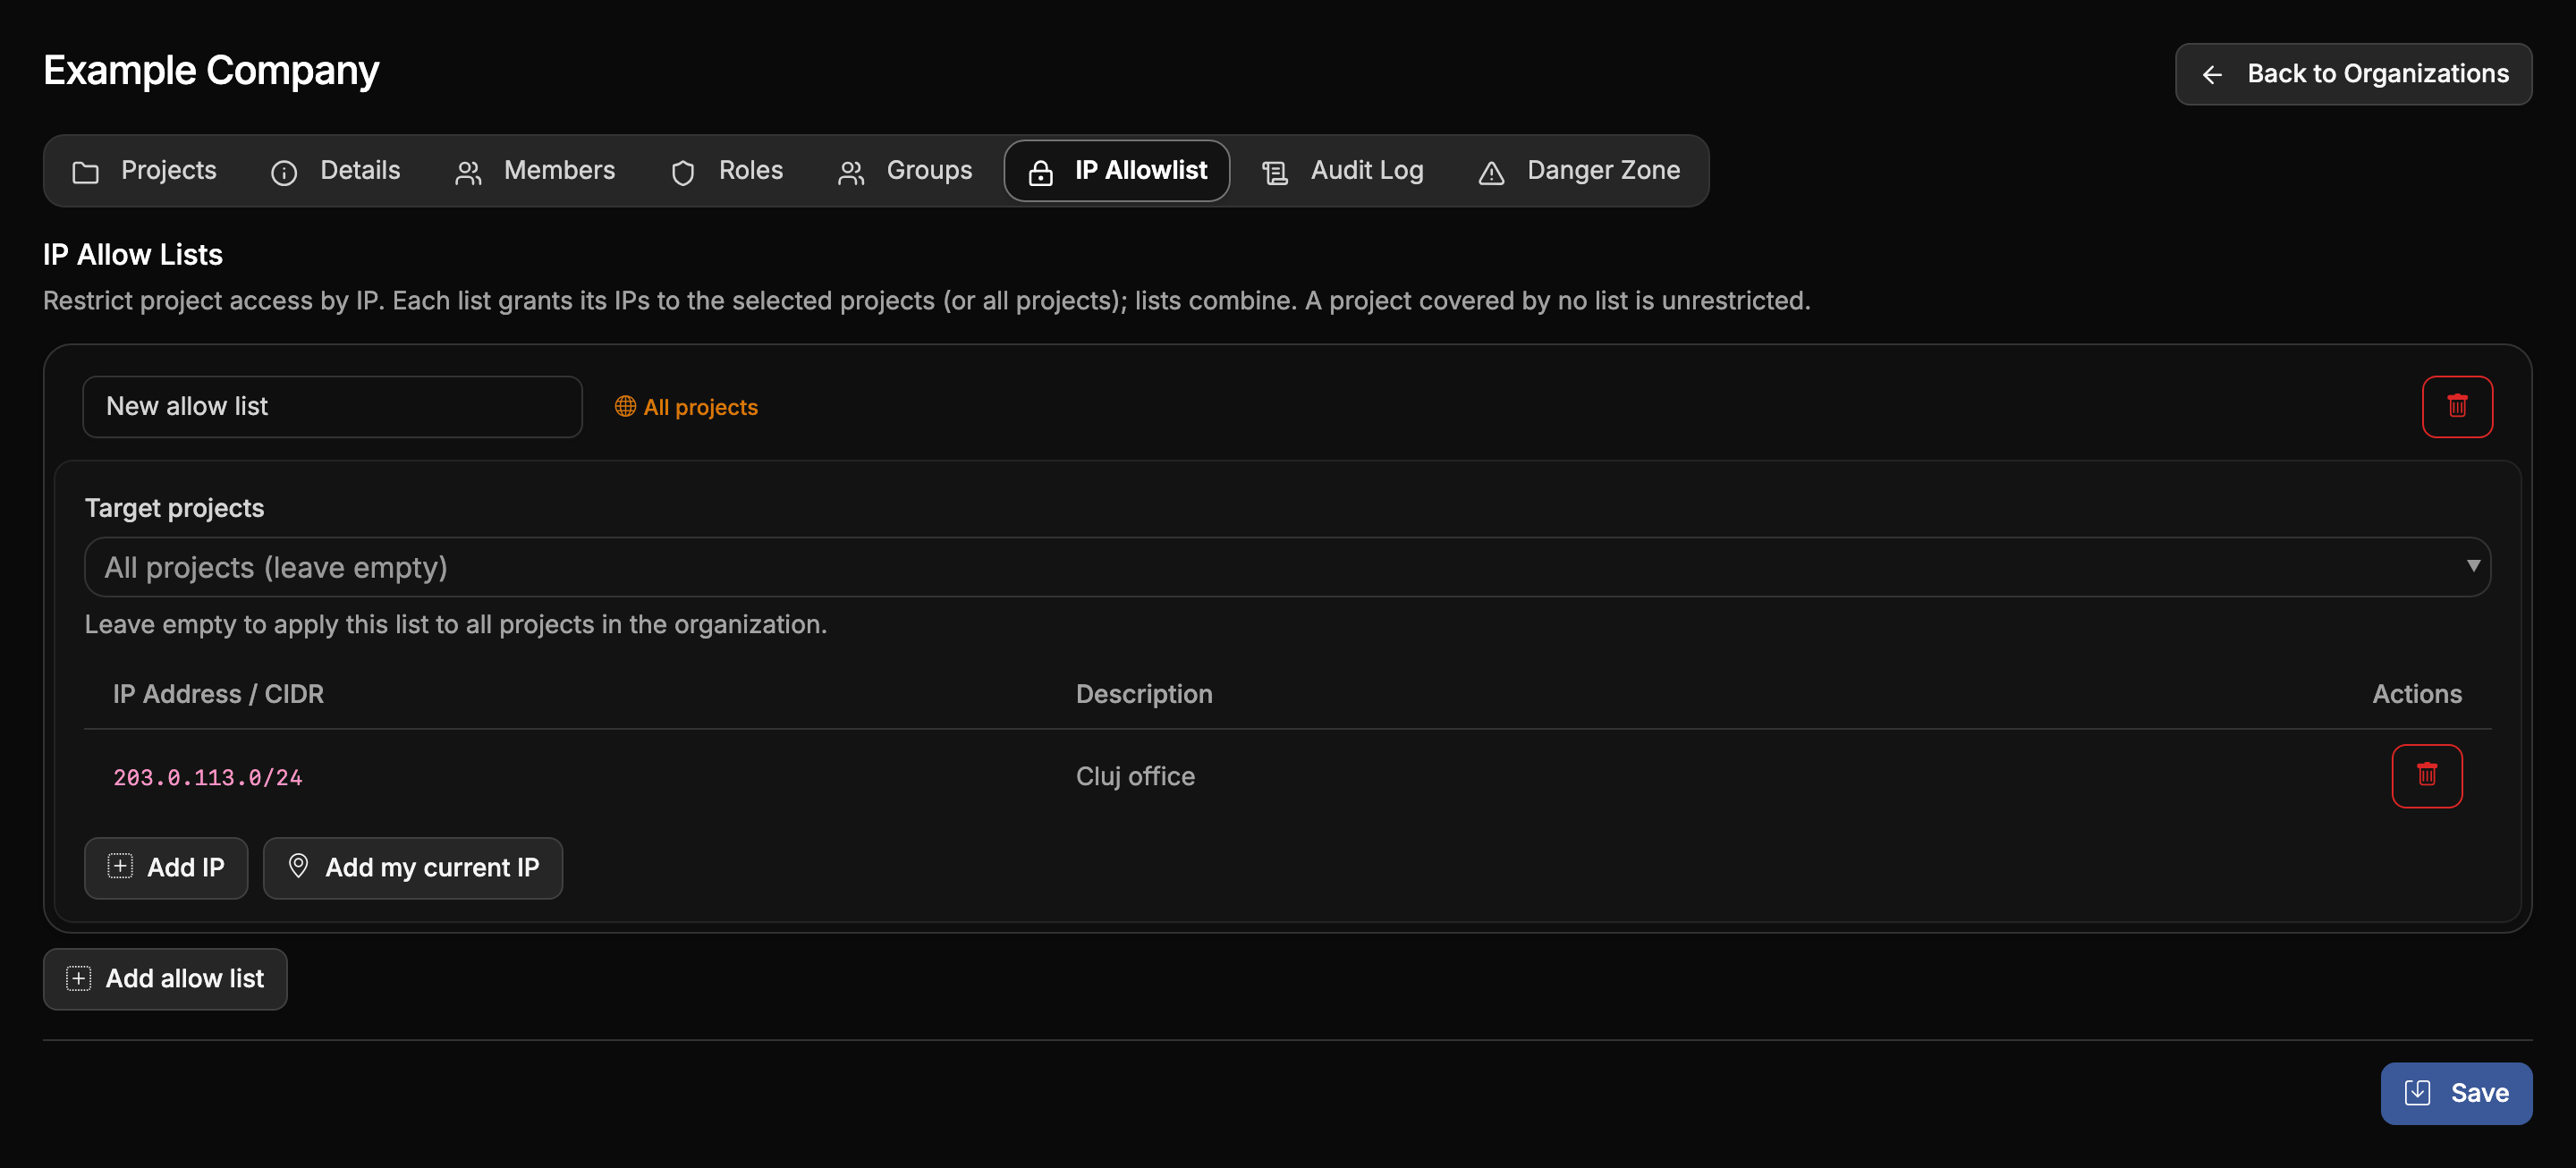
- Open the organization's settings and choose IP Allowlist.
- Choose Add allow list and name the list, for example Offices.
- Under Target projects, choose the projects the list applies to. Leave it empty to apply it to every project in the organization.
- Choose Add IP and enter an IP address or a CIDR range, such as
203.0.113.0/24, with a description such as Cluj office. Add my current IP adds the address you are connected from. - Choose Save.
Both IPv4 and IPv6 are accepted, for example 203.0.113.4, 203.0.113.0/24, 2001:db8::1 and
2001:db8::/32.
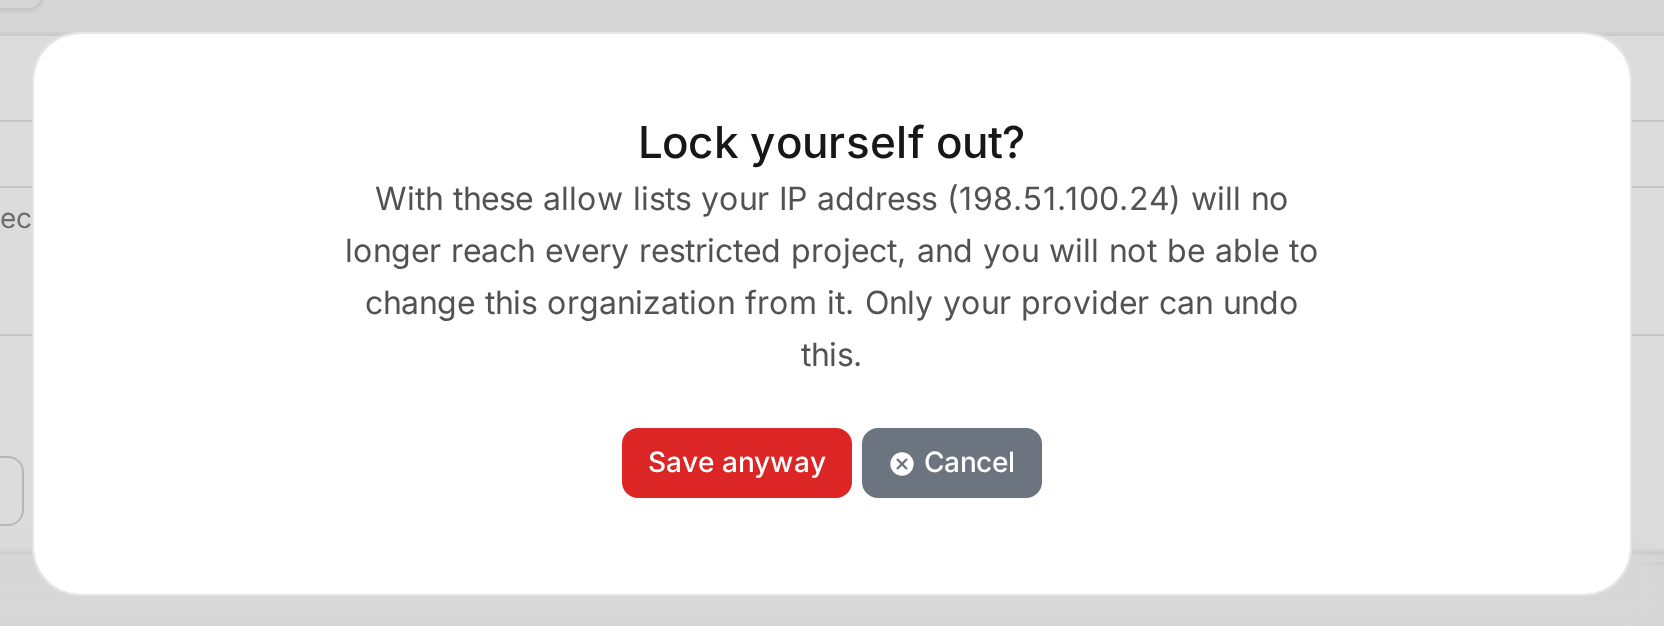
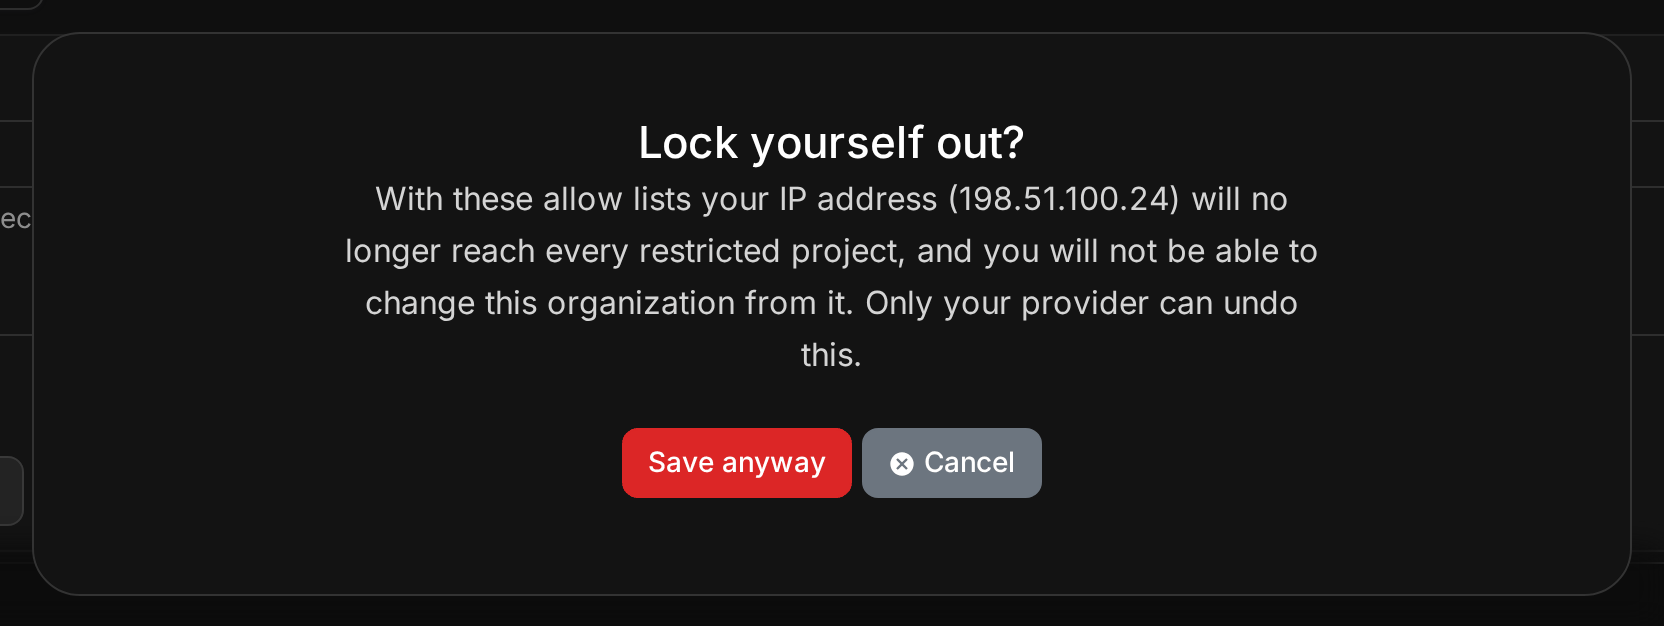
Add your own address before you save a list. If your address is on none of the lists that cover a project, you lose access to that project, and you can no longer change the organization from that address, its allow lists included. Only your provider can then let you back in. The portal asks you to confirm before it saves lists that would lock you out.
Change the organization from an allowed address
While an organization has allow lists, its details, members, roles, groups and allow lists can be changed, and the organization deleted, only from an address that reaches every project the lists restrict. When a list applies to every project, your address must be on it, because that list also restricts the projects created later. Without this rule, a member locked out of a project could add their own address to a list and unlock the project.
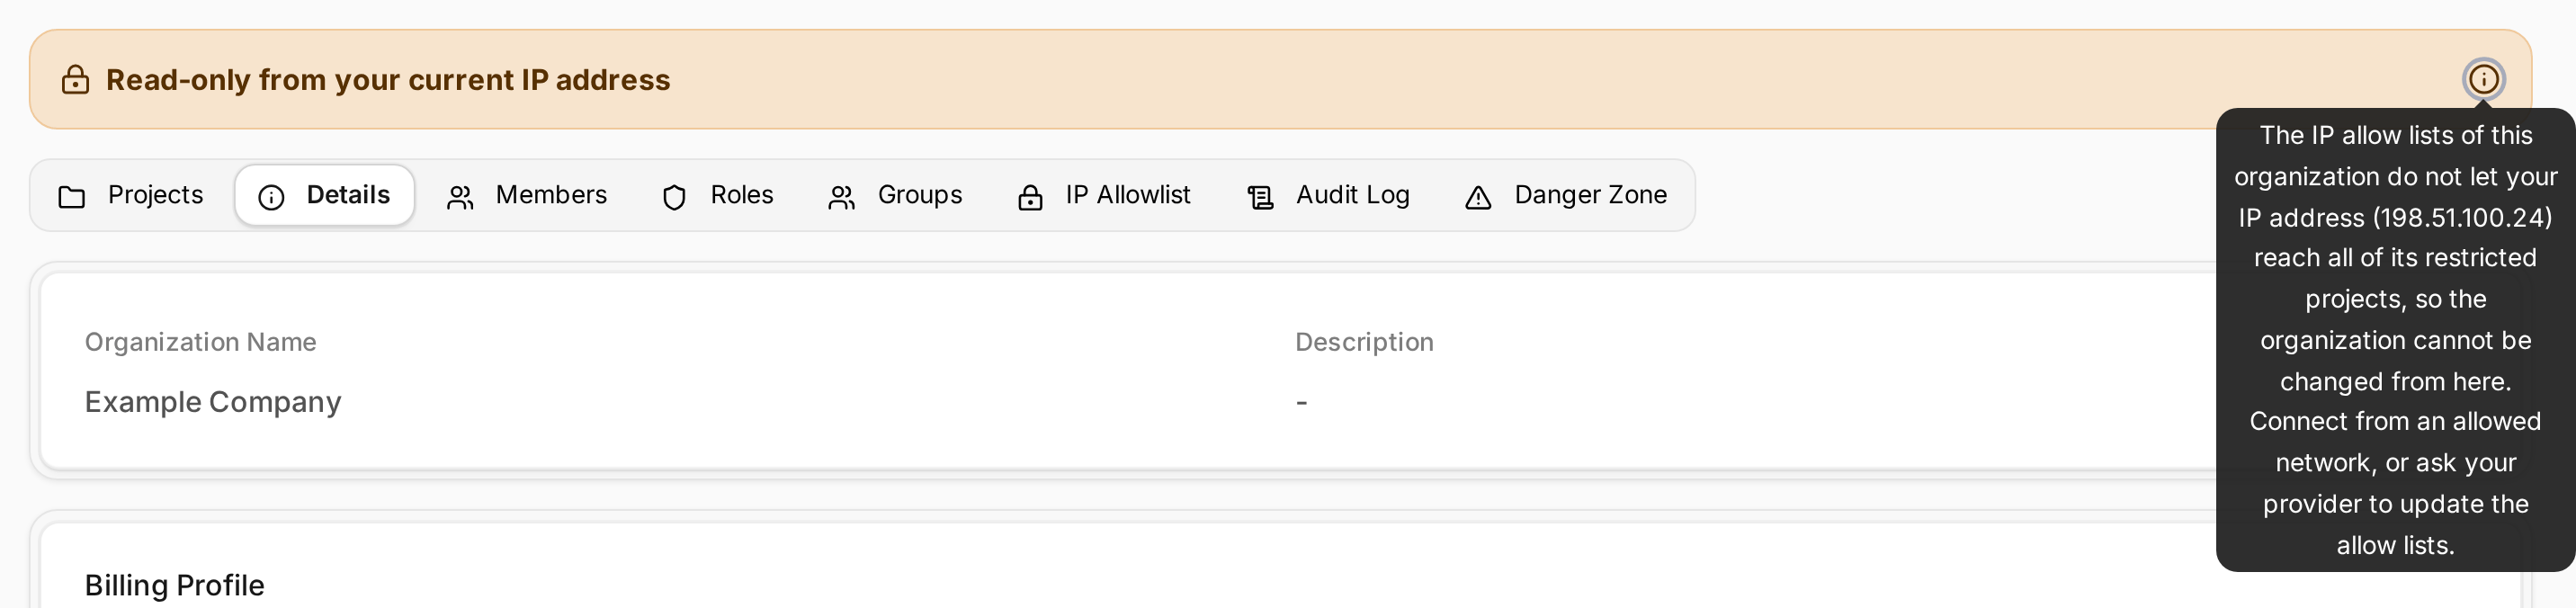
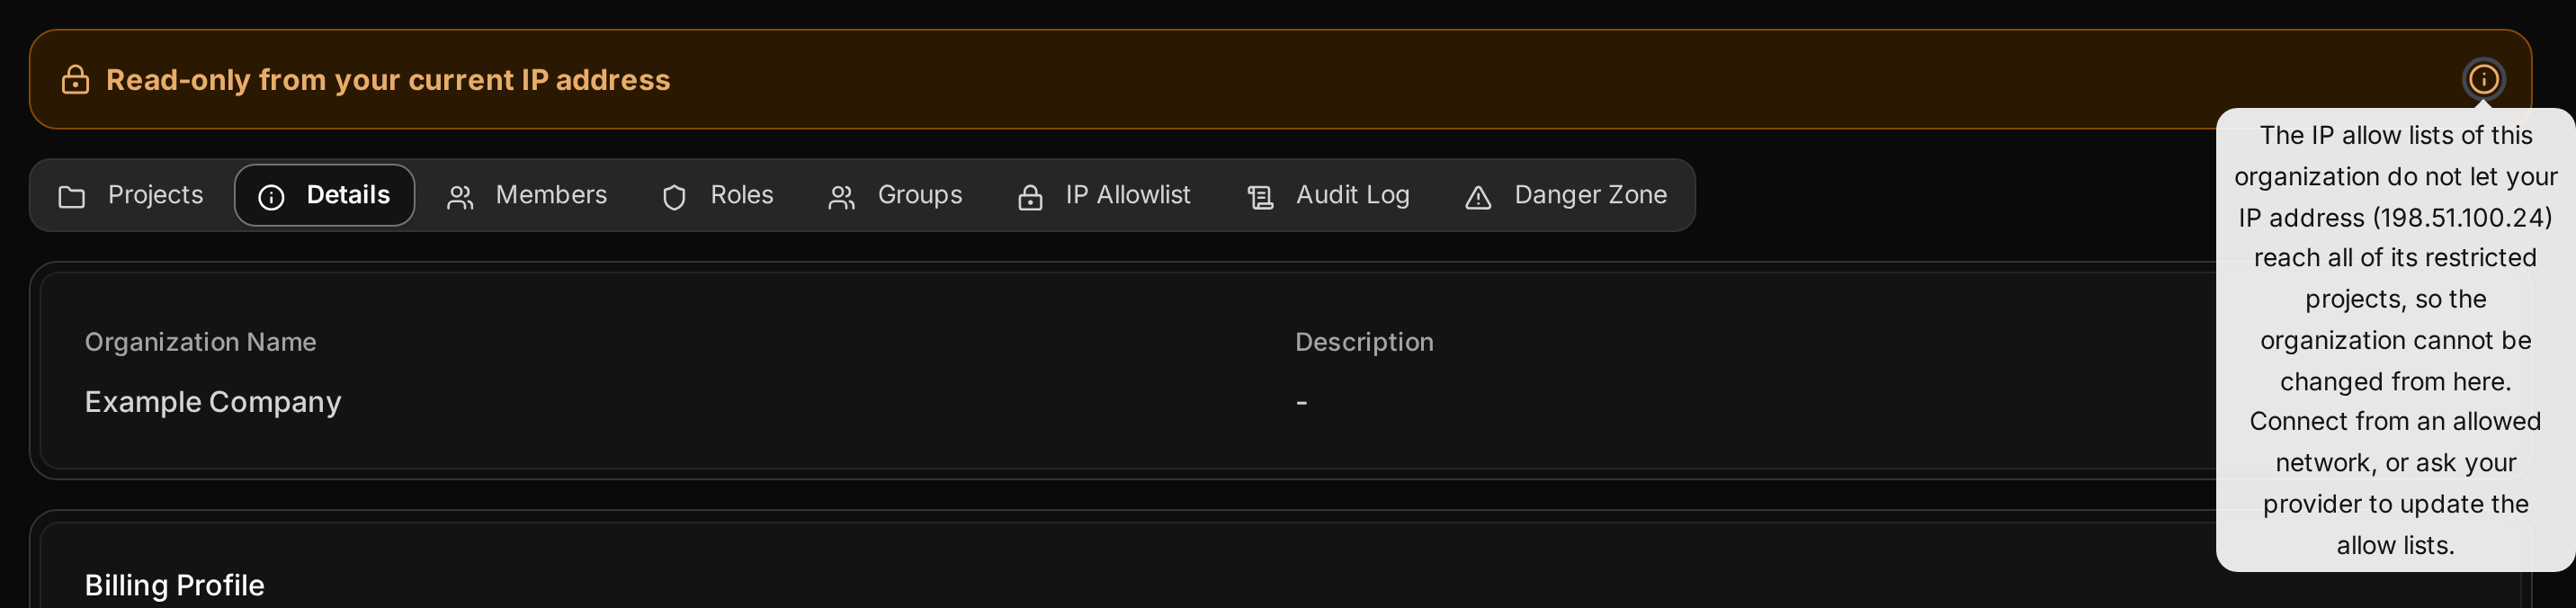
From any other address the organization's settings are read-only. A notice above them says so, and its tooltip shows the address OSIE sees for you. You can still read the settings and the audit log. To make a change, connect from an allowed network, or ask your provider to update the allow lists.
Projects covered by several lists
- A project covered by several lists accepts the addresses of all of them.
- A project that no list covers is not restricted.
- Removing an address or deleting a list takes effect when you choose Save.