Attach a backup
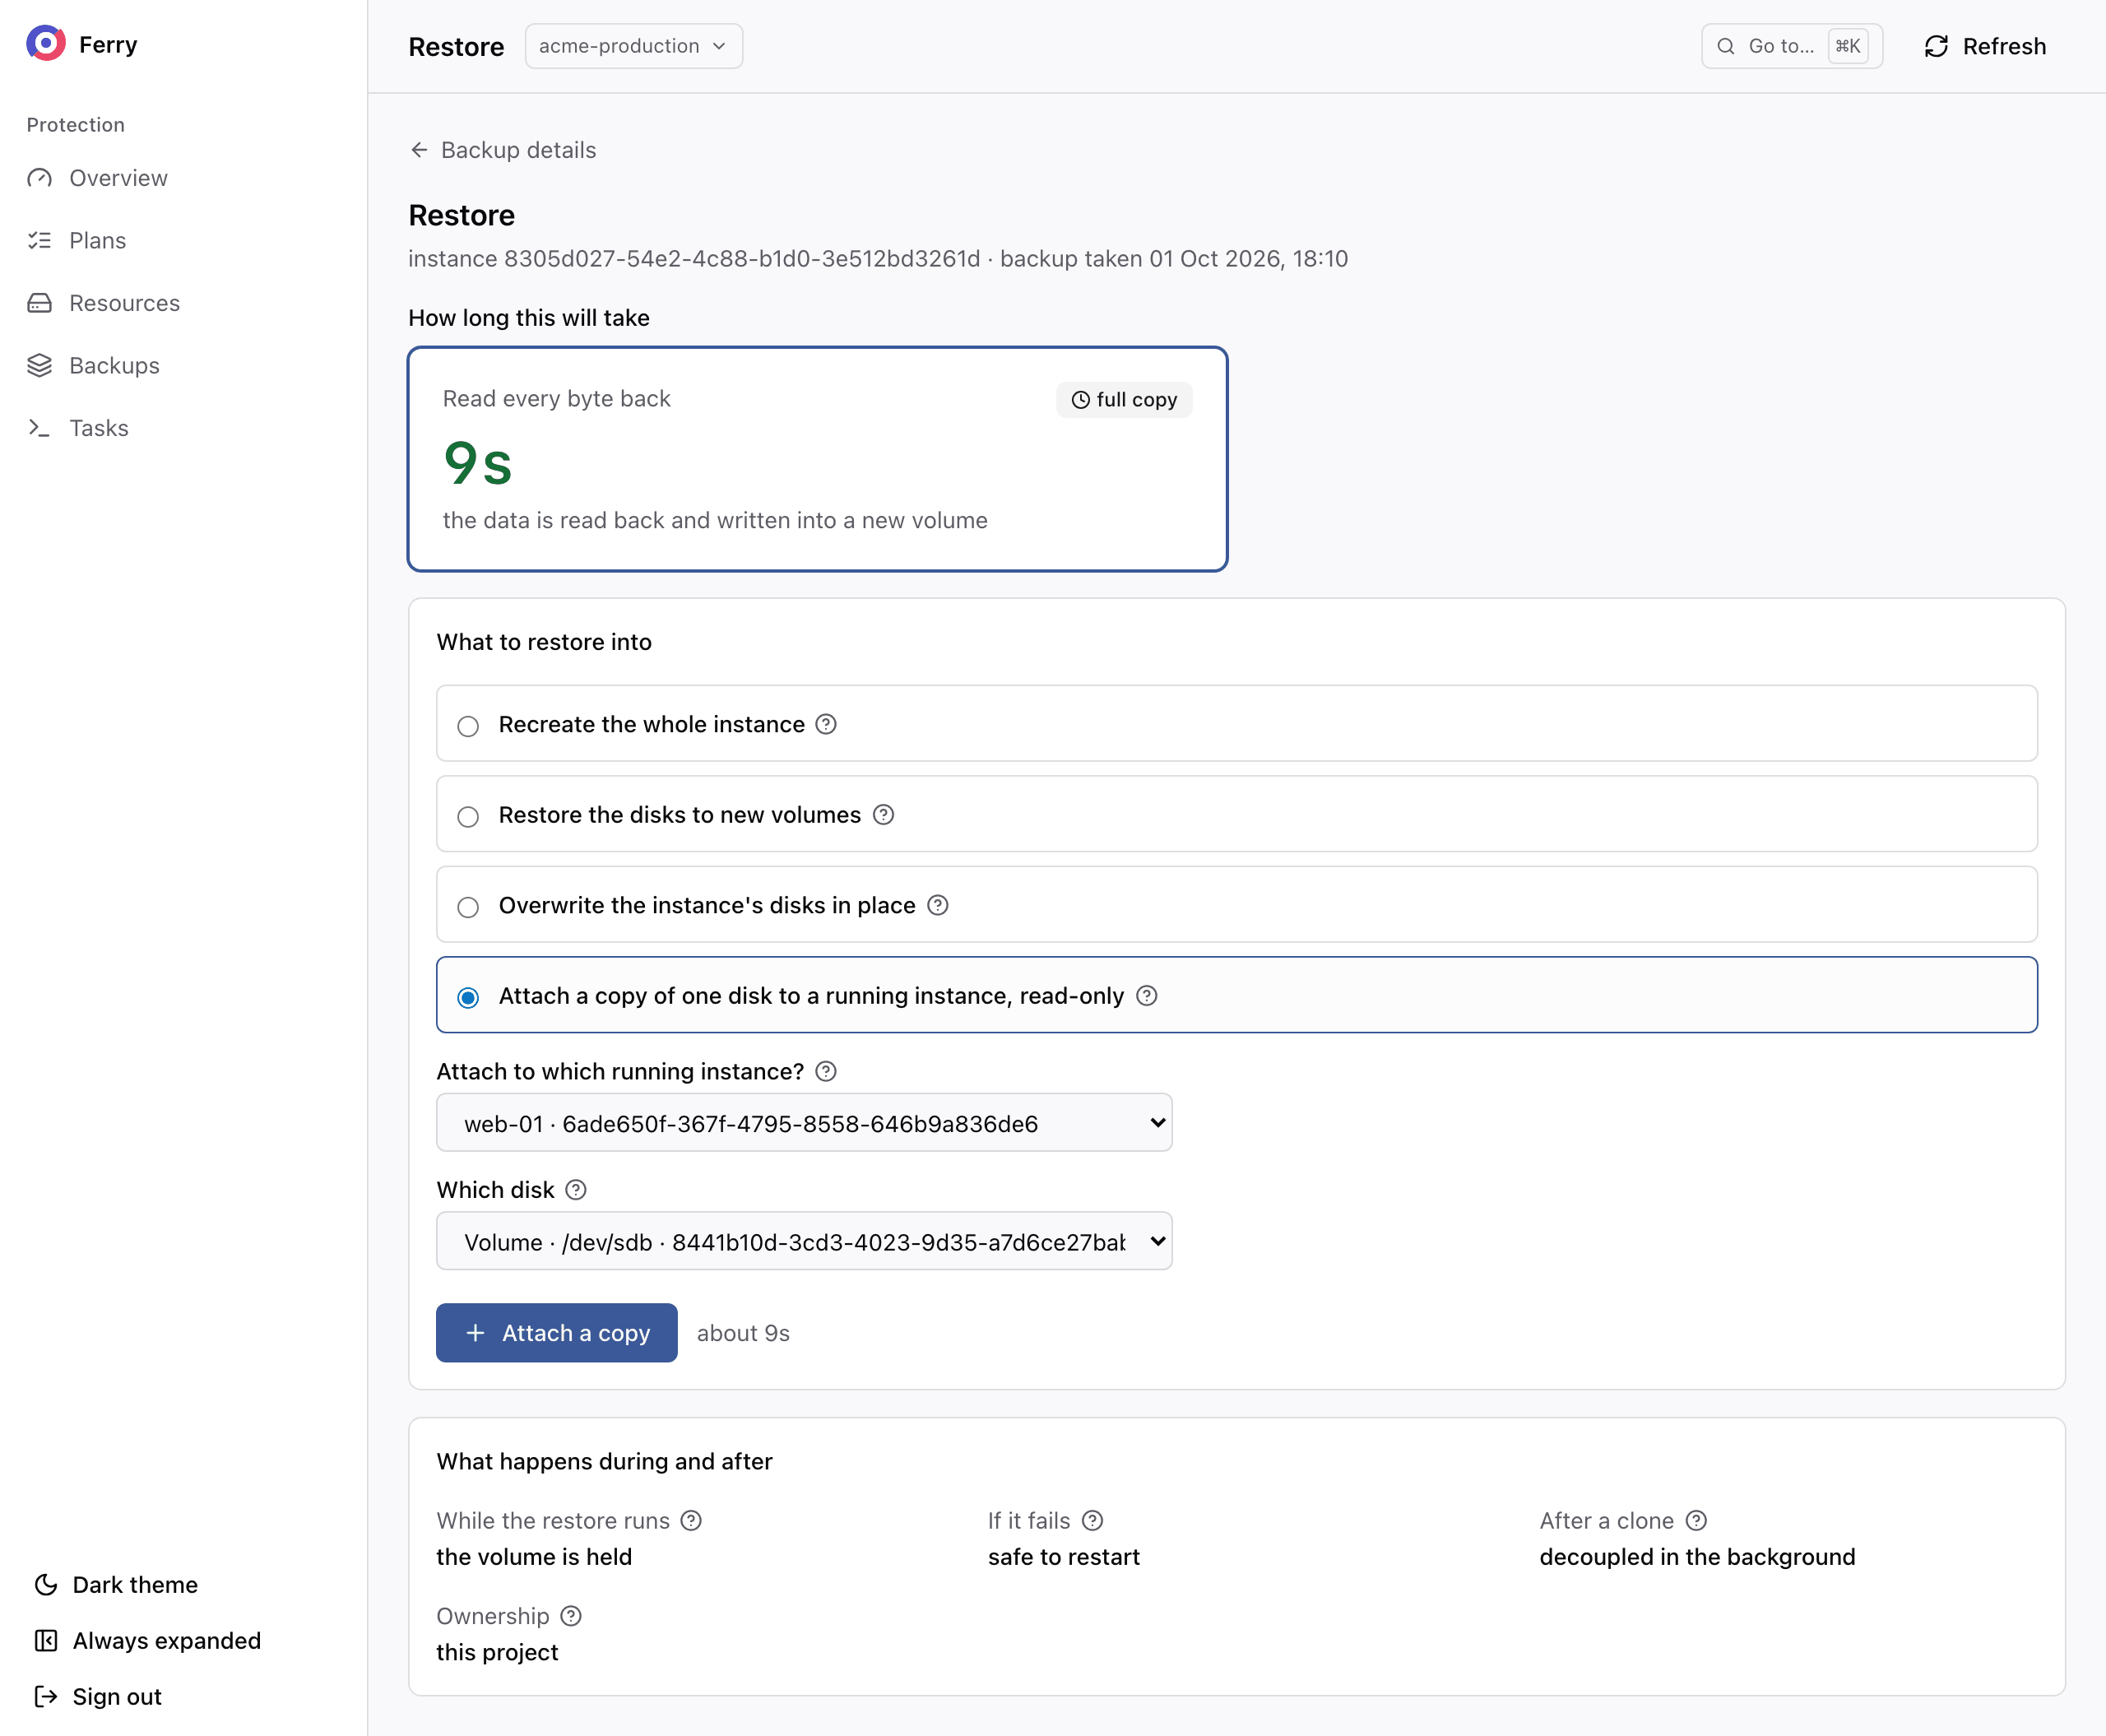
To recover individual files, attach a read-only copy of a backed-up disk to one of your running servers. Mount the copy and retrieve the files you need. The service removes the copy when the attachment expires. The original disk remains unchanged.
The server reads the disk with its own operating system, so any filesystem the guest understands works: ext4, XFS, NTFS, LVM volumes, encrypted volumes the guest can unlock.
Attach a disk
- Console
- CLI
- Open the backup and choose Restore.
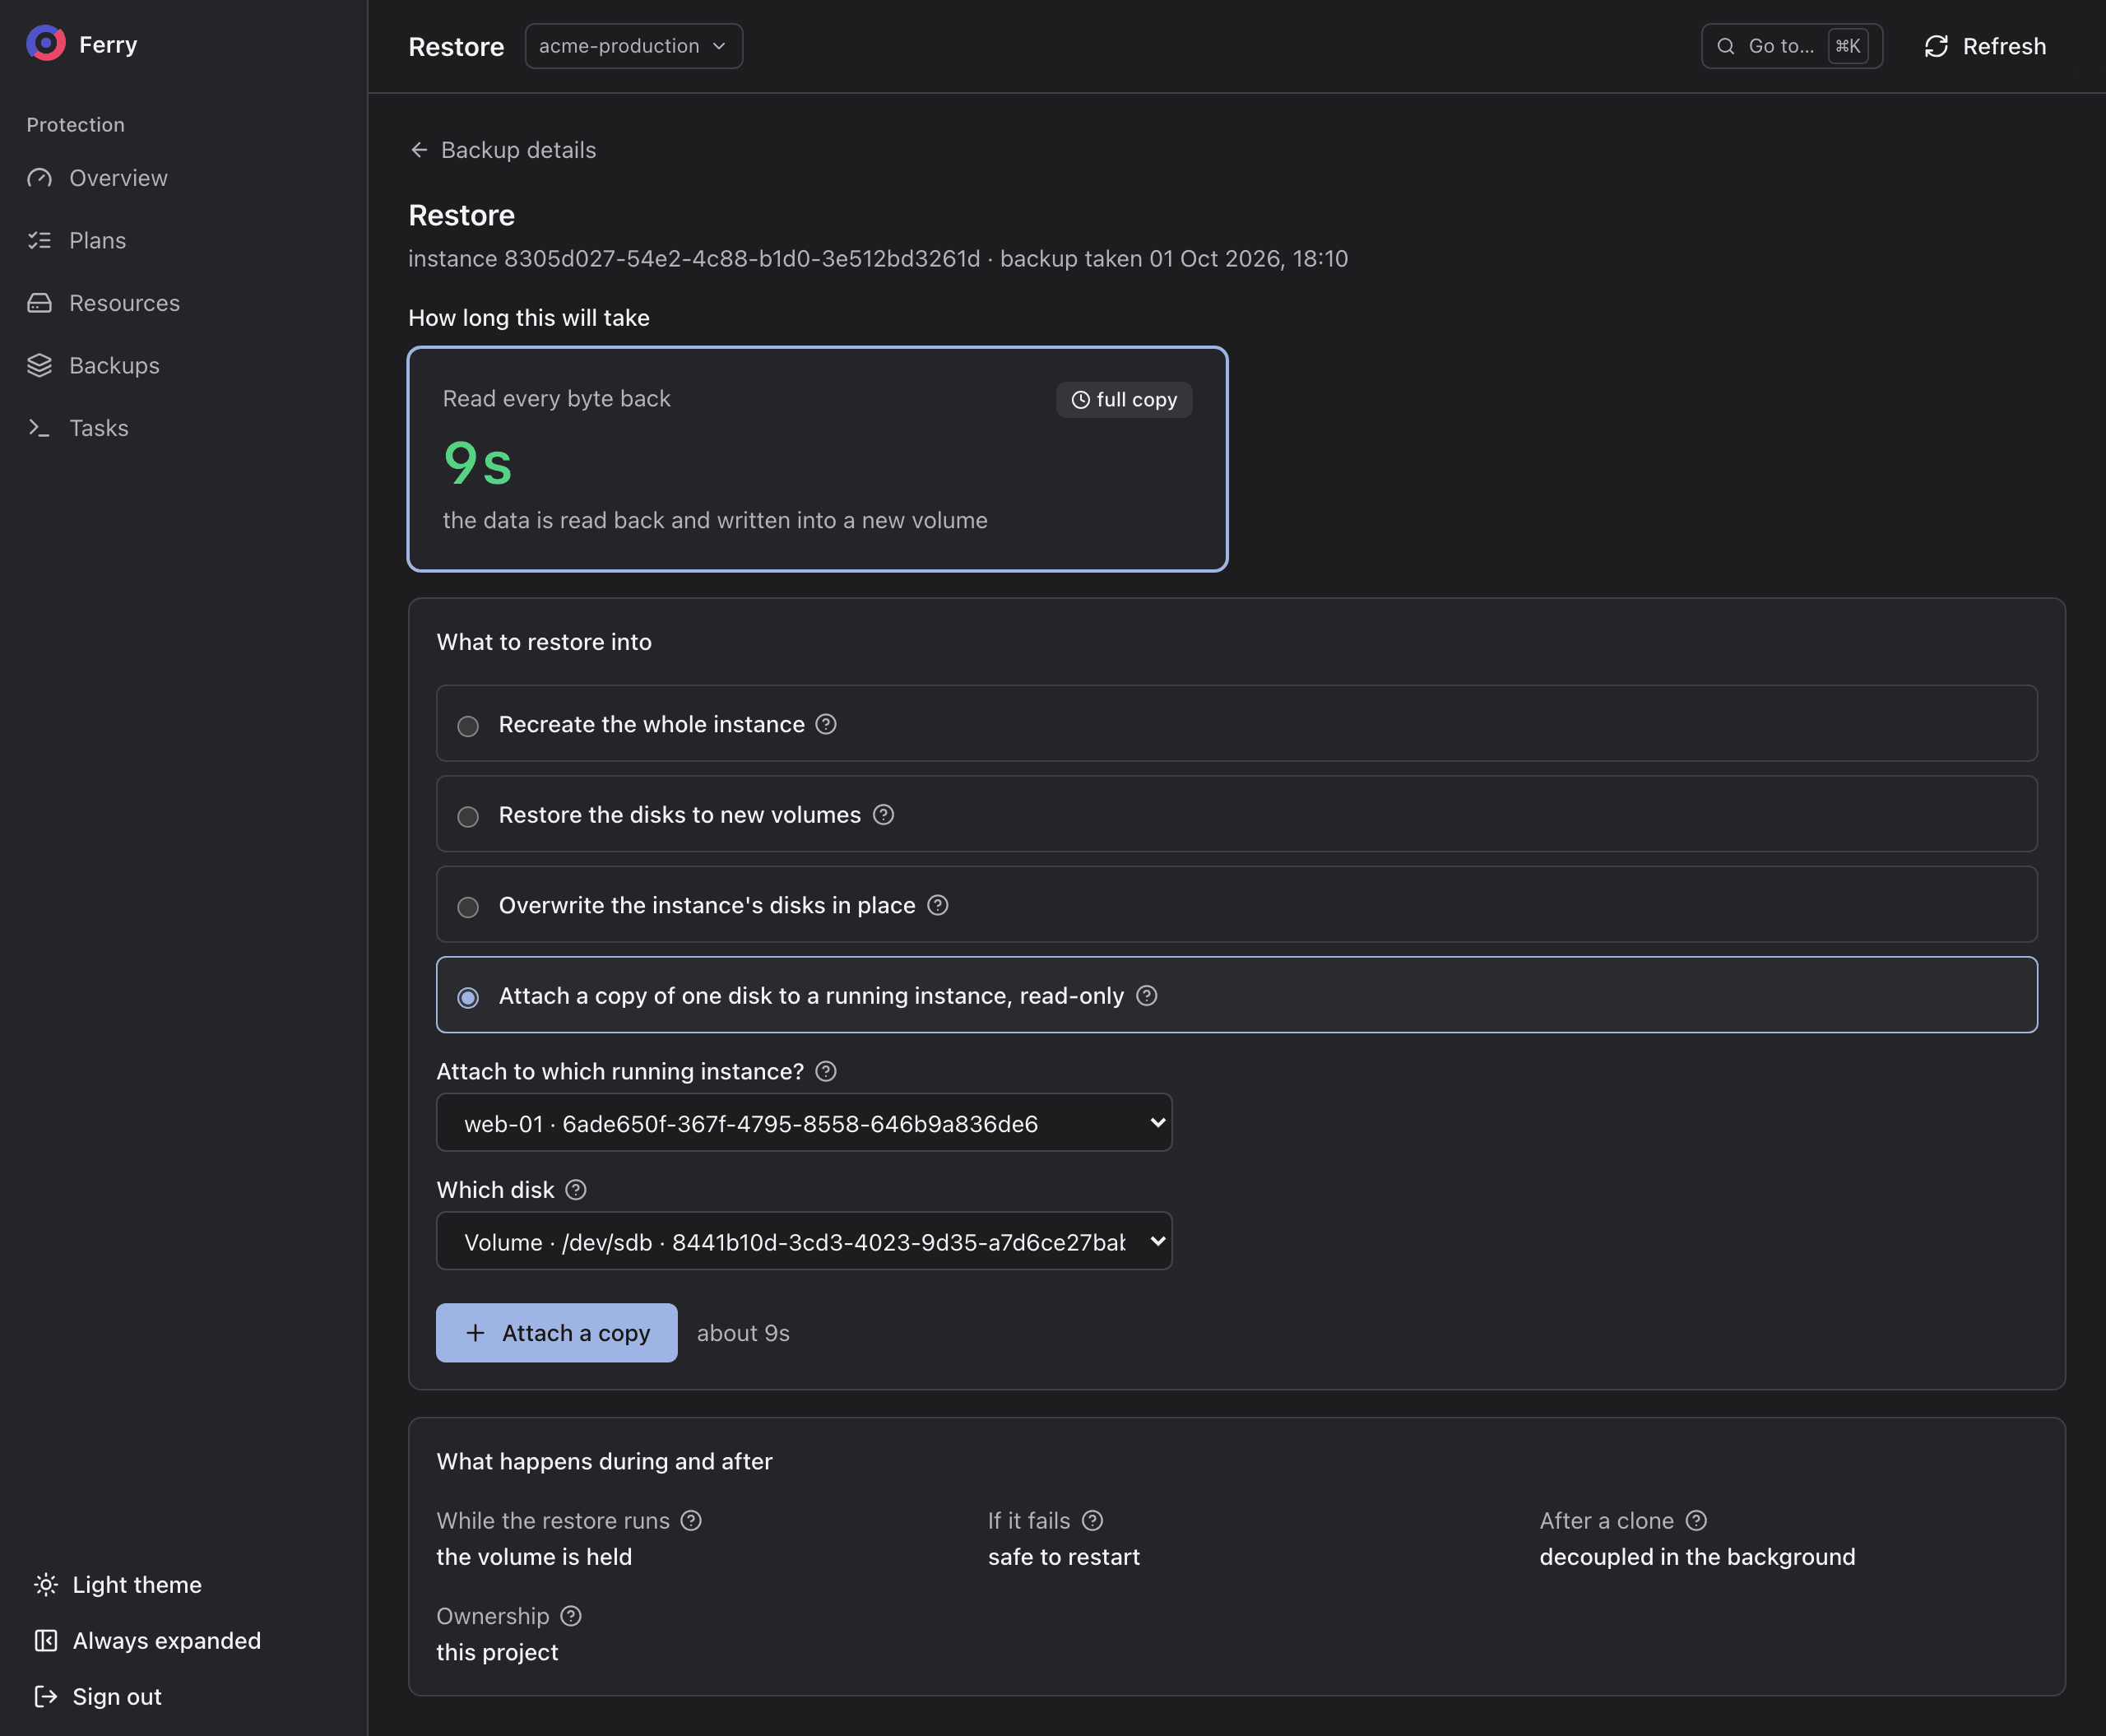
- Under What to restore into, choose Attach a copy of one disk to a running instance, read-only (for a volume backup, Attach a copy to a running instance, read-only).
- Under Attach to which running instance?, pick the server, and for a server backup choose Which disk. When the console cannot list your servers it asks for the server's id instead.
- Choose Attach a copy.
openstack backup attachment create --point <backup-id> --instance <server-id> --disk <volume-id> --ttl 2h
openstack backup attachment list
--disk picks the disk of a server backup to attach. Without it, the boot disk is attached. --ttl
shortens or lengthens how long the copy stays attached.
The default attachment duration is 4 hours. While the copy is attached it keeps the backup from expiring, so detach it early when you are done:
openstack backup attachment delete <attachment-id>
Read the files
Inside the server the copy appears as a new disk. Find it and mount it read-only. The norecovery
option stops the filesystem from trying to replay its journal onto a disk it cannot write.
lsblk
sudo mkdir -p /mnt/backup
sudo mount -o ro,norecovery /dev/<device><partition> /mnt/backup
An XFS filesystem cloned from the server's own disk has the same UUID as the mounted original. Add
nouuid to the mount options. Unmount before the copy is detached.
Buckets cannot be attached. To get objects out of a bucket backup, restore it into a new bucket.